LESSONS FROM TANYA, THE FINAL CHAPTER

Third post of a series of three on Sugar Cookie Decorating

In this post, I won’t share a recipe, as I will be using the exact same one posted yesterday. I made another set of silhouettes because the pups were beyond upset by my use of felines as cookie decoration.

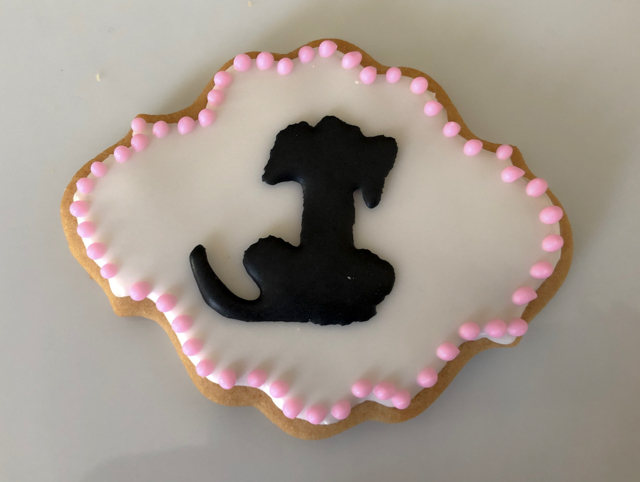
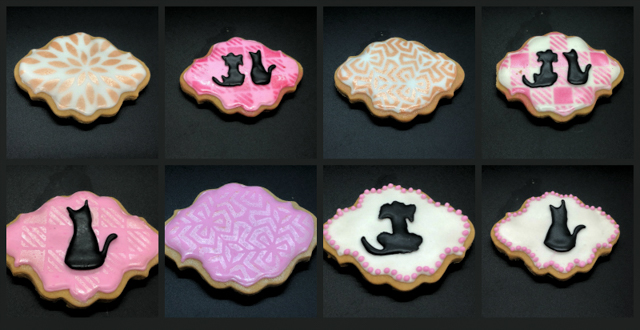
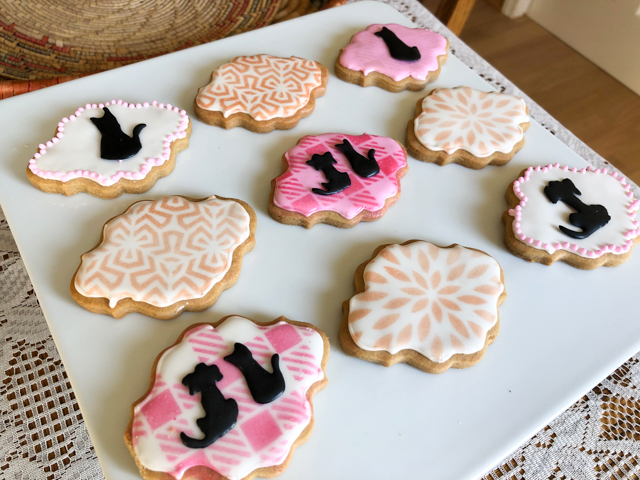
Please do not laugh of my pink dotted border. That is the one technique Tanya demonstrated and I simply could not succeed. She does the beaded border pulling the piping tip and dragging a bit alternating the direction, it looks soooo adorable. I’ve tried in two cookies, and they ended in my belly because I was forced to eat the evidence. So I just went with little dots and even that has plenty of room for improvement.

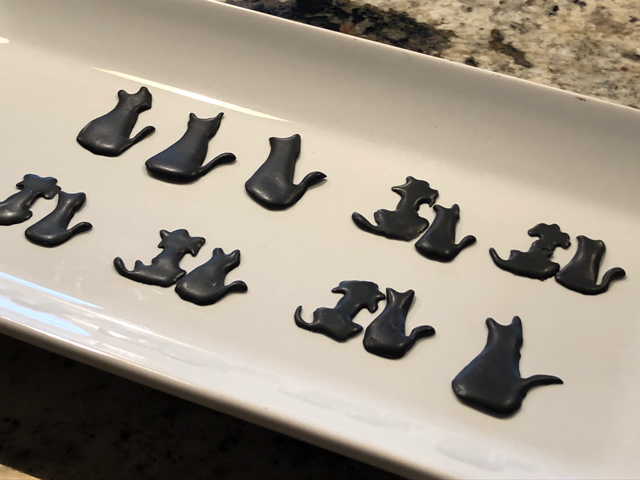
I made dogs and cats of two sizes, to either stand alone in a cookie or side by side as best friends. At least in the cookie world, such relationship is possible.

The planning stage…

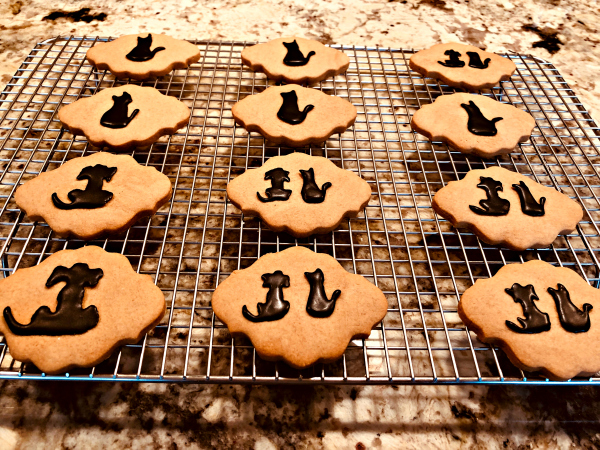
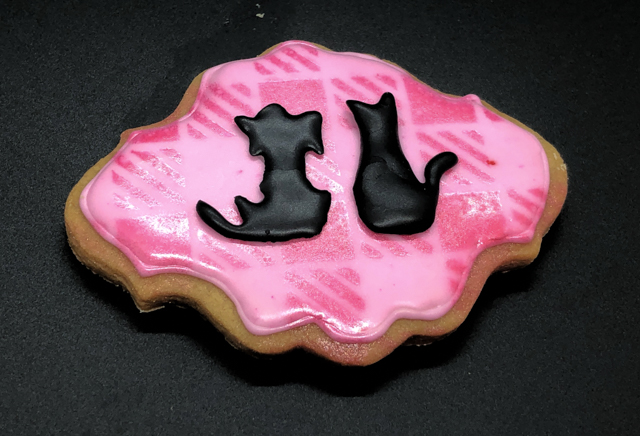
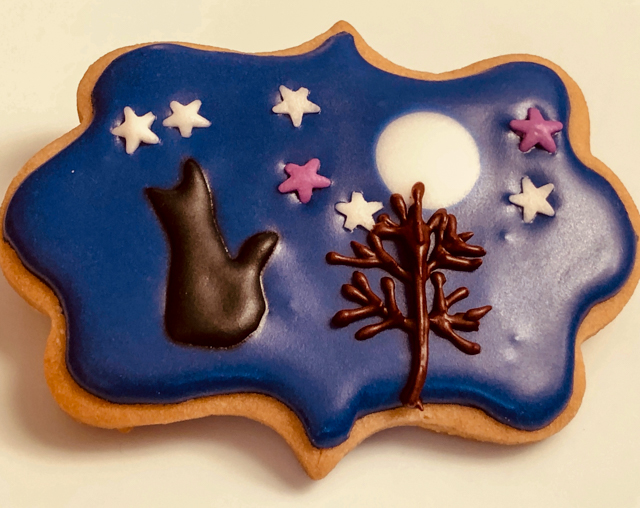
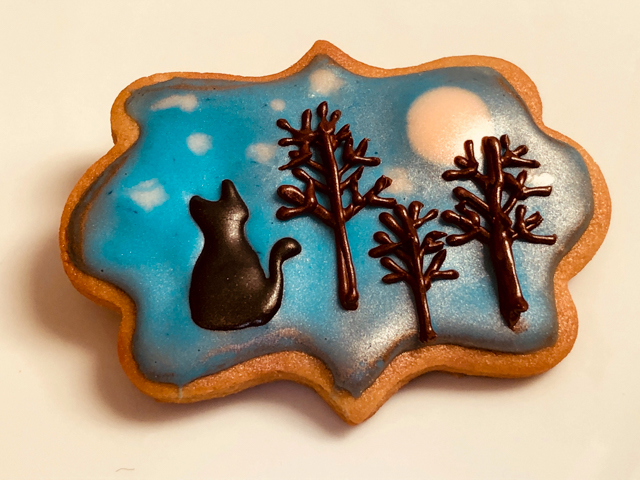
In this batch of cookies, I brought my air-brush into play. So I started from the flooding technique, and allowed that to fully dry for 24 hours. Once the surface is truly solid, you can lay a stencil on top and air-brush any color and/or pattern you fancy.

After that, simply glue the silhouette, if using, or any other piping with Royal icing you feel like adding.

If you are new to air-brushing, I highly recommend this one. It has a cup that is bigger than other brands, and can also be used for cocoa butter for spraying bonbon molds (I intend to try that in the near future).

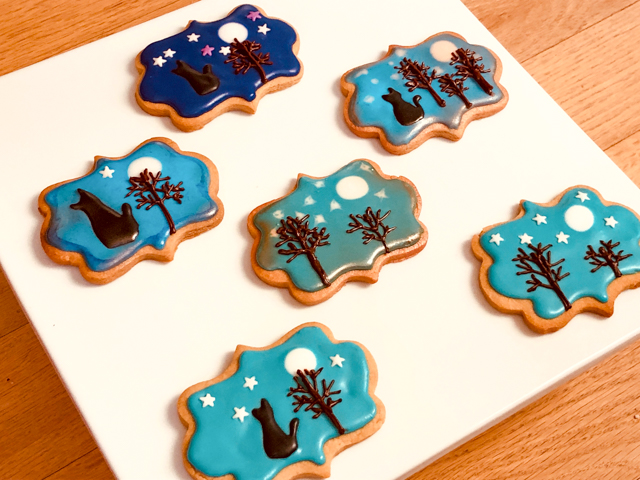
You will also need air-brush dyes, and my favorite brand is Cookie Countess. The most useful colors are the pearl types, white, gold, silver or my favorite: Rose’ Gold (which I used in the cookies without silhouettes in the group picture above).

Below a little sampling of bakes from old posts and a few not yet blogged about, all decorated with air-brushing, some with stencils, some without. Speaking of stencils, etsy.com is a great source to get them.

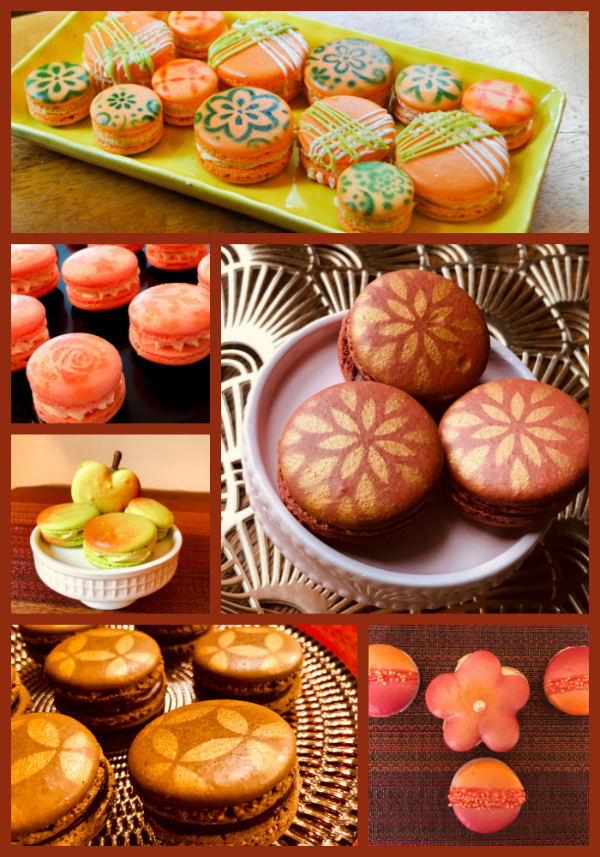
It is really a very nice tool to play with, so if you are over the fence about getting one, consider this post a little encouragement…

I hope you enjoyed this little Trilogy of Sugar Cookies. Sugar Cookies and macarons are almost always part of my weekly bakes for Common Table meals, so I am constantly trying to find new ways to decorate them and new flavors to explore. Stay tuned for more in the near future…

LESSONS FROM TANYA: SUGAR COOKIE SILHOUETTES

Second post of a series of three on Sugar Cookie Decorating

For one of her bake-along tutorials, Tanya showed how to make little silhouette details using Royal icing. They can be made way in advance (pretty much last forever) and saved to add to your cookies previously flooded and fully dry. The possibilites are endless, as you can imagine. And the great thing for us who cannot draw to save their lives, is that you can find clipart to download and print for free, adjust them to the size you want and use them to pipe your little decor. She demonstrated with a gorgeous deer’s head, I went first with a cat. She also demonstrated how to make a winter scene with a full moon and trees, so I joined both techniques in a single cookie.

BROWN SUGAR AND SPICES SUGAR COOKIES
(adapted from Bake at 350)

360g all-purpose flour
2 tsp baking powder
1/2 tsp cinnamon
1/4 tsp ginger
1/8 tsp nutmeg
1/8 tsp allspice
1/8 tsp cardamon
150g granulated sugar
50g brown sugar
226g butter, cut into chunks
1 egg
1/4 tsp salt

Heat oven to 350.

Whisk the flour, baking powder and spices, set aside.

Cream the sugars and butter. Add the egg and salt and mix until well-blended. Gradually add the flour mixture and beat just until combined. Roll on a floured surface to about 1/4″ and cut into shapes. Place on parchment lined baking sheets and freeze for 10 minutes.

Bake for 10-12 minutes, depending on the size of your cutter. Let sit a few minutes on the sheet, then transfer to a cooling rack.

Use Royal icing to decorate, recipe in previous post.

ENJOY!

Comments: There are countless sites that offer free downloadable templates for all sorts of drawings. You can then print them side by side and place a sheet of parchment paper on top of the printout. Using Royal icing with the consistency Tanya demonstrates in her tutorial and a very fine piping tip, carefully outline the drawing. Make more than you need, because they are obviously very fragile. They are best if allowed to dry overnight.

For the stars, in some cookies I used sprinkles… and in others I followed the technique demonstrated by Tanya, pulling small white dots with a needle.

That surface is allowed to dry overnight, and then the silhouette is glued, and the trees piped. In the cookie above, I used some silver air-brushing just for fun.

Here they are, all my babies! Before watching Tanya’s tutorials, I would never dream of making cookies with so many little details.

I will be back tomorrow with the final post about sugar cookies, using the same recipe (Brown Sugar and Spices). and a slightly different way to decorate them.

ONE YEAR AGO: Cherry-Chipotle Chicken Thighs

TWO YEARS AGO: White Chocolate Mini-Mousse with Sugared Cranberries

THREE YEARS AGO: You Say Ebelskiver, I say Falafel

FOUR YEARS AGO: Happy Thanksgiving!

FIVE YEARS AGO: Two Takes on Raspberries

SIX YEARS AGO: Spice Cake with Blackberry Puree & The Global Pastry Review

SEVEN YEARS AGO: Own Your Kitchen with Cappuccino Panna Cotta

EIGHT YEARS AGO: Chicken Parmigiana, the Thriller

NINE YEARS AGO: Wild Mushroom Risotto

TEN YEARS AGO: Tartine Bread:  Basic Country Loaf 

ELEVEN YEARS AGO:  Pugliese Bread