It is almost that time of the year, my friends! I firmly believe that Brazil might be the number 2 country in the world with the highest consumption of panettone in the month of December, losing to Italy, but barely so. They are obsessed over there. Odd bird that I was, I did not care for it until I was about 30 years old. Now, not only I love it, but I am partial to the authentic version. No chocolate chips for me. Of course, I won’t be mad if you modify this version to include them. I am open-minded, your chocolate chips will be fine with me!
Timing for the process:
Mix and ferment first dough: 12.5 hours
Mix final dough: 30 minutes or longer
First fermentation of final dough: 1 to 1.5 hours, with folds every 20 – 30 minutes
Divide, rest, and shape: 25 minutes
Proof: 4 – 6 hours at 80F, or about 12 hours at room temperature
Bake: about 40 minutes
Hang/cool: several hours
Time consuming? Yes. Very involved process? Yes.
Worth it? TOTALLY!

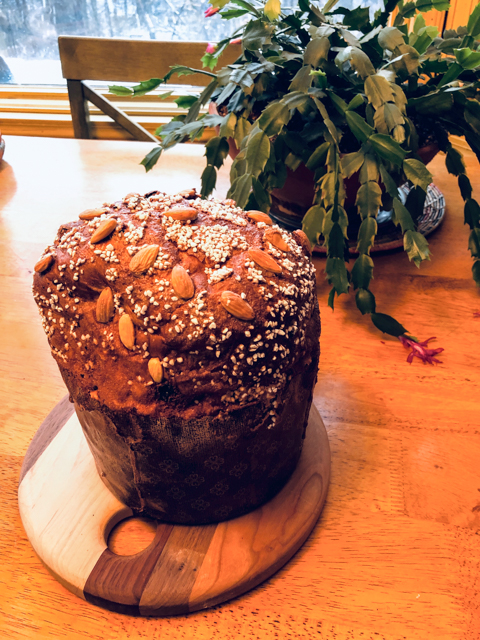
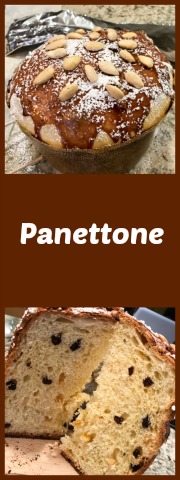
PANETTONE
(very slightly modified from Wild Yeast)
yield: two large loaves, best if baked in paper molds
(available at amazon.com)
for starter:
20 g mature stiff (50%-hydration) sourdough starter
20 g flour
10 g water
Mix all ingredients and ferment at 85F for 4 hours. Repeat feedings at 4-hour intervals, each time discarding all but 20 grams of starter, and feeding it with 20 grams of flour and 10 grams of water.
To feed the starter for a whole night, use only 10 g starter with the flour and water, then leave until next morning. Make sure that the final feeding right before you make the dough happens 4 hours before, so that the starter is at its peak. When you are ready to make the final dough, prepare enough starter using these proportions to have enough to use (make a little over 100 g to allow for eventual evaporation)
First Dough Ingredients:
346 grams flour
190 grams water
1 gram (1/3 teaspoon) osmotolerant yeast, or 1.3 grams (1/2 teaspoon) instant yeast
85 grams sugar
55 grams egg yolk
7 grams (1.5 teaspoons) diastatic malt powder
85 grams unsalted butter, at room temperature
90 grams sweet starter
Final Dough Ingredients:
all of the first dough
82 grams flour
5 grams (7/8 teaspoon) salt
25 grams egg yolk
1/2 tsp vanilla paste
zest of a medium orange
115 grams water, divided
82 grams sugar
126 grams unsalted butter, at room temperature (pliable)
20 grams honey
126 grams raisins
150 grams candied orange peel
Glaze Ingredients (optional)
42 grams granulated sugar
3 grams (2 teaspoons) ground almonds (or almond flour)
3 grams (3/4 tsp) vegetable oil
3 grams (1/2 tablespoon) cornstartch
3 grams cocoa powder
15 g egg whites
1/8 tsp vanilla paste
Topping (optional)
powdered sugar
Swedish pearl sugar
whole blanched almonds
Make the starter over a period of one to several days. Its final feeding should be given 4 hours before mixing the first dough.
Prepare the first dough the evening before baking: In the bowl of a stand mixer, mix all of the first dough ingredients just until combined. Cover the bowl and ferment for 12 hours at warm room temperature (about 72F), or longer for a cooler room. The dough should more than triple in volume.
Make the final dough: To the first dough in the mixer bowl, add the flour, salt, egg yolks, orange zest, vanilla seeds, and 40 grams of the water. Mix in low speed until the ingredients are just combined, about 3 minutes.
Turn the mixer to medium speed, mix for a minute or two, then continue to mix while slowly adding the sugar, in about 5 or 6 increments. Mix for one to two minutes between additions.
Continue to mix until the dough pulls away from the sides of the bowl and the gluten is almost fully developed. Turn the mixer back to low speed and add the butter. Mix for a minute in low speed, then in medium speed until the butter is completely incorporated into the dough and the gluten has reached full development (forms a nice windowpane when gently stretched).
In low speed, add the honey, and about half of the remaining water. Mix until the water is fully incorporated. Add the remaining water and mix until it is fully incorporated. At first it will seem very soupy, do not worry about it, keep mixing and it will end up very smooth and nice.
In low speed, add the raisins and candied peels, mixing just until they are evenly distributed. Place the dough in a lightly oiled container (preferably a low, wide one, to facilitate folding). Ferment at warm room temperature for about one hour, folding the dough after the first 30 minutes. If the dough seems very loose, fold it at 20-minute intervals instead.
Turn the dough onto a buttered surface. Divide the dough into two pieces, and form each piece into a light ball.
Allow the balls to rest (may be left uncovered) for 20 minutes. Meanwhile, if baking in paper molds (recommended) skewer them in the lower third portion with two wooden skewers inserted in parallel. They will hold the panettone after baking upside down to keep the shape. Shape the dough into tight balls and place into the skewered molds.
Proof at 80F for 4 – 6 hours (or about 12 hours at room temperature), until the tops of the dough domes are even with the top of the molds and the sides are an inch or so below the tops. When the dough is nearly fully proofed, preheat the oven to 350F, with the rack in the lower third of the oven.
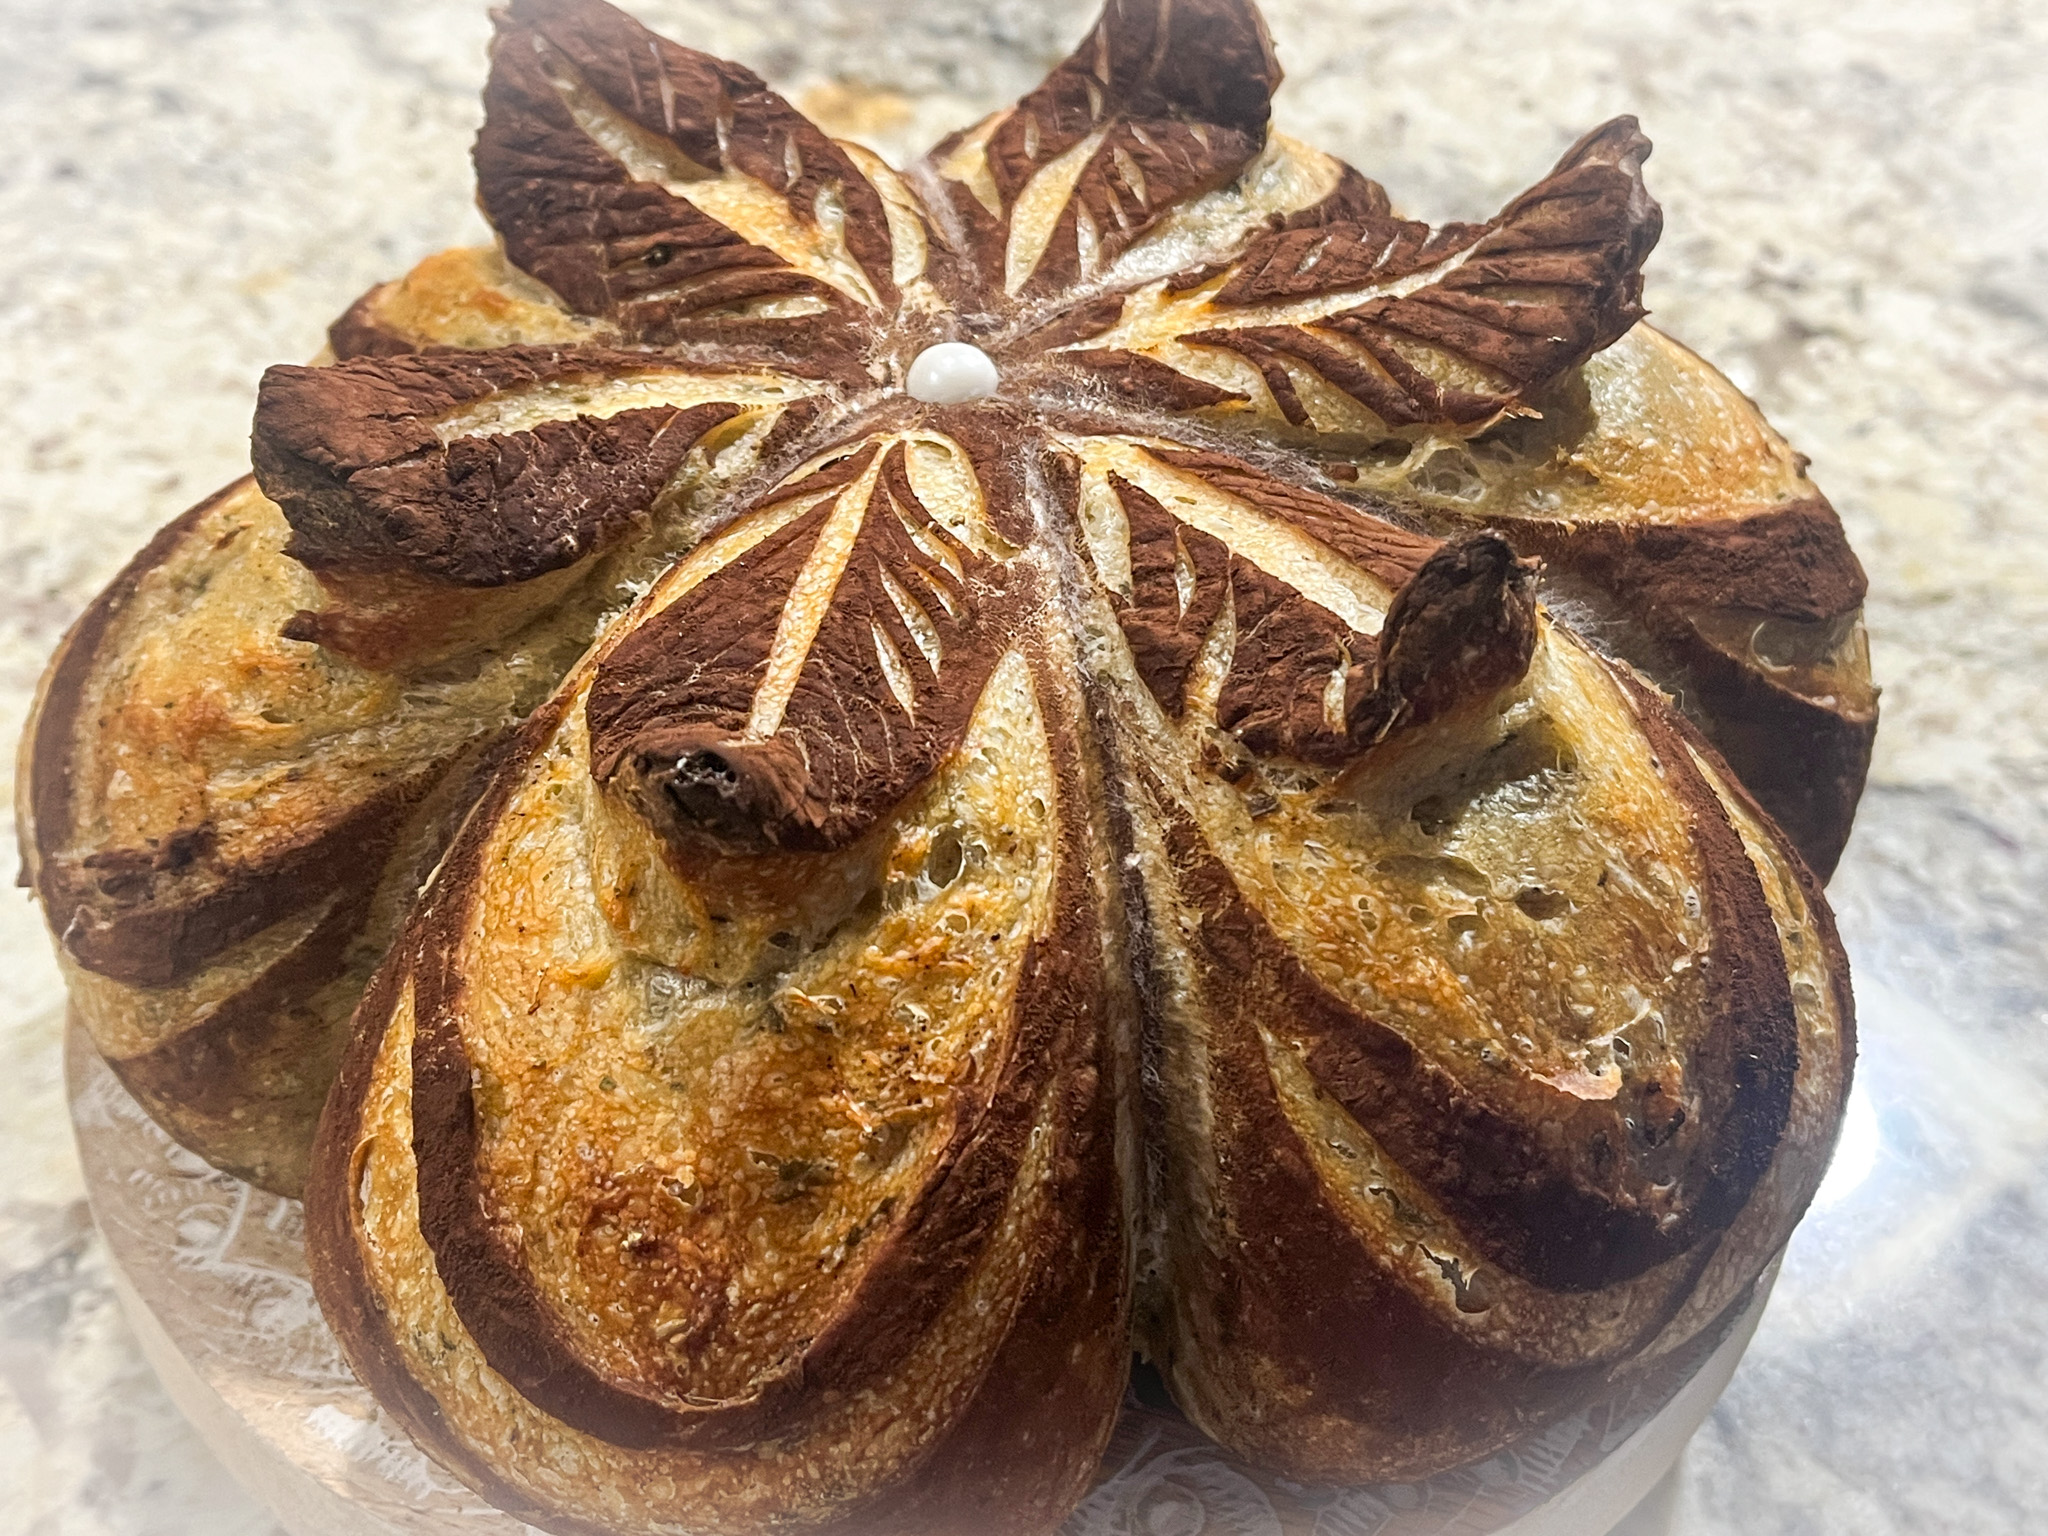
To mix the glaze, whisk all ingredients together. Pour, brush, or pipe the glaze evenly onto the top of the loaves. Sift powdered sugar generously over the tops, then sprinkle with pearl sugar and garnish with whole blanched almonds.
Place the loaves directly on the oven rack and bake for about 35 – 40 minutes, until the tops are dark brown and the internal temperature is 185F. If the tops are already quite dark after 25 – 30 minutes, turn the heat down to 325F.
While the panettone is baking, set up your hanging apparatus (See above). When the bread is done, hang them as quickly as possible. Allow the panettone to hang for at least four hours, up to overnight.
ENJOY!
to print the recipe, click here

Comments: I urge you to visit Susan’s site (Wild Yeast) for her original post on the subject, as she goes through many small details I omitted, just to make this post slightly shorter. I actually made the panettone three times last year and had some issues when I baked using a regular metal tin (as shown in the composite picture above). The issue was un-molding and having the baked product keep its shape. It simply did not happen. The crumb is very delicate as it comes out of the oven and in both situations I had the loaf forming a very unattractive fold, in which the crumb got compressed and deformed. Did it affect the taste? Not at all, but once that happened (twice), I decided that baking in paper molds is definitely better. It makes cooling – inverted in the mold – a lot easier.

Just make sure you have a large enough pan to hold it. I should also say that for this third bake I halved the full recipe and made one single large loaf. Panettone will always be bittersweet for me, as last year I baked one and shared with people from the lab, sent some to Aritri and she loved it so much I gave her a whole loaf later. At the time she was already quite sick and her parents were in the US to help take care of her. They all loved the panettone, I believe it was their first time trying it. If you’ve never baked one, don’t let the apparent complexity of the recipe scare you. Keep in mind it’s an enriched dough with a lot of goodies added to it, so the process must be taken slowly, if you try to speed it up, the final product won’t be as good. Patience is key.

Susan, I know you are not blogging anymore, and I really miss your bread-wisdom in the blogosphere, but maybe this post will give you a smile knowing that your recipe was baked several times in the Bewitching Kitchen! Thank you!
ONE YEAR AGO: Turkey Chili Under Pressure
TWO YEARS AGO: Tiramisu Macarons
THREE YEARS AGO: Cider Mini-Cheesecakes with Caramel Sauce
FOUR YEARS AGO: Rustic Ciabatta and Mini-Meatloaves
FIVE YEARS AGO: Green Rice
SIX YEARS AGO: Potato-Crusted Italian Mini-Quiches
SEVEN YEARS AGO: Beetroot Sourdough for the Holidays
EIGHT YEARS AGO: Cod Filet with Mustard Tarragon Crust
NINE YEARS AGO: Soba Noodles: Light and Healthy
TEN YEARS AGO: Potato-Rosemary Bread