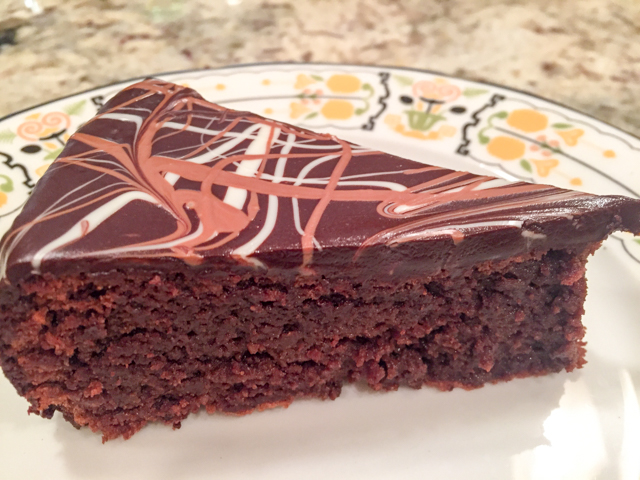
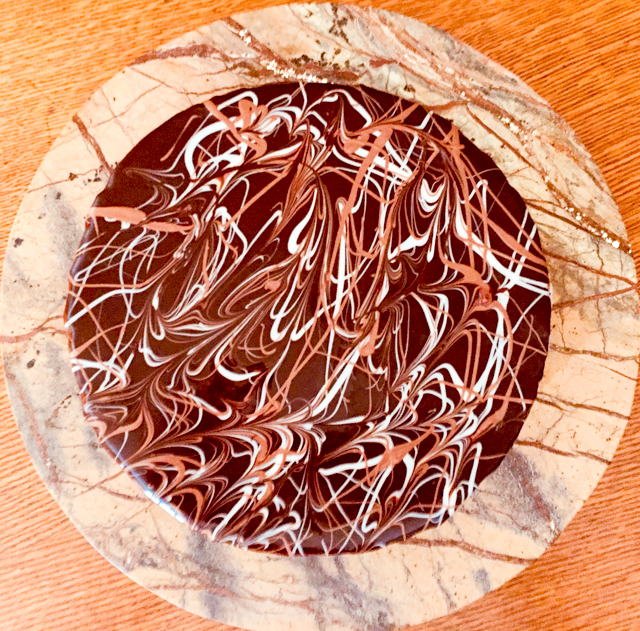
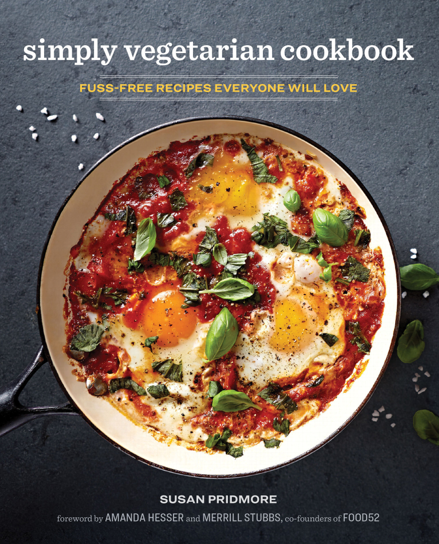
Not too long ago I reviewed a cookbook by a fellow member of The Secret Recipe Club, remember? Well, here I am once again to share with you a recipe and a little overview of the beautiful cookbook just published by my friend Susan, Simply Vegetarian Cookbook. She is also a former-secreter, someone I used to have a ton of fun with “behind the curtains.” Good times, good times indeed! I miss those days, although we are still in touch through our blogs and Facebook. I actually prepared two recipes to feature, so I tossed a coin (literally) to pick this one. The second will go as I often do, as a teaser. No recipe, just a photo. I’ve been called a teaser more than once in my lifetime. There are worse adjectives out there, so I accept the label with a smile.
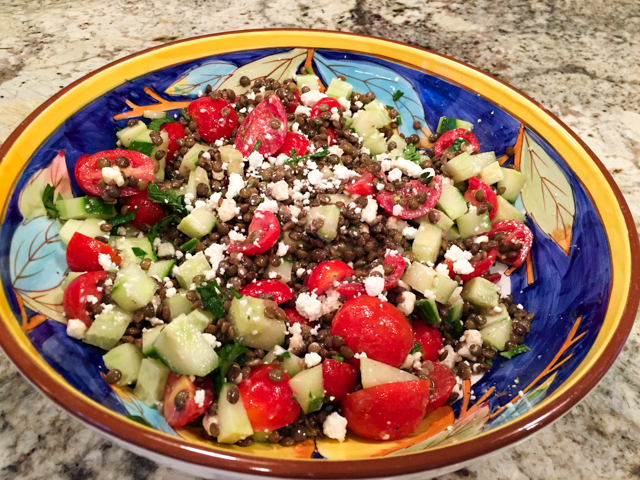
LEBANESE LENTIL SALAD
(slightly modified from Susan’s Simply Vegetarian Cookbook)
3 cups vegetable broth or water
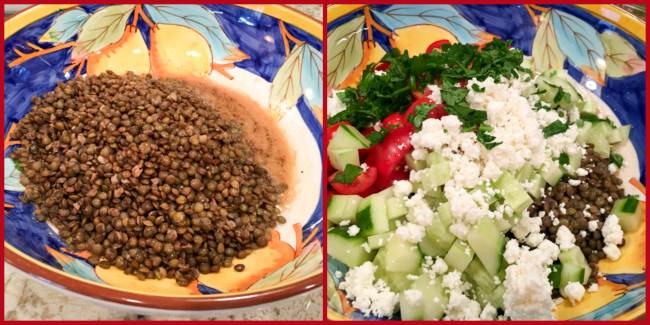
1 cup French green lentils
1 teaspoon kosher salt, divided
3 tablespoons sherry vinegar
1 teaspoon Dijon mustard
2 tablespoons olive oil
2 cups peeled and diced cucumber
1½ cups halved cherry tomatoes
½ cup crumbled feta cheese
¼ cup fresh mint leaves, thinly sliced
¼ teaspoon freshly ground black pepper
Bring the broth (or water) to a boil in a medium pot. Add the lentils and ½ teaspoon of salt. Reduce the heat to a simmer, cover, and simmer for 15 to 20 minutes, or until the lentils are tender and the liquid is absorbed. If there is any liquid remaining, drain it.
In a large bowl, whisk together the sherry vinegar and Dijon mustard. Whisk in the olive oil until emulsified. Add the cooked lentils, cucumber, tomatoes, feta cheese, and mint, and toss to coat. Season to taste with the remaining ½ teaspoon of salt and the pepper.
Serve at room temperature.
ENJOY!
to print the recipe, click here
Comments: There are many types of lentils out there. For this particular recipe (and in fact, anytime you want to make a lentil salad), it is worth searching for French green lentils (such as Puy). They hold their shape after cooking, which is what you want in a salad, nothing worse than a mushy grain mixed with crunchy veggies and dressing. I love Susan’s approach of making the dressing right in the bowl you will serve the dish, one less item to wash. I normally do that even with leafy salads. I just don’t mix everything in advance. Place the more sturdy leaves (like Romaine lettuce) at the bottom, add the other components and toss them all when we are ready to eat.
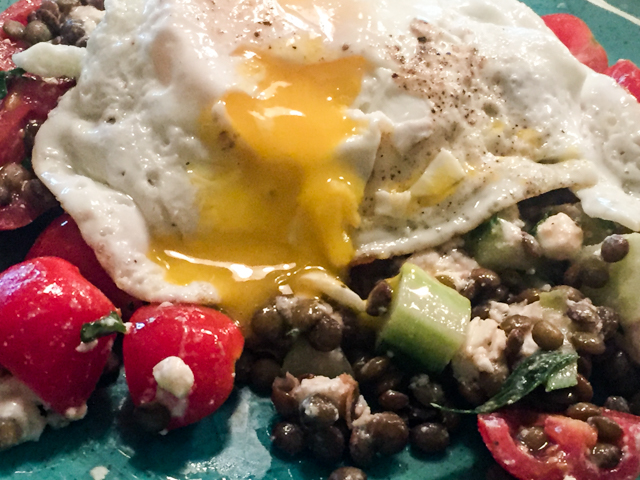
I served this colorful and flavorful salad with grilled pork tenderloin on day one. Next day leftovers were amazing for lunch, re-visited with the highly fashionable fried egg (I know, many are tired of the fried egg omnipresence, but I happen to love it).

And now it’s time for a virtual tour of Susan’s book… come with me!
and please, make sure to visit Susan’s site too

The book is organized in a very clever, non-traditional way. Chapters are organized by method of cooking instead of course, or type of food.
CHAPTER ONE: Meatless Made Easy, is a great write-up on what to consider if you’d like to either become fully vegetarian or reduce the overall intake of meat in your diet. Susan cooks and eats mostly vegetarian dishes, but her husband is a full-blown carnivore, so she includes in her recipes little final tips she calls “flexitarian tips.” How the same recipe could be served or made to include some animal protein. Pretty clever, and definitely expands the usefulness of the book. I am a full-blown omnivore, and appreciate that aspect of the book. As I like to do in my reviews, I will pick 2 or 3 top favorite recipes from each chapter, so you can get an idea of what it’s all about.
CHAPTER TWO: NO COOK RECIPES. Tough to pick just a couple of examples. She starts with smoothies, all pretty tempting. But I think the ones that truly called my name are Mediterranean Wrap with Spicy Chickpeas (I cannot have enough chickpea recipes), White Bean Wrap with Jalapeno-Apple Slaw, and her beautiful Lemony Romaine and Avocado Salad (I actually made a departure on it).
CHAPTER THREE: THIRTY MINUTES MAX. Who does not love that type of recipe, when we work all day and come home starving? From this chapter comes the featured recipe, Lebanese Lentil Salad, which is a winner all the way! But I had my eyes set on Middle Eastern Cauliflower Steaks, and Smashed Chickpeas and Kalamata Pasta (I considered making it with zoodles for a low-carb version full of flavor).
CHAPTER FOUR: FIVE INGREDIENTS. Another non-fuss chapter, which makes her book so appealing, you just know it will be an easy culinary project to get the meal ready. My favorites: Baked Sweet Potato Latkes (I know you just drooled), Delicata Squash and Black Bean Quesadillas (my favorite squash that I should bring home more often), Caprese Avocado Grilled Pitas (talk about creativity!).
CHAPTER FIVE: ONE-POT AND SKILLET. I went crazy for the recipes in this chapter, truly difficult to select just a few. I loved the idea of her Spicy Skillet Eggs, Cilantro-Lime Cauliflower Rice, and Crispy Black Bean Burgers. Just to share a few.
CHAPTER SIX: SHEET PAN AND BAKING DISH. Chapter opens with a huge contender, I almost made it to feature today: Kofta-Style Chickpea “Meatball” Pitas. Curried Cauliflower Tetrazzini, and Baked Cheesy Broccoli with Quinoa make my top list too.
CHAPTER SEVEN: SLOW-COOKER and PRESSURE COOKER. Well, those are dear to my heart. I love using both cooking gadgets, and have a huge collection of recipes waiting to be made. My top choices from this chapter include: Tomato-Mushroom Ragu, Butternut Squash and Barley Risotto (these two are made in a slow-cooker). For the pressure cooker, I will go with Chickpea and Coconut-Curry Soup and Tomato Biryani.
CHAPTER EIGHT: KITCHEN STAPLES. Now that’s an interesting chapter. I confess that in every single cookbook that includes this type of chapter, I don’t look twice. I am never that interested in making a bunch of sauces or dressings and saving them in the fridge. Just not my style of cooking. What ends up happening is that I forget all about them and next thing I know, they get moldy, and into the trash they go. Now that I confessed my capital sin, let me say that I was pleasantly surprised by my reaction to Susan’s Kitchen Staples. Lemony Breadcrumbs, Miso Butter, Smooth and Creamy Hummus, Tahini Miso Dressing? I want them all… Go figure.
She ends the book with a big reference guide to cooking all things veggie. Quite useful if you are considering venturing more and more into this type of nutrition. A very comprehensive list, with all the details for optimal preparation.
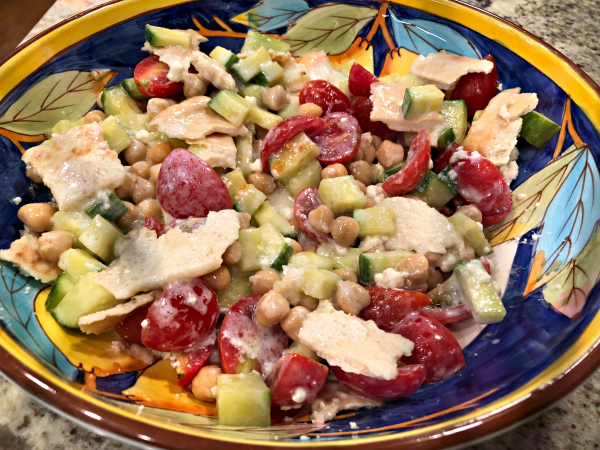
Before I leave you, let me offer the teaser recipe. This was soooo delicious! Another colorful salad, a Lebanese Chopped Salad (from Chapter Two) with torn pita bread. The dressing involves buttermilk… I say no more. Amazing! You need the book, and you know it (wink, wink).
Susan, thanks for allowing me to publish one recipe from your beautiful book, and I wish you the best of luck with it… I can imagine the amount of work involved from the conception to the publishing of a cookbook, so congratulations are in order!
ONE YEAR AGO: Cottage Loaf
TWO YEARS AGO: Sourdough Loaf with Cranberries and Walnuts
THREE YEAR AGO: Sichuan Pork Stir-Fry in Garlic Sauce
FOUR YEARS AGO: Our Green Trip to Colorado
FIVE YEARS AGO: Ditalini Pasta Salad
SIX YEARS AGO: Celebrate Wednesday with a Thai Seafood Curry
SEVEN YEARS AGO: Post-workout Breakfast
EIGHT YEARS AGO: Semolina Barbecue Buns
NINE YEARS AGO: Lavash Crackers