SECRET RECIPE CLUB: CARROT FLAN WITH GREENS AND LEMON VINAIGRETTE

flanJune, folks. We are in June. That means half of this amazing year is pretty much over.  Carpe diem. The months always end on a nice note for me, because the last Monday brings Reveal Day of The Secret Recipe Club.  I was paired this month with Dena from “Oh! You Cook!”. Dena describes herself as a librarian by day, recipe blogger by night, except on nights in which she works as a librarian…  Not only she works around books, but she is an author herself, having published last year “The Everything Kosher Slowcooker Cookbook”.  Check it out here.  Reading her blog is a lot of fun! She is quite witty, and often opens her articles with remarks that will bring a smile to your face.  For instance, the recipe I chose, carrot flan, is under a post entitled “Go Forth on the Fourth…”  I quote straight from her blog:

Go Forth on the Fourth…  and barbecue, of course! 

Steaks… check!

Skewered chicken… check!  

Carrot flan… huh?   🙂

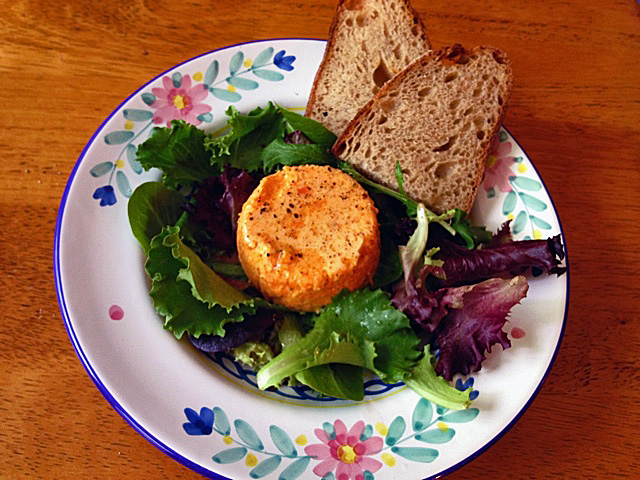
So there you go. Whether you are making this dish as a side for a barbecue or as a light meal, it will turn your day into something unique. Elegant, light, sophisticated, and the best part: it’s actually quite simple to make.
top

CARROT FLAN WITH GREENS AND LEMON VINAIGRETTE
(adapted from “Oh! You Cook!”)

Makes 6 individual servings.

for the flans:
12 ounces carrots (enough to make 2 1/2 cups of chopped pieces)
4 eggs
4 ounces (1/2 cup) heavy cream
1/2 teaspoon sea salt
1/4 teaspoon ground black pepper
pinch of grated nutmeg

for the vinaigrette:
1/4 cup olive oil
3 tablespoons fresh lemon juice
1 teaspoons Dijon mustard
1/2 teaspoon grated lemon peel
1/2 teaspoon honey

Make the flans: Heat the oven to 325 degrees F. Butter 6 ramekins (3/4-cup size). Cook the pieces of carrots in boiling salted water until tender, about 8 minutes. Drain and puree in a food processor or blender until smooth, and let cool slightly.

Whisk the pureed carrots together with the eggs, heavy cream, salt, pepper, and nutmeg. Divide the mixture among the buttered ramekins, and place the ramekins in a baking pan. Add enough hot water to the baking pan so that the water goes halfway up the sides of the ramekins. Cover the pain with foil and bake until the custards are set and a knife inserted near the middle of one comes out clean. (In my pathetic oven it took almost 1 hour, but you should start checking it at 40 minutes, normally it should take around 45 minutes). Remove the ramekins from the baking dish and let cool slightly before unmolding.

For the vinaigrette:  whisk together the lemon juice, lemon peel, mustard, and honey. Stream in the olive oil, whisking constantly, until an emulsion forms. Season well with salt and pepper,  and store in the refrigerator.

Final assembly of the dish:  Place a handful of salad greens of your choice for each serving of flan in a large bowl. Drizzle some vinaigrette over the greens, season with coarse salt and freshly ground black pepper, and toss to dress. Run a knife around the inside of the ramekins to loosen the flans, then invert them over a plate to unmold. Serve the flans with the salad  and an additional drizzle of the vinaigrette.

ENJOY!

to print the recipe, click here

composite-001
Comments: This might be a bold statement, but I’ll go ahead with it: I think this was my favorite recipe of all the “Secret Ones” I’ve made in the year and a half participating in the event.  Phil raved about it from the first bite, and said that these flans could be served on the best bistrots of Paris. How’s that for a compliment?  The leftover flans were warmed in a microwave for 40 seconds, and they unmolded perfectly then.  So, this recipe is a wonderful option for a dinner party.
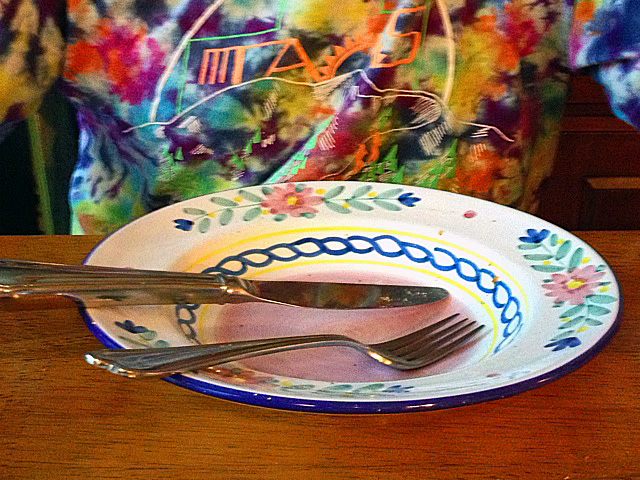
tiediePolishing off the meal with non-stop compliments: Nice! Wearing a tie-die shirt with more colors than the dinner plate? Optional, but so very cool… 😉

If you want to see what my friends from Group D cooked up for this Reveal Day, click on the blue frog at the bottom of the post…. have fun!

ONE YEAR AGO: The Secret Recipe Club: Granola Bars

TWO YEARS AGO:  Awesome Broccolini

THREE YEARS AGO:  A Twist on Pesto

FOUR YEARS AGO: Ciabatta: Judging a bread by its holes



AVOCADO “HUMMUS”

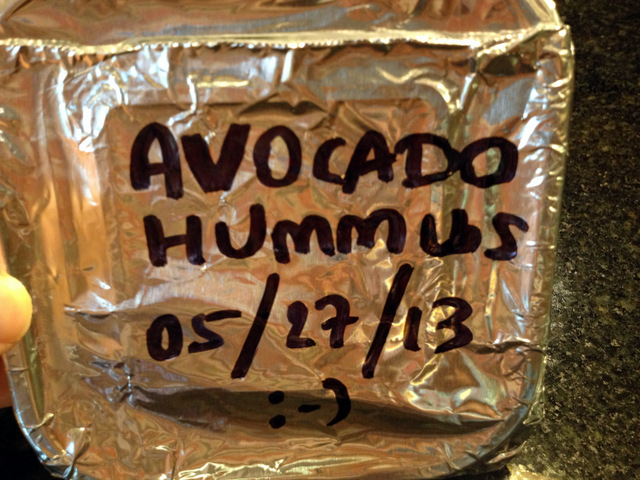
IMG_2053Sometimes (quite often, I’m afraid) I have a recipe on my list of things to do ASAP and there it sits for a year or five. But every once in a while the exact opposite happens: I see a recipe, fall in love, and make it right away.  This avocado hummus showed up on my screen during the last Secret Recipe Reveal Day, which fell exactly on Memorial Day.  Maybe having the day off helped, but the truth is that I saw the recipe mid-morning, and made it at 3pm.  How about that for efficiency?

AVOCADO HUMMUS
(slightly modified from Chocolate and Chillies)

1 19 oz can of chickpeas, drained and rinsed
2 avocados, pitted and diced
1 garlic clove, minced or pressed (I omitted)
handful of cilantro, roughly chopped
4 tbsp freshly squeezed lemon juice
2 tbsp extra-virgin olive oil
1/2 tsp ground cumin
1/4 cup water
salt and freshly ground pepper to taste

In a food processor add all the ingredients and process.  Add more water if you would like it thinner.

ENJOY!

to print the recipe, click here

We love hummus!  It is one of the items we always have in the fridge, in fact. I know homemade is best, but we love it so much that we always have one or two of those little packages of Athenos plain hummus.  I often add a little bit of freshly squeezed lemon juice, a touch of smoked paprika, and we enjoy it with crackers or veggie sticks.   But this version with avocado instead of tahini is shockingly delicious…  BTW, do you know that blog, Shockingly Delicious?  Great site, check it out…

This hummus recipe makes quite a large amount, so I could save some for a later, happy day!

IMG_2054

ONE YEAR AGO: Moving is not for sissies!

TWO YEARS AGO: Awesome Broccolini

THREE YEARS AGO: Pizza! Pizza!

FOUR YEARS AGO:  From Backyard to Kitchen

SECRET RECIPE CLUB: PENNE WITH TRAPANESE PESTO

noname
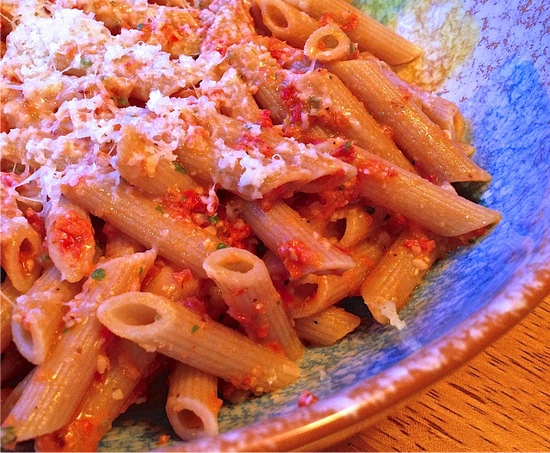
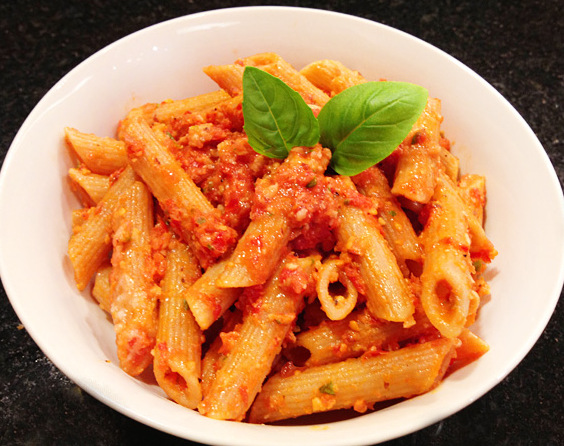
Not sure how we made it so fast to the end of May, but here we are!  And the last Monday of the month brings with it the Reveal Day for The Secret Recipe Club.  Bloggers are paired in secret, stalk each other’s site for a nice recipe, and blog about it on the same day.  This month I was paired with Erin, from The Spiffy Cookie.  She is a graduate student working on her PhD in Microbiology and that immediately puts us both in a similar page.  Granted, I probably had my PhD before she was born, but still… I know what it takes and how frustrating it can be to get there.   As I always say to the students in the lab, “science is not for sissies“.  But, I digress.   I spent quite a bit of time on her site, tempted by many of her recipes. A few examples for you:  Chicken Burgers with Garlic & Rosemary Yogurt, Apple Oatmeal Breakfast Muffins,  Nutella Mousse (that almost made my final cut), and Nutella-Swirled Banana Bread Snack Cake (do I need to say anything more?).  But, in the end, my heart was set on Penne with Trapanese Pesto, because it seemed like the type of recipe Phil and I would love.  Plus, the almonds in the sauce take me to a Persian aura that is quite welcome in our kitchen these days. So, without further ado, my contribution to the SRC this month…

Sally(photo kindly optimized by an angel called Sawsan…)

PENNE WITH TRAPANESE PESTO
(slightly adapted from The Spiffy Cookie)

2 cups cherry or grape tomatoes
1/3 cup almonds, lightly toasted
1 clove garlic
12 basil leaves
1-2 anchovies filets (or to taste)
2 tsp capers
1 pinch crushed red pepper
1/4 cup freshly grated Parmesan cheese
3 Tbsp extra-virgin olive oil
1 pound whole wheat penne pasta
Coarse salt and freshly ground pepper

In a food processor, combine the tomatoes, almonds, garlic, basil, anchovies, capers, crushed red pepper, cheese, and a good pinch of salt and pepper. Pulse a few times to get it going. With the motor running, add the oil in a thin stream. Taste it. Add a little more salt if needed.

Meanwhile, cook your pasta in a large pot of salted water until al dente. Drain and return to pot.  Pour the pesto over the pasta and toss to combine.  Store whatever is left in a sealed container in the fridge for a week. Serve  with more cheese and basil.

ENJOY!

to print the recipe, click here

ingredients
Comments: I made two small modifications in the recipe, adding capers and anchovies to the pesto. Now, for those who personally know me, it will be shocking to learn I added anchovies were anchovies were not called for.  Yes, indeed, I don’t like anchovies, but have been working on improving our relationship.  For one of those virtual coincidences, a food blog I recently fell in love with (Chef Mimi Blog) had a post on Trapanese Pesto, and she added anchovies.  Being a certified anchovy-wimp, I added only 1 small filet, carrying it with the tip of the fork, arm extended as far as I could to avoid its pungent aroma…   🙂  Capers seemed like a natural partner for all other ingredients,  so into the pesto they went.

This was a delicious meal! For my taste, Trapanese pesto beats the Genovese by a long shot.  Less oily, less pungent.  The recipe made more sauce than needed for our pasta dinner, leftovers will keep in the fridge for a few days.

composite
Erin, it was great to stalk your blog for recipes and get to know your site better (although I’ve visited your blog many times before) through this month’s adventure with SRC.  For those who want to see the full collection of recipes posted by members of our group, click on the funky frog and have fun!

ONE YEAR AGO: Superman

TWO YEARS AGO: Spring Pasta

THREE YEARS AGO: Ice Cream Melts for Mango


QUINOA WITH CIDER-GLAZED CARROTS

A note to subscribers:  Google Reader will shutdown on July 1st, 2013. If you have a subscription to this blog through Google Reader, please sign up for email notifications, or switch to another reader. I recommend Feedly or Bloglovin.  They will automatically retrieve all your Google reader subscriptions. 

I’ ve had plenty of versions of quinoa in the past, but this one takes the number one spot. The carrots added a sweet-sour note, the thinly sliced almonds a delicious crunch, and the quinoa married them together with its light and refreshing nature. Cannot praise this dish enough. I was inspired by this recipe from Bon Appetit, and decided to come up with a version to be served hot instead of cold, but with similar flavors. If you are searching for a recipe to please vegetarians or a perfect side dish for pork, poultry,  perhaps a thick slab of grilled salmon, look no further. This is perfect!

served22

QUINOA WITH CIDER-GLAZED CARROTS AND ALMONDS
(from the Bewitching Kitchen, inspired by Bon Appetit)

1 cup quinoa, very well rinsed and drained
salt
3 medium carrots, thinly sliced at an angle
2 Tbsp apple cider
2 Tbsp agave nectar
1/4 cup sliced almonds
2 Tbsp olive oil, divided
1 Tbsp cider vinegar
2 Tbsp lemon juice
zest of 1 lemon

Heat oven to 450°. Bring quinoa and 4 cups lightly salted water to a boil in a medium saucepan. Cover, reduce heat, and simmer until quinoa is tender, 10-15 minutes. Drain; return quinoa mixture to saucepan, cover, and let sit for 10 minutes. Fluff with a fork and transfer to a large bowl; let cool.

Meanwhile, lightly coat a large rimmed baking sheet with oil (or cover it with parchment paper). Whisk cider and honey in a large bowl to blend; season with salt and pepper. Add carrots and toss to coat. Transfer to prepared baking sheet and roast until tender, 15-20 minutes. Let cool.

Heat 1 tablespoon of olive oil in a small skillet. Add the almonds and cook over low heat until fragrant.  Set aside, keeping it warm.

Whisk vinegar, lemon zest, lemon juice, and remaining tablespoon of olive oil in a small bowl.  Season with salt and pepper.

Add carrots and almonds to quinoa mixture and toss to coat. Drizzle the vinegar & lemon mixture and mix well tp combine all ingredients.  Adjust seasoning if needed.

ENJOY!

to print the recipe, click here

Comments: If you are new to cooking the seeds of Chenopodium quinoa, please remember to rinse them extensively.  The seeds  have a natural coating of saponins that taste very bitter.  Processing the seeds for sale includes pre-washing, but you will notice that the water still foams slightly once you soak the seeds.  A couple of years ago, I read somewhere that quinoa goes rancid very easily, so the advice given was to store it for  no more than 6 months (or freeze it).   I tried to find a source for this information,  but now I find plenty of sites stating that it lasts for several years in the pantry.  Oh, well. I guess one can always open the bag and do a sniff test.

Cooked quinoa freezes very well, so you can prepare a full bag and portion it in the freezer for later. I actually cooked it on a Saturday and made this recipe for our dinner on Tuesday.  Pork tenderloin kebabs completed the meal, but the truth is we both raved about the quinoa a lot more.  Bonus:  we got our intake of carrots all taken care of!  😉

ONE YEAR AGO: Celebrate Wednesday: Heirloom Tomatoes Steal the Show

TWO YEARS AGO: Pain de Provence

THREE YEARS AGO: Golspie Loaf, from the Scottish Highlands

KINPIRA GOBO AND JAPANESE HOME COOKING

burdock2_opt

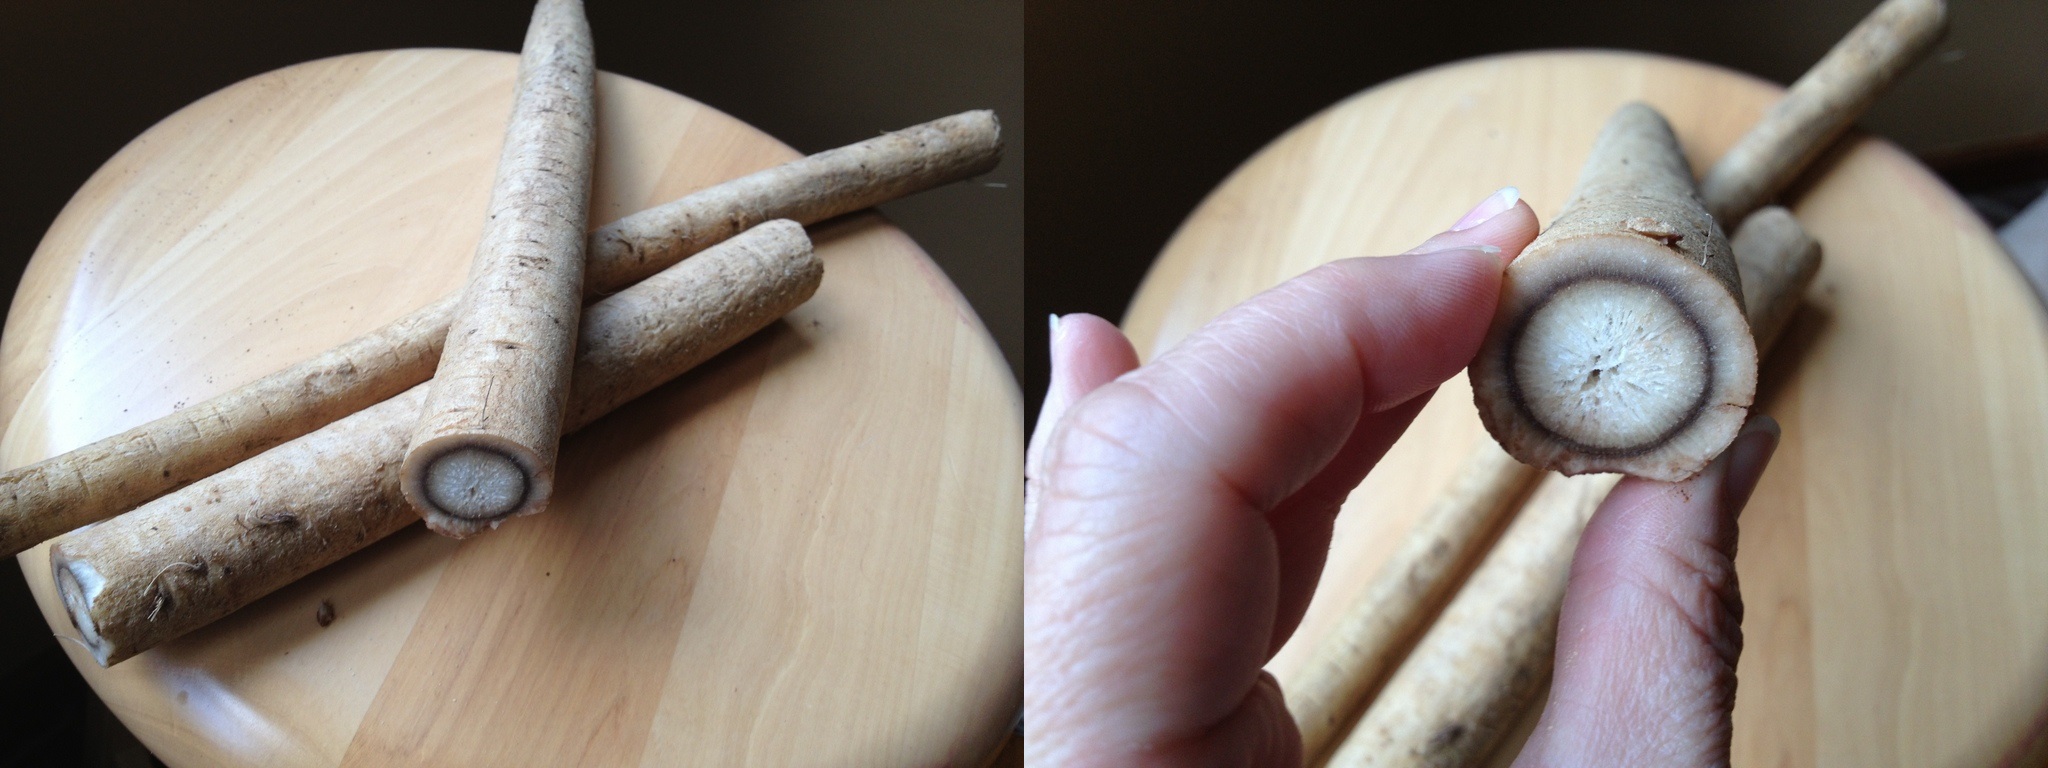
Of all types of cuisine, Japanese is the one that intimidates me the most. Making sushi at home is out of the question for me, but even other types of Japanese cooking give me pause.  In a recent trip to California, we met a wonderful couple who takes a different approach: they are both Americans, but mostly cook Japanese food at home and are really serious about it.  Their bookshelves are loaded with cookbooks devoted to Oriental (and vegetarian) cooking, their pantry stocked with the most exotic ingredients.  They mentioned a dish they love so much that it’s not uncommon to have it twice in the same week.   It uses a strange-looking root called “gobo“, also known as “burdock“.   They gave me the perfect spice mix to season this traditional Japanese dish (see my previous post) and wished me luck finding gobo in Manhattan, KS.   I was very optimistic, though. It turns out “The Little Apple” is home to one of the most amazing food stores I’ve ever been to, called quite simply “Asian Market“.    I could not wait to get there to search for the elusive root.  Not only they had a ton of it, but the owner said it’s always in stock.   Call me a happy camper. And call this dinner one of the healthiest meals I’ve ever put together.   And very delicious too!
served1

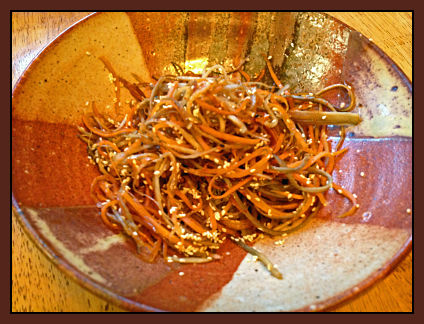
KINPIRA GOBO (Sautéed Burdock)
(adapted from Hiroko Urakami Japanese Family-Style Recipes)

1 medium gobo root
2 carrots
1 Tablespoon sesame oil
1/2 Tablespoon grape seed oil
2 Tablespoons mirin (or sake)
1 + 1/2 Tablespoons sugar
2 Tablespoons soy sauce
1 + 1/2 Tablespoons sesame seeds, toasted
Nanami togarashi to taste

Set up a large bowl with cold water. Peel the carrots and cut in julienne strips. Peel the outer dark skin of the gobo root, and working quickly, cut it in julienne strips.  Soak the gobo and the carrots in water for 10 to 20 minutes.  Drain well, and dry the strips using a kitchen towel.

Heat the sesame and grape seed oil on a large skillet.  Add the carrots and gobo root, and sautée them together for about 4 minutes, until they are tender.  Add the mirin, sugar, and soy sauce, and cook over medium heat until all the liquid has been absorbed.  Transfer to a serving bowl, add the sesame seeds and the nanami togarashi right before serving.

ENJOY!

to print the recipe, click here

composite

I have a bit of  trivia about gobo for you:  in the 40’s, a Swiss inventor called George de Mestral was walking his dog through some woods and noticed that the seeds of a particular plant glued to everything, from his clothes to his dog’s fur. He collected some seeds, and inspected them under the microscope. He was amazed by its hooks and loops, and thought that it could be the basis of a new material. From that observation, Velcro was born.  The plant was burdock. Apart from its technological impact, gobo is considered by the Japanese as one of the healthiest types of food, that they claim to “purify the blood”.   It contains a lot of minerals (including iron),  it is high in fiber, low in calories, and has a very unique taste.  The soaking in water is necessary to get rid of tannins that can give it a harsh taste.
soakingI love to find a new ingredient to play with!   Our kinpira gobo was served as a side dish for boneless chicken thighs on the grill (marinated with yogurt and a few spices), snow peas, and brown rice.  It was the type of meal that makes you feel healthier with each bite.  I hope you can find some gobo and give this recipe a try, it’s a keeper…  😉

ONE YEAR AGO: Walnut Sourdough

TWO YEARS AGO: Thai Chicken Curry

THREE YEARS AGO: Zen and the art of risotto