
After blogging for more than seven years, every once in a while I wonder if I could be repeating myself? Have I mentioned this before? Have I said this in the past? Of course, a search in my own site could be helpful, but I prefer to go with the flow, if a thought crosses my mind and seems relevant enough, it becomes printed material. So, if you’ve read before that I was probably the last person to join the Chia Seed Cheerleading Department, here I go with the encore. Truth is, the more I have it, the more I like it. They are gelatinous in nature, a bit slippery even, so if you have issues with some types of texture, they could be challenging for your taste bus. This texture thing bothered me at first, then a little less, and now I find chia seeds playful, fun, happy little beings. In this picture, you can see three variations of chia-yogurt concoctions that I like to have after working out.

CHIA-YOGURT BOWL OF BLISS
Basic mixture:
1/2 cup yogurt (full-fat)
1 heaping tablespoon chia seeds
1/8 cup of coconut milk, almond milk, or cashew milk
Optional additions:
Sweetener (agave, honey, brown sugar, date syrup)
Matcha powder
Mix it all together and leave in the fridge at least one hour, but overnight is best.
When ready to enjoy it, add the toppings of your choice. My favorites are toasted shredded coconut, toasted slivered almonds with a bit of cinnamon, toasted walnuts, blueberries, raspberries, diced apricots. I also love a little sprinkle of cocoa nibs. Every time I make it a little different, every time I tell myself I should make this exact version again “because this one is a winner.” What can I say? I am easily amused.
to print the basic “recipe” click here
Something about this mixture of yogurt with chia seeds is quite satisfying after working out. During the week, I exercise before lunch or dinner, but on Saturdays and Sundays I really look forward to these little chia bowls. I make sure to get my basic mixture ready in the fridge the night before. I once tried using store-bought blended yogurt with fruit, but decided it was too sweet for my taste. Full disclosure: very soon I will experiment with a different type of yogurt, a strike of genius from Sue. Take a look at her post, and be ready to be amazed! I can hardly wait to give it a try, but if you do it let me know in the comments (and of course, let Sue know too!).
😉

ONE YEAR AGO: Tomato Tatin
TWO YEARS AGO: Best Thing I Ever Made: Chocolate Chip Cookies
THREE YEARS AGO: Farofa Brasileira
FOUR YEARS AGO: Thai-Inspired Pork Tenderloin
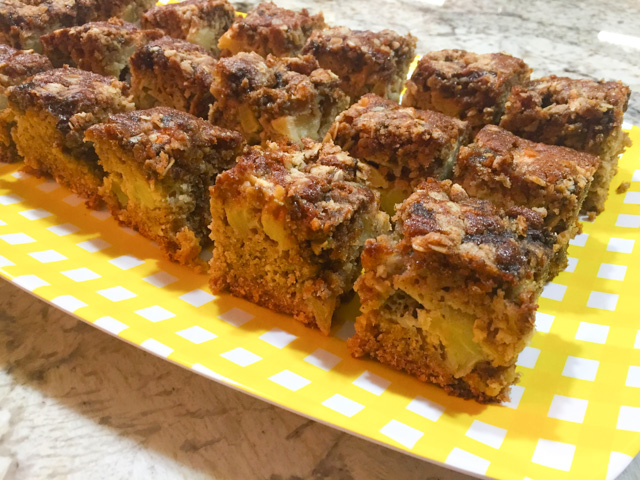
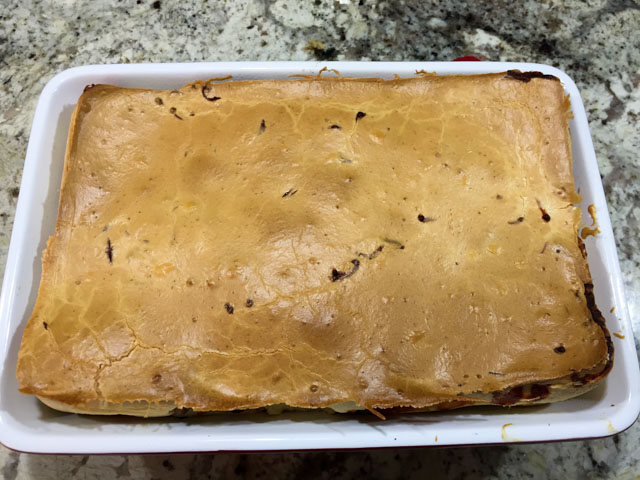
FIVE YEARS AGO: A yummy Brazilian cake: Bolo de Fuba’
SIX YEARS AGO: Summer’s Tomatoes
SEVEN YEARS AGO: Leaving on a jet plane…


