In My Kitchen posts are hosted by Sherry, from Sherry’s Pickings. Please visit her site to see what everybody else is sharing this month. I join four times each year, on the first day of January, April, July and October. If you are a food blogger, consider taking part of this fun event. It is chance to share those little things you bought or received as gifts and that make your life in the kitchen easier.
Starting with gifts, I have quite a few to share…
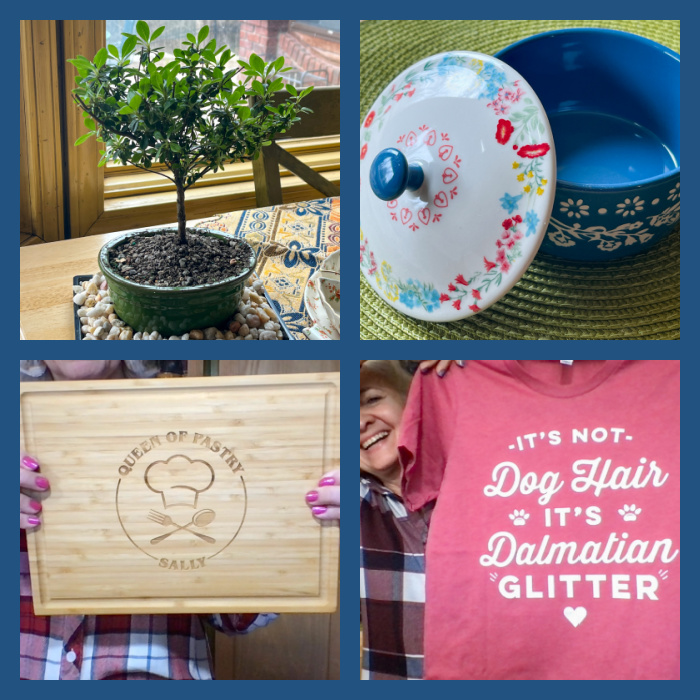
I won’t name names, because I understand some people prefer to remain anonymous, but I got a beautiful Bonsai, a gorgeous baking dish with a colorful lid I love, a wooden board that gave me a huge smile, and a t-shirt that I shall proudly wear while walking the pups around the neighborhood…
But there’s more…

Two beautiful flower arrangements that arrived right on my Birthday and brightened up my day! Finally, this AMAZING chocolate-covered popcorn, which I urge you to try if you have a chance to buy or order some. Just the right amount of chocolate, not excessive, perfect against the salty popcorn. Deliciously addictive!
And, finally…
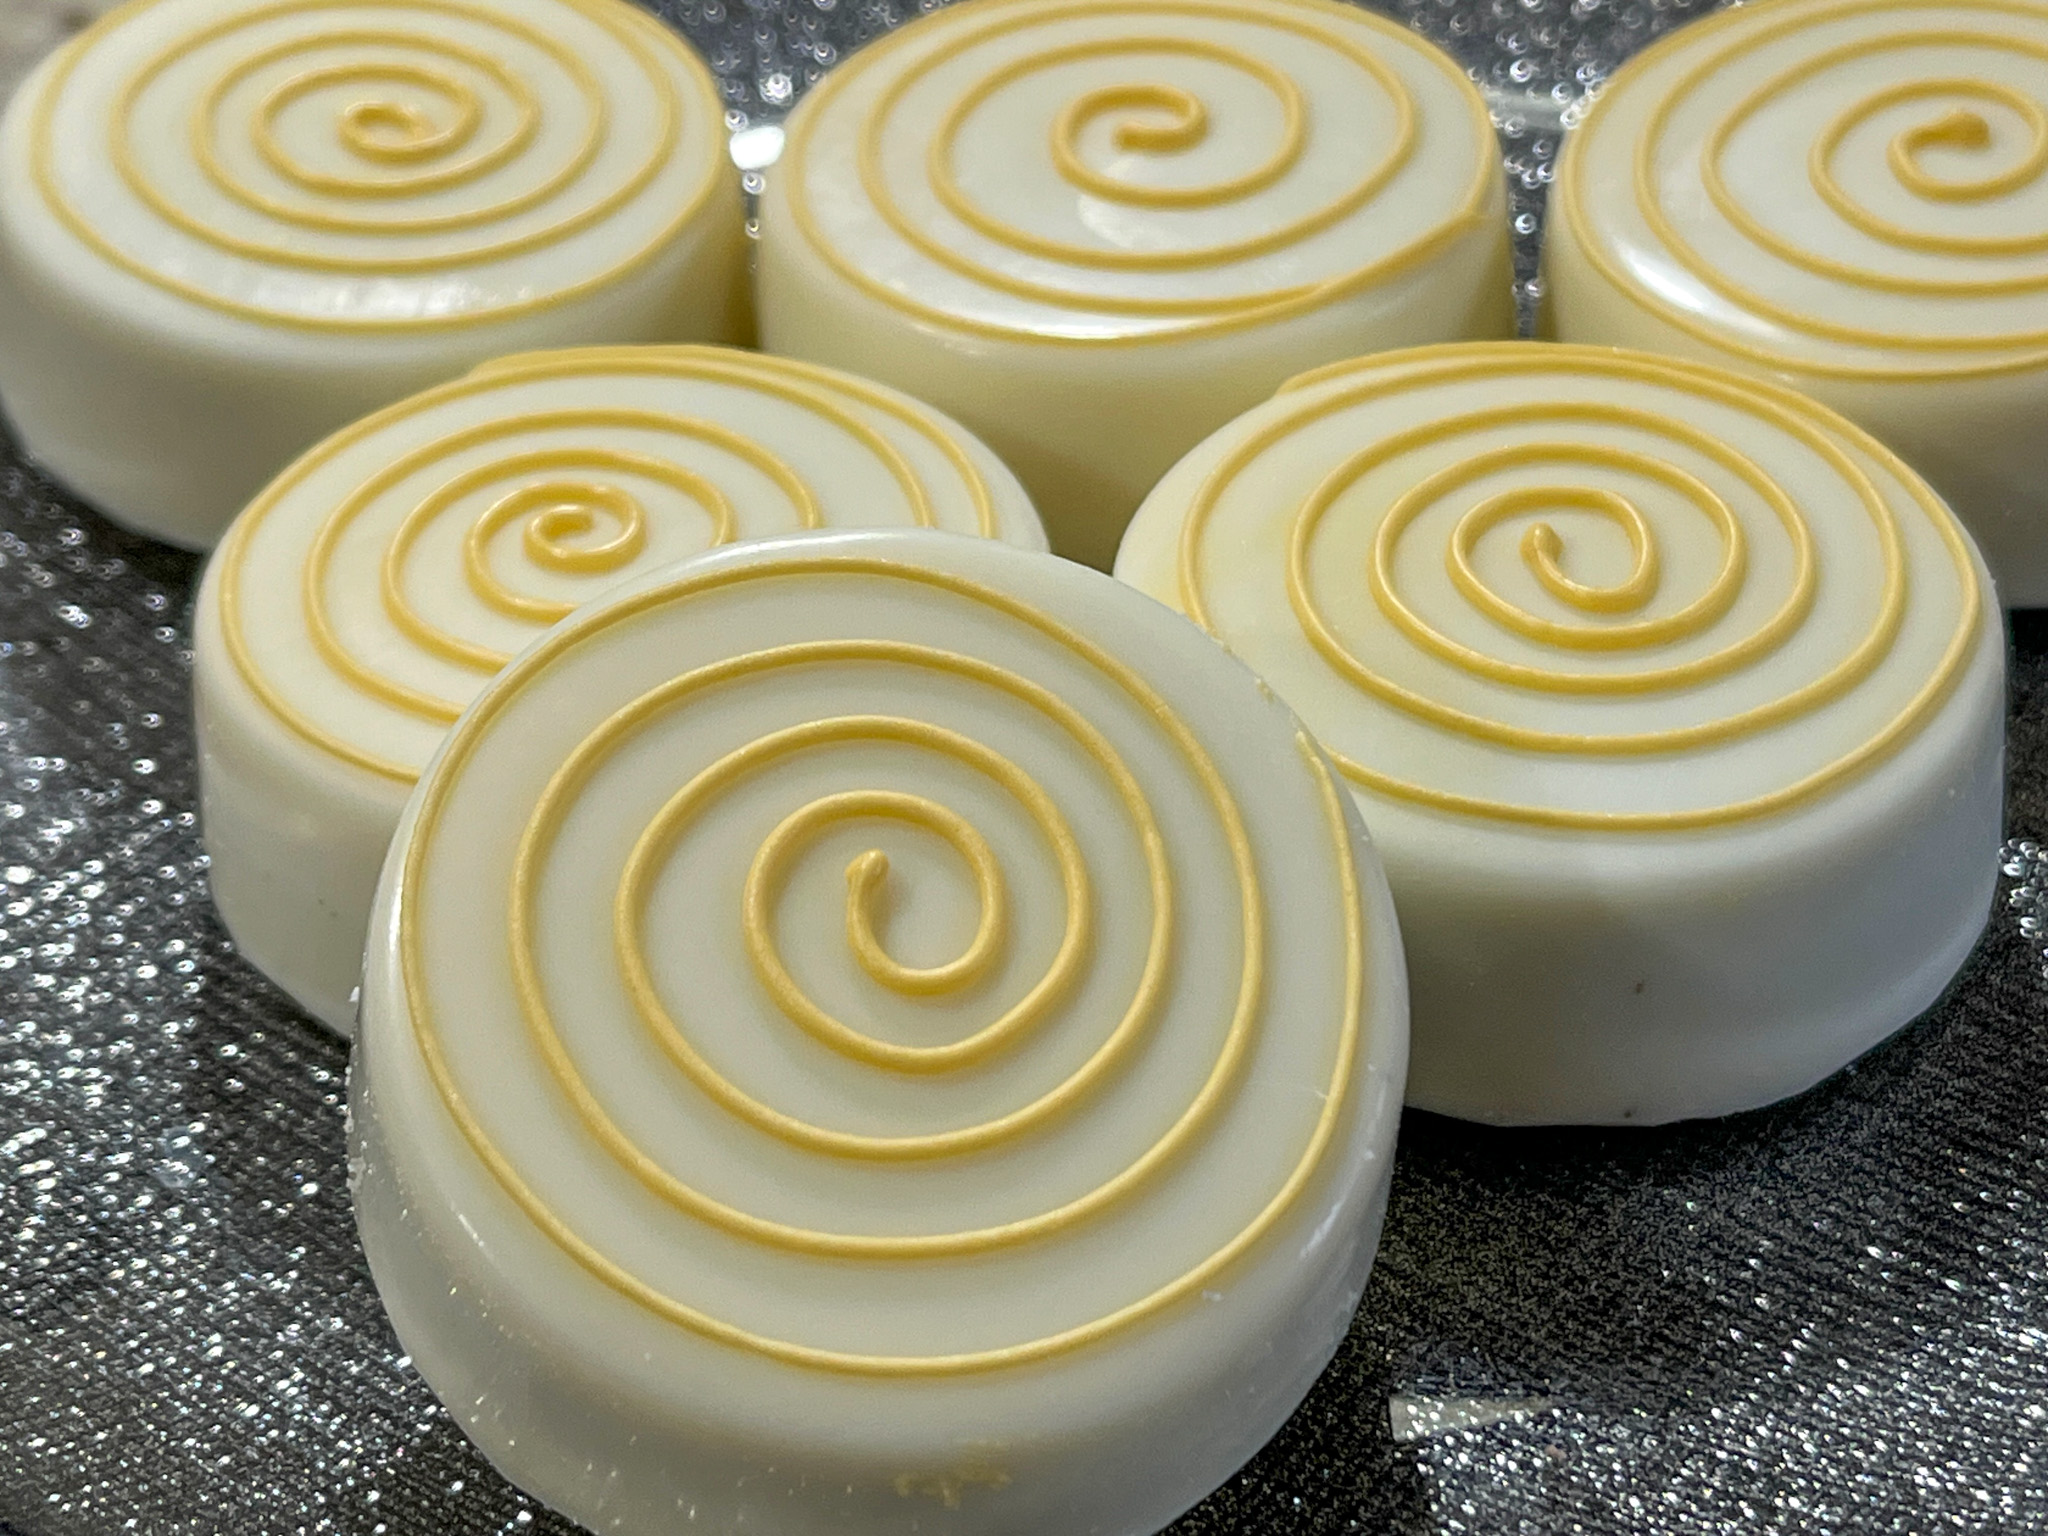
From my beloved husband, I got a super cool little gadget, an electric turntable which I immediately put to use on these Chocolate-Covered Oreos
Here is a short video of the gadget in action...
In our kitchen…
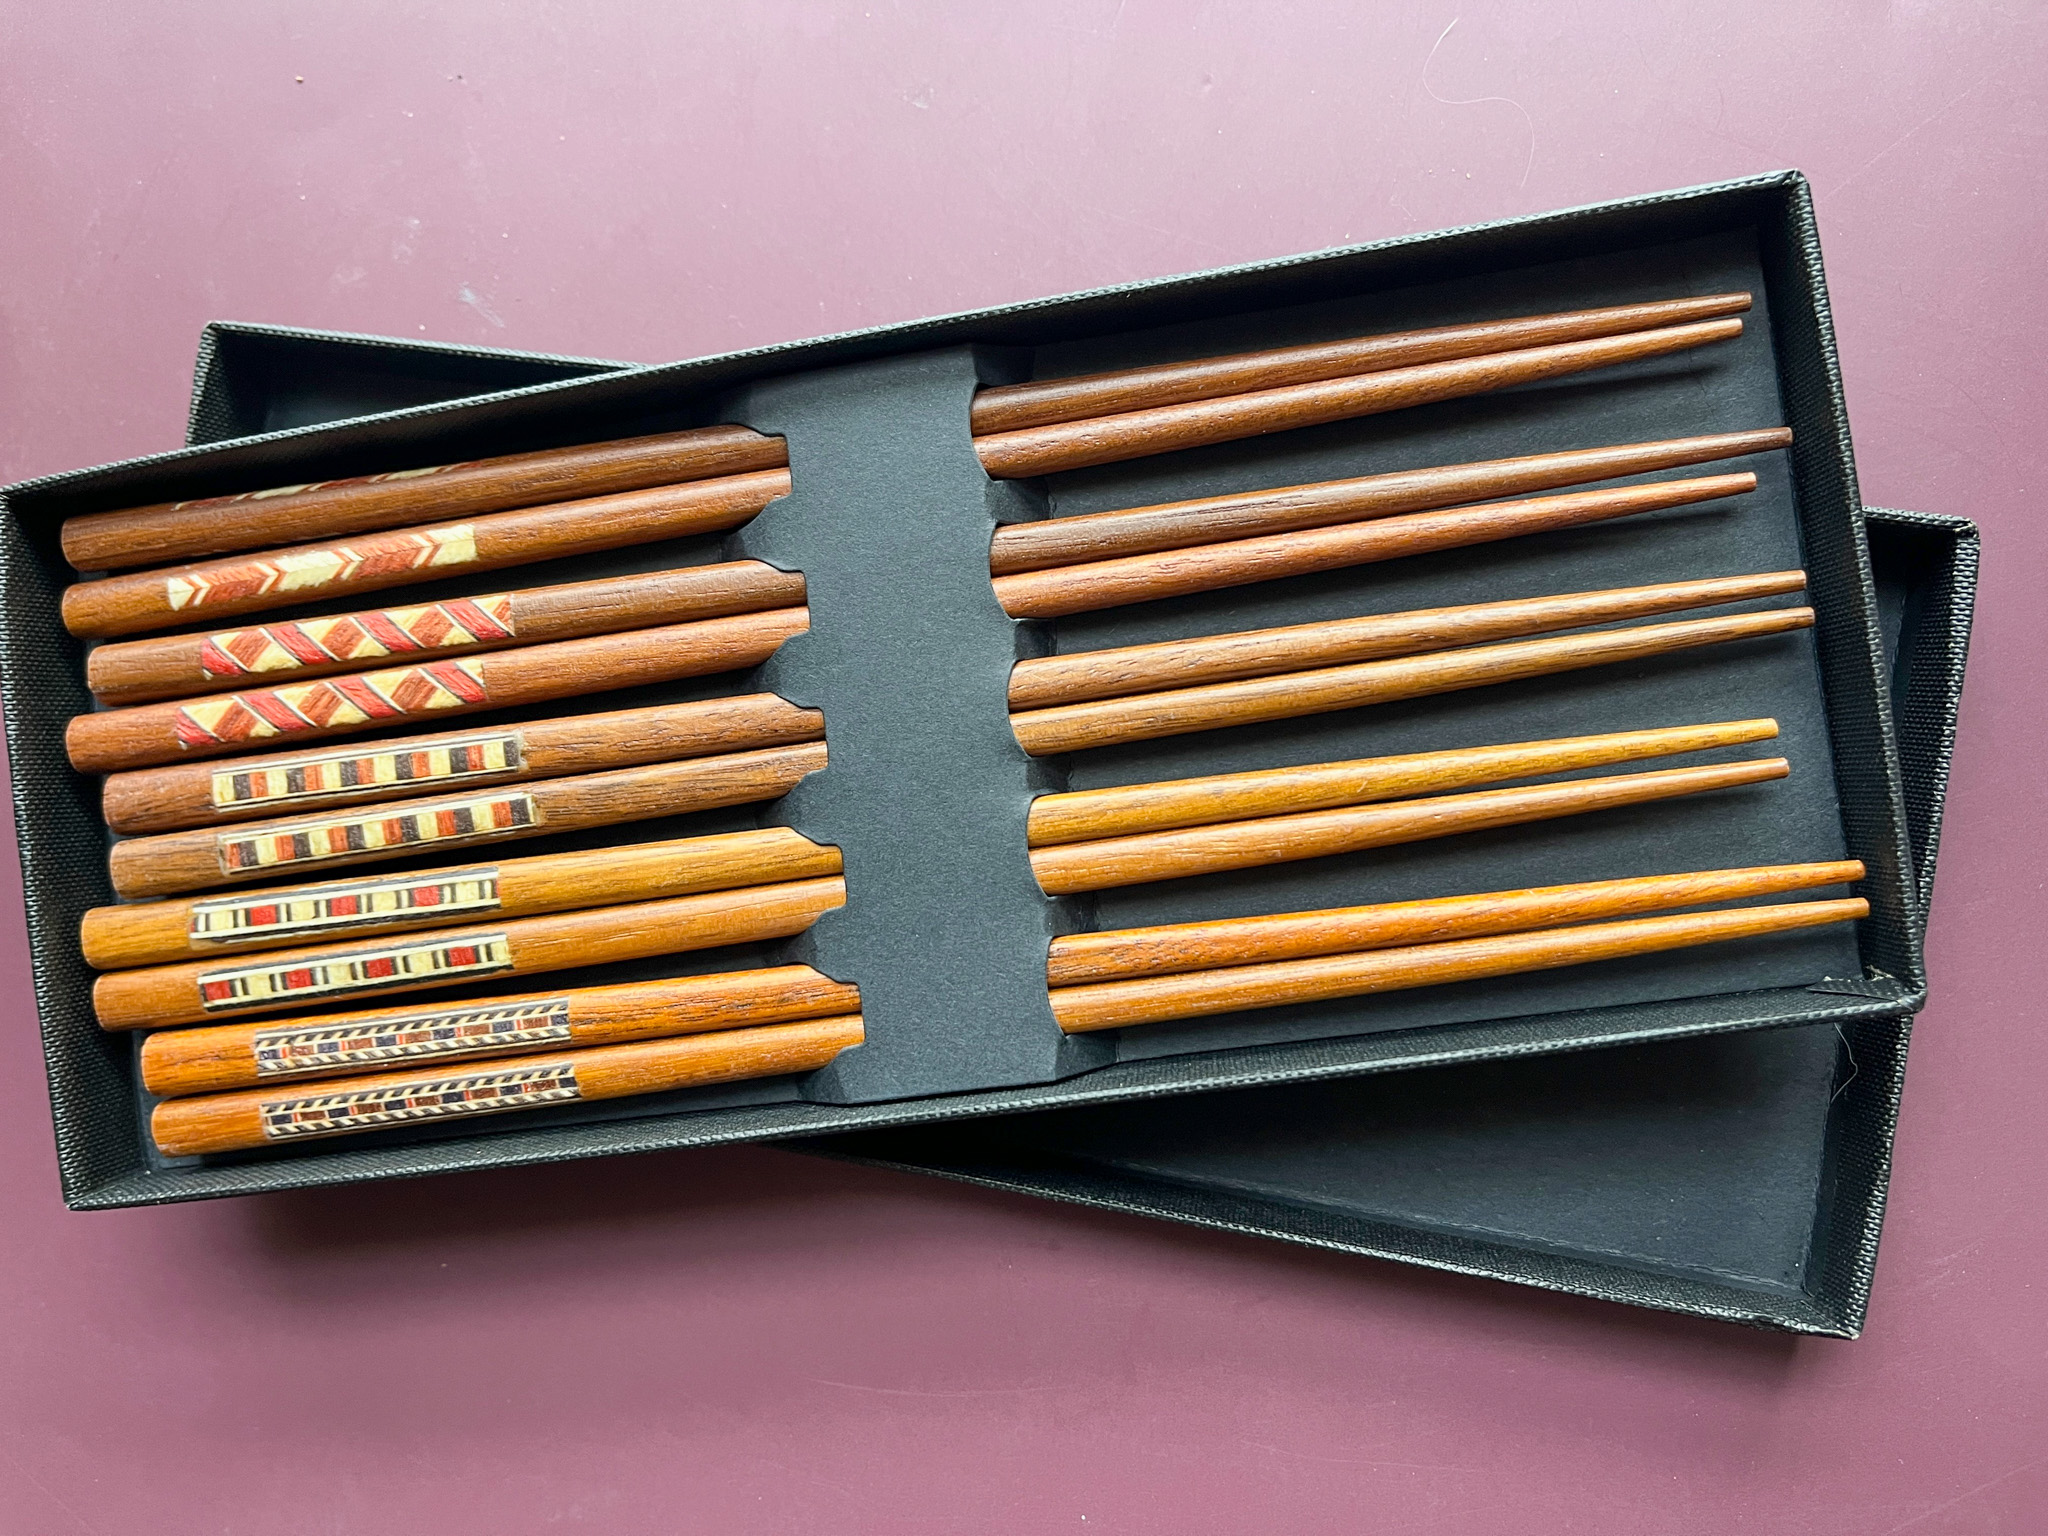
This set of chopsticks are very beautiful, we eat sushi on a regular basis at home, so it was nice to have them to spice up things. Available here.
In our kitchen…
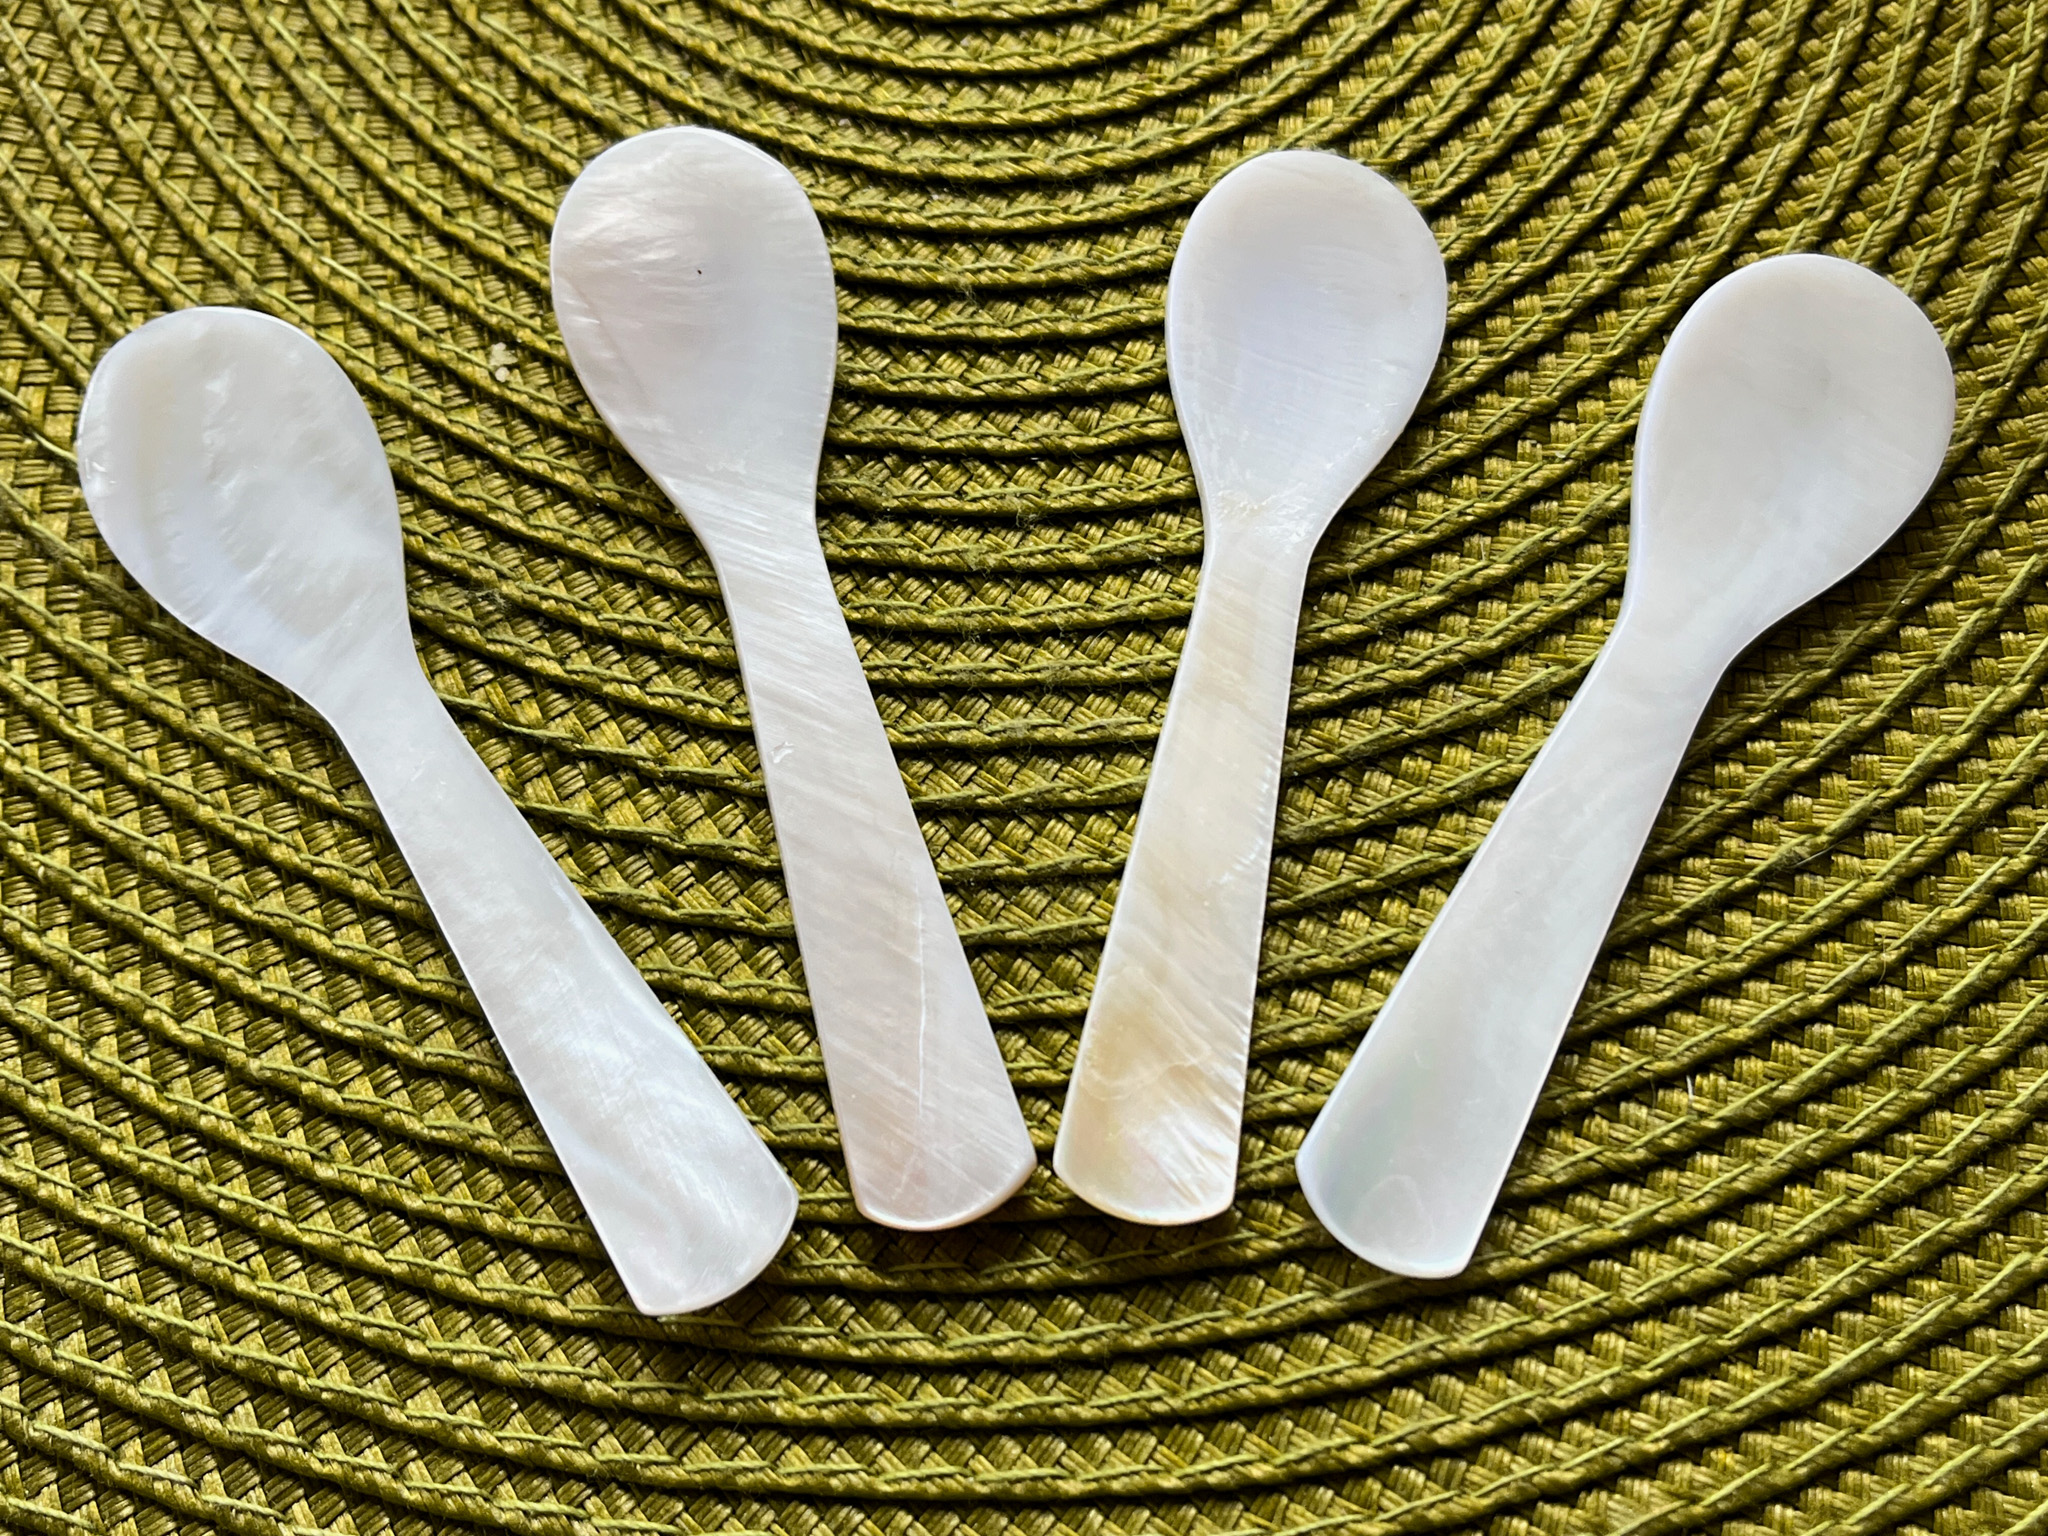
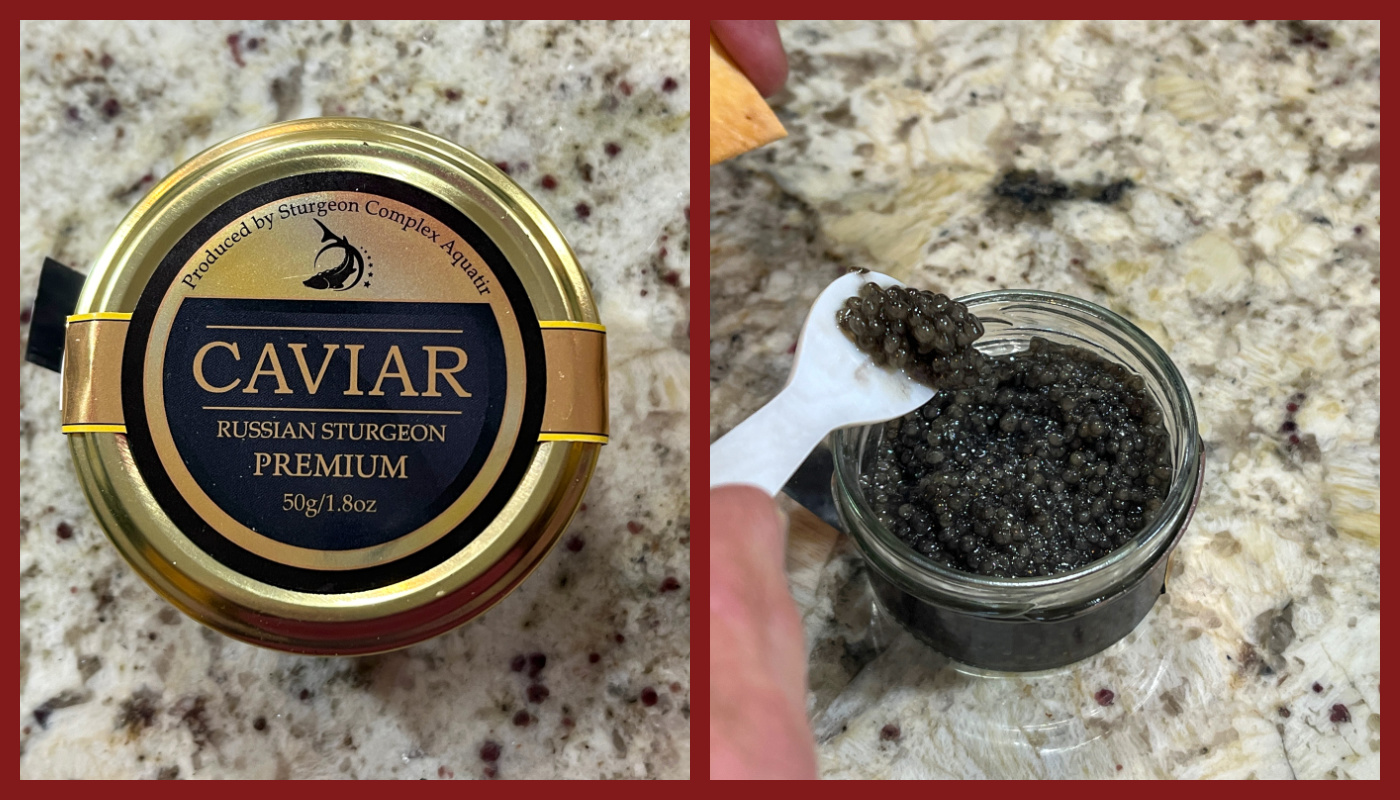
A set of alabaster spoons, that are perfect to enjoy caviar “comme il faut”. They came with the order Phil placed with the company below.
In our kitchen…
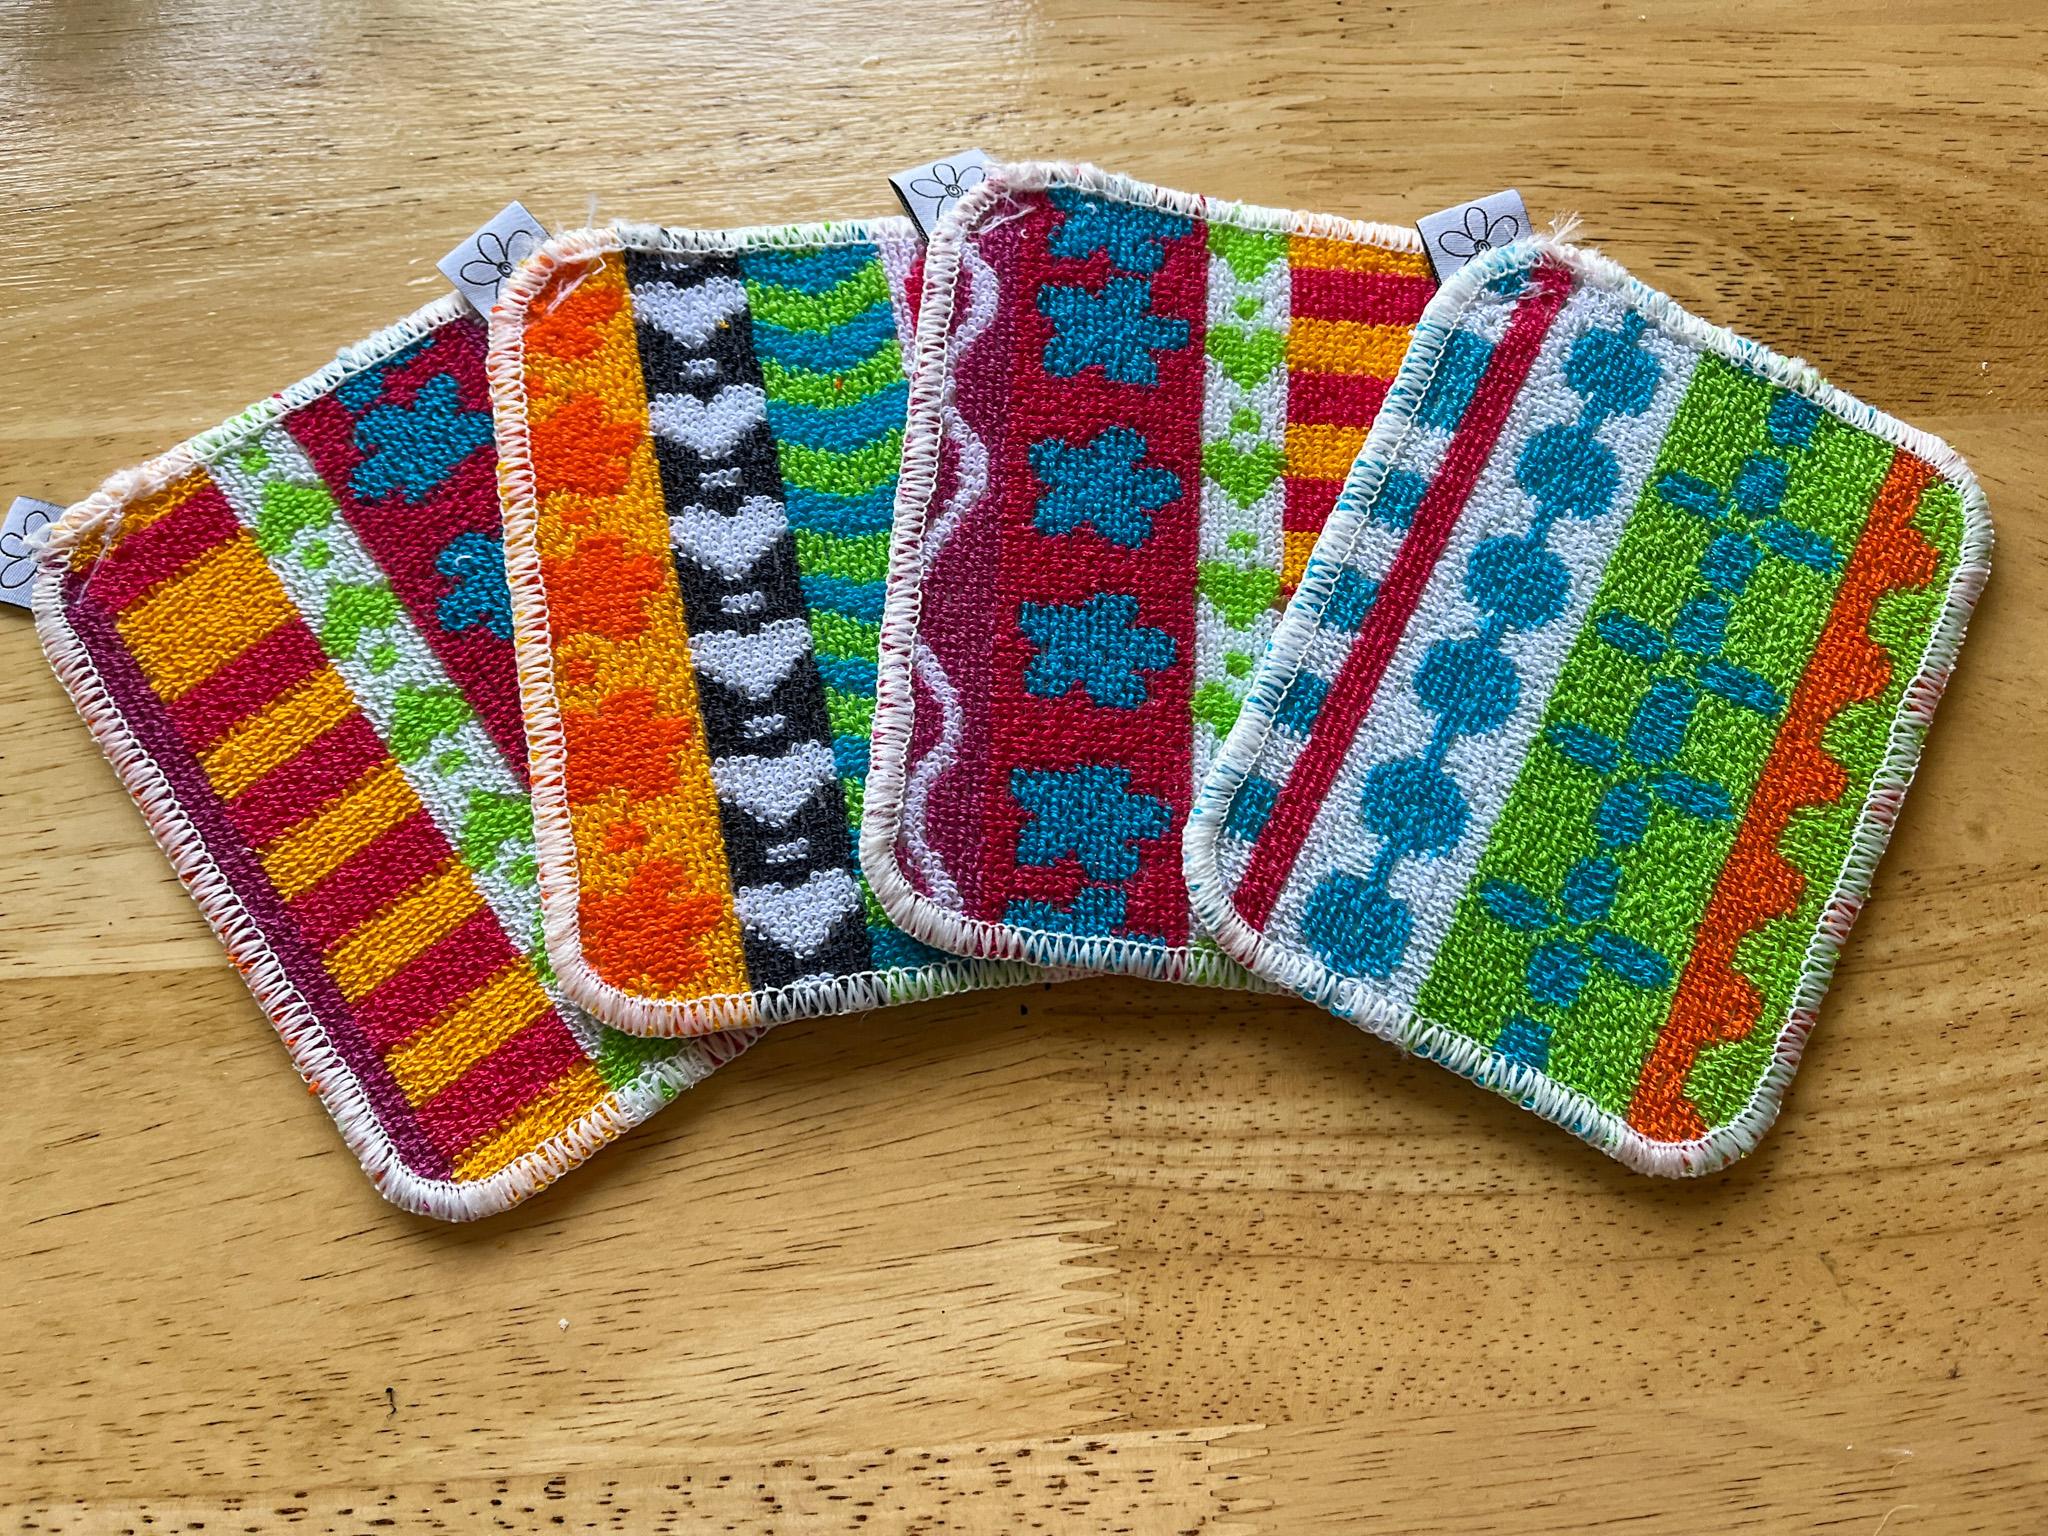
A set of colorful kitchen scrub thingies that are gorgeous and work super well on all surfaces. I love them to clean the countertop by the sink. Read the reviews on amazon and you might do what I did: get a set!
In our kitchen…
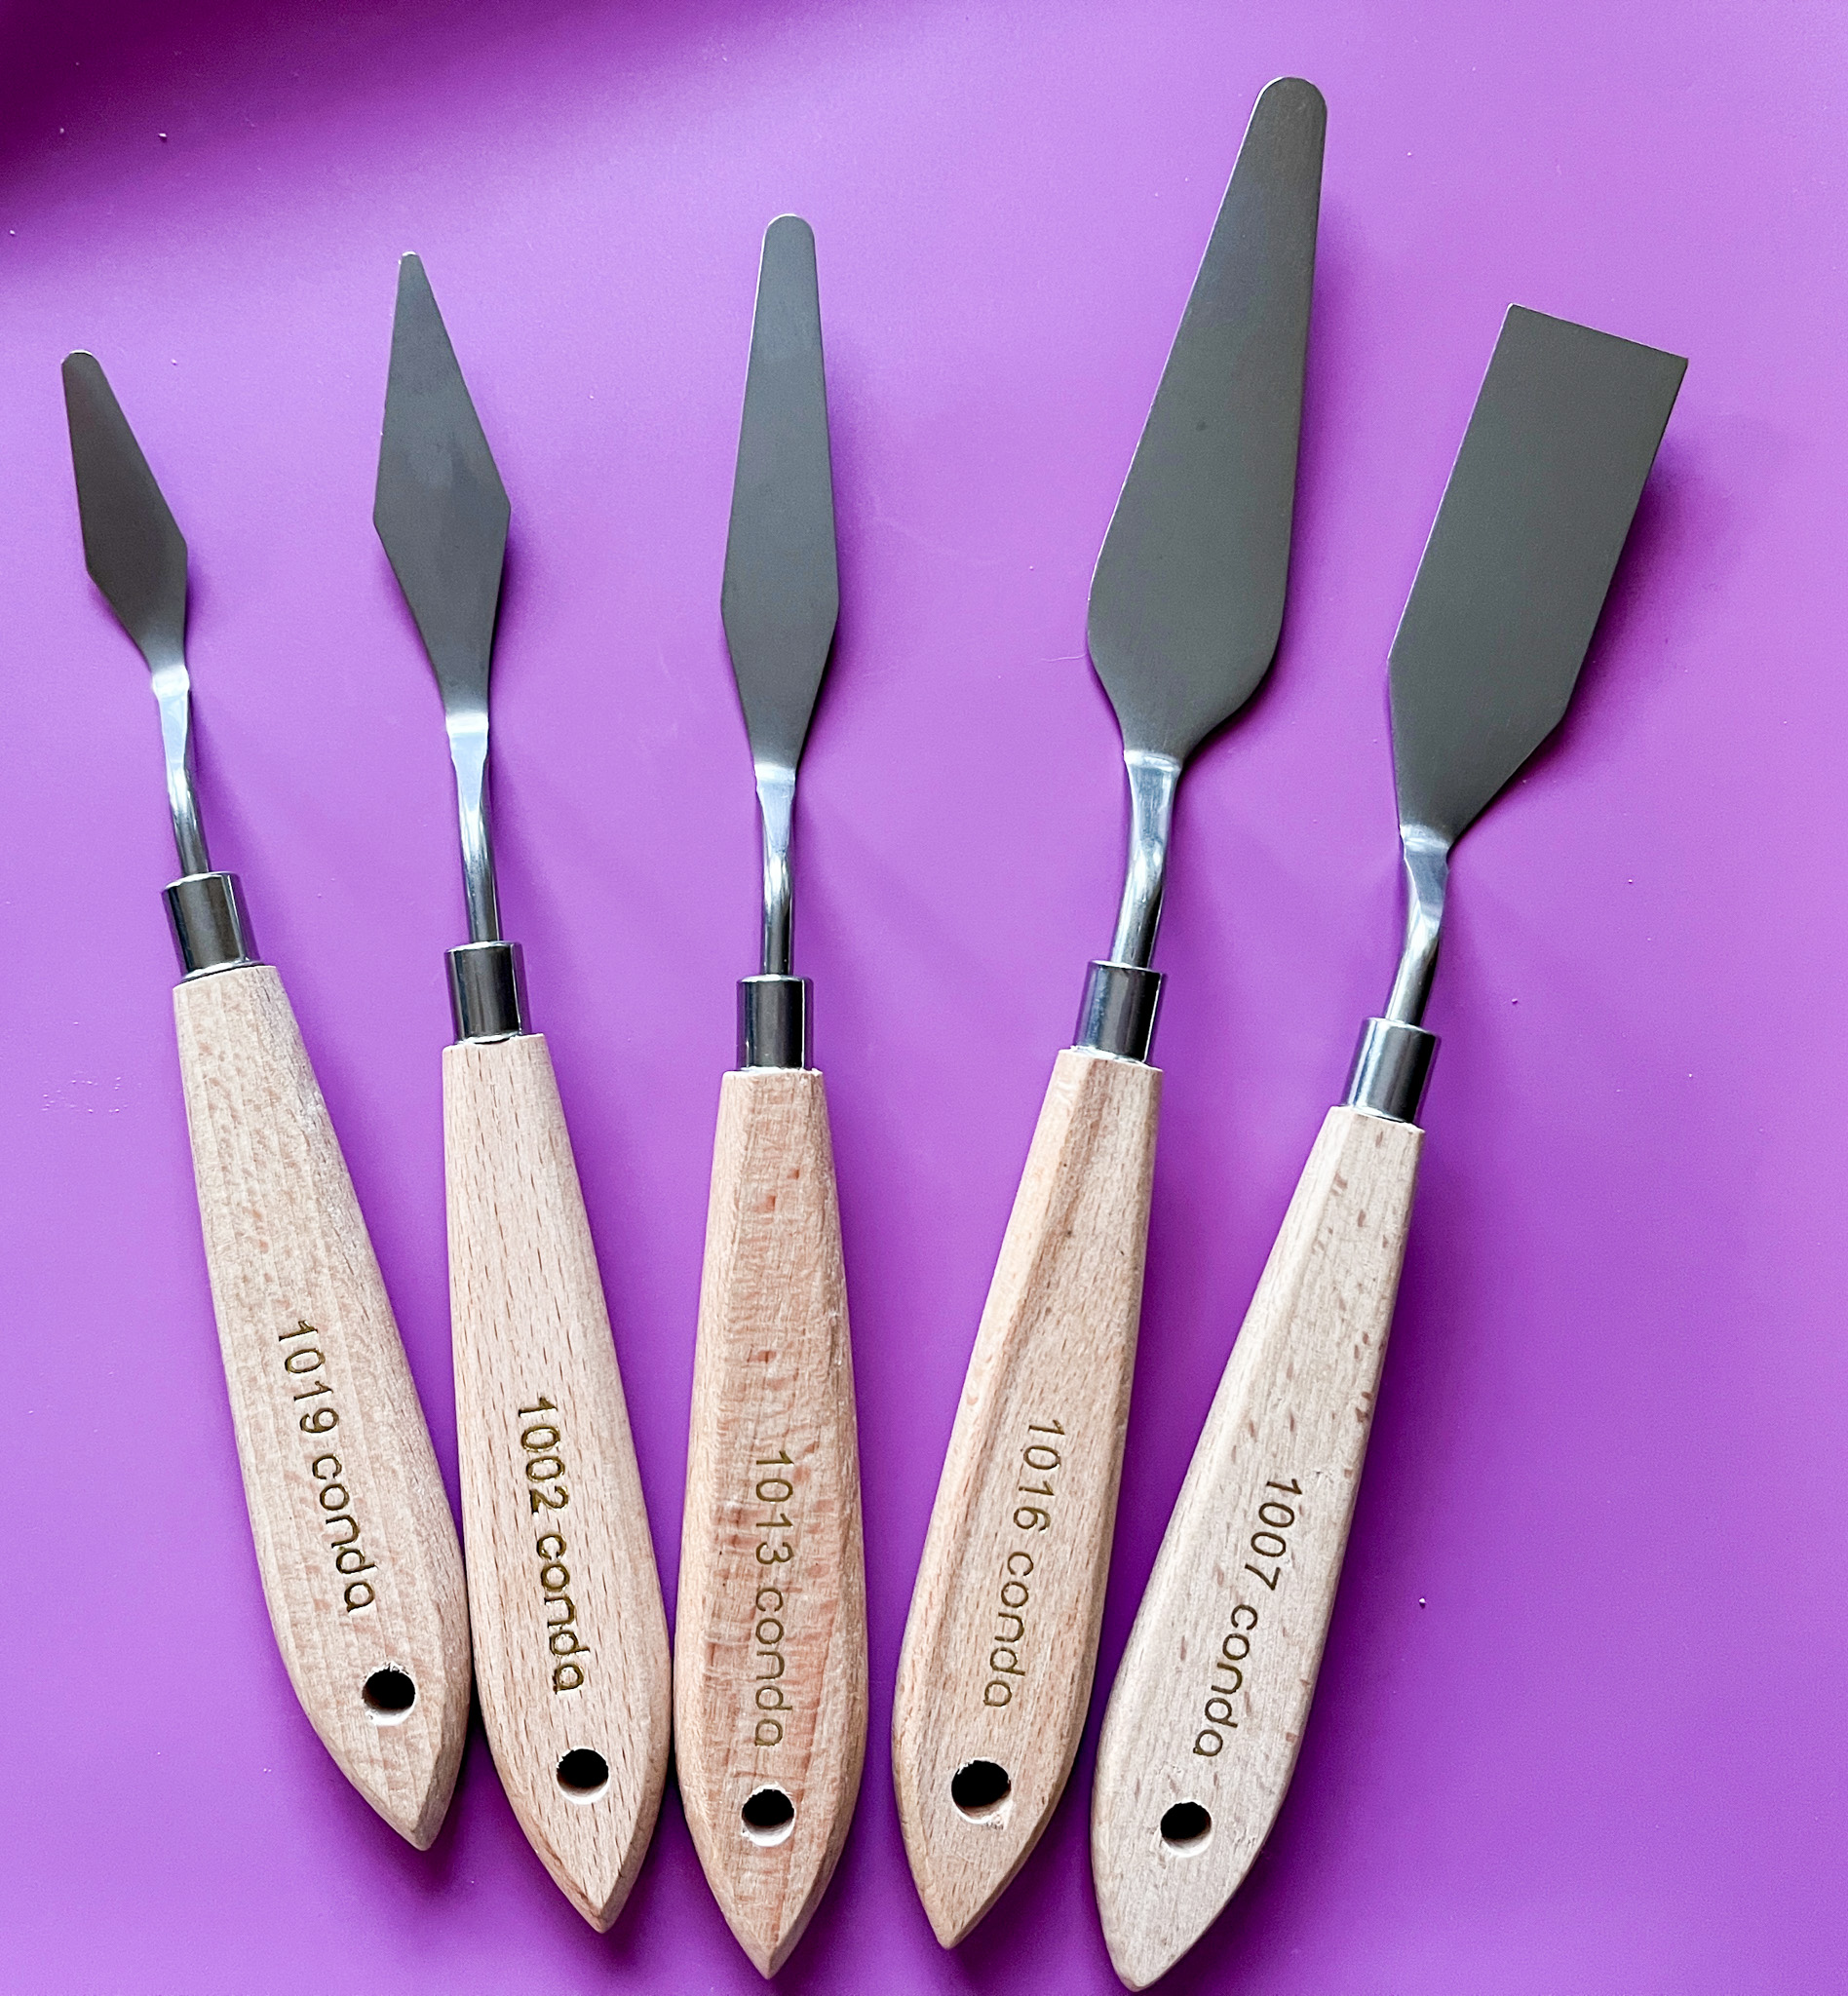
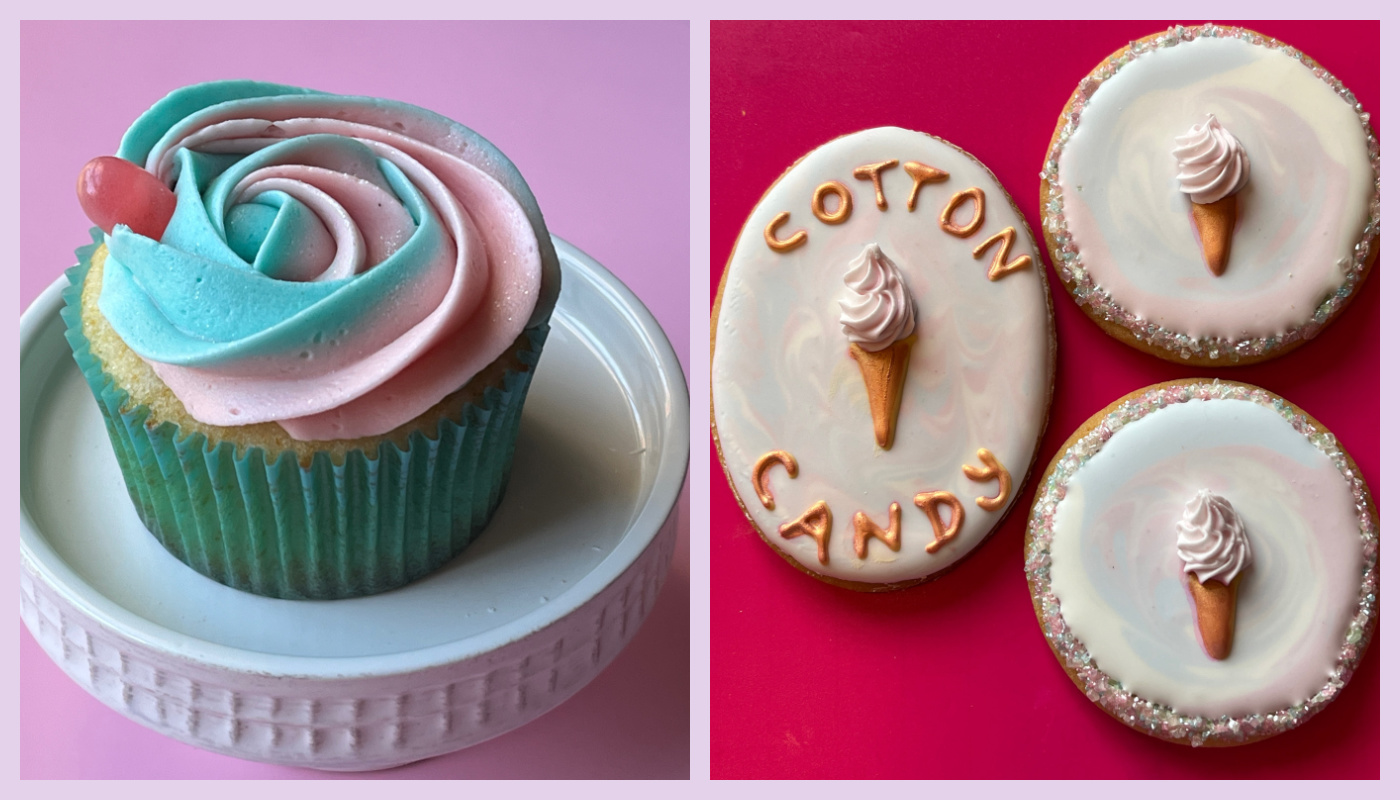
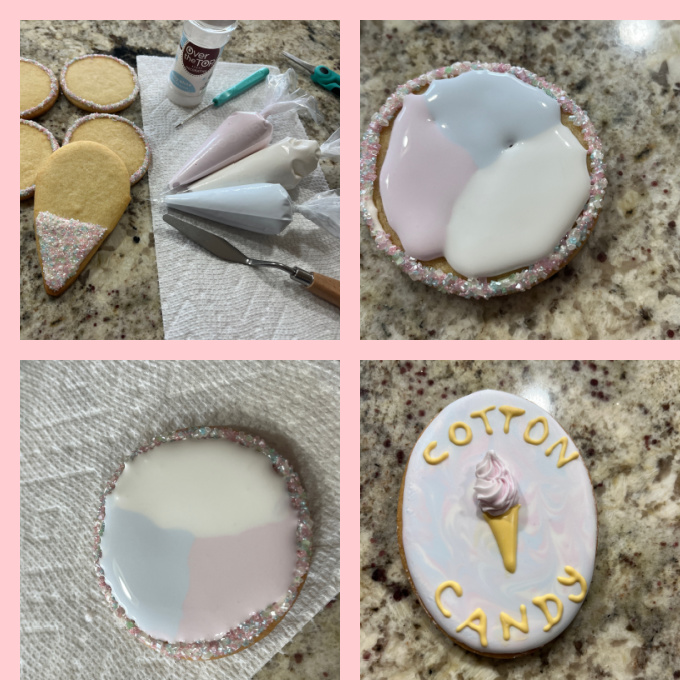
This set of tools is designed to work with clay, but they work wonders on Royal icing and I suppose also on buttercream, although I have not yet tried to sculpt buttercream, so I don’t risk what is left of my sanity. I got them at Jo-Ann a while ago but I am sure they are available at The Evil Empire.
In our kitchen…
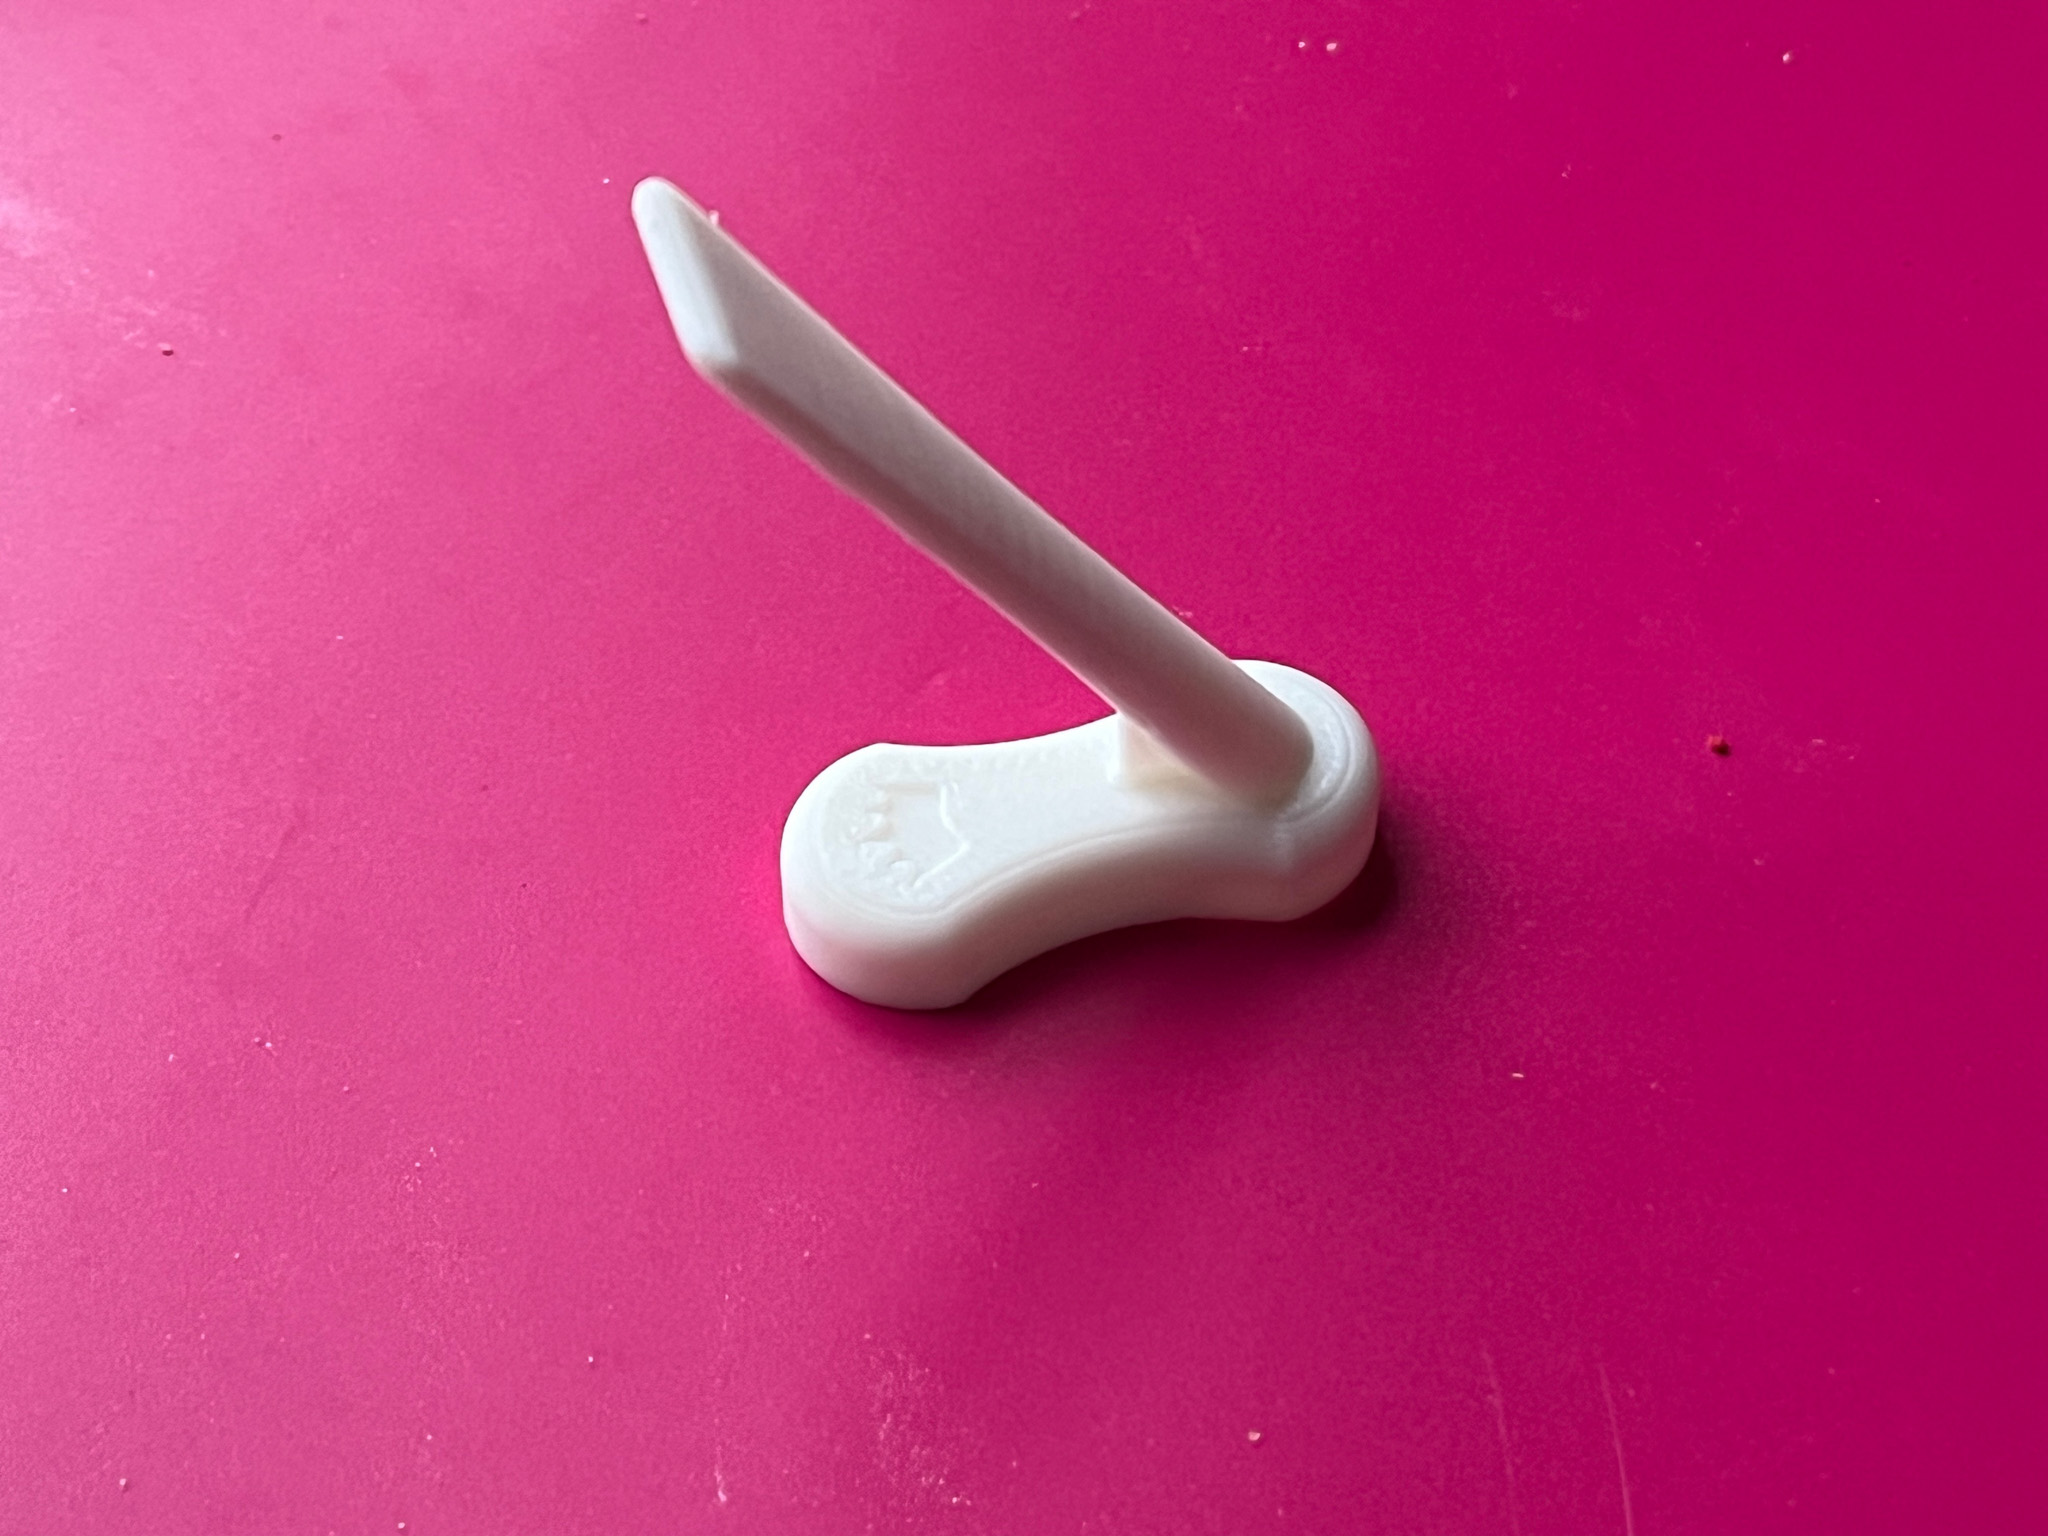
Available at The Cookie Countess, these little plastic things keep your cookies upright for taking cool pictures and showing them in a blog that does not get a lot of traffic, but I keep going because I am stubborn (wink, wink).

In our kitchen…
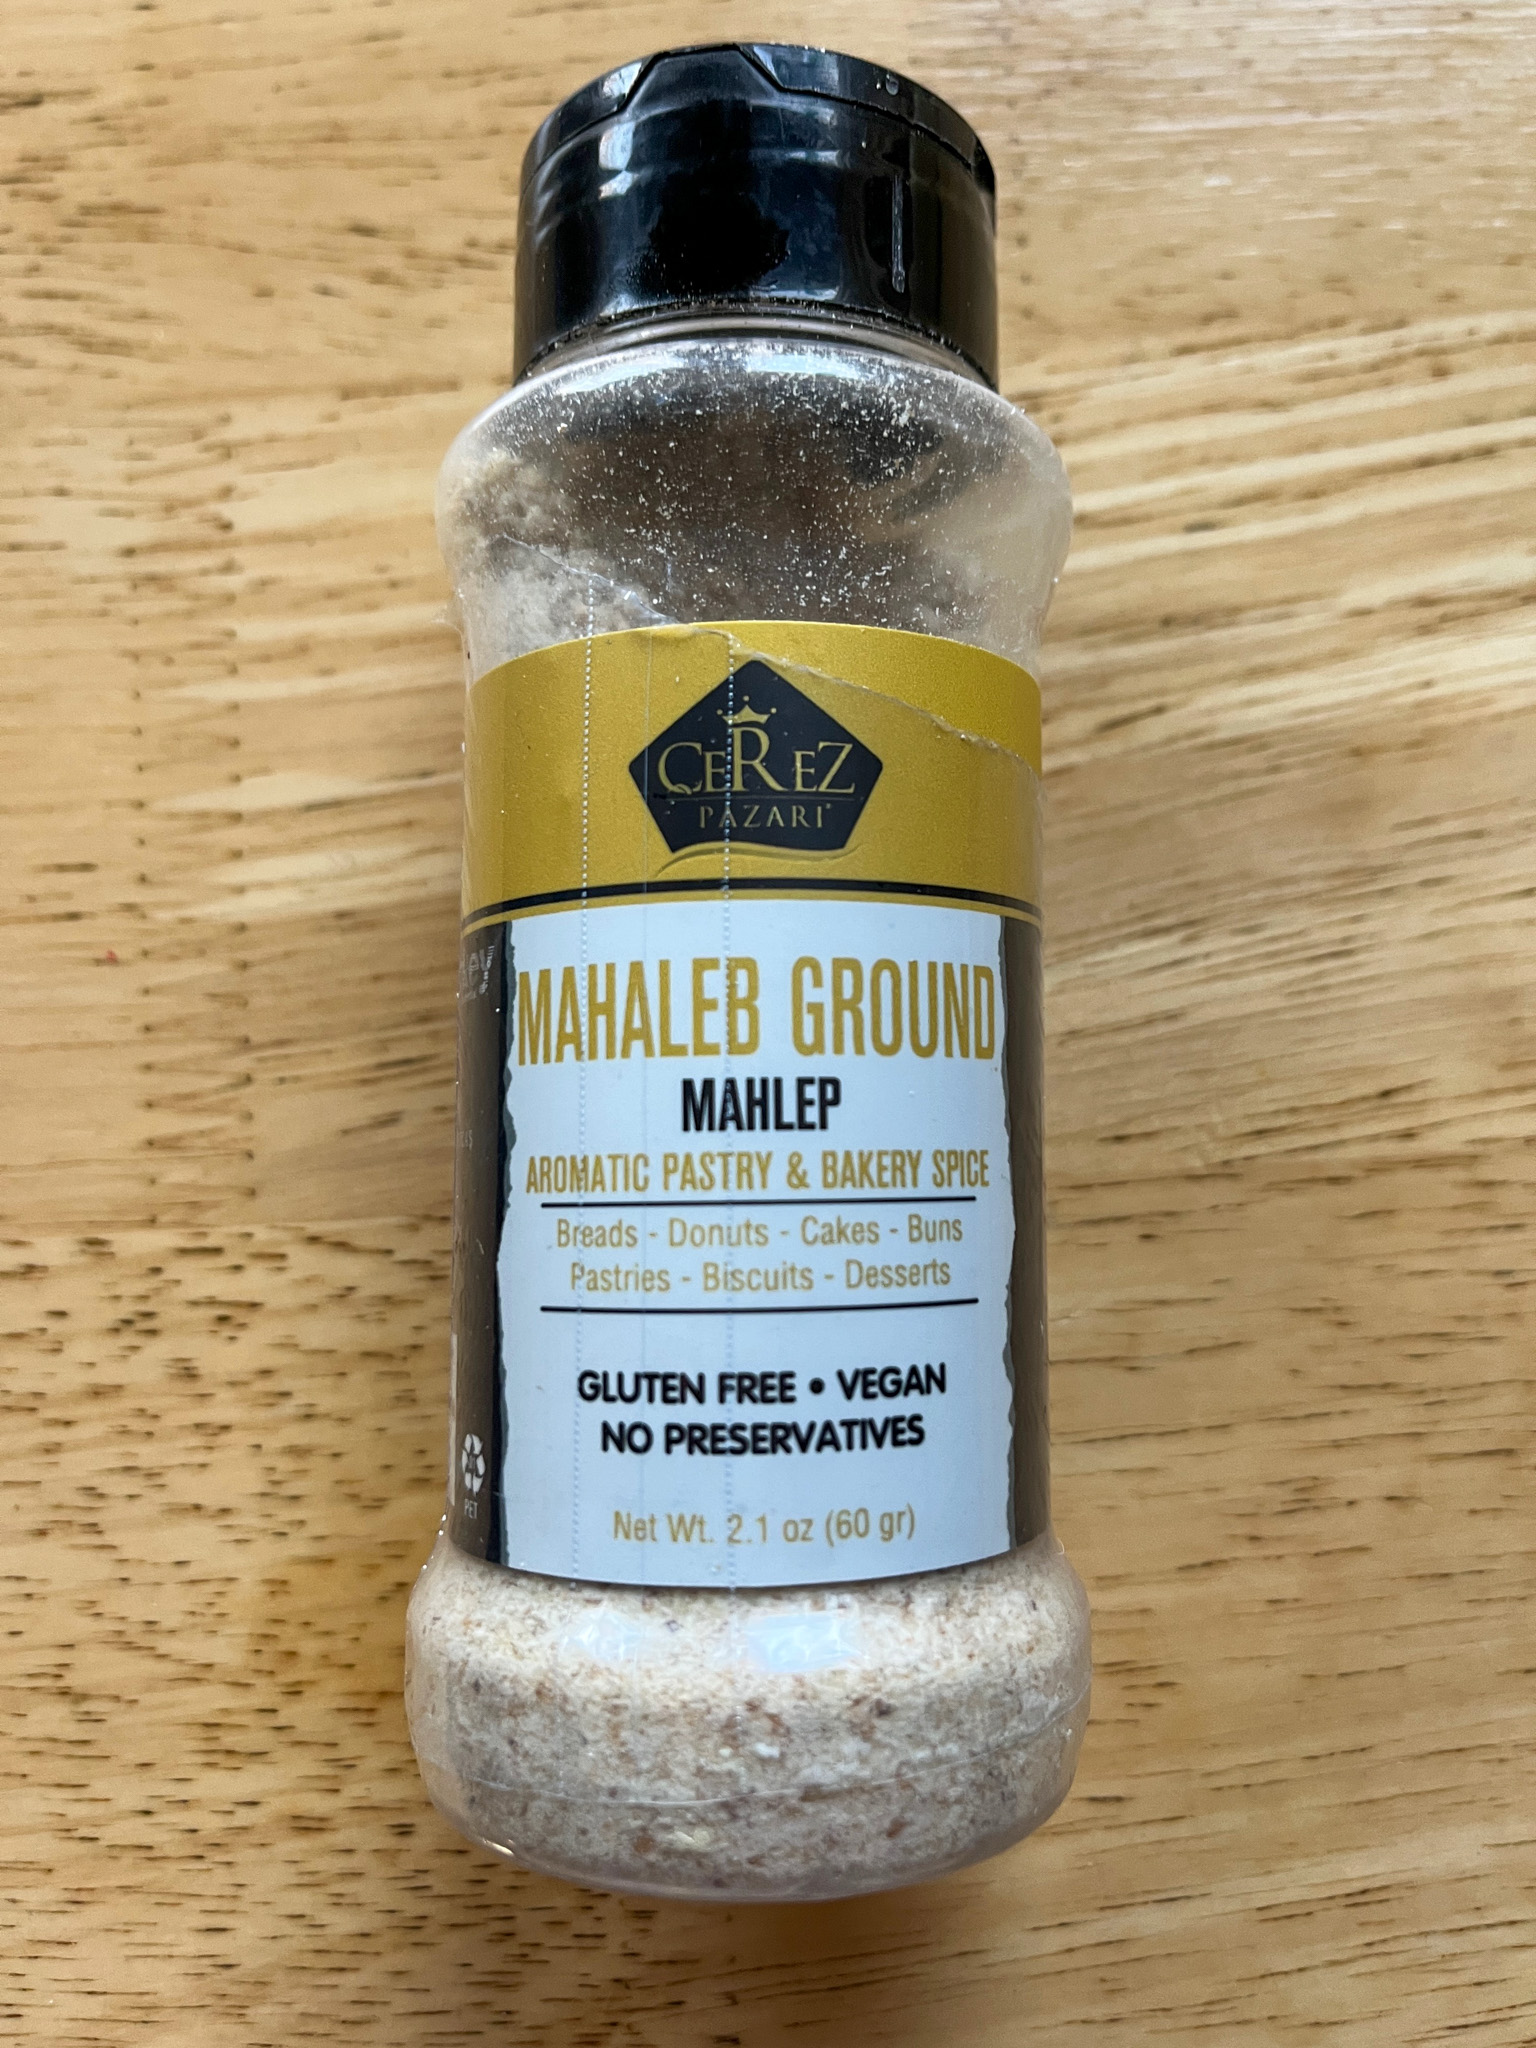
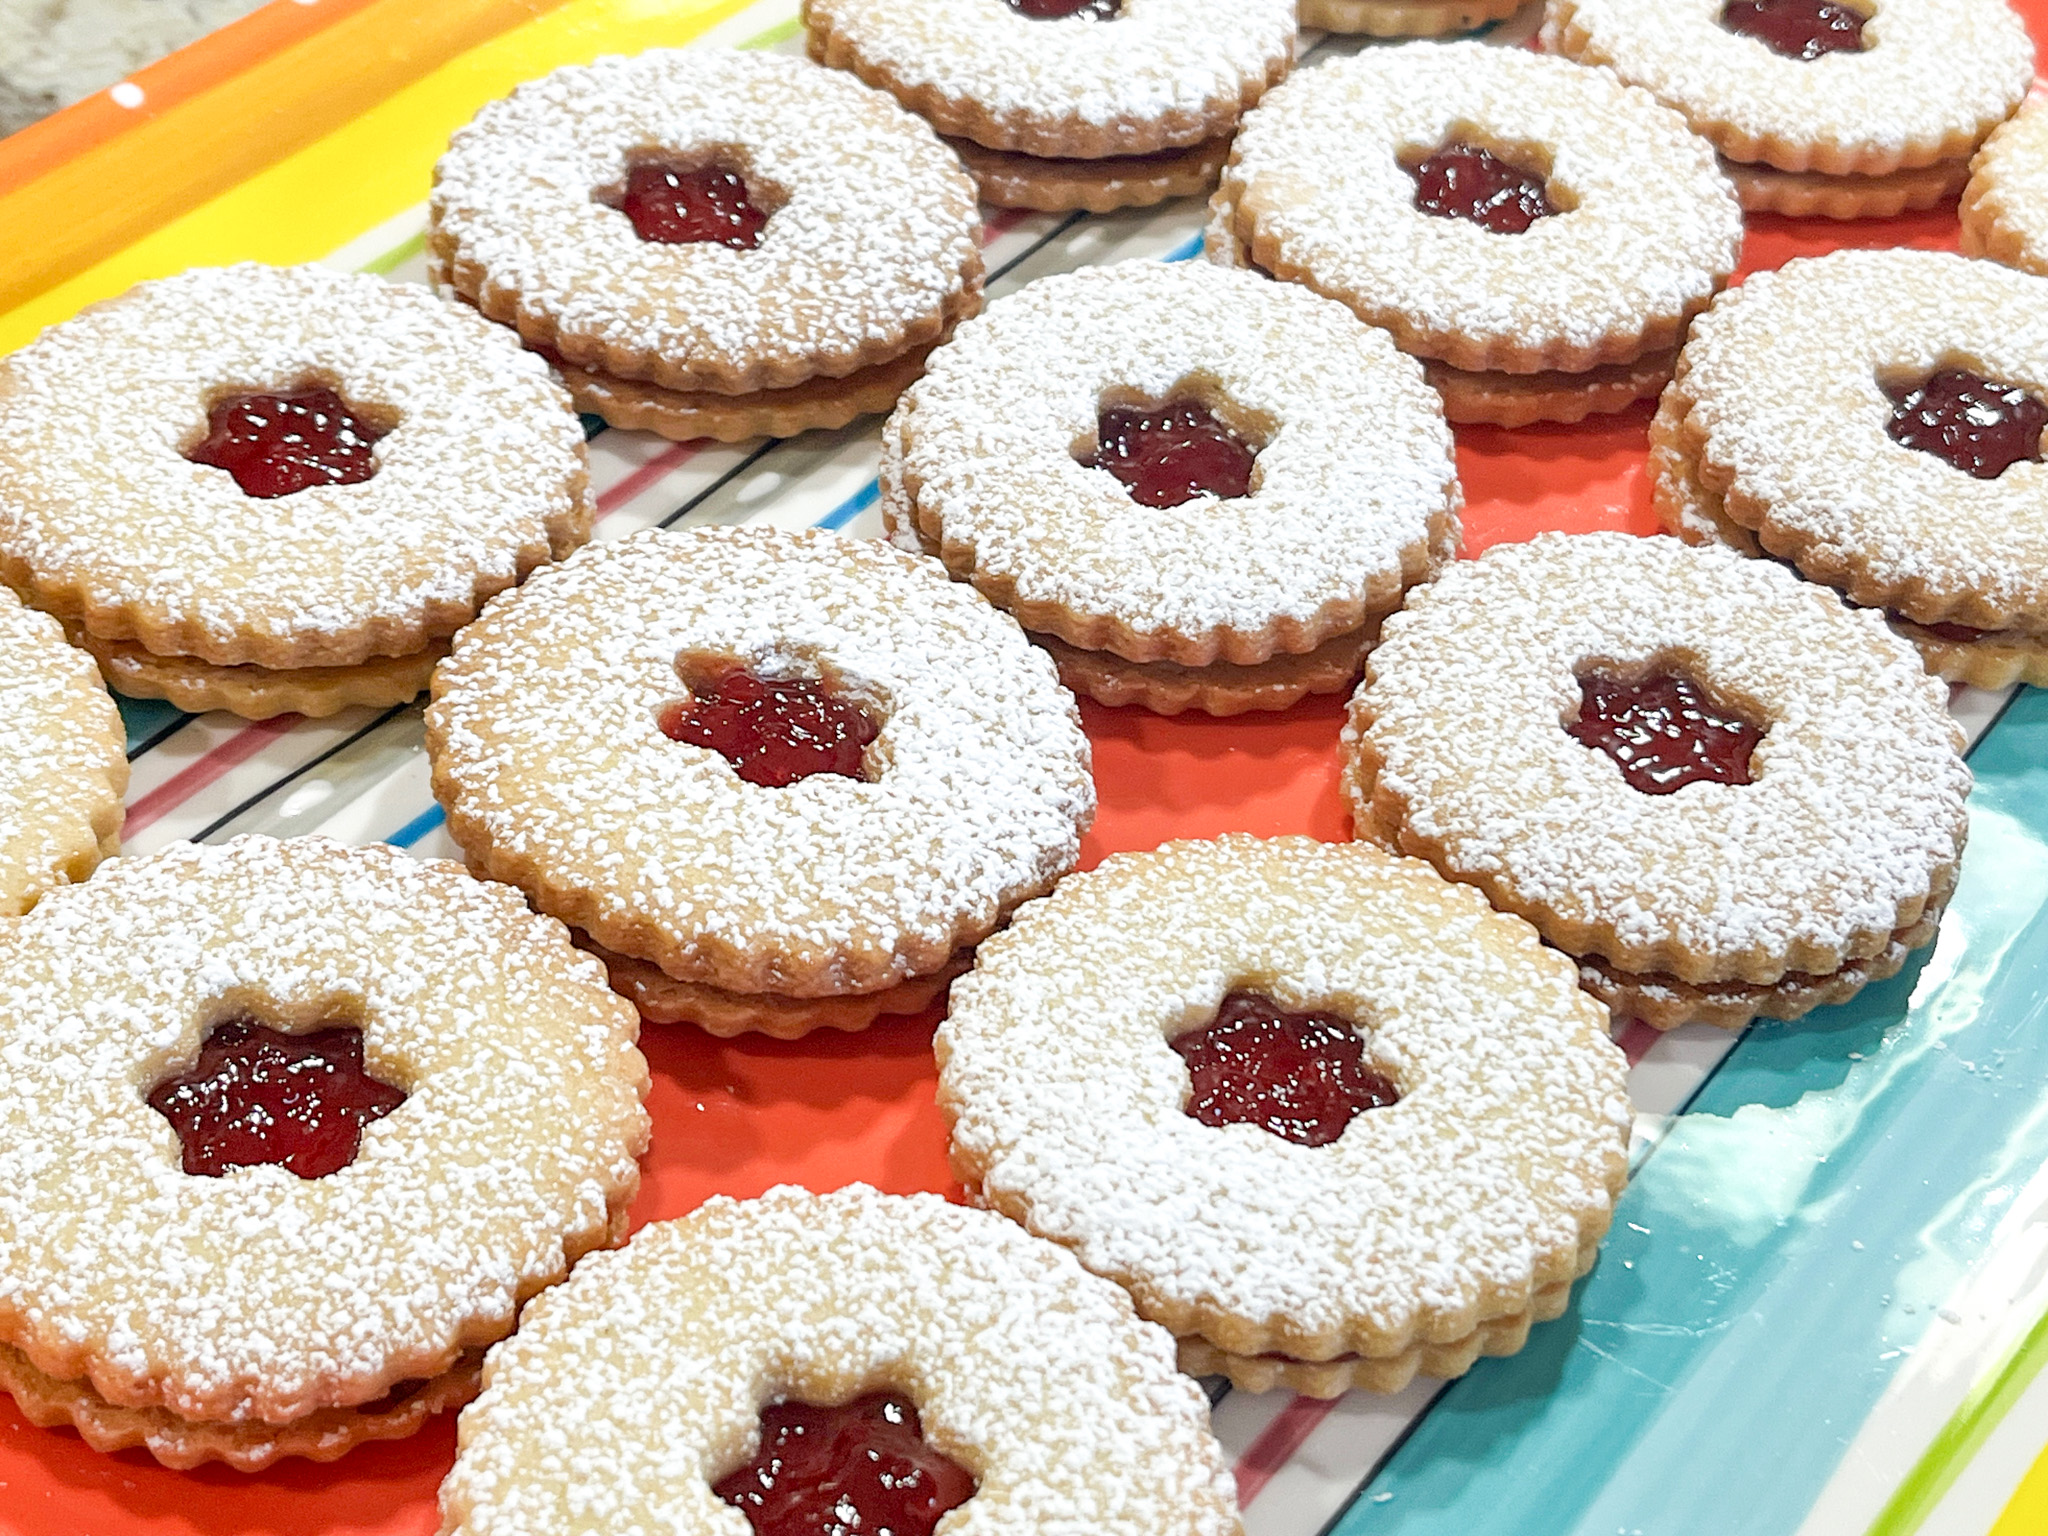
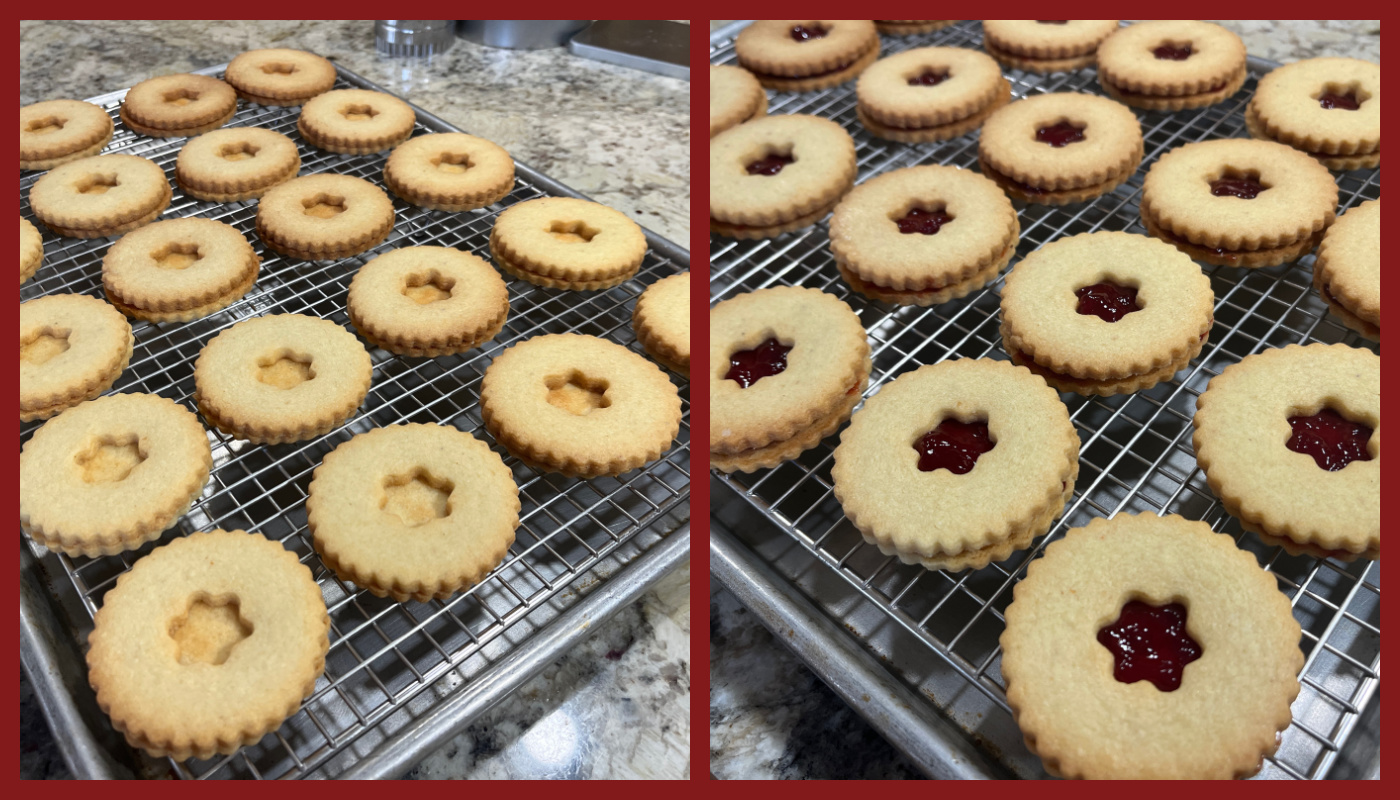
My most recent passion, mahlep, or mahaleb, or mahleb, not sure of the correct spelling. It is the ground seed of a type of cherry, and the flavor profile is similar to cinnamon. I love it! Recently used in Cherry Linzers, from this cookbook by Molly Yeh.
In our kitchen….
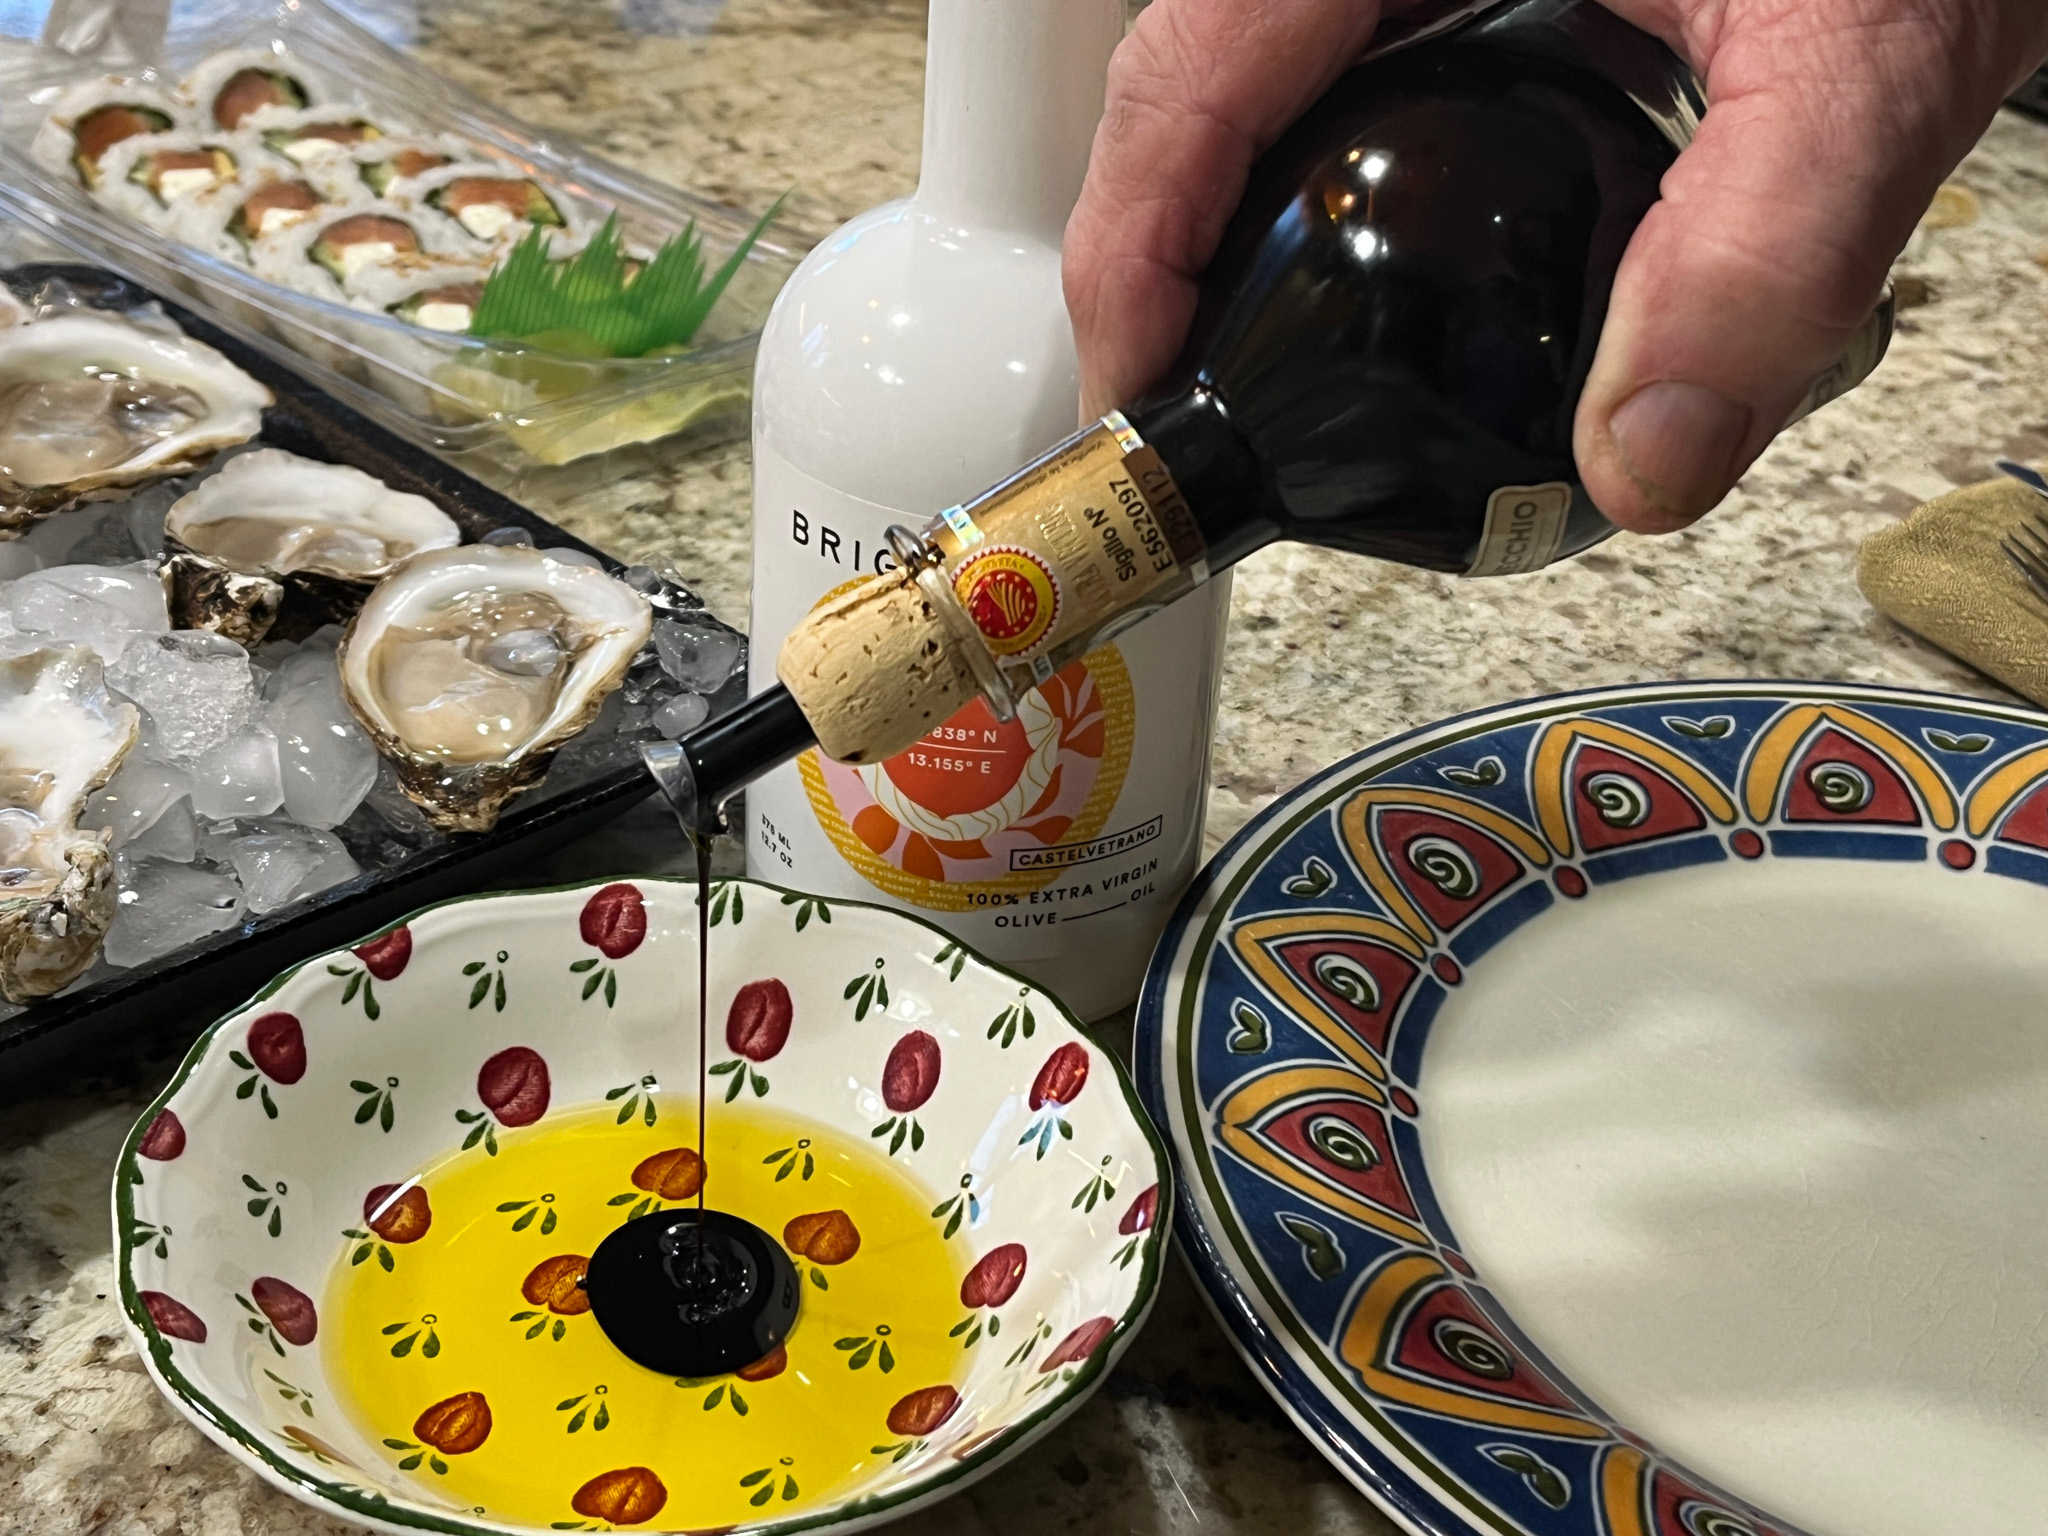
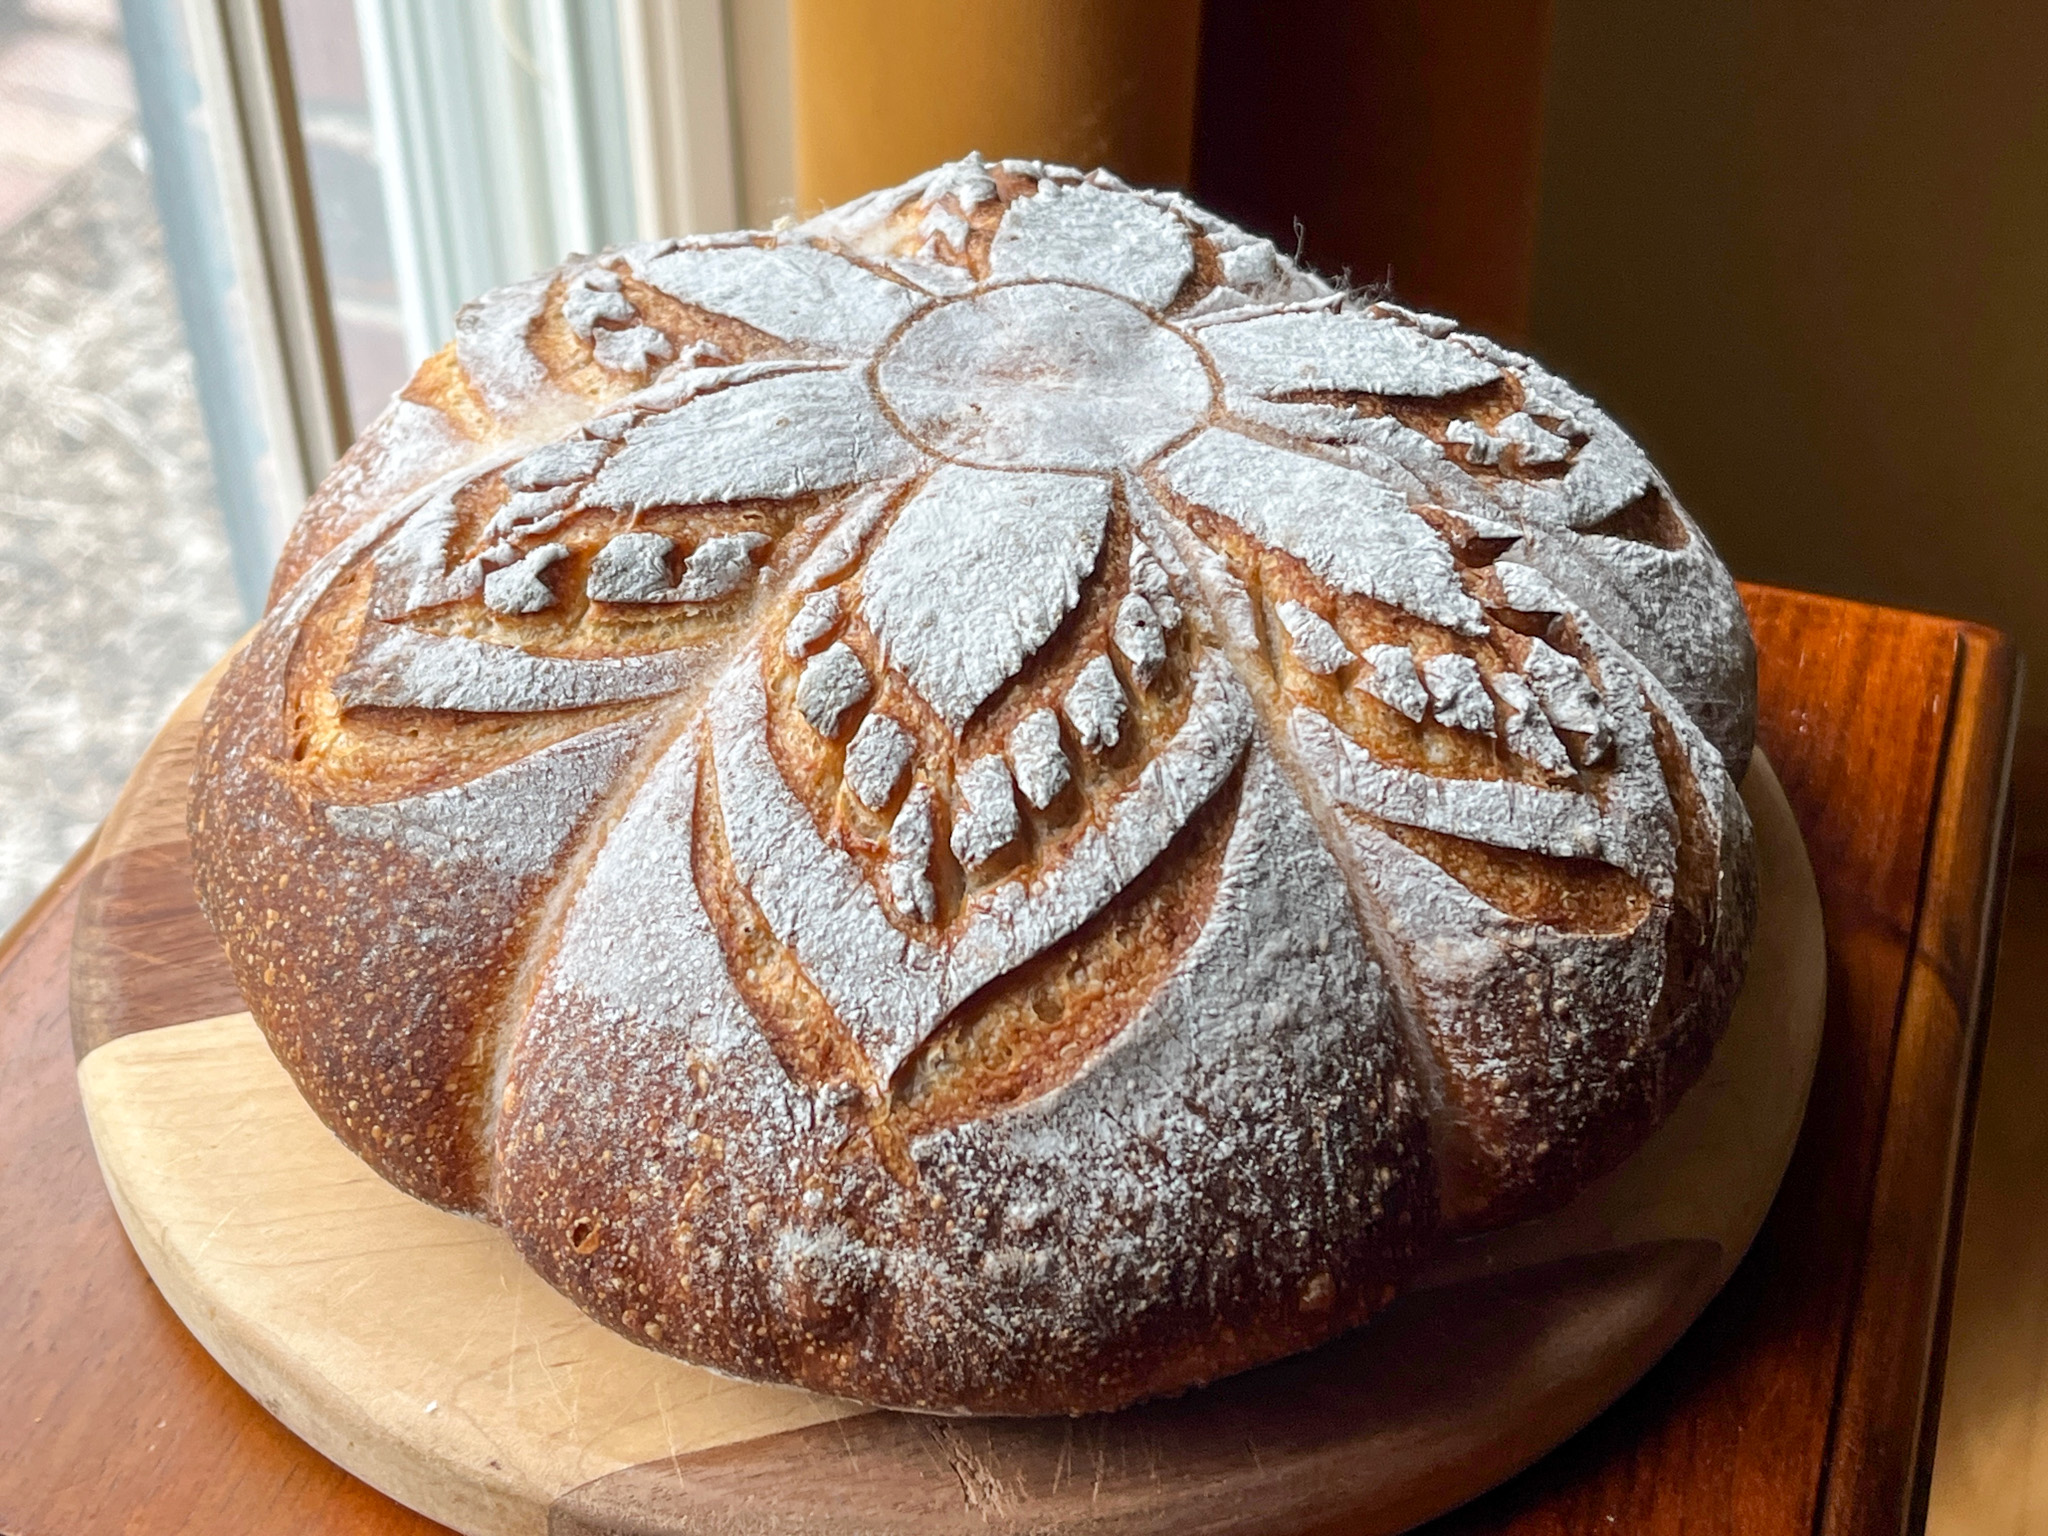
Our favorite way to consume sourdough: Phil is indulging in his special gifts from December, a great Castelvetrano olive oil and aged balsamic. Whisk, dip bread and dream!
In our kitchen….

I like metal cutters, but I must say the round ones can be tricky because there is always a seam that tends to distort it a bit. I caved and got a set of plastic cutters and I am a real happy baker!
In our kitchen….
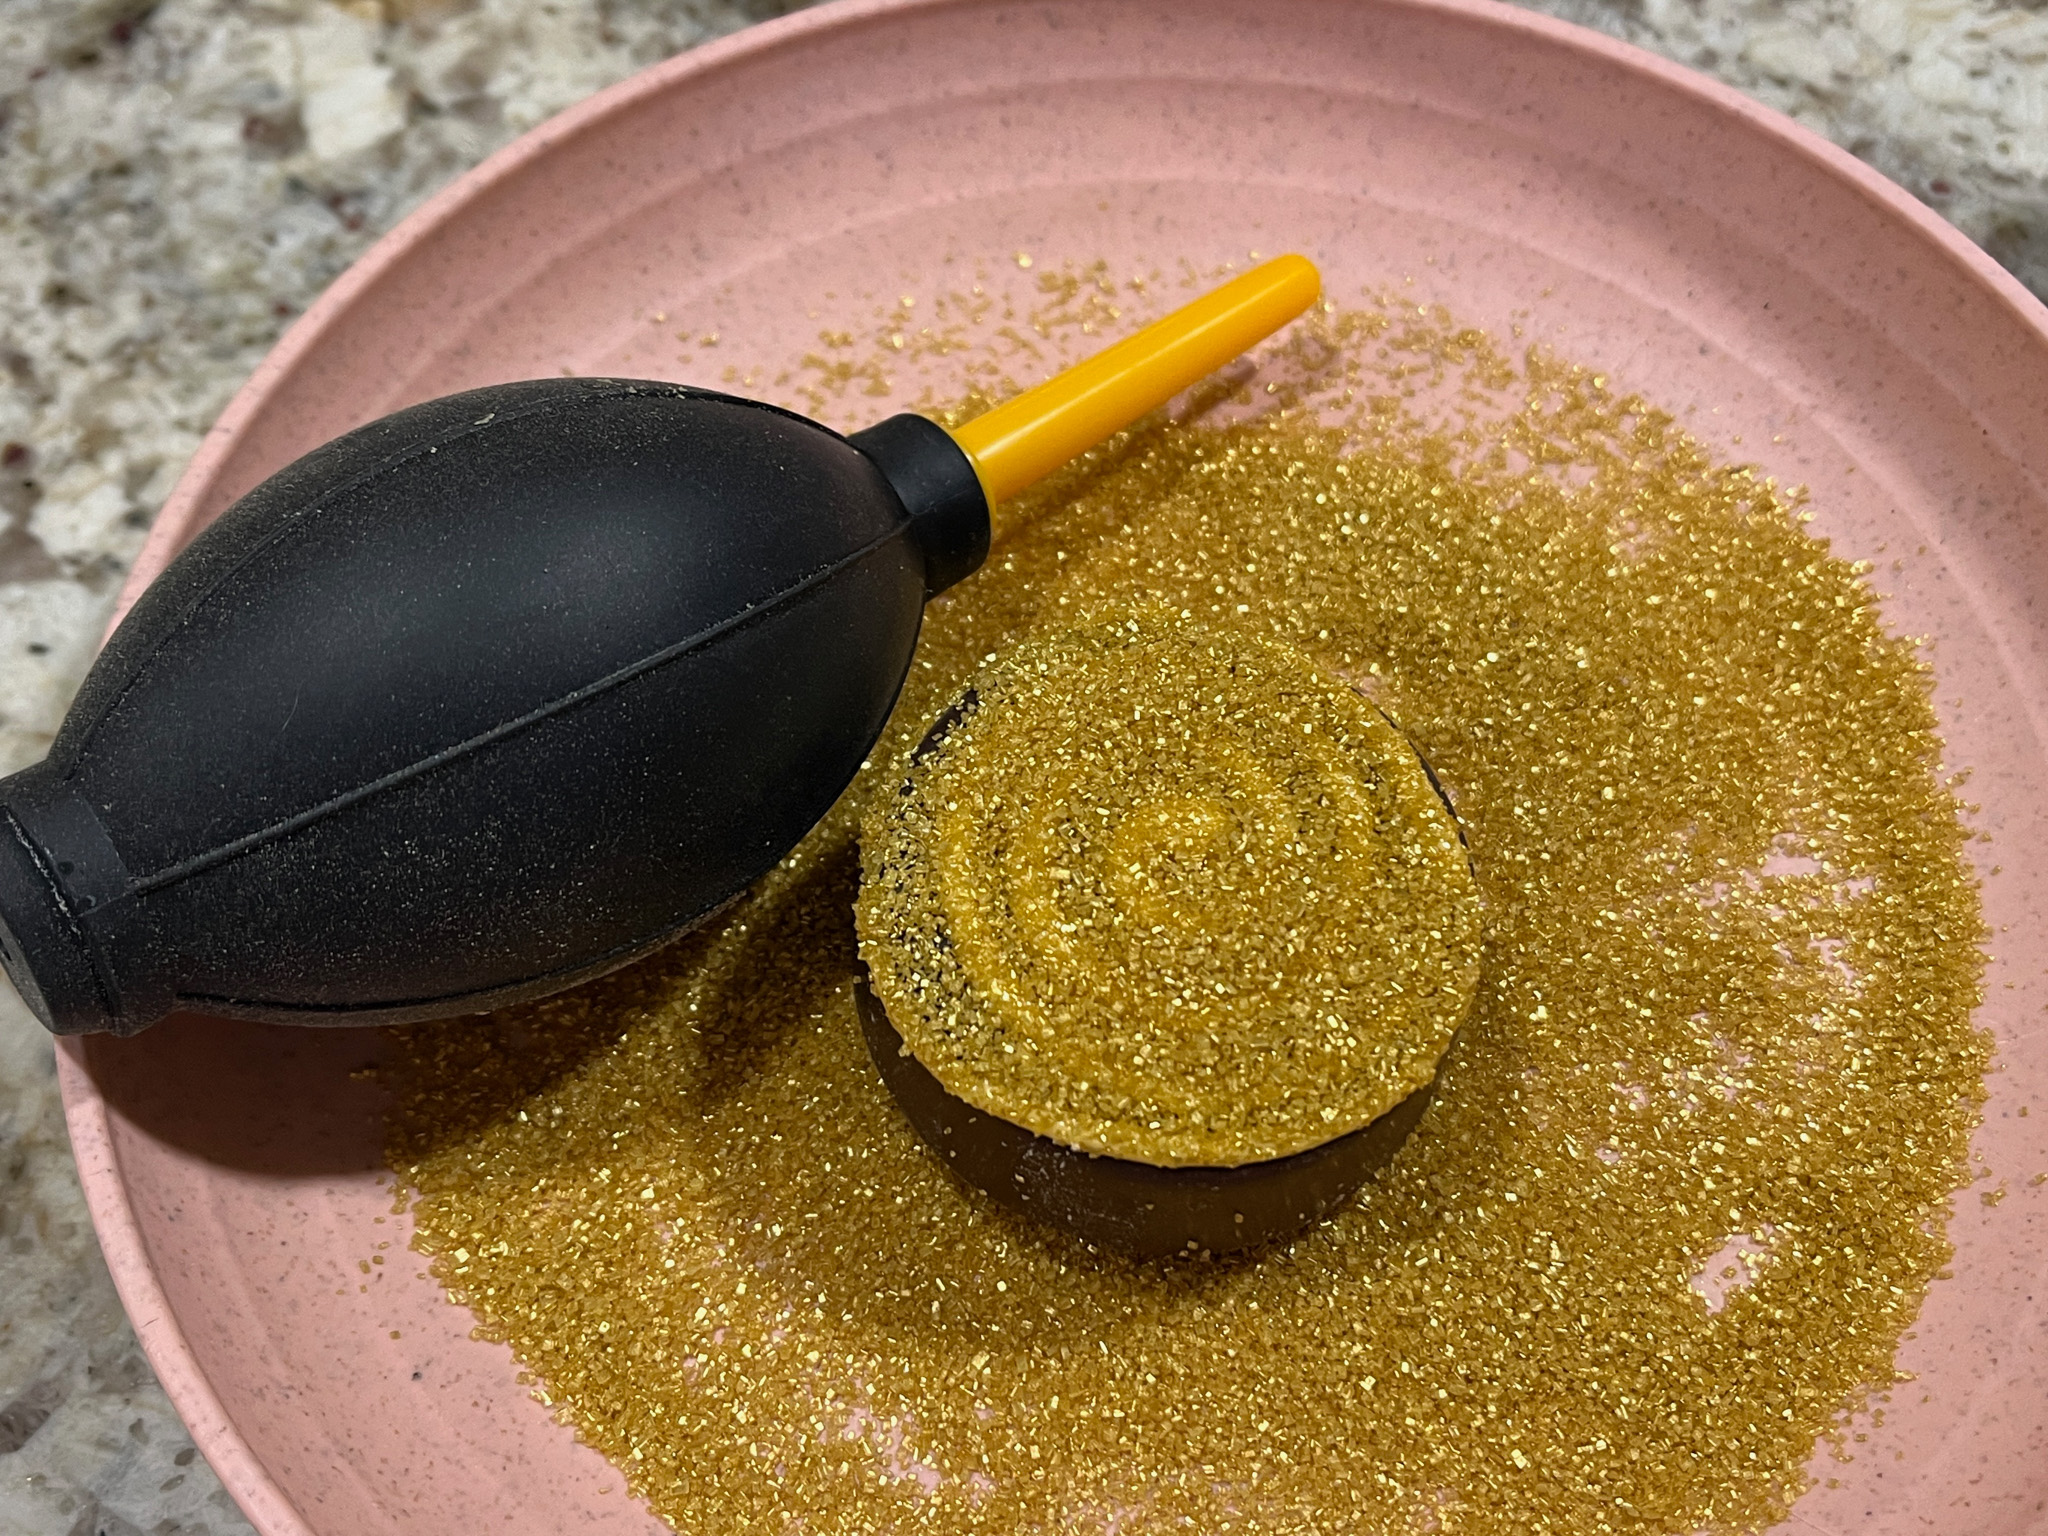
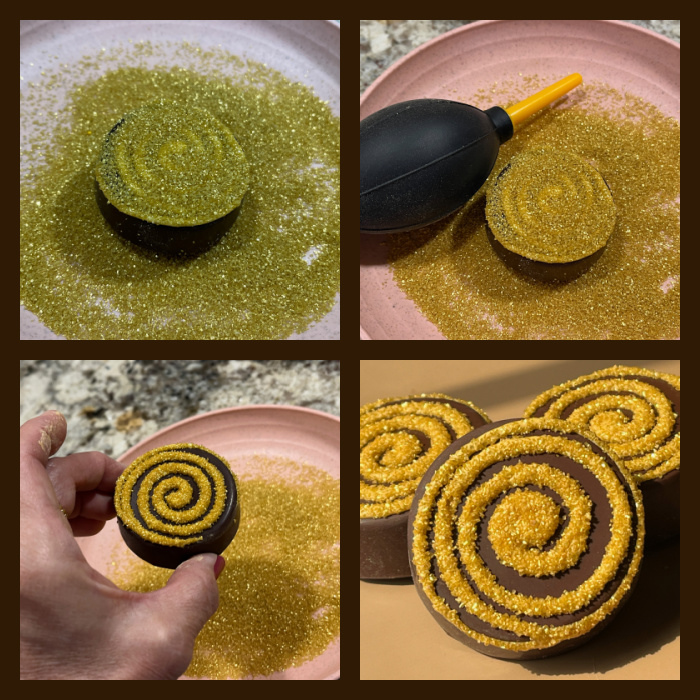
A little manual pump normally sold to clean computer keyboards by blowing air into them. It works very well to blow sanding sugar and do some watercolor work on Royal icing, the watercolor trick I learned from Haniela recently. These chocolate-covered Oreos were also made using my little electric turntable.
In our kitchen….
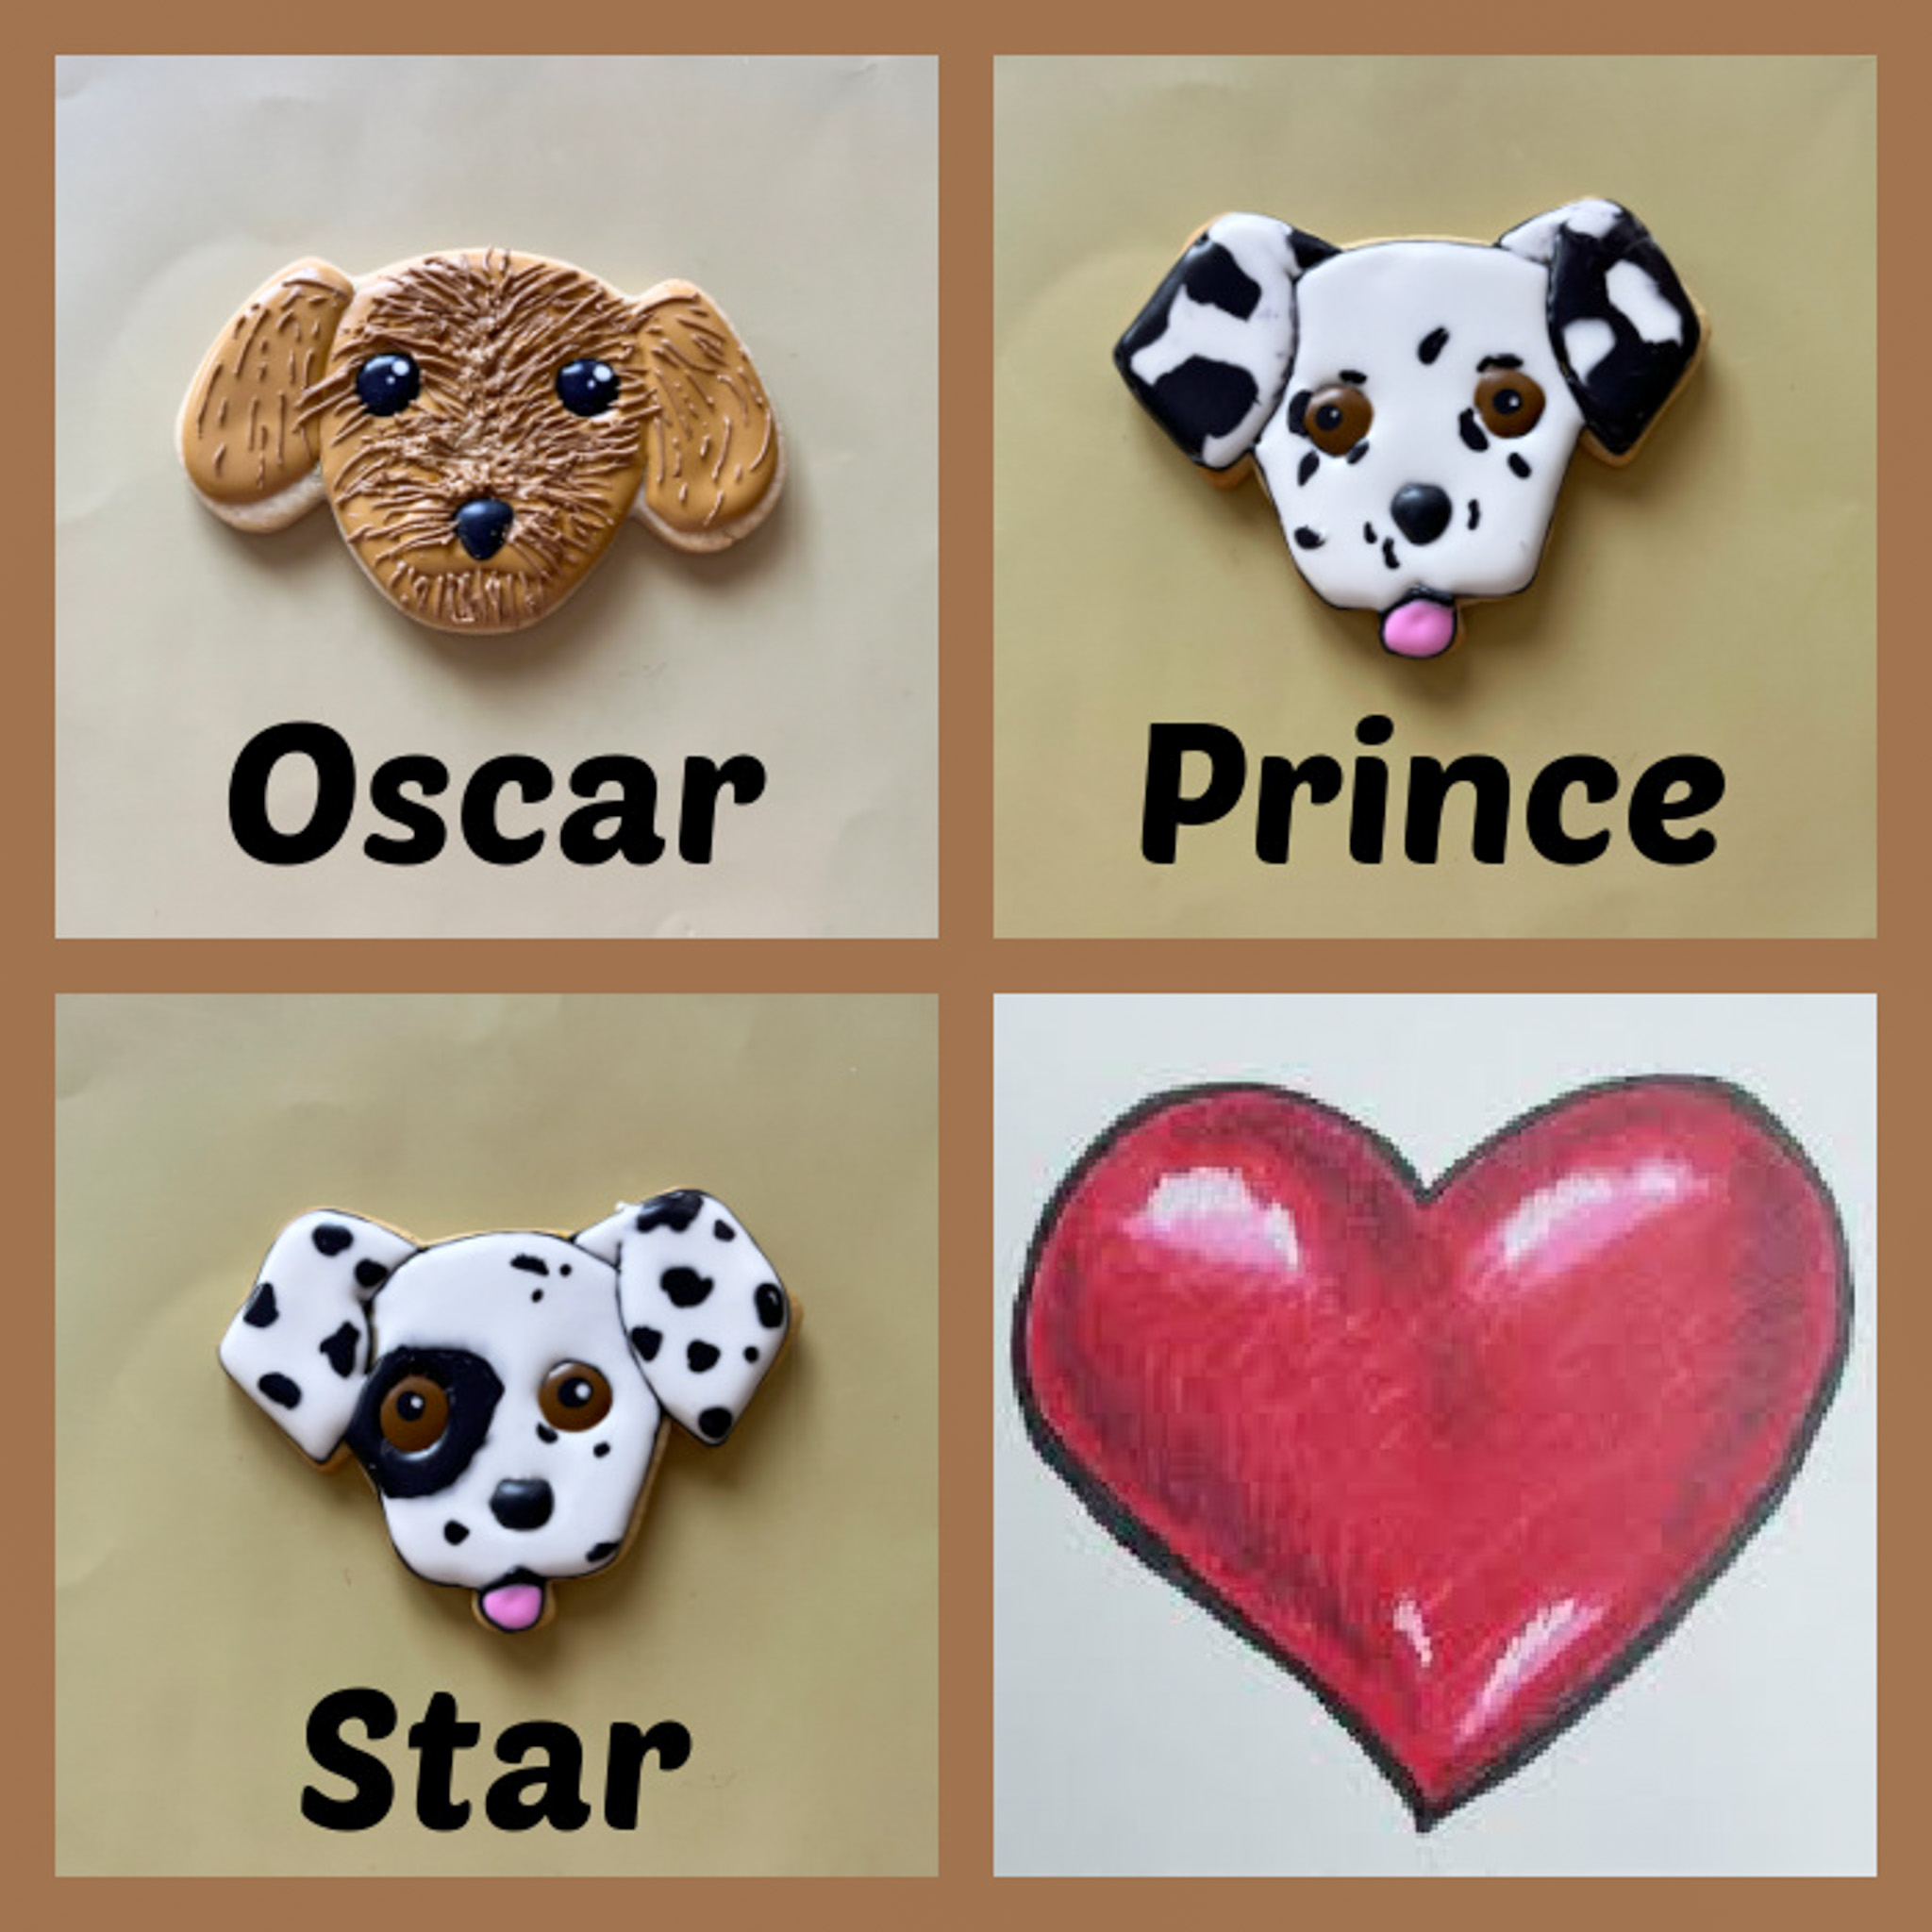
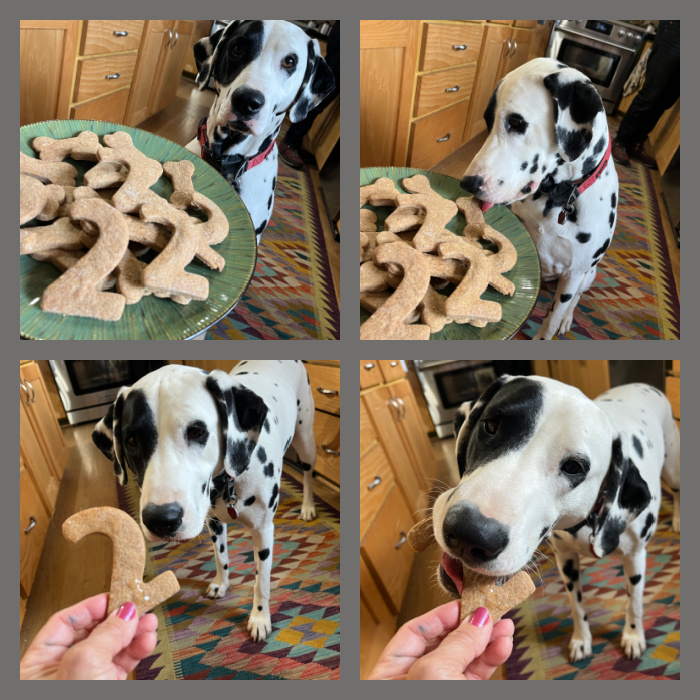
Under the idea of “Cookie What You Love”, some cookies celebrating our beloved fur babies. Speaking of them, I believe it is time to let them bark a little…
This past winter has been really really hard, so we had to deal with it with the stoicism that is required from four-legged heroes.

Of course we also decided to brave the elements and have some fun running like crazy fools around the totally empty Golf Course.

At home, our humans provided us with as much entertainment and comfort as possible, because as you know those are some amazing humans!
For instance, Little Star got a brand new bird to play with…

But it turns out he had a very foul mouth and my little sister had to take matters into her own paws to silence it. And so she did… I am so proud of her! We don’t need that kind of verbal abuse around the Kingdom of Tatarrax.

We also provided moral support while Dad worked hard to exercise in the dead of the winter…

Truth is, no matter how cold outside, I am always happy when I can rule things from the comfort of my throne. I feel very dignified this way.
But I am also magnanimous and will at times allow my sister to occupy my favorite spot and use it as she sees fit… Apparently Zenless was not very happy with Star using her “favorite” coat to dream on, but we all know she can be difficult. Just ask our dad…

Sometimes even Grumpy is allowed near the throne which proves I may be a mighty ruler but I also have a soft heart.

To show gratitude to my Royal Brother I protect him as he sleeps his noble sleep…

No gratitude from Grumpy! He sees himself as The Alpha Male and tries to prove it by claiming ownership of every single bed from My Kingdom.

I am not at all worried about that. I have much more important things to do like helping Zenless celebrate her birthday…

I helped her celebrate also! I gave her extra doses of The Cute!

Clearly, you two whippersnappers know nothing about proper celebrations. I know better and I dress up for the occasion as any sensible canine should do.

Well if you must know, Mr Grumpiest, me and my sister were born with Natural Elegance, so additional items of clothing are totally unnecessary for us to shine.
Oscar fights back using pretty harsh evidence… Is THAT what you call Elegance?

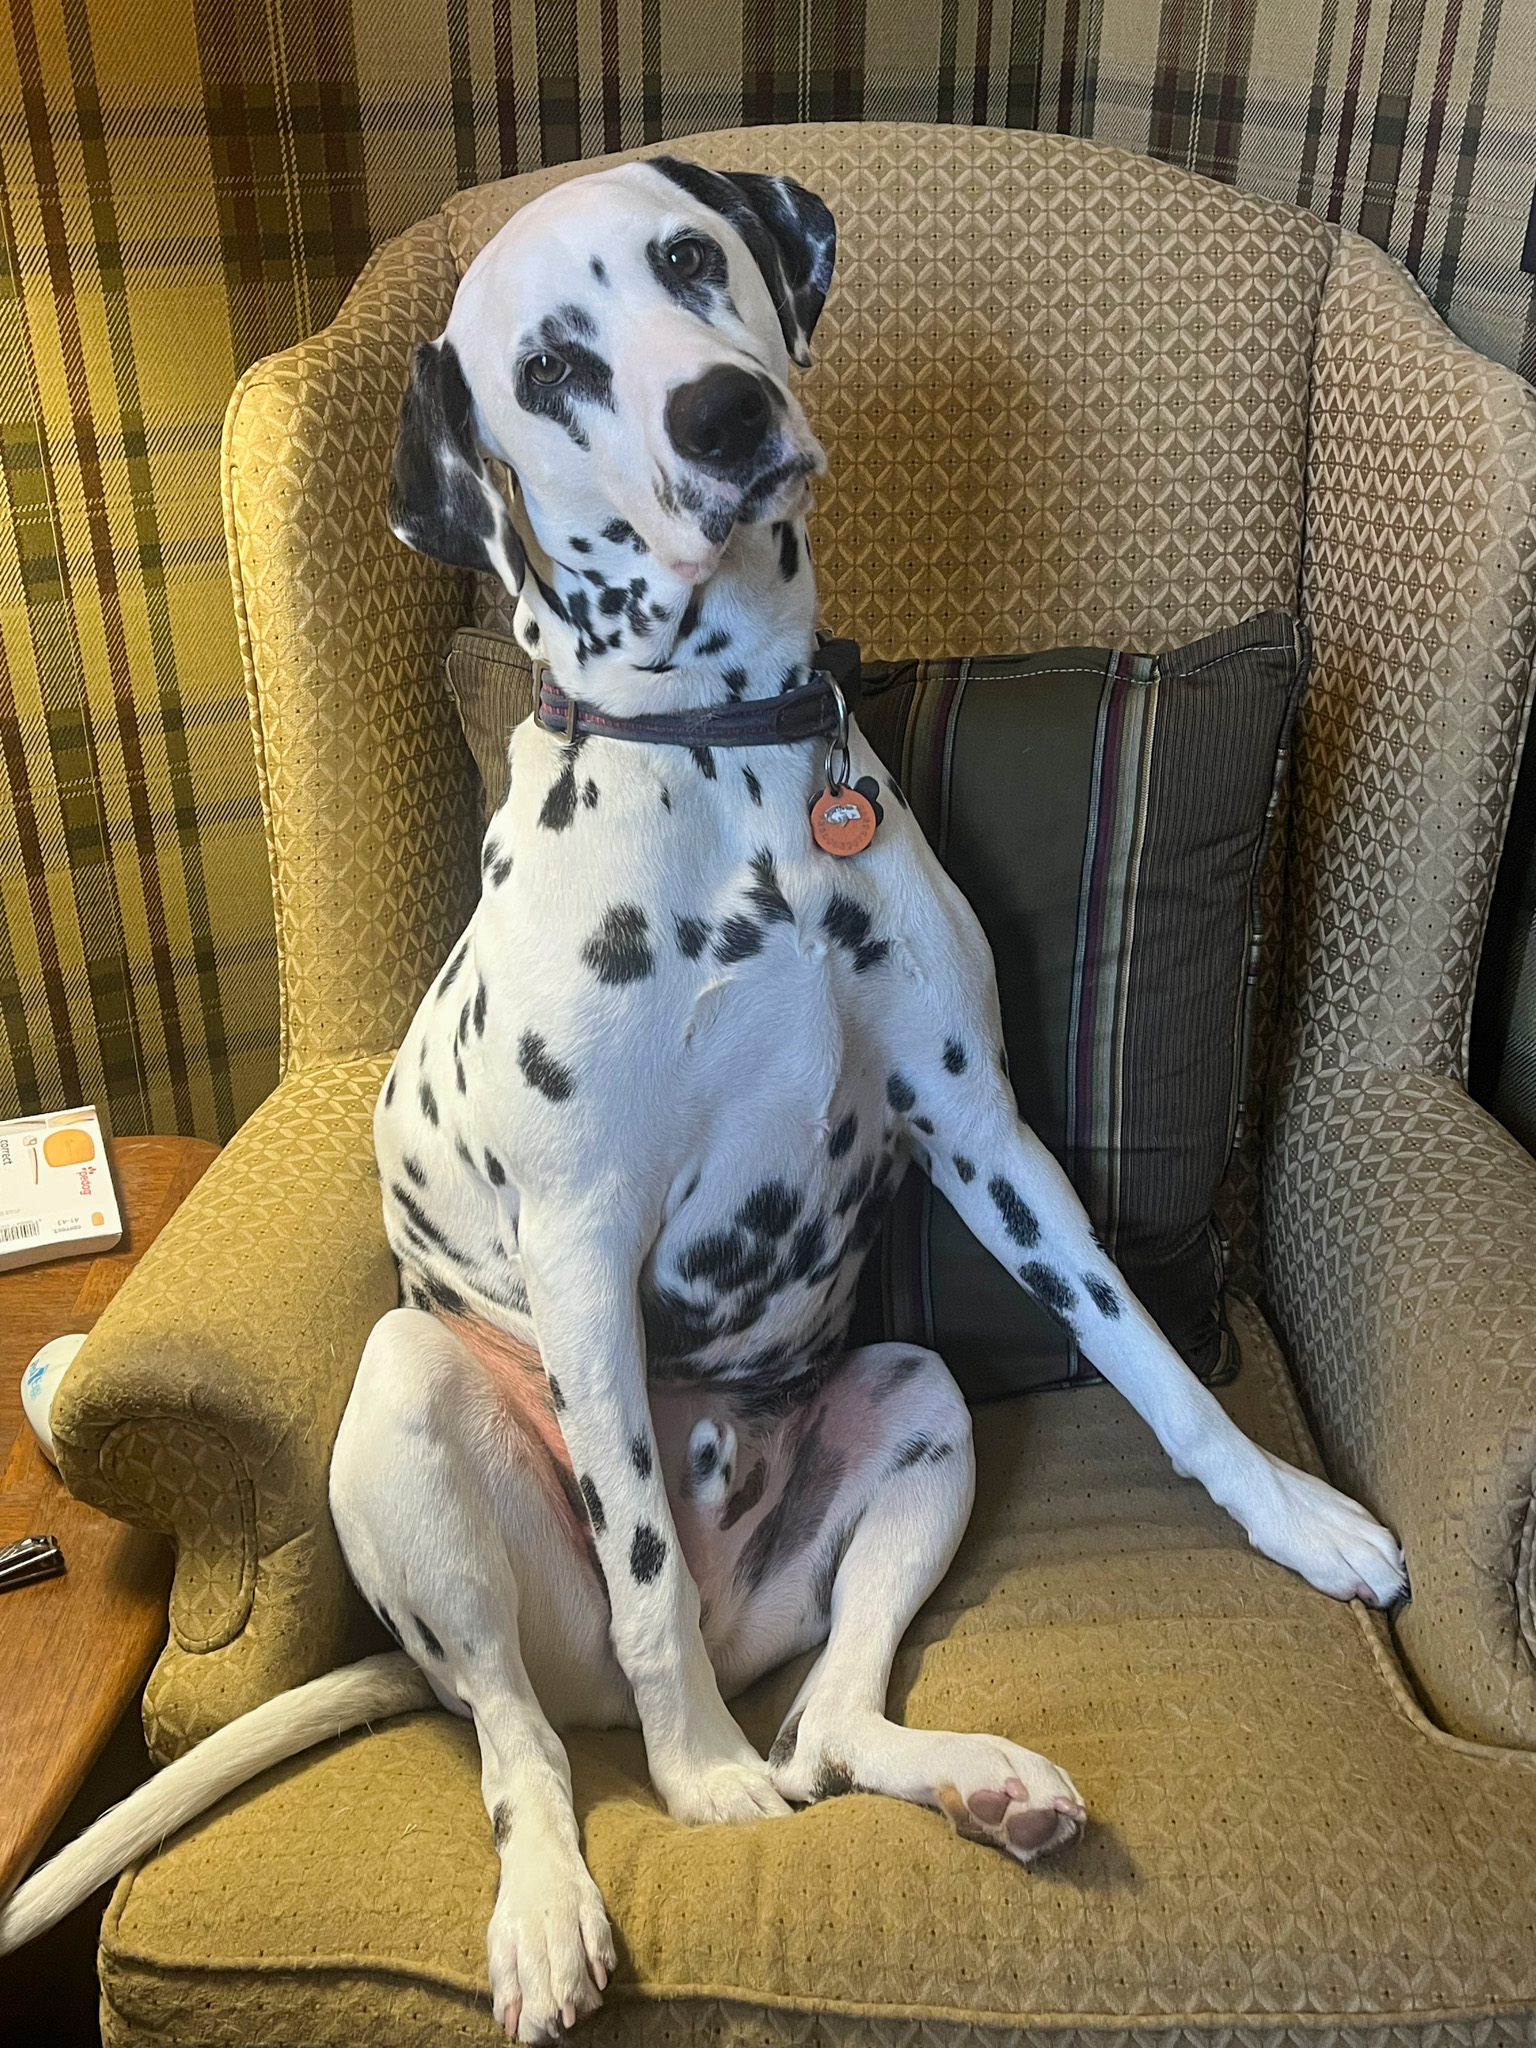
I see more the behavior of two deranged, low-class quadrupeds embarrassing our humans in front of the whole neighborhood. And, barking of it, who sits in such undignified manner and sees nothing wrong with it?

How DARE you talk to us about elegance!!!! Care to explain THIS?

It was simply a moment of weakness and back-scratching abandon…..

I AM normally a Magnificent example of my species!

Well friends, as you can see the fun goes on in the Kingdom of Tatarrax and although we can complain about the harshness of this past winter, although we can complain (a lot) about politics, we can’t say there is ever a dull moment in our home! We bid goodbye for now and the canine crowd will be back for our summer feature of In My Kitchen…
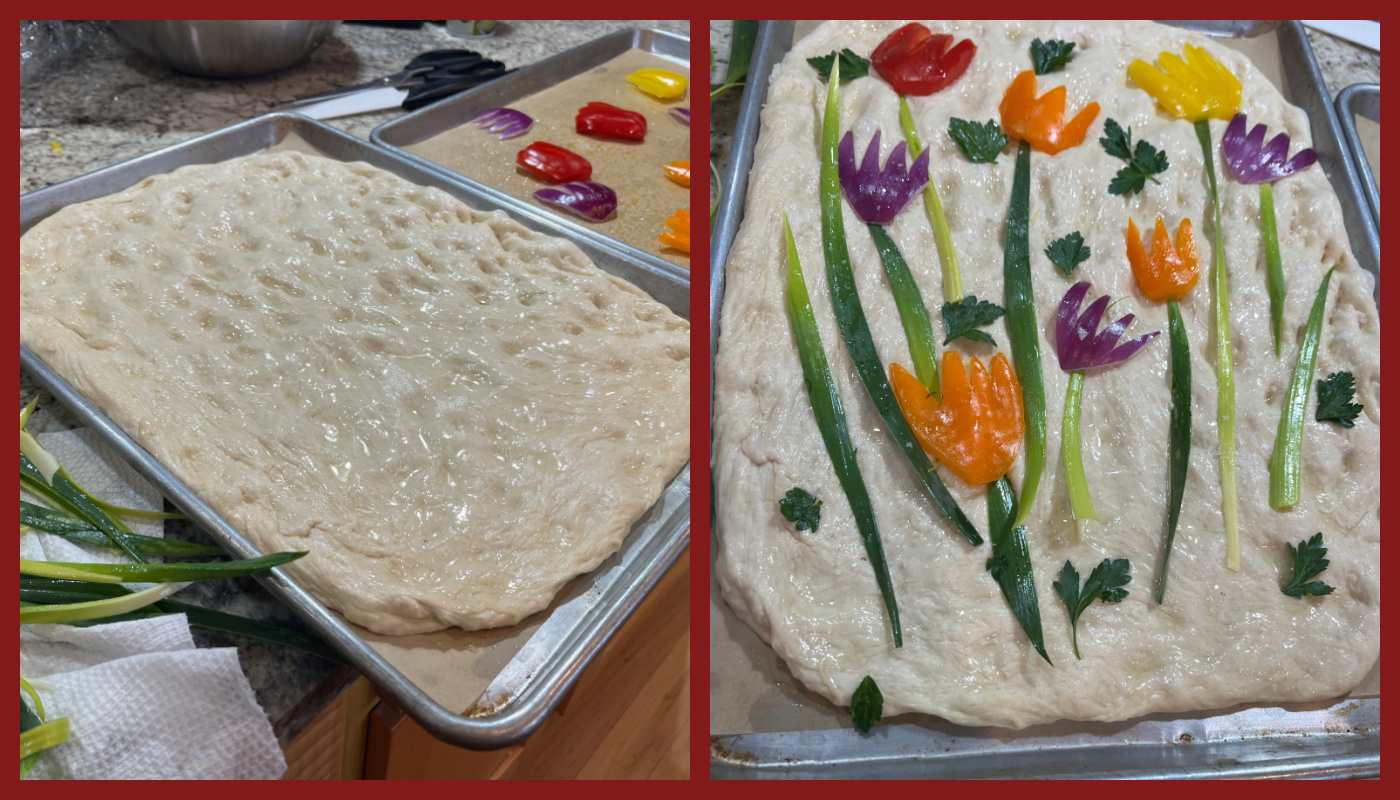
SPRING HAS ARRIVED NOT A MOMENT TOO SOON!
ONE YEAR AGO: In My Kitchen, April 2024
TWO YEARS AGO: In My Kitchen, Spring 2023
THREE YEARS AGO: In My Kitchen, April 2022
FOUR YEARS AGO: In My Kitchen, April 2021
FIVE YEARS AGO: In My Kitchen, April 2020
SIX YEARS AGO: In My Kitchen, April 2019
SEVEN YEARS AGO: In My Kitchen, April 2018
EIGHT YEARS AGO: First Monday Favorite
NINE YEARS AGO: In My Kitchen, April 2016
TEN YEARS AGO: Spring has Sprung with Suzanne Goin
ELEVEN YEARS AGO: Chai Brownies
TWELVE YEARS AGO: Pomegranate-Molasses Glazed Carrots
THIRTEEN YEARS AGO: Braised Brisket with Bourbon-Peach Glaze
FOURTEEN YEARS AGO: The Real Vodka Sauce
FIFTEEN YEARS AGO: Spring Rolls on a Spring Day