
I made this dish several months ago (we were still living in OK) but the photos were temporarily misplaced. Misplaced as in “downloaded to the wrong folder”. I stumbled upon them the other day by complete accident, while searching for a figure to include in a power point presentation. Amazing how efficiently I can mess up stuff sometimes. For those headed into the cooler months, finding eight-ball zucchini could be a stretch, but my readers in the Southern hemisphere will be able to try this recipe sooner… It is delicious!

EIGHT BALL ZUCCHINI FILLED WITH COUSCOUS AND RICOTTA CHEESE
(from the Bewitching Kitchen)
2 eight-ball zucchini
1 medium regular zucchini, cut in small dice
1 Tbs grapeseed oil (or olive oil)
1 shallot, finely diced
salt and pepper
1/2 cup Israeli couscous
1/2 cup ricotta cheese
1/4 cup dried cranberries
Cut the top off of the round zucchini, and carefully coop out the inside, leaving a 1/4 inch wall around to contain the filling later. Reserve the pulp. Place the zucchini on a steamer basket and steam for 10 minutes, checking after 5 minutes to make sure it’s not getting too soft. Remove from the steamer and let it cool briefly. Meanwhile, prepare the stuffing: saute the shallots in grapeseed or olive oil until translucent. Add the reserved pulp of the eight ball zucchini, and the diced regular zucchini. Saute until soft and fragrant, season with salt and pepper. Reserve.
Cook the Israeli couscous in plenty of salted, boiling water. Drain it a couple of minutes before the time stated in the package, as it will cook further during baking. Reserve.
Heat the oven to 375 F. Mix the sautéed zucchini with the couscous, ricotta cheese, and dried cranberries. Adjust seasoning with a little more salt and pepper, if needed. Generously fill the hollowed eight-ball zucchini all the way to the top and rest the cap on. You may have leftover filling, depending on the size of your zucchini. Place the zucchini in a baking dish, cover lightly with foil, and bake for 35 to 30 minutes.
ENJOY!
to print the recipe, click here
Comments: I’ve made stuffed zucchini many times, but most recipes omit the steaming, and ask you to simply fill it and bake it. When I make it that way, the zucchini never gets tender. I also tried microwaving to simplify life a little, but steaming works best. I know, I know, it’s an extra step and a couple more items to wash, but sometimes in the name of a nice dish sacrifices must be made. So I put on my Braveheart face, and steam it.
I’ve used quinoa in place of couscous, and it results (of course) in a lighter dish, but very tasty too. You can use rice, orzo, barley, farro, anything stuffed inside an eight-ball zucchini will immediately seem healthy and light. Stuffing with lasagna might be a stretch, though! 😉
ONE YEAR AGO: Grilling Ribbons
TWO YEARS AGO: Peppery Cashew Crunch
THREE YEARS AGO: Ossobuco Milanese: an Italian Classic

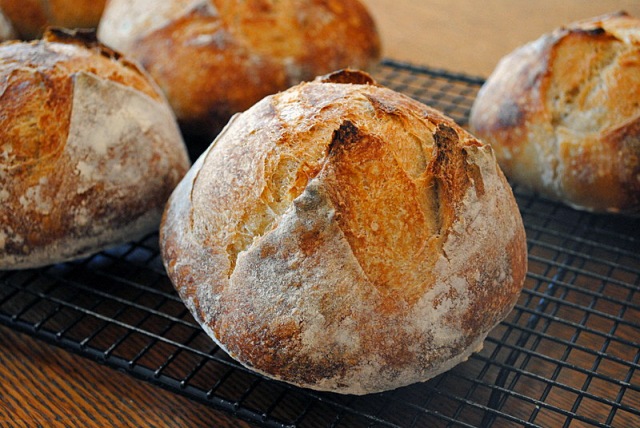
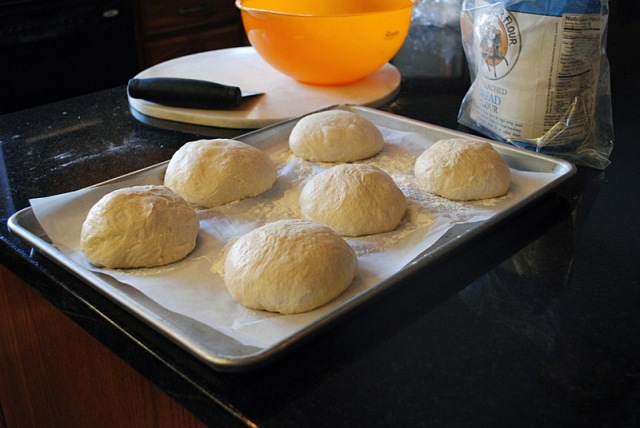 Comments: Depending on the method of steam you use for your oven, these rolls can be a breeze to bake. I decided to use my usual method of inverting a damp roasting pan over the rolls, and to do that I needed to bake three rolls at a time. Let’s say it was a bit too convoluted and the second batch was slightly over-proofed. Next time I might just go for a less complicated method, and use a baking pan with hot water at the bottom of the oven. Whatever method you choose, the steam provides a nicer crust.
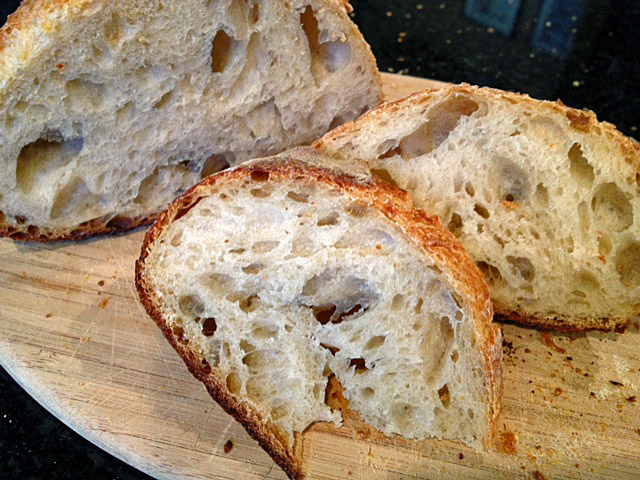
