INCREDIBLY SIMPLE ZUCCHINI ROUNDS

I don’t know if I am embarrassed or thrilled. Embarrassed because this is truly SO simple that it hardly qualifies as a “recipe”. But thrilled at the same time because it totally blew my expectations. So simple, so tasty. Even next day, and you know how much I go crazy for leftovers.


BAKED ZUCCHINI TOMATO STACKS
(from The Bewitching Kitchen)

1 zucchini, sliced 1/4 inch thick
olive oil
salt and pepper
Fresh tomatoes, sliced (about the same diameter as the zucchini)
grated mozzarella cheese
Herbes de Provence to taste

Line a baking sheet with parchment paper.

Lay one slice of zucchini, brush both sides with olive oil, season with a little salt and Herbes de Provence.

Place a slice of tomato on top, season with a little salt. Add shredded mozzarella on top of the tomato.

Bake at 400F for 15 to 20 minutes, until cheese is melted and golden.

ENJOY!

to print the recipe, click here

Comments: This was such a delicious side dish, I just know I will be making it again and again. Leftovers were perfect warmed up in a hot oven for just a few minutes. Zucchini tends to get a bit mushy, but for some reason, with the tomato and the cheese on top, it all works well. Give this recipe a try, I believe you will love it too…

ONE YEAR AGO: Mjukkaka, a Swedish Flat Bread

TWO YEARS AGO: Polka Dot Love Sourdough

THREE YEARS AGO: Plum Sorbet

FOUR YEARS AGO: Grilled Chicken with Sesame Roasted Carrots

FIVE YEARS AGO: Let’s Get Spooky!

SIX YEARS AGO: Miso and Sesame Roast Chicken with Revelation Quinoa

SEVEN YEARS AGO: Incredibly Simple Times Four

EIGHT YEARS AGO: Parsnip, Coconut and Lemongrass Soup

NINE YEARS AGO: In My Kitchen, October 2016

TEN YEARS AGO: Paleo Moussaka

ELEVEN YEARS AGO: In My Kitchen, October 2014

TWELVE YEARS AGO: In My Kitchen, October 2013

THIRTEEN YEARS AGO: Bourbon and Molasses Glazed Pork Tenderloin

FOURTEEN YEARS AGO: Crimson and Cream Turkey Chili

FIFTEEN YEARS AGO: Taking a break from the nano-kitchen

SIXTEEN YEARS AGO: Chocolate Chip Cookies

FOR THE LOVE OF BROCCOLI

Three old recipes, and a new one for you today. We have broccoli at least once weekly, and these are the recipes in rotation because we never get tired of them. Contrary to many people, we are not too wild about simply roasting broccoli because for my taste it gets a little too harsh and bitter. I much rather enjoy it in different ways, although if you invite me over for dinner and serve me roasted broccoli, I will lick my plate clean, no worries. Let’s start with the new recipe, a super simple Broccoli Soup. No cream, no special ingredients, it is simple, light and delicious…

LIGHT BROCCOLI SOUP

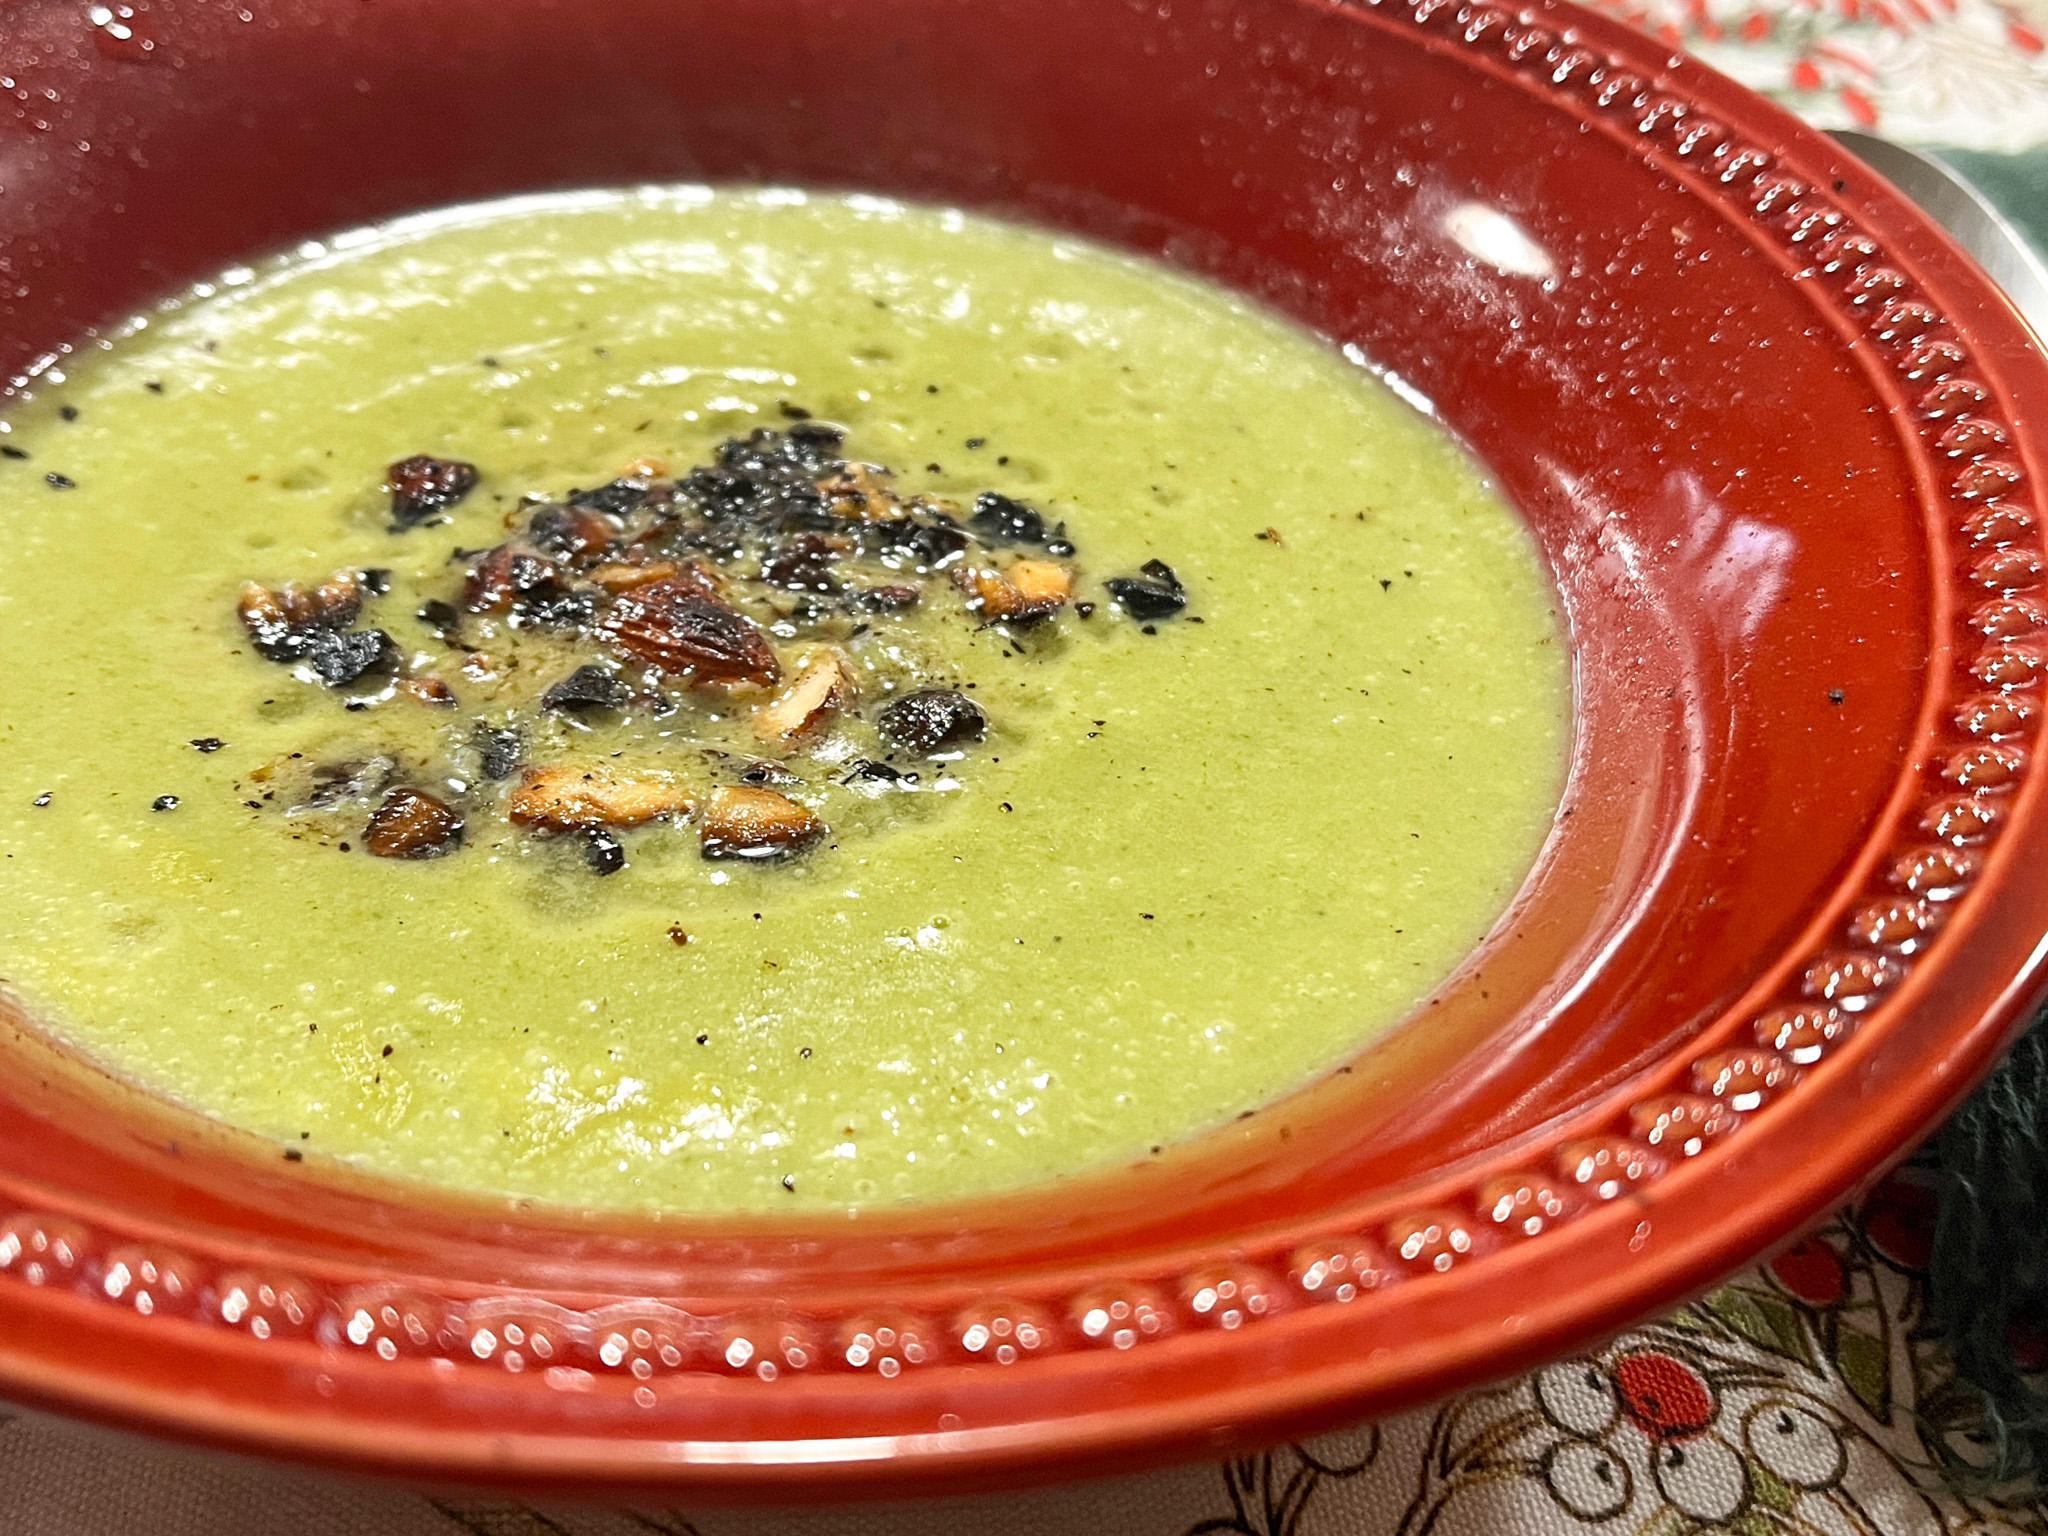
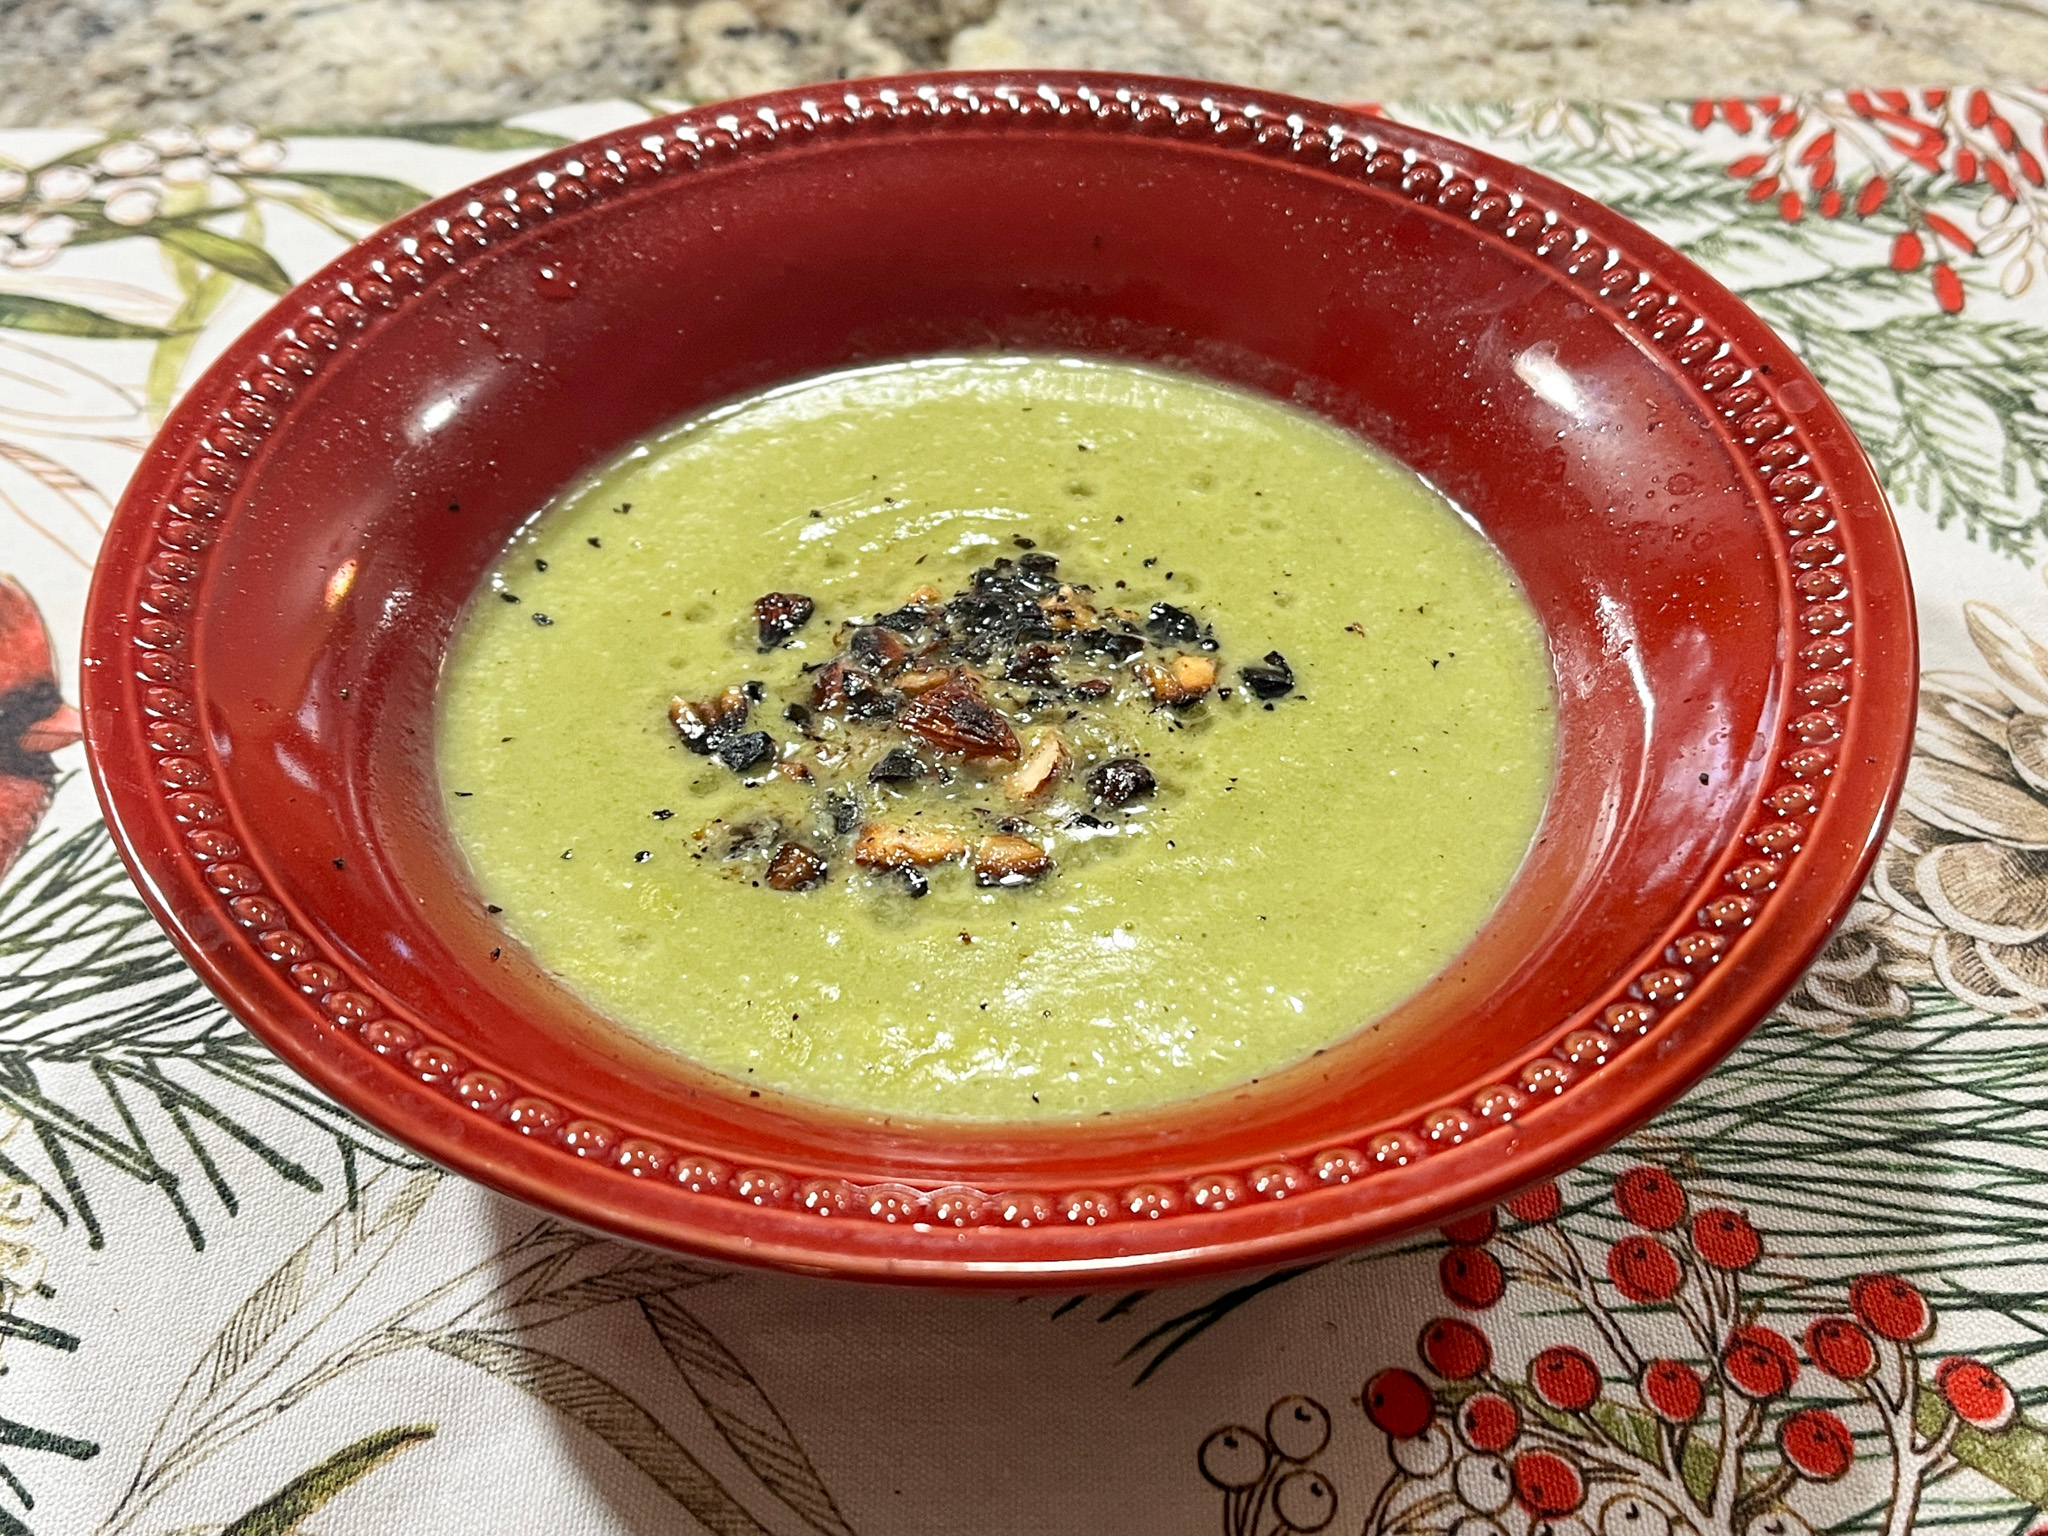
LOW-FAT BROCCOLI SOUP
(slightly adapted from The Spruce Eats)

1 tablespoon olive oil
1 shallot, chopped
1 stalk celery, chopped
1 medium Yukon Gold potato, peeled and cubed
4 cups broccoli, chopped
2 cups vegetable broth
1 cup almond or oat milk

Heat oil on medium heat in a large stockpot. Sauté the shallot and celery for 3 to 4 minutes, until fragrant. Add the cubed potato, broccoli, broth, and milk. Bring to a boil. Reduce heat, cover, and simmer for 20 minutes, or until all the vegetables are tender.

Allow the soup to cool slightly. Transfer to a blender and blend until smooth in two batches. Return the blended soup to the pot and heat gently until ready to serve.

Top with croutons or sautéed almonds, whatever your heart desires.

ENJOY!

to print the recipe, click here


.

Comments: So far I’ve made this soup three times, and it’s been perfect each time. It has a very creamy texture, maybe it is that small amount of potato speaking. Truly magical. Try it, if you want a light but luscious soup for your dinner. Now moving on to the three oldies but goodies…

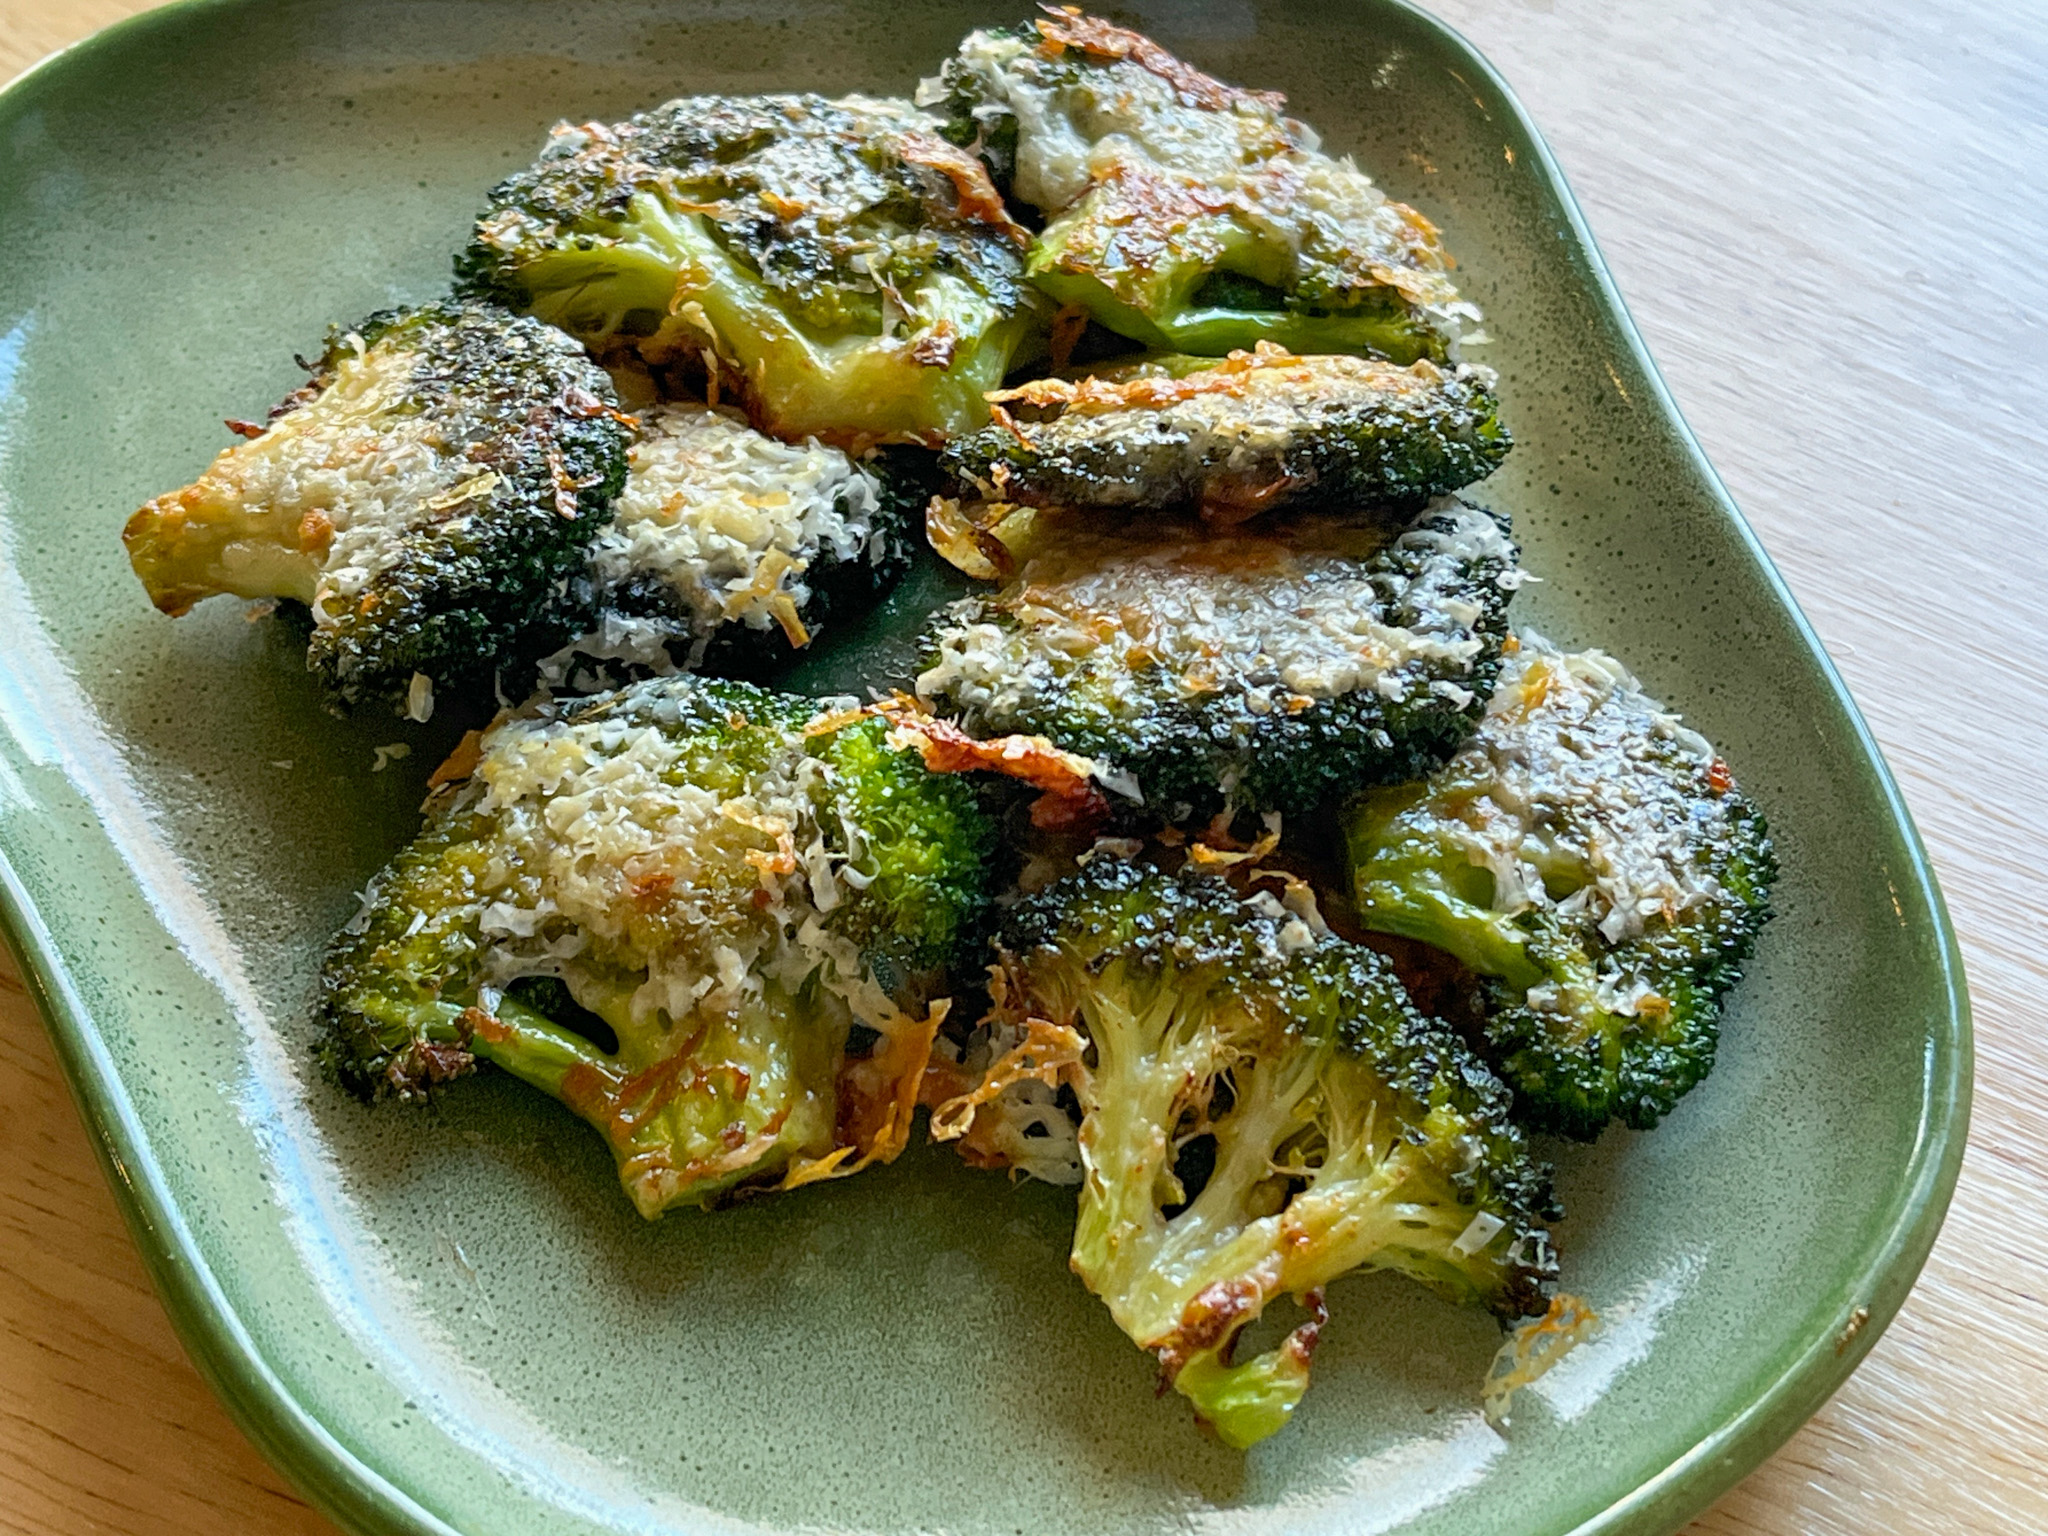
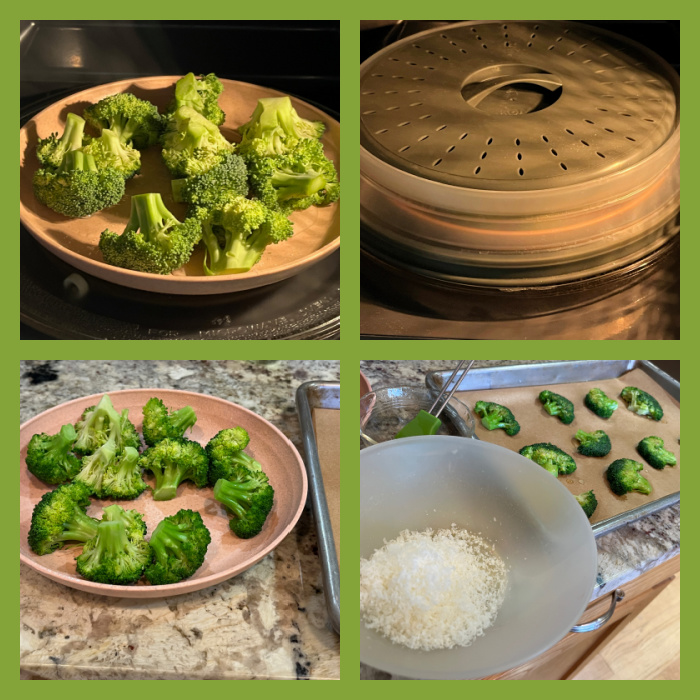
SMASHED BROCCOLI WITH CHEESE

This was originally posted last year (check the post here). It was already in the Incredibly Simple files, but I simplified it further by steaming the broccoli in the microwave, using a plastic cover recommended by my friend Marie Louise (click here to see it). I place the florets in a microwave-safe plate, with just enough water clinging to the surface from washing the florets. Place the over on top and steam for 1 minute. If already getting tender, I proceed with the smashing and roasting with cheese as described in the post. If still too tough, hear a few more seconds in the microwave.

.

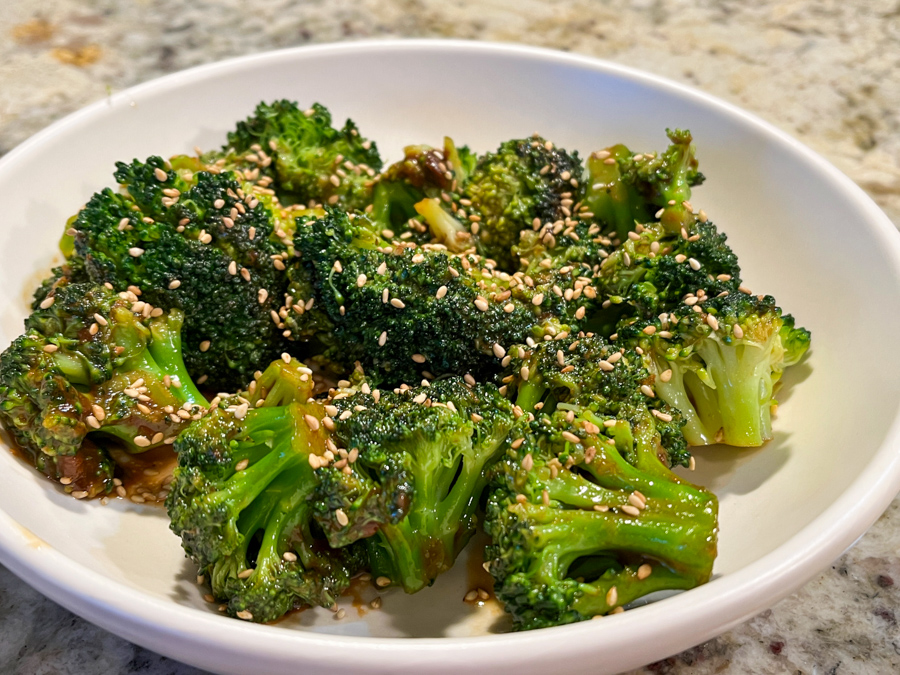
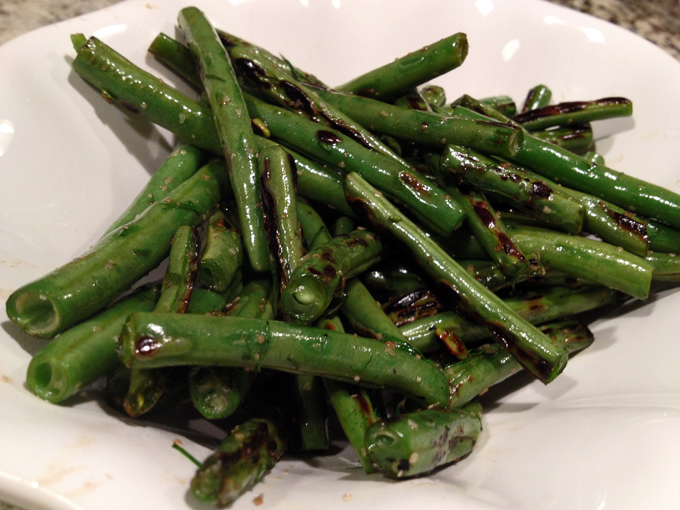
PAN-STEAMED BROCCOLI, ANY WAY YOU LIKE


Basic method described in this post. I usually keep it super simple. In the final 3 minutes of cooking I whisk a little olive oil with lemon juice in a small bowl. Sprinkle some salt. When the broccoli comes out of the pan, into a serving bowl it goes, and my little dressing is poured on top while the broccoli florets are super hot still. How often can you have a flavorful side dish that is ready in…. 8 minutes total? You can season it in the end in countless ways – miso, as in my post, vinaigrettes, sesame oil, anything goes.

.

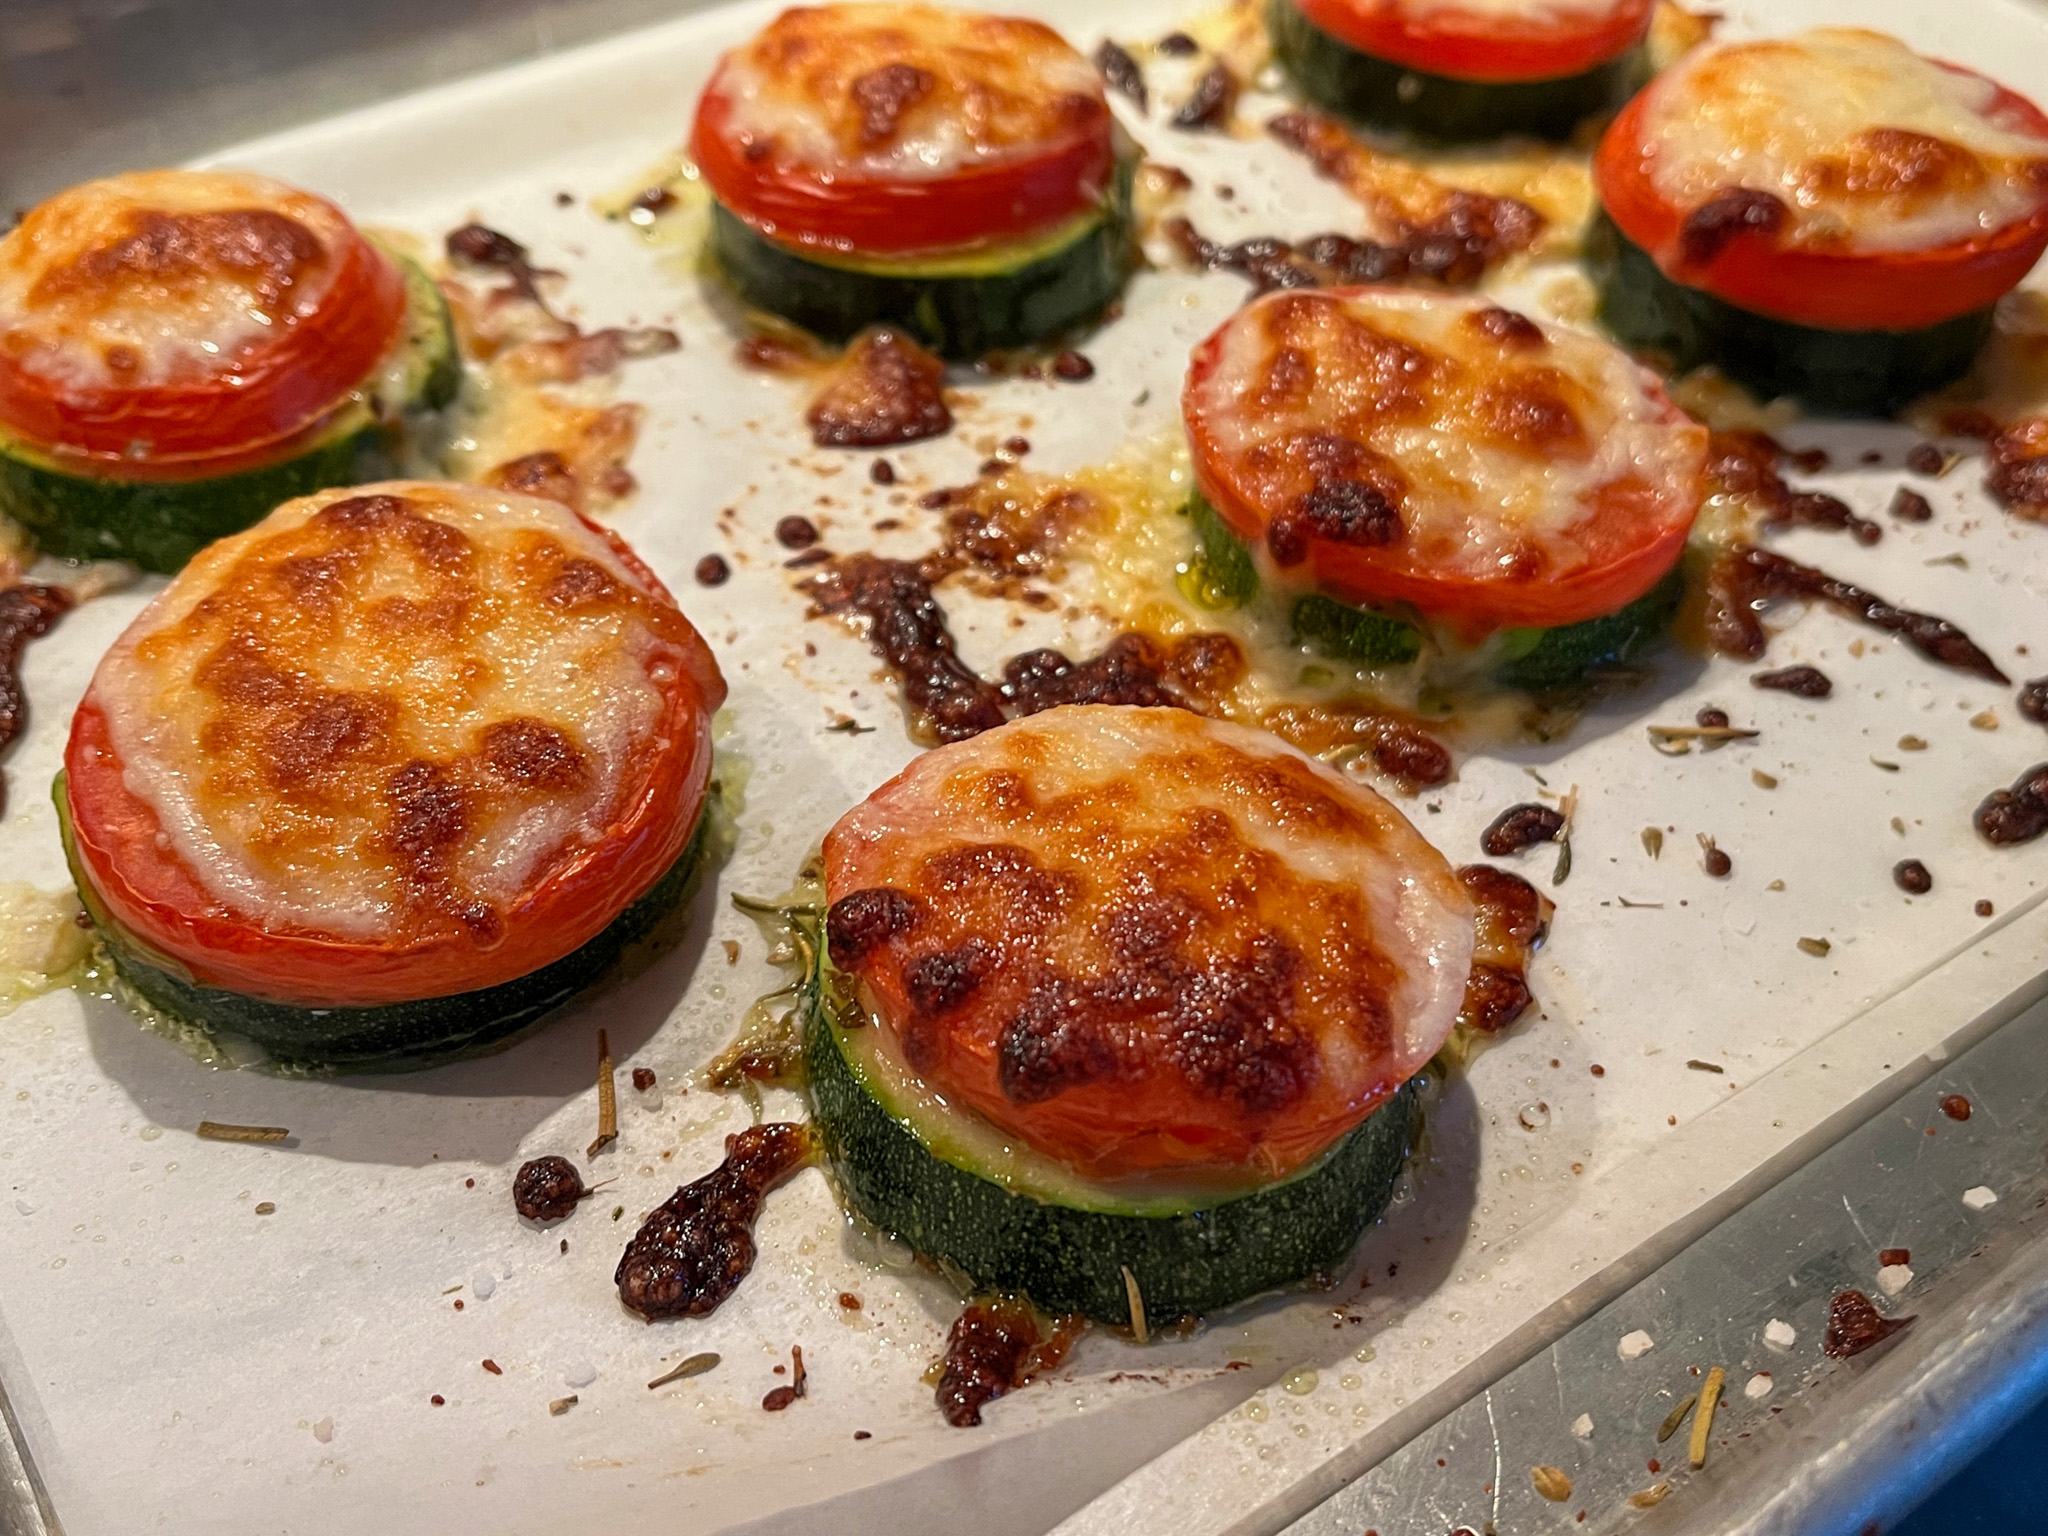
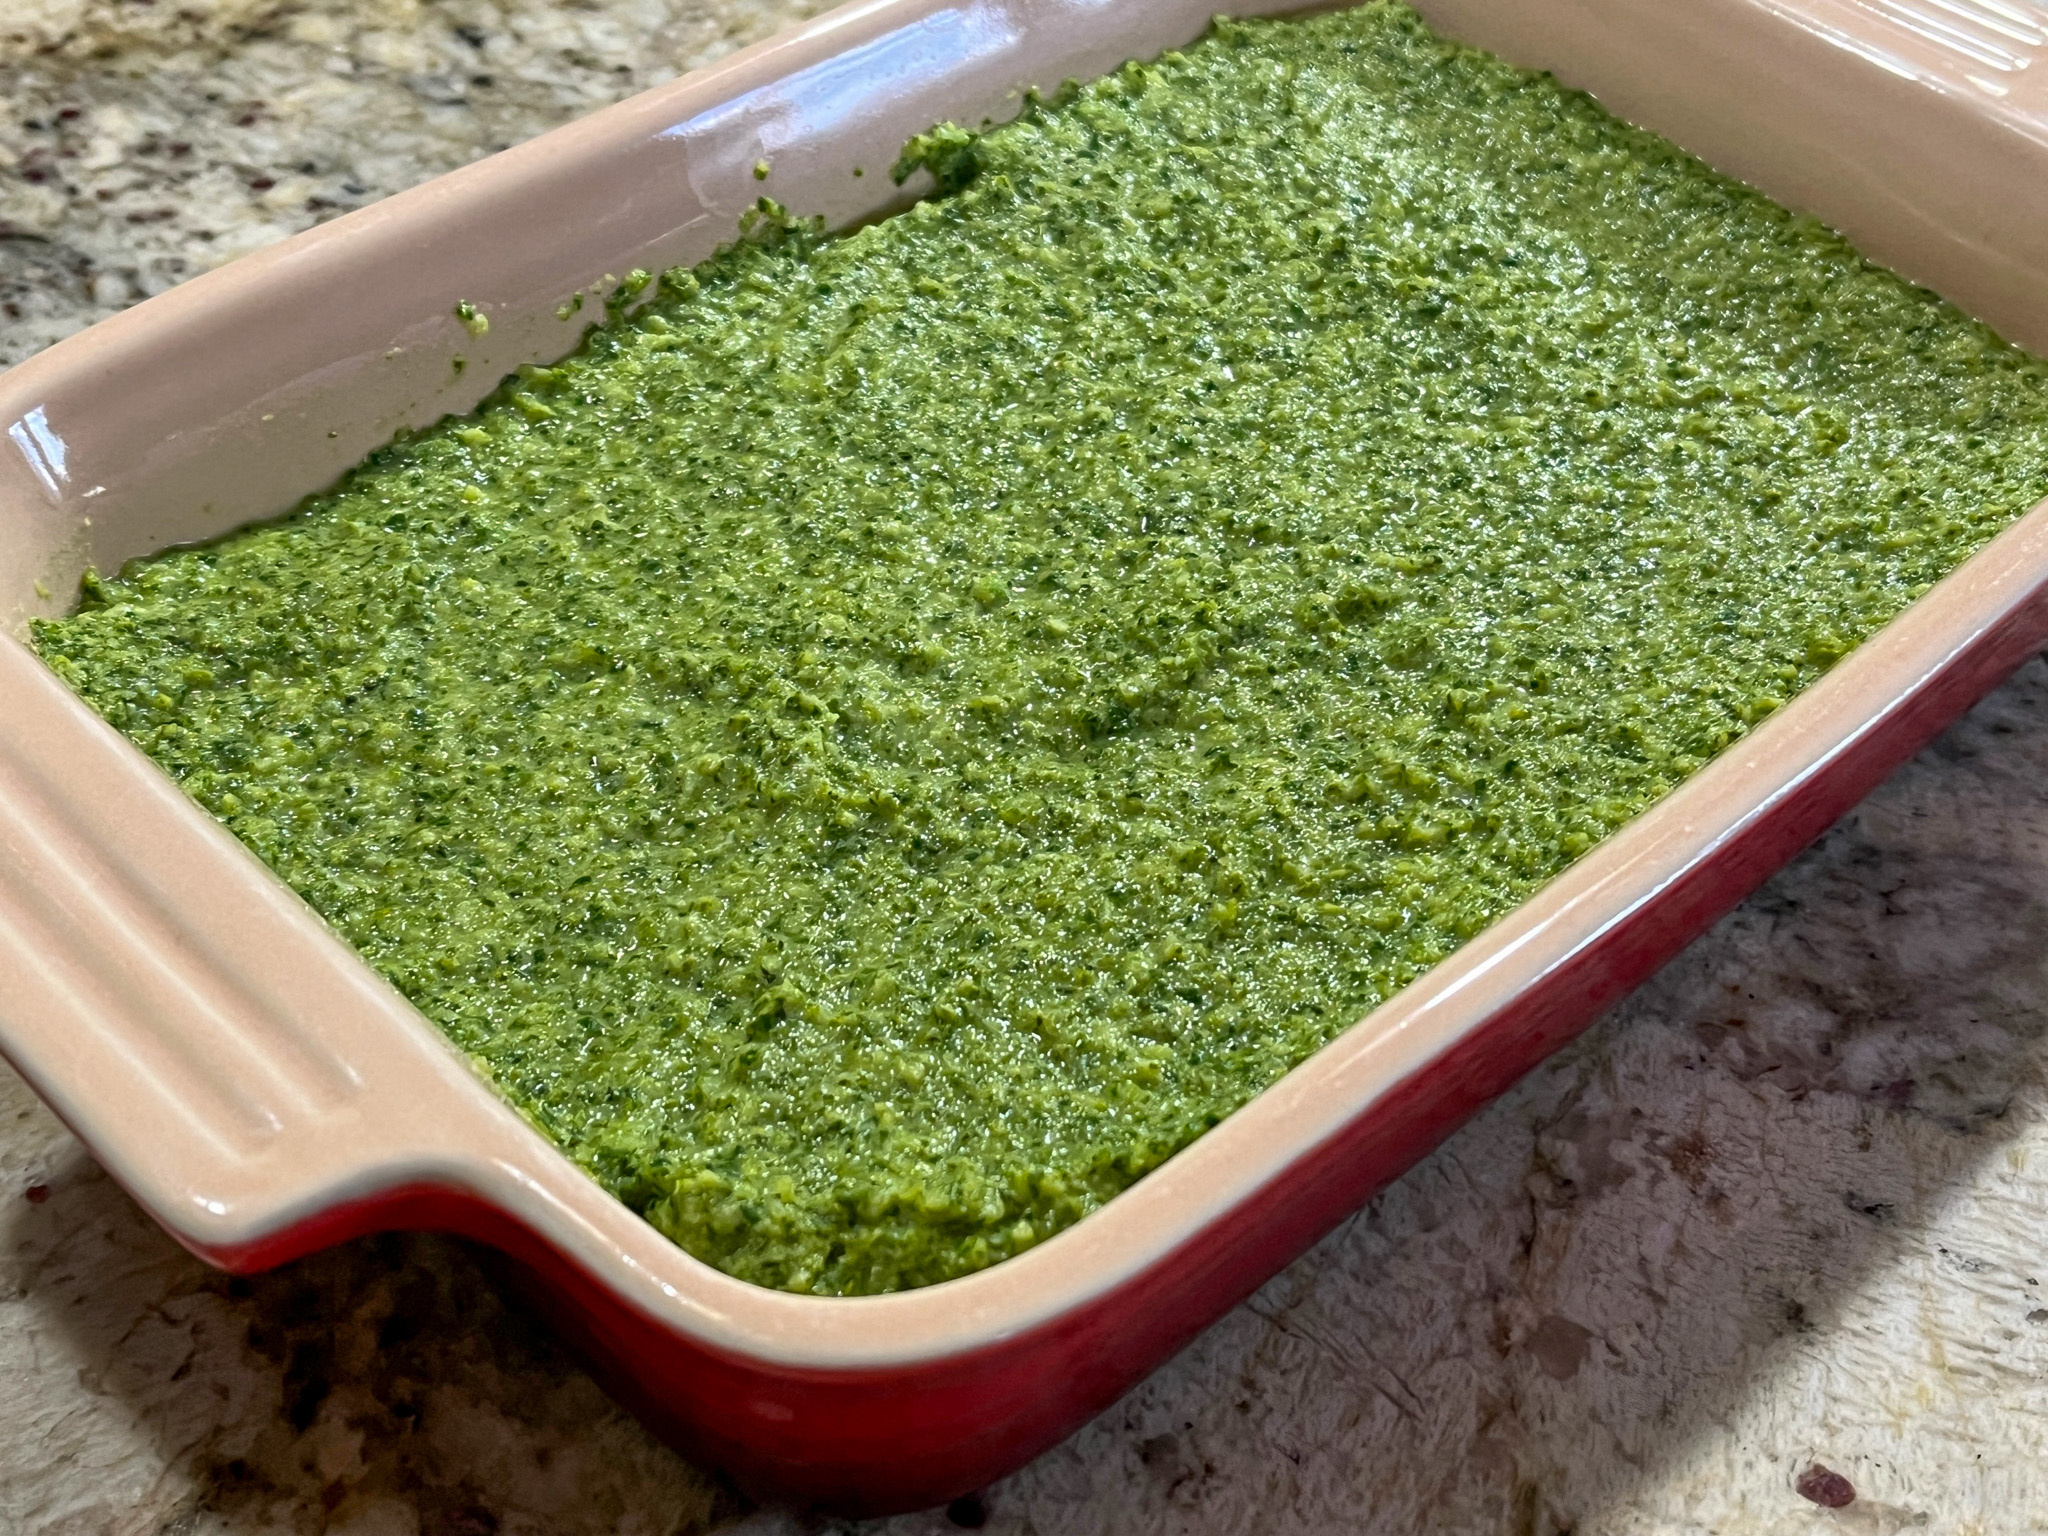
BROCCOLI PUREE A LA JACQUES PEPIN

Not the best picture I’ve ever taken, but this is truly delicious and I make it often. The original post is from 2014, so yes, I’ve been making it for 10 years (click here for full recipe). I now omit the brown butter and after cooking the broccoli florets until tender in salted water, I process them with full-fat yogurt, salt, pepper, and if needed a bit of the cooking water. I rarely need the water, usually I just adjust the consistency with yogurt. The spinach goes into the processor raw. I eye-ball everything, taste as I go. Once the consistency is right and the seasoning to my liking, it goes into a serving dish. If I want a little more richness, I sprinkle cheese on top and bake it until the cheese melts a bit.

ONE YEAR AGO: Spanakopita, Crackers and the Adventure of Phyllo Dough

TWO YEARS AGO: Chicken Noodle Soup

THREE YEARS AGO: Floral Chocolate Stick Cookies

FOUR YEARS AGO: Sally’s Spicy Mango and Coconut Macarons

FIVE YEARS AGO: Bouillabaise for a Chilly Evening

SIX YEARS AGO: Bergamot-Cherry Macarons

SEVEN YEARS AGO: Roasted Veggies with Queso Cotija Dressing

EIGHT YEARS AGO: Creamy Broccoli and Mushroom Casserole

NINE YEARS AGO: Maple Walnut Biscotti

TEN YEARS AGO: Barley Risotto with Peas

ELEVEN YEARS AGO: Oatmeal Fudge Bars

TWELVE YEARS AGO: Cauliflower Steaks

THIRTEEN YEARS AGO: Soft Spot for Chevre

FOURTEEN YEARS AGO: Quick sun-dried Tomato Crostini

PAN-CHARRED VEGGIES FROM COOKING LIGHT

Cooking Light magazine, in their April 2014 issue published a nice article about pan-charring veggies for a boost in flavor. More than simply offering a recipe, they shared a general method to deal with veggies like asparagus and green beans. Veggies that can take the heat, so to speak. All you need to do is choose three basic components: the fat to coat the veggies after the initial charring, the acidic ingredient to brighten things up and the herbs added right before serving.  No matter which veggies you are dealing with, they will be ready in no time.  I know I sound like a broken record, but when I get home from work and it’s my turn to cook, the last thing I want is a side-dish that takes 45 minutes to prepare.  Give me something fast and flavorful, and I am game!

So here is my take number one on this method: charred asparagus flavored with lemon juice and fresh dill at the end… Before you accuse me of the capital culinary sin of non-seasonal cooking, let me say that this dish was made last May, not too long after I got the magazine. As usual, it takes me a while to go from table to blog. But, since last week I used this method to cook delicious green beans, I am taking the opportunity to talk about both dishes. Clearly, it’s all about the char…

AsparagusDill

PAN-CHARRED ASPARAGUS
(adapted from Cooking Light, April 2014)

Cooking spray
8 ounces asparagus, cut in pieces
1 + 1/2 teaspoons walnut oil
2 teaspoons lemon juice
2 teaspoons chopped fresh dill
1/4 teaspoon salt
.
Heat a medium, heavy skillet (not nonstick) over high heat for 2 minutes.

Coat pan with cooking spray. Immediately add asparagus pieces to pan, shaking them into a single layer; cook, without stirring, 2 minutes or until asparagus is very lightly charred. Cook asparagus 5 more minutes or until crisp-tender and evenly charred, tossing occasionally.

Remove pan from heat. Let asparagus rest 1 minute. Add walnut oil; toss to coat asparagus pieces. Add lemon juice; toss. Turn on heat if necessary to evaporate most of liquid. Sprinkle asparagus with dill and salt; toss. Serve right away.

ENJOY!

to print the recipe, click here

And here is my take number two: the exact same method, using olive oil to coat green beans, a touch of apple cider vinegar as the acidic component, and fresh tarragon added at the end. Tarragon straight from the garden of our friend Cindy, who recently visited us with her husband. Remember, I am the lucky woman with the super generous friends…

GreenBeansTarragon2
Now, as I mentioned, this is all about the char… Look at these dark spots, aren’t they making you crave some green beans?

GreenBeansTarragon

Back in 2010 I  wrote a blog post about “Blasted Broccoli“, stove-top version. We loved that recipe so much that I went through a long phase of cooking it weekly. I can see that this method could be adapted for broccoli too. Or sugar snap peas.  Avocado oil, coconut oil, use your imagination (and your pantry) and play with this method.  You won’t be disappointed…

ONE YEAR AGO: Pomegranate Chicken Thighs and Carrot Mash

TWO YEARS AGO: The Many Faces of Kale

THREE YEARS AGO:  Short and Sweet

FOUR YEARS AGO: Ciabatta, a Classic Italian Bread

FIVE YEARS AGO: Magical Lamb Stew