CHOCOLATE-HAZELNUT TARTLETS

I’ve made this recipe twice, first time I thought they looked pretty nice but the filling was too dry for my taste. So I tweaked the recipe and now share with you the winner. Compared to the first attempt, they baked a little more flat, but the texture and taste were spot on, in my opinion. A big thank you to Matt Adlard, who helped me optimize it. As to the crust, it is my favorite. Very easy to handle, bakes like a dream. It goes in the oven as soon as the filling is piped in, no need to blind bake if using this type of filling. Easy as pie. Or, if you prefer, easy as tartlet.

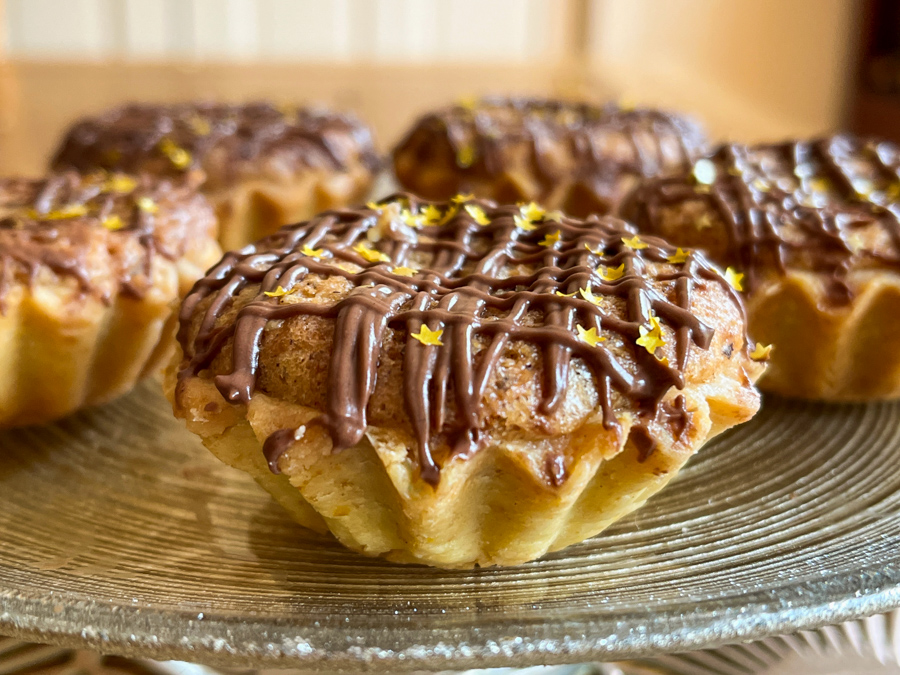
CHOCOLATE HAZELNUT TARTLETS
(from the Bewitching Kitchen, inspired by Carole Bloom)

makes about 8, depending on the size of your molds

for the shells:
120 g cup all-purpose flour
2 tablespoons granulated sugar
1/8 tsp baking powder
pinch of salt
zest of 1/2 orange
45 g butter, cut in small pieces and very cold
1 egg yolk
1 tablespoon heavy cream (or a little more depending on the final texture of the dough)

for the filling:
100g unsalted butter, softened
100g powdered sugar
75g eggs
12g cornstarch
80g hazelnuts flour
60g mini chocolate chips (the smallest you can find)

to decorate (optional)
drizzle of candy melts or chocolate
sprinkles of your choice

Add to a food processor the flour, sugar, baking powder, salt, and orange zest. Pulse until all is combined and the orange zest very fragrant. Add the chilled butter, pulse a few times until the butter is cut in small pieces. Whisk the egg yolk, and one tablespoon of cream in a little bowl. With the processor running, pour this mixture and wait until the mixture starts to form a dough. If needed, add a little more heavy cream. Shape the dough into a flat disk and place in the fridge for 15 minutes. If you prefer leave it longer, I like to use it while it is still very pliable.

Roll out the dough until it is about 12 inches in diameter, and cut circles that will allow it to fit inside and all the way up your molds. Place the filled molds in the freezer for 20 minutes or longer, as you make the filling and heat your oven to 350F.

Make the filling: Beat the butter and sugar until smooth. I used a handheld mixer. Slowly add the eggs and beat again. Add the cornstarch and hazelnut flour and mix to combine, then finally fold in the chocolate chips. Pipe that mixture into the unbaked, frozen tart shells and then bake until the filling is set, about 25 minutes, but check at 20 minutes.

ENJOY!

to print the recipe, click here

Comments: I am really happy with the way these turned out. The recipe for the shells is definitely my favorite because it is very easy to handle. Plus, the inclusion of orange zest is a nice touch. Most recipes will tell you to chill a pie dough for hours or even overnight. It does not work well for me. I much rather roll the dough while it is still pliable and then freeze before baking. But do what works for you, as I often say… your kitchen, you rules. The combination of hazelnut and chocolate is fantastic and perfect for the Fall and upcoming Thanksgiving. Keep that in mind…

ONE YEAR AGO: Turkey Taco Salad

TWO YEARS AGO: Cheese and Pesto Emmer Roll-ups and Elaine’s Cookbook Review

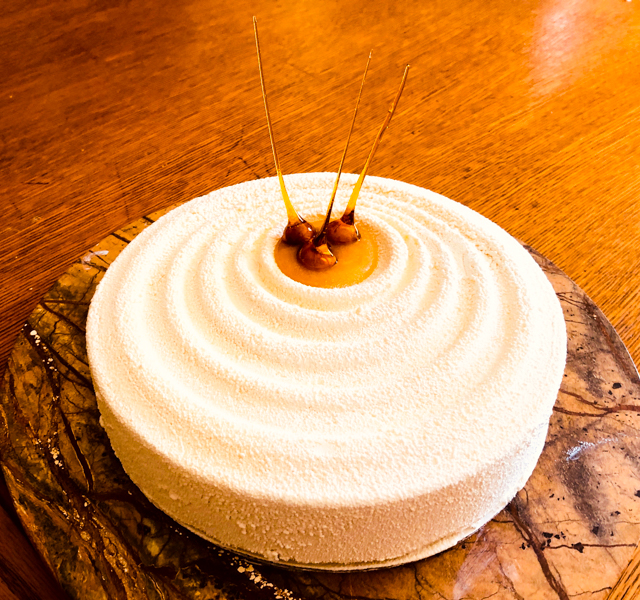
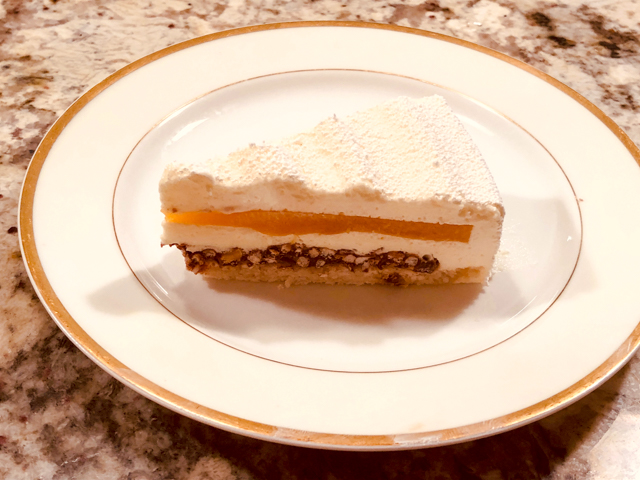
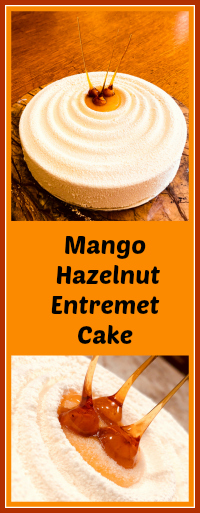
THREE YEARS AGO: Mango-Hazelnut Entremet Cake

FOUR YEARS AGO: Lebanese Lentil Salad and a Cookbook Review

FIVE YEARS AGO: Cottage Loaf

SIX YEARS AGO: Sourdough Loaf with Cranberries and Walnuts

SEVEN YEARS AGO: Sichuan Pork Stir-Fry in Garlic Sauce

EIGHT YEARS AGO: Our Green Trip to Colorado

NINE YEARS AGO: Ditalini Pasta Salad

TEN YEARS AGO: Celebrate Wednesday with a Thai Seafood Curry

ELEVEN YEARS AGO:  Post-workout Breakfast

TWELVE YEARS AGO: Semolina Barbecue Buns

THIRTEEN YEARS AGO: Lavash Crackers

MANGO HAZELNUT ENTREMET CAKE

It’s been a while since I made what is probably my favorite type of dessert. As far as entremet goes, this is a reasonably simple example, with a single insert in the center (mango gelée) and only two components in the base, a hazelnut dacquoise and a crunchy chocolate layer. I used the Silikomart Vague mold, I love its design and how easy it is to remove the frozen cake for final decoration, which involved chocolate spray and a few caramel-coated hazelnuts.

MANGO HAZELNUT ENTREMET CAKE
(from the Bewitching Kitchen)

For the hazelnut dacquoise:
75 g egg whites, at room temperature
50 g sugar
70 g hazelnut flour (I processed toasted hazelnuts)
50 g sugar
20 g all-purpose flour

Heat oven to 350F.

Beat the egg whites (with whisk attachment) until you can see a trail forming as the beater moves through them. Add the sugar slowly and beat until firm peaks form, but do not overbeat or it will get grainy (and ruined).  Add the hazelnut flour mixed with remaining 50 g of sugar and the flour, folding delicately. Pour or pipe the mixture in a circle about 8-in diameter over parchment paper. Cook for about 10 minutes, let it cool on a rack, while still a bit warm cut a circle of the exact dimension of the mold you’ll use to make the dessert (if using Vague mold, that will be 20 cm or 7 and 3/4 in).

For the mango insert:
150 g mango puree (I used frozen mango chunks)
25 g sugar
5 g gelatin in sheets (230 Bloom)

Soak the gelatine cut into pieces in cold water for 10 minutes.

Bring the puree together with the sugar to 120F, add the drained gelatin, mix and pour in a 6-inch ring, covered on the bottom with film and placed on a tray. Remove a small amount (about 2 tablespoons) for the decoration on top.

for the chocolate-crisp:
113 g Lindt milk chocolate with hazelnuts
10 g pistachio paste (or add 2 tsp coconut oil)
10 g puffed quinoa (or rice crisps cereal, or crumbled corn flakes)

Toast the puffed quinoa in a 350F oven for a few minutes, until fragrant. Melt the chocolate gently and mix it with the toasted quinoa and the pistachio paste. Spread as a thin circle on parchment paper, with dimensions a bit bigger than the bottom of the dessert mold.  Once it cools slightly,  cut it to fit exactly on top of the hazelnut dacquoise (20cm or 7 and 3/4 in).

For the white chocolate mousse:
175 g whole milk
35 g sugar
70 g egg yolks
7 g gelatin in sheets
175 g white chocolate
1/4 tsp vanilla paste
350 g cream

Soak the gelatin in cold water for 10 minutes. Break up the chocolate and place it in a bowl with the vanilla paste.

Bring the milk to a simmer in a saucepan. Whisk the egg yolks and sugar by hand in a bowl, pour over a bit of the simmering milk to temper it, then transfer the whole mixture to the pan and bring the temperature to 180F. Remove from heat, add the squeezed gelatin, pour into the bowl with the chocolate and emulsify using an immersion blender or a whisk. Make sure it is all very well combined and smooth. Allow it to cool.

Meanwhile whip the heavy cream to a consistency of melted ice cream. When the custard is around body temperature or just a bit warmer, fold the cream into it. Pour about 1/3 of the mixture into the Vague mold , place the frozen mango insert, pour chocolate mousse almost to the top, allowing just enough room for the crunchy chocolate layer and the dacquoise.  Add them, and fill any gaps on the sides with mousse. Wrap with plastic and freeze overnight.

for the chocolate spray:
300 g white chocolate
200 g cocoa butter

Melt together and place in sprayer at 90 F (I use a normal paint sprayer dedicated to chocolate only).

Turn out the frozen cake and spray immediately with a light coating of white chocolate suspension.  Melt the reserved mango gelatin very gently, and spoon some in the center of the mold. Keep in the fridge for at least 4 hours before serving. Decorate with caramel-coated hazelnuts.

ENJOY!

to print the recipe, click here

Comments: I am very happy with the flavors and textures of this baby. The tricky part of this type of dessert is assembling it, because it’s a process that is a bit “in the dark”, so to speak. With a regular layered cake, you can visualize the layers well, because you either bake them individually or cut slices from a bigger cake. As the cake is assembled, it is also easier to judge how much filling to add so that the layers end up as uniform as you want them to be. In mousse cakes like this one, it becomes a bit of a guessing game. For instance, how much to allow the insert to sink in, how to make sure it is properly leveled,  how to prevent large air bubbles to form, or to make sure the sides are smooth.  Small details can go wrong, but you may not realize until unmolding the frozen cake next day. Talk about cake-anxiety…  😉

You can see that part of the mango insert got a little wavy. That happened because when I first made the insert and set it in the fridge overnight, the pan got a bit tilted and I had to melt the layer again and re-freeze it, not an ideal situation. Lesson learned.  It is crucial to have space in your freezer that allows all components to lay flat and absolutely leveled.

The most fun part? Making the hazelnut with the pointy caramel bits. I followed the method described in Martha Stewart’s site, and it worked like a charm. My only advice is that you make more hazelnuts than you need. Some end up cracking as you stick the skewer, so it’s better to start with more. Also, some might roll a bit as the caramel drips compromising the shape of the drip. It is very important to let the caramel rest before coating the hazelnuts, but once it reaches the right viscosity, you must work fast. It is possible to re-warm the caramel briefly to continue using it, but it’s a bit of a hassle. I prefer to hit that magical point and work with it right away.

Finally, don’t let the lack of a Silikomart mold stop you from making this dessert. A simple ring or springform pan will work, as long as you have a second ring with smaller diameter to form the insert. And the velvet coating is also optional (although you can also buy a spray can with the suspension ready to use; be ready for sticker shock!). The surface is very smooth to start with (see the large photo in the composite picture), so you could leave it as it is, or melt some white chocolate and drizzle it all over the top, in a Pollock-manner.  You could dye the chocolate orange and then add the hazelnuts here and there.

ONE YEAR AGO: Lebanese Lentil Salad and a Cookbook Review

TWO YEARS AGO: Cottage Loaf

THREE YEARS AGO: Sourdough Loaf with Cranberries and Walnuts

FOUR YEAR AGO: Sichuan Pork Stir-Fry in Garlic Sauce

FIVE YEARS AGO: Our Green Trip to Colorado

SIX YEARS AGO: Ditalini Pasta Salad

SEVEN YEARS AGO: Celebrate Wednesday with a Thai Seafood Curry

EIGHT YEARS AGO:  Post-workout Breakfast

NINE YEARS AGO: Semolina Barbecue Buns

TEN YEARS AGO: Lavash Crackers