FLOWER STENCIL SOURDOUGH

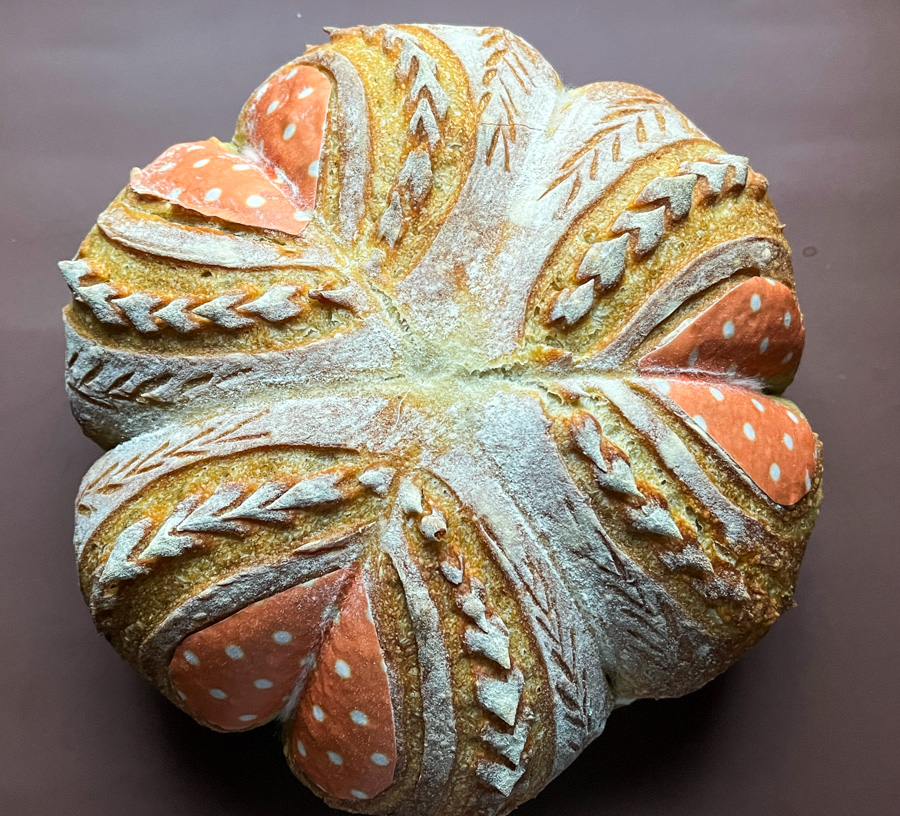
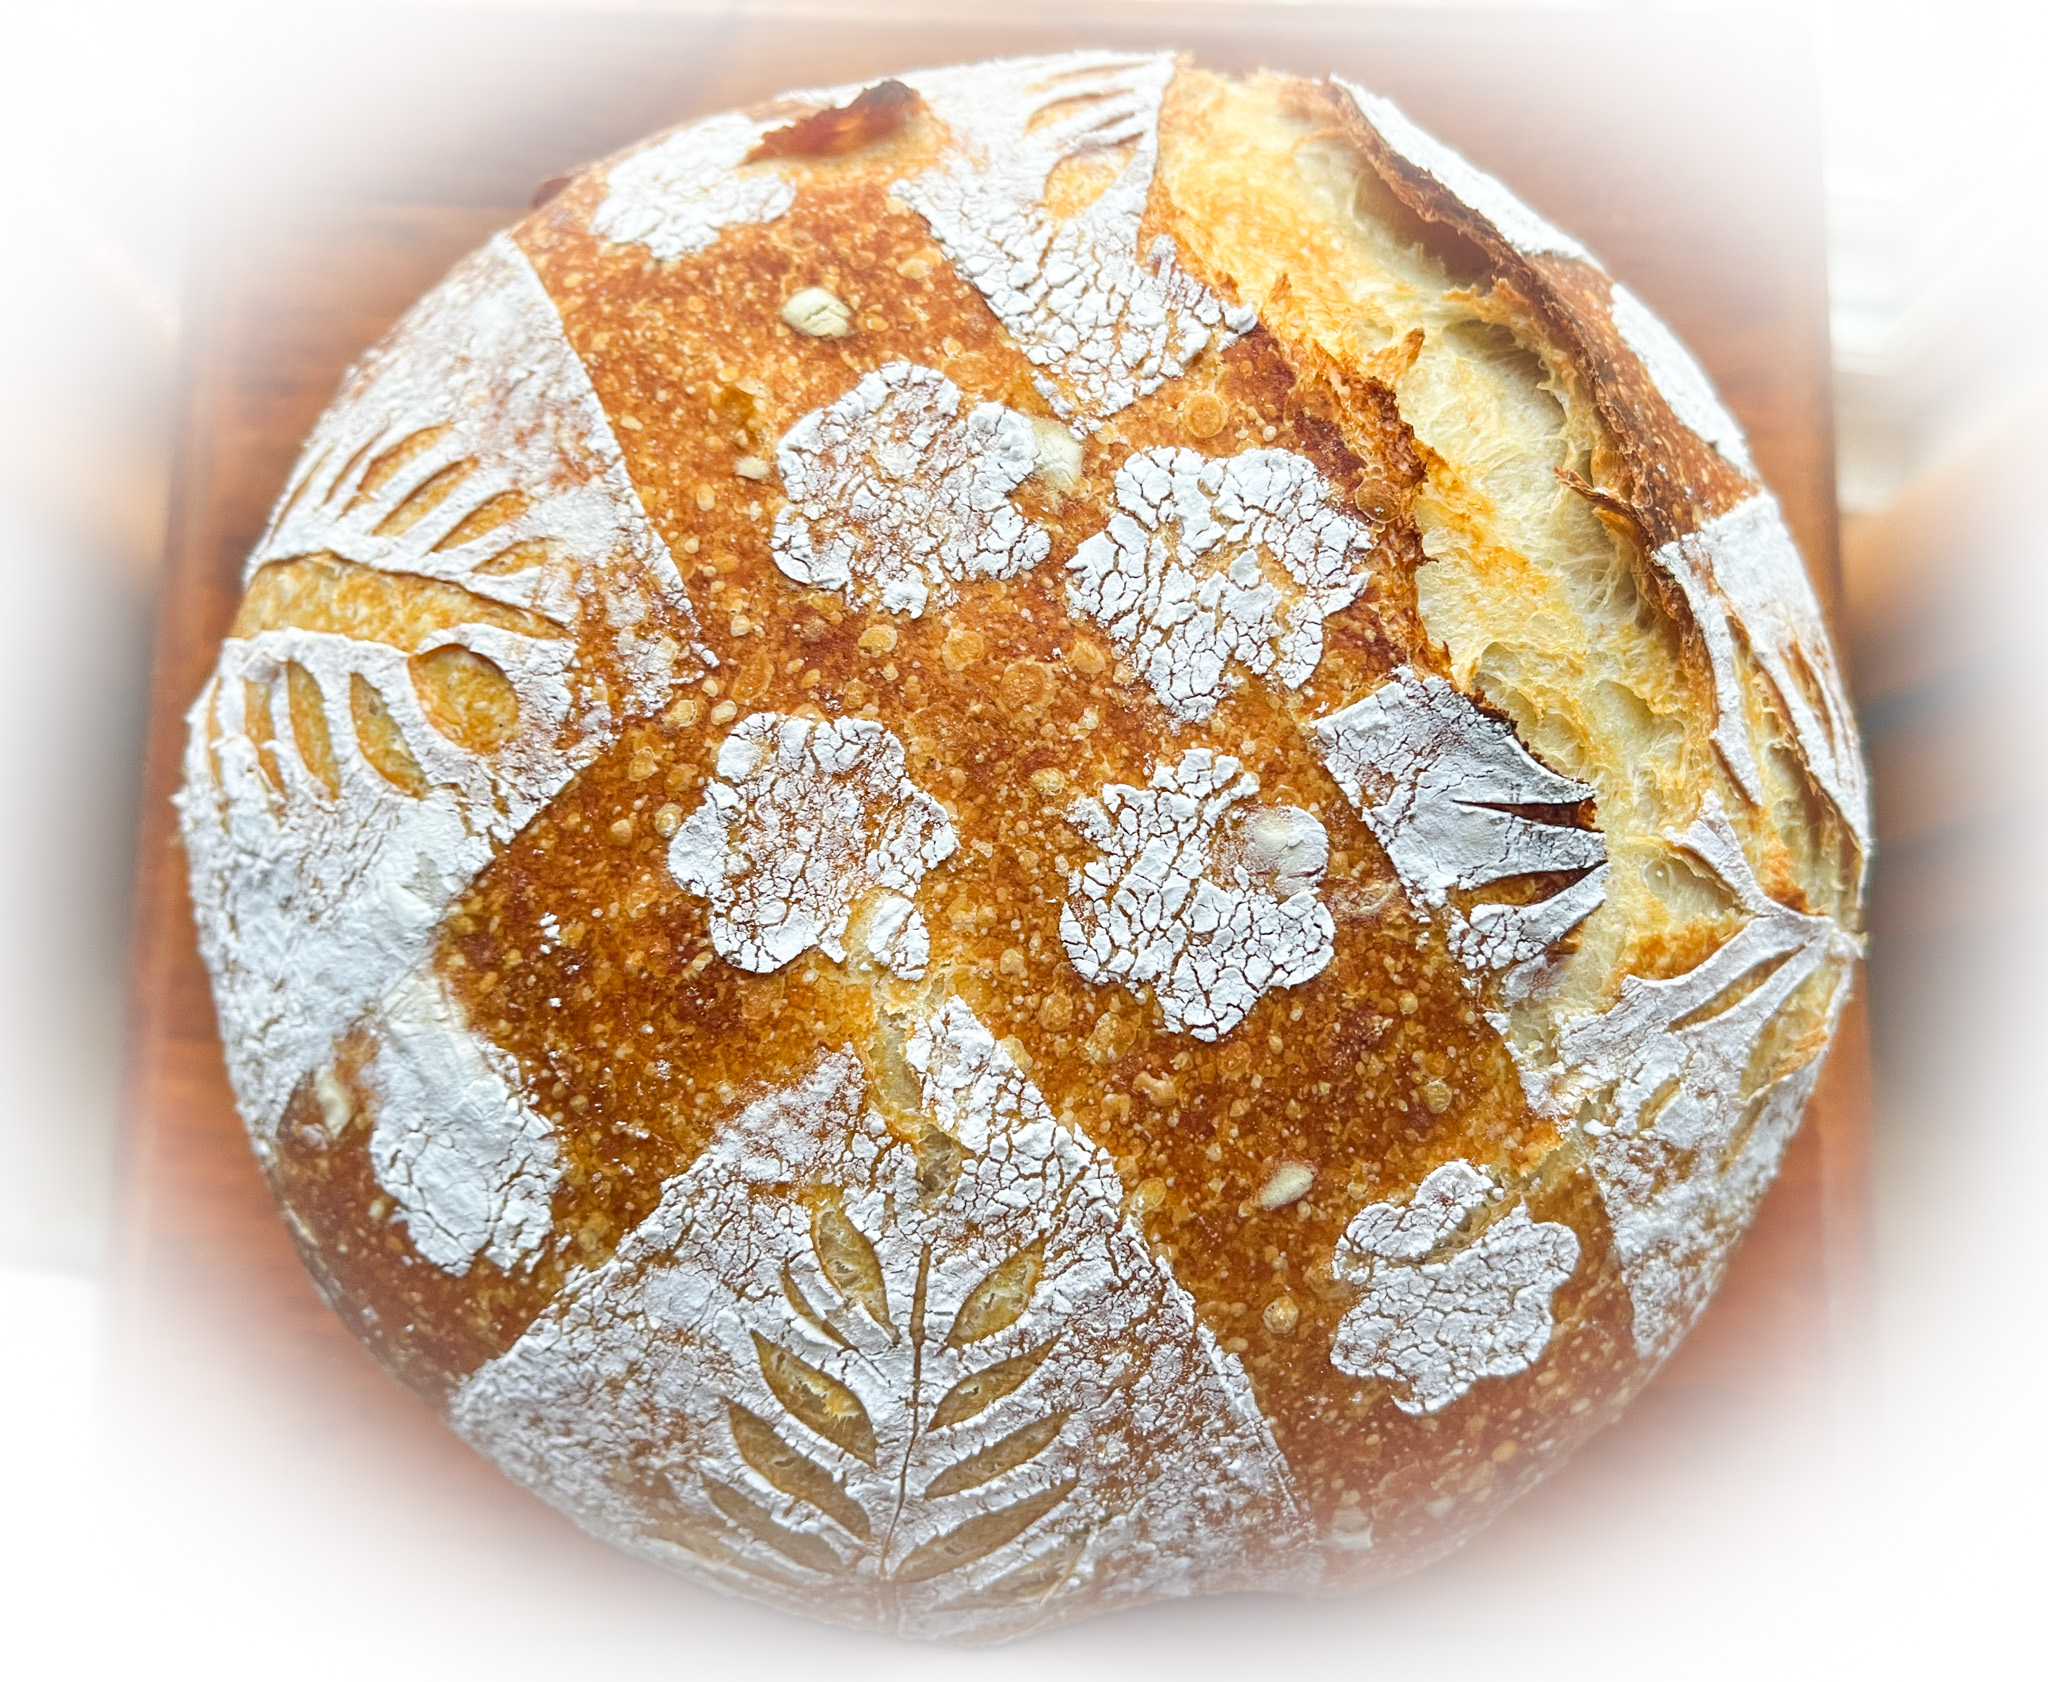
Inspired by great bakers who share their work on Instagram, this is my version of sourdough decorated with wafer paper made into stencil thanks to a paper puncher. A special thank you to my friend Dorothy for bringing wonderful baking ideas to my radar…

You can use any bread recipe you like, mine was a very simple formula (480g bread flour; 20g whole wheat flour; 75g sourdough starter at 100% hydration; 350g water; 10g salt). Use the method described here.

To decorate the bread, you will need a paper puncher like one from this set. Cut two strips of wafer paper and punch the design. Make it in a way that they can criss-cross and keep the design flowing (I actually used scissors to make final adjustments. Once your bread is ready to bake, lay the wafer paper on top, dust with flour (I like to use tapioca flour for that), gently pull the paper out, and score some pattern with a razor blade. Bake as you normally do. Steps are shown below.

The possibilities are of course endless! You can paint the flowers, use different shapes to make your stencil, add it to batard shaped bread, so many things to try…

ONE YEAR AGO: Happy Easter!

TWO YEARS AGO: Mini-Blueberry Cakes

THREE YEARS AGO: Wood Plank Cookies, Learning from the Best

FOUR YEARS AGO: OMG Spinach Pies

FIVE YEARS AGO: Avgolemono Soup, My Way

SIX YEARS AGO: Sourdough Chocolate Twist Bread

SEVEN YEARS AGO: Dan Lepard Times Three

EIGHT YEARS AGO: Turkey Portobello Burger

NINE YEARS AGO: Raspberry Ricotta Cake

TEN YEARS AGO: In My Kitchen, April 2014

ELEVEN YEARS AGO: Whole-Wheat Pasta with Lemony Tomatoes and Spinach

TWELVE YEARS AGO: Blood Orange Duck: A work in progress

THIRTEEN YEARS AGO: Grilled Mahi-mahi with citrus marinade

FOURTEEN YEARS AGO: Memories of Pastéis\

POLKA DOT LOVE SOURDOUGH

Once again I played with wafer paper to decorate sourdough bread, but this time I coupled it with a few strings to generate a cute shape, often used to turn the bread into pumpkin shape, but I opted for a more romantic outcome… Nothing personal against pumpkins, I do love them and honored them in the past (click here).

Start by cutting wafer paper in small heart shapes…. You will need three, and three long strings that you should rub very lightly with oil to facilitate removing later.

Place the strings equally spaced over the proofed dough, flip the dough over parchment paper, and tie the strings on the top, trying to hit the center as closely as possible. Gently insert the paper, coat the surface with flour and score the bread in any design you like. I used the Sonic blade and small scissors, as I often do.

Bake as you normally do, I keep the lid for 30 minutes and remove it for a final 15 minutes, all at 450F. Remove the strings, and allow the bread to cool completely before slicing.

You can use different patterns for the small hearts, or cut plain wafer paper and paint it yourself.

It is really amazing how well the colors in the wafer paper stay pretty much unchanged with baking, much better than air-brushed or gel colors. I hope you give this technique a try and have as much fun with it as I am having…

ONE YEAR AGO: Plum Sorbet

TWO YEARS AGO: Grilled Chicken with Sesame Roasted Carrots

THREE YEARS AGO: Let’s Get Spooky!

FOUR YEARS AGO: Miso and Sesame Roast Chicken with Revelation Quinoa

FIVE YEARS AGO: Incredibly Simple Times Four

SIX YEARS AGO: Parsnip, Coconut and Lemongrass Soup

SEVEN YEARS AGO: In My Kitchen, October 2016

EIGHT YEARS AGO: Paleo Moussaka

NINE YEARS AGO: In My Kitchen, October 2014

TEN YEARS AGO: In My Kitchen, October 2013

ELEVEN YEARS AGO: Bourbon and Molasses Glazed Pork Tenderloin

TWELVE YEARS AGO: Crimson and Cream Turkey Chili

THIRTEEN YEARS AGO: Taking a break from the nano-kitchen

FOURTEEN YEARS AGO: Chocolate Chip Cookies