Can you tell I am in love with this salad?
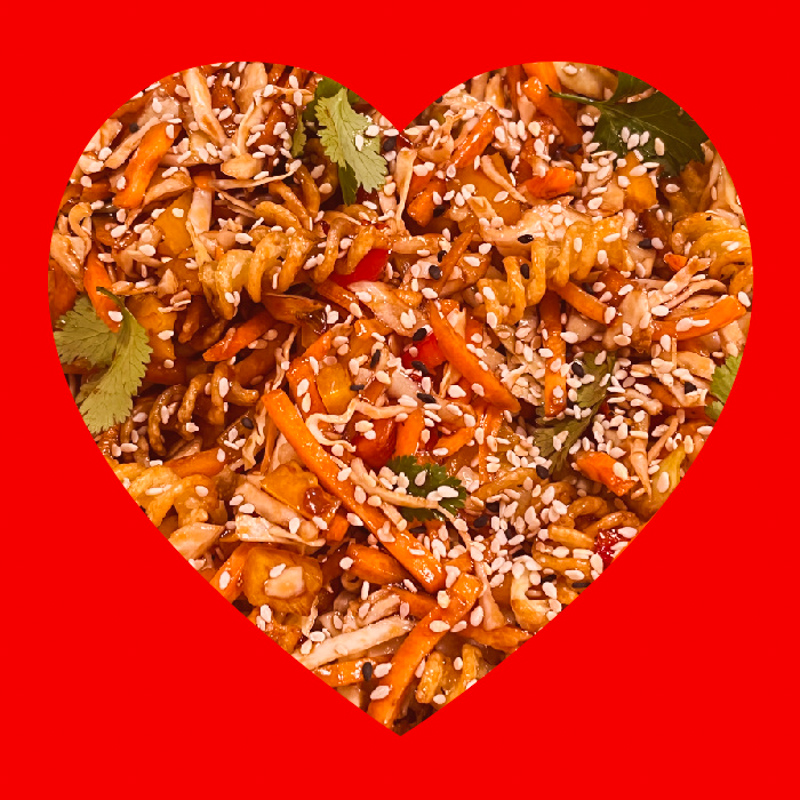
But first, a disclaimer… This is by no means an authentic bhel. If you are new to the term, bhel is a concoction from India, made with puffed rice and crispy sev noodles. I’ve found this version by complete accident and was so intrigued by it, I could not wait to try it. However, I have modified it substantially so if there was any resemblance with the authentic bhel, it is pretty much all gone… Can we still be friends?
PASTA CHIP BHEL
(adapted from Naturallynidhy)
for pasta chips:
1 cup cooked pasta (I used fusilli)
2 tbsp grapeseed oil
2 tsp black and white sesame seeds
1/2 tsp black pepper
salt to taste
for the salad:
1 cup mixed colors shredded cabbage or store-bought cole slaw mix
1/2 cup matchstick carrots (or shredded in food processor)
1/2 red bell pepper, finely diced
1/2 yellow bell pepper, finely diced
fresh cilantro leaves
2 tbsp grapeseed oil
2 tbsp soy sauce
1 tbsp sweet red chili sauce (I used Thai Kitchen)
1 tbsp black vinegar (or another vinegar of your choice)
1/2 tsp red chili flakes
juice of 1/2 lime (or to taste)
salt to taste
sesame seeds to serve
Turn the air-fryer to the highest temperature (mine is 390F). Mix the pasta with oil, sesame seeds, salt and pepper. Air-fry for about 10 minutes, until crispy and fragrant. If you don’t have an air-fryer, roast in the oven at 400F for about 15 minutes. Let it cool in a single layer over paper towels.
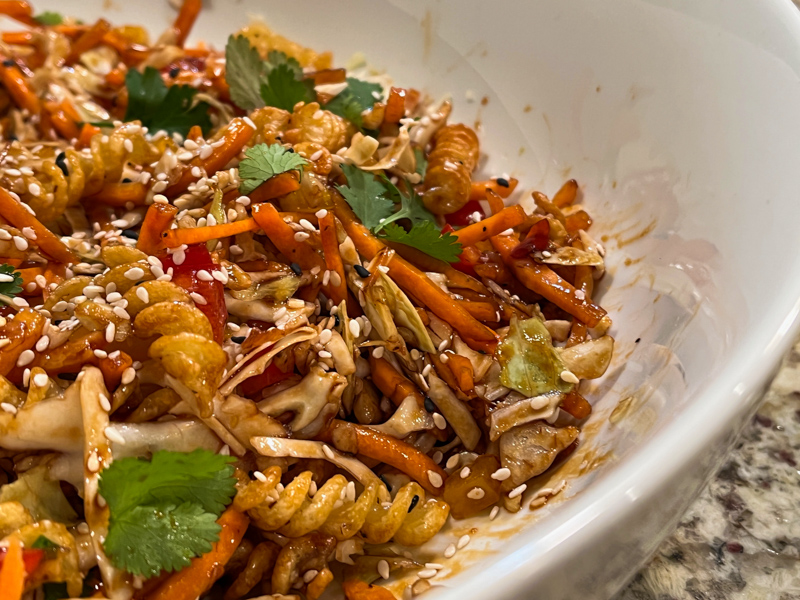
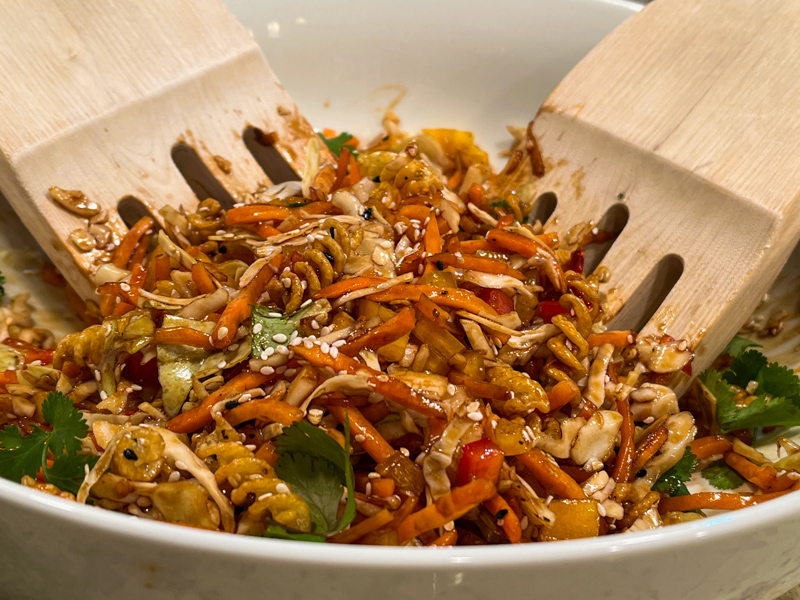
In a large bowl where you will serve the salad, make the dressing by mixing all oil, soy sauce, red chili sauce, vinegar, and chili flakes. Whisk well, then add a little lime juice, taste, and see if you’d like more lime juice. Add the pasta chips and all other ingredients to the bowl, toss well and adjust seasoning with salt and pepper if needed. Let it sit at room temperature for about 15 minutes before serving, or longer in the fridge.
Add cilantro and more sesame seeds right before serving.
ENJOY!
to print the recipe, click here
Comments: Talk about exotic flavors and textures, this salad has it all. I am now quite eager to make the real bhel, so stay tuned for that. One of my modifications was using the pasta more like you would “croutons” in a Caesar salad, just like an accent. I believe that in bhel the pasta is a main component.
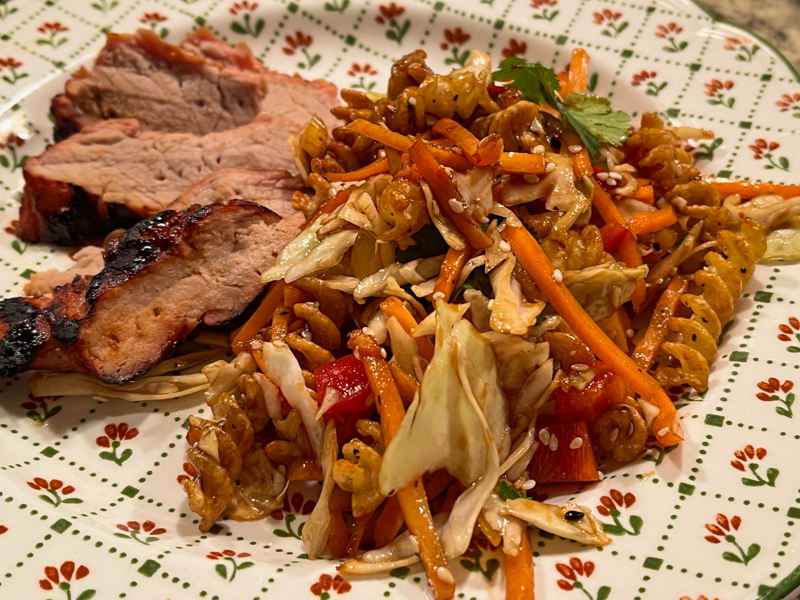
All the amounts of veggies are suggestions, and super flexible. Use what you like, add other veggies if you prefer. But the idea is to have a lot of texture, and let the sauce barely smooth things out. The salad is vegan-friendly , but we “corrupted” it with grilled pork tenderloin. If you make the pasta as a main component of the salad, this could well work as a full dinner. One more thing, pay close attention to the air-frying step, and shake that pan often. It is easy to end up with some pasta crisps over-cooked. I am definitely making this or modifications of this version again and again.

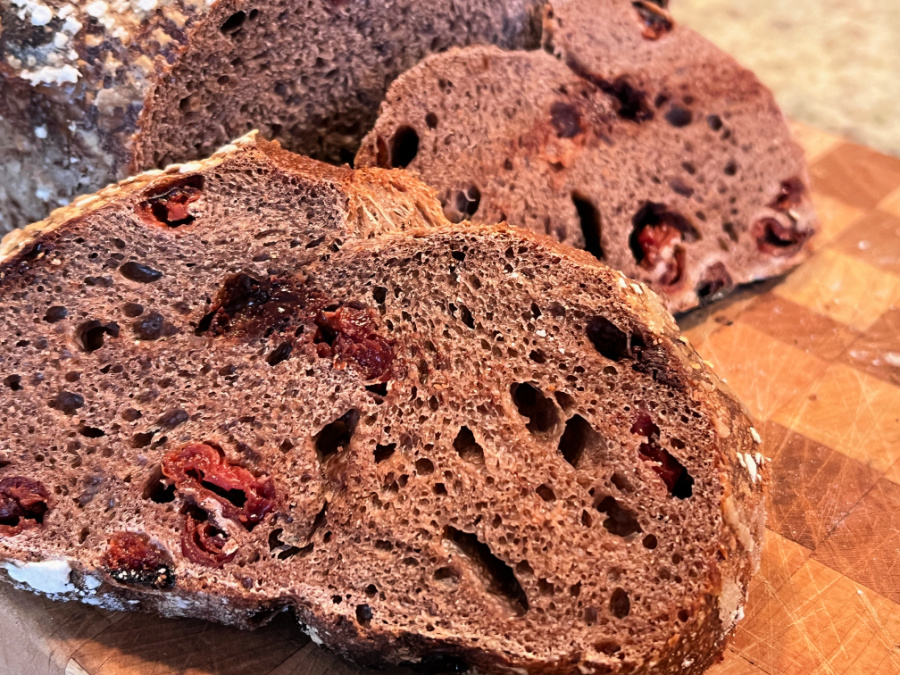
ONE YEAR AGO: Be My Valentine Sourdough Bread
TWO YEARS AGO: Orange Streusel Cake
THREE YEARS AGO: Pink Praline Brioche
FOUR YEARS AGO: A Spinach Salad to Write Home About
FIVE YEARS AGO: Karen’s Four Hour French Country Bread
SIX YEARS AGO: The Siren’s Song of the Royal Icing
SEVEN YEARS AGO: Blog-worthy Roasted Butternut Squash
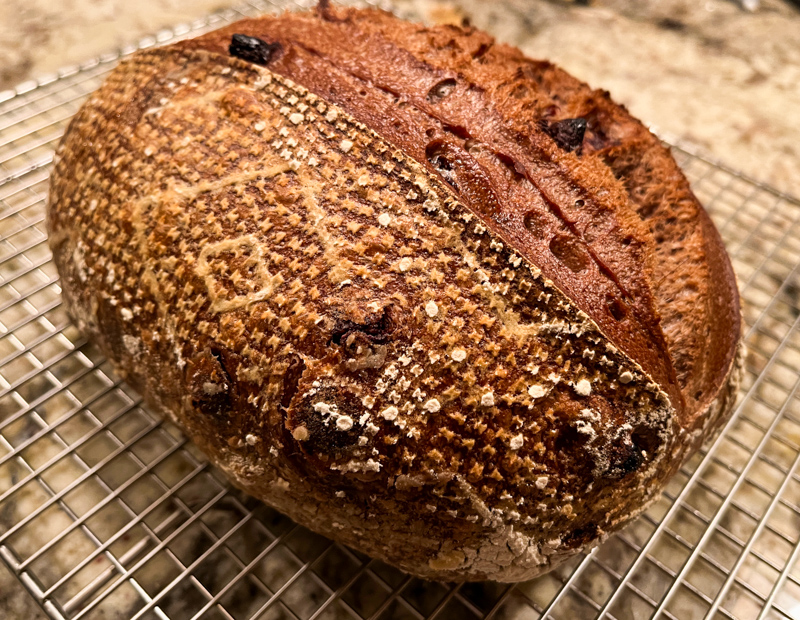
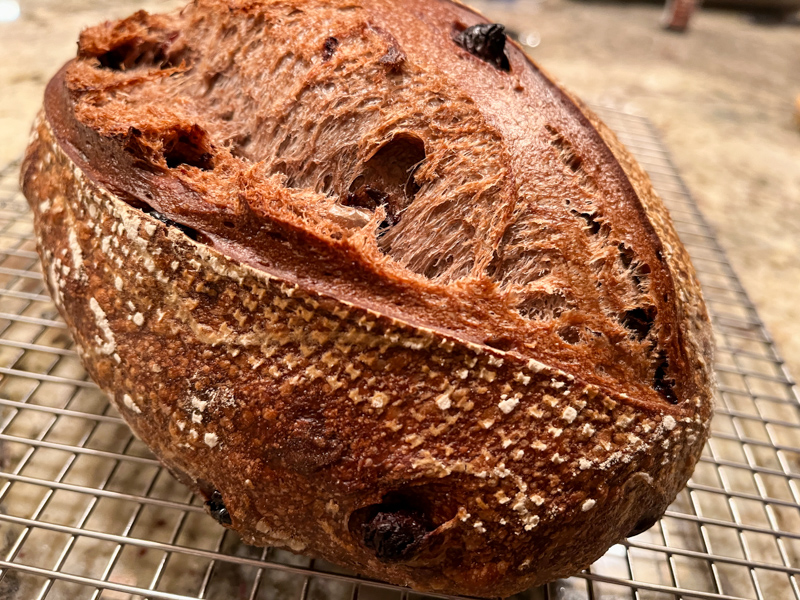
EIGHT YEARS AGO: Chocolate Currant Sourdough Loaf & Roasted Beet Hummus
NINE YEARS AGO: Sesame and Flax Seed Sourdough
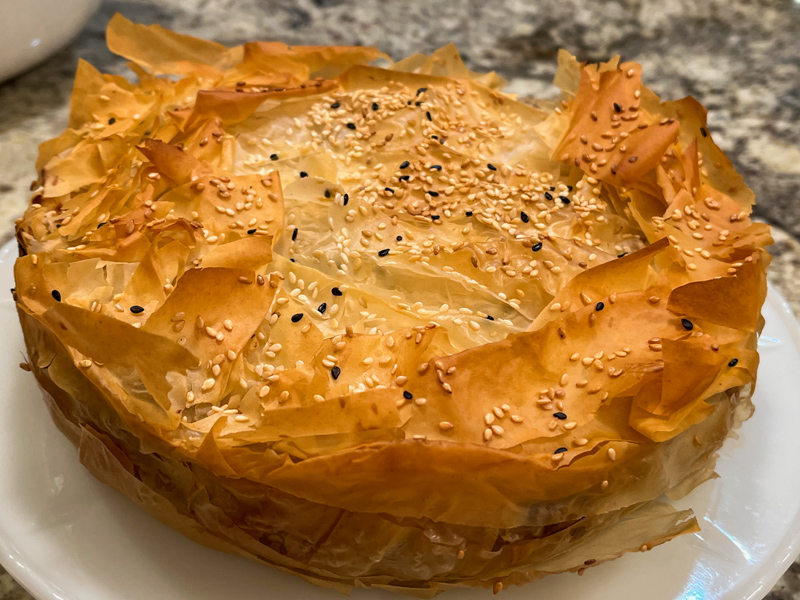
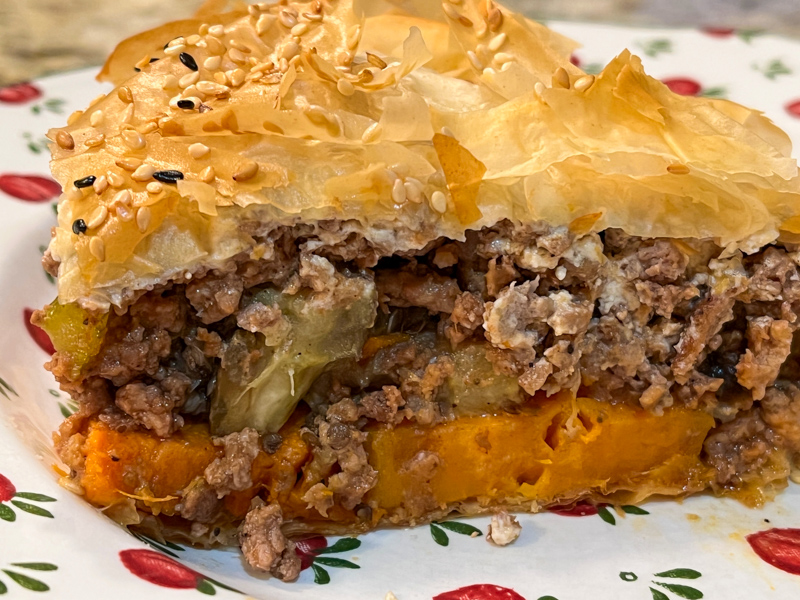
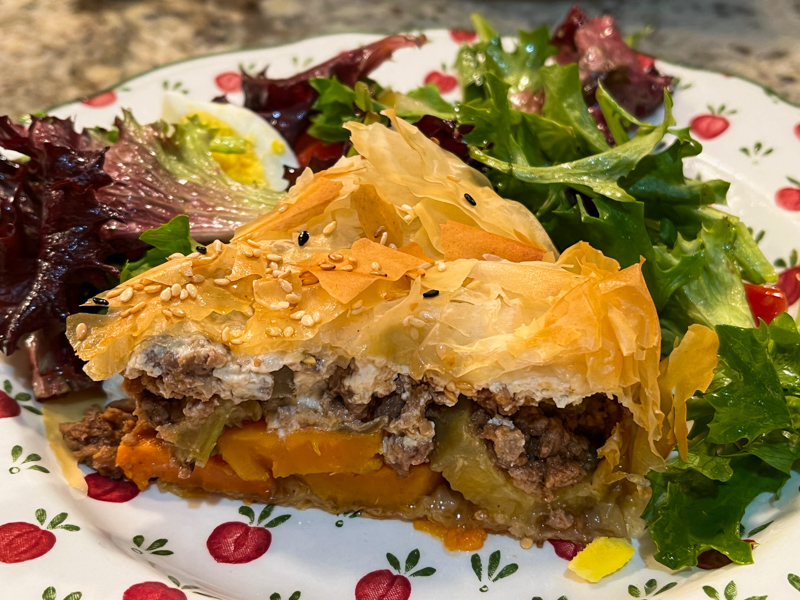
TEN YEARS AGO: Spanakopita Meatballs
ELEVEN YEARS AGO: Saturday Morning Scones
TWELVE YEARS AGO: Pain de Mie au Levain