CHOCOLATE CRANBERRY CURD TART


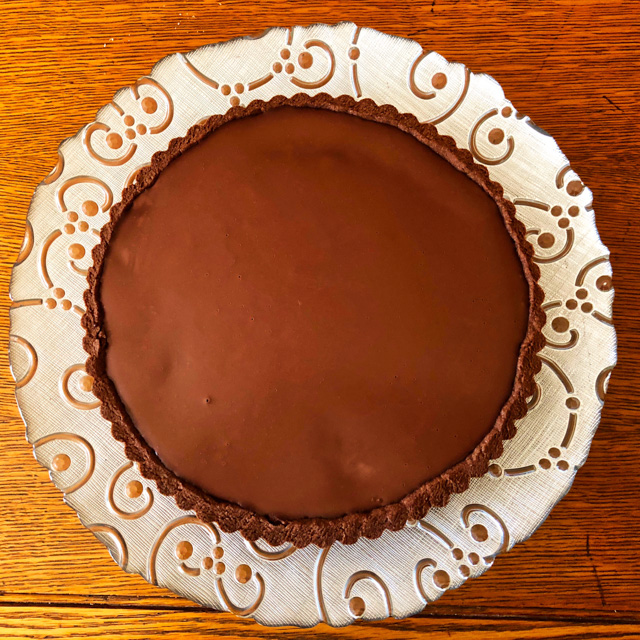
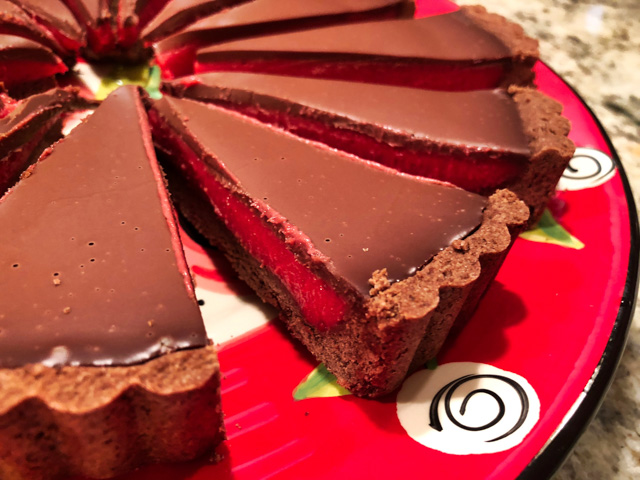
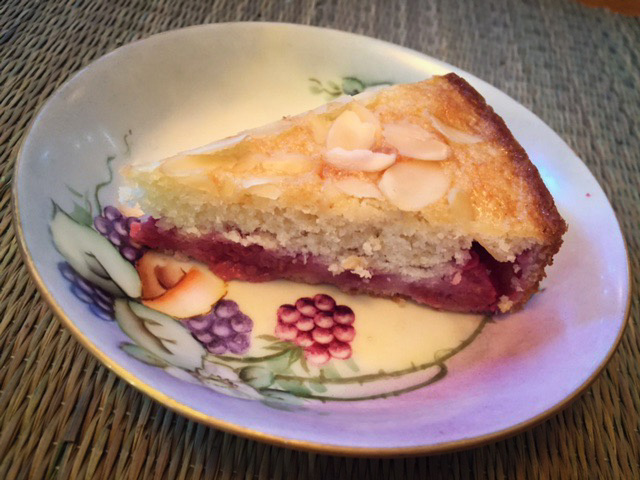
If you are tired of pumpkin pie for Thanksgiving, may I offer the perfect alternative? The color of the cranberry curd as you cut through the pie is enough to make your heart miss a beat. Plus, if you prefer a dessert that is not cloying sweet, look no further.  Tartness in the center, subtle chocolate sweetness on top and bottom. Oddly enough, I’ve had this recipe in my files to try soon ever since Helen published it in her blog. We are talking November 2014. I know, what’s wrong with me?  (Please, refrain from answering, it is a purely rhetorical question).

CHOCOLATE CRANBERRY CURD TART
(from Helen’s Pastries like a Pro)

Chocolate Press-in Shell
1 cup all-purpose flour
1/2 cup cake flour
1/4 cup cocoa
1/2 cup sugar
1/2 teaspoon baking powder
1 stick butter, cold and cut into small pieces
1 egg
1 egg yolk

Heat oven to 350 degrees. Spray the bottom of an 11”x1” quiche pan with removable sides in the center only. Set aside. Combine flours and cocoa in bowl of mixer. Mix briefly to combine. Add butter and cut in until very fine. Add sugar and baking powder. Mix to combine. Add egg and egg yolk; mix until it balls up and rides the blade. Remove from the processor and divide in half.

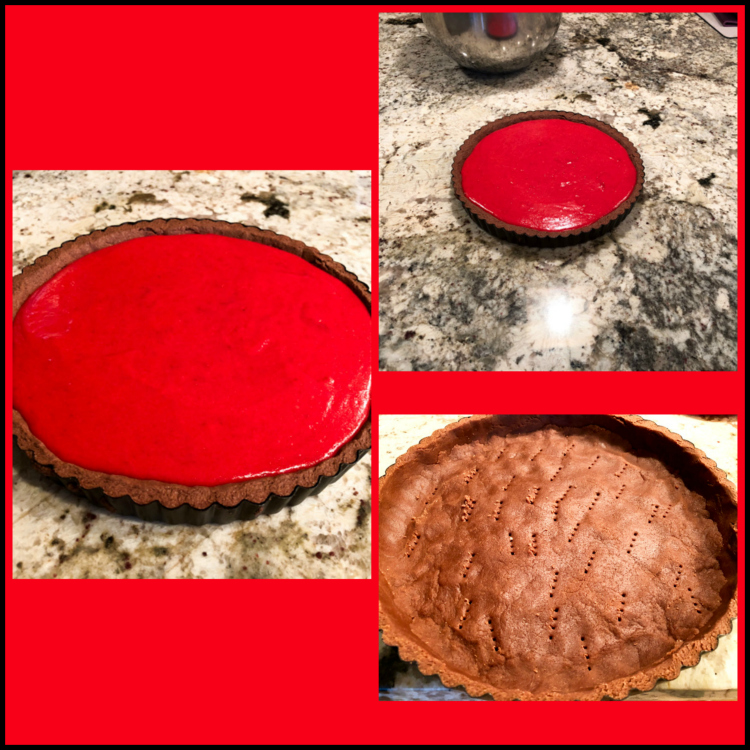
Divide one half into 2 pieces.  Roll one piece into a rope and press it in evenly along one side of the pan. Repeat with the second half of dough.  Overlap the seams and seal well so no seam shows. Press the remainder of the dough into the bottom of the pan. Seal the edges very well so no line shows. Prick the shell before baking.

Bake approximately 10 to 12 minutes or until completely baked. Cool completely.

Cranberry Curd
12 ounce bag fresh or frozen cranberries picked over
1 cup sugar (7 ounces or 200 grams)
2 tablespoons water
5 egg yolks (3 ounces or 85 grams)
1 tablespoon lemon juice
1 stick unsalted butter, cold and cut into pieces (4 ounces or 114 grams)

Place the cranberries in a rimmed baking sheet and pick over.  Shake the tray to move the berries around.

Place the  cranberries in a saucepan with sugar and water over low heat until the cranberries are very soft and some of them have popped.   Stir frequently as this will be very thick and can scorch. Immediately, puree them in a food processor (by batches if necessary). Puree for several minutes to get the skins as fine as possible. There will be tiny specs of red which is as it should be. If you prefer to remove the skins, strain the puree before proceeding. Add the yolks and lemon juice to the processor and process briefly.

Place the cranberry mixture in the top of a double boiler and add the butter. Bring the water underneath to a boil.   Stir the curd constantly until an instant read thermometer reads 170 degrees. Immediately pour into the cooled crust. Smooth the top. Cover directly with film and refrigerate for several hours or preferably overnight.

Chocolate Cream Glaze
2/3 cup heavy cream
2 1/2 ounces semisweet chocolate, cut into small pieces

Bring the cream to a simmer. Submerge the chocolate. Allow to sit for 4 to 5 minutes then whisk gently to smooth the chocolate completely. Remove the film from on top of the cranberry curd. Pour the glaze in the center and move it out to the edge of the curd with an offset spatula.

Refrigerate if using within a day or two. Freeze for up to a month for longer storage.

ENJOY!

to print the recipe, click here

Comments: First of all, I urge you to visit Helen’s site because as is always the case for her blog posts, you will find a step by step tutorial that will guide you through the process. Even if you’ve never baked a tart in your life, her explanations will take you to a happy – and tasty – ending. This was my first time making this type of press-in crust. I normally delegate all things crust (pies and tarts) to Phil, but not this time. My pan was a little smaller than the one she used, so the crust turned out a bit thick at the bottom. With my inexperience, I was a bit insecure to use less crust, not knowing exactly what to expect.  Next time I’ll make sure it’s thinner. Anyway, if you have the right size pan, just follow the recipe exactly.

The color of the cranberry curd is something! I shared a few photos on my Facebook page, and some of my friends were wondering how to get the finalized tart to show the curd, maybe reducing the glaze to a zig-zag drizzle, or putting the glaze underneath the curd instead.  Having tasted it, I think the tartness of the curd really benefits from a nice layer of ganache on top. So the striking beauty of it will have to be appreciated only after slicing. Gastronomic compromise.

This is a perfect recipe for those who don’t like overly sweet desserts. The colors scream end of the year festivities, so I hope you consider making it if not for Thanksgiving, before 2017 says goodbye.

Helen, thanks once again for a fantastic recipe and tutorial…
I am a bit ashamed it took me so long to get to this tart, but better late than never!

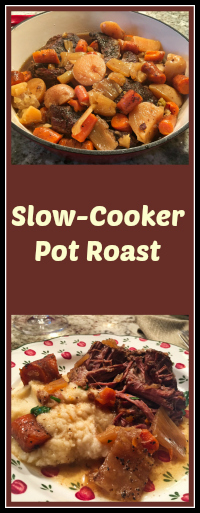
ONE YEAR AGO: Slow-Cooker Pork Ragu with Fennel

TWO YEARS AGO: Pimp your Veg, a Guest Post

THREE YEARS AGO: Cooking Light Pan-Charred Veggies 

FOUR YEARS AGO: Pomegranate Chicken Thighs and Carrot Mash

FIVE YEARS AGO: The Many Faces of Kale

SIX YEARS AGO:  Short and Sweet 

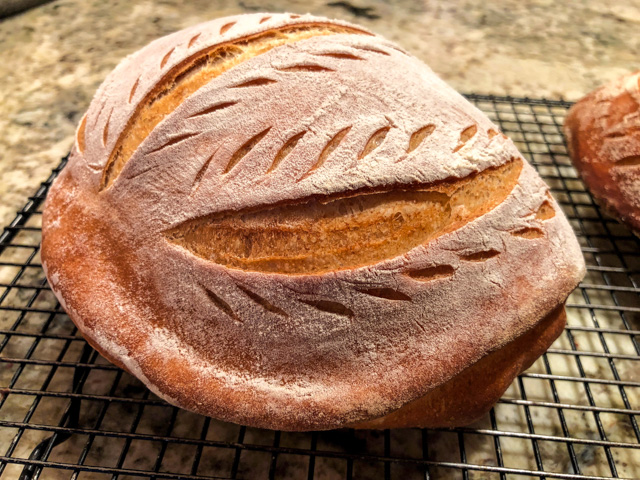
SEVEN YEARS AGO: Ciabatta, a Classic Italian Bread

EIGHT YEARS AGO: Magical Lamb Stew


SaveSave

SaveSave

SaveSave

SaveSave

SaveSave

SaveSave

SaveSave

THE TABATIERE


Lately I’ve been playing with different, fun ways to slash sourdough boules. One thing led to another, I found myself buying a Craftsy online lesson by Ciril Hitz called The Baker’s Guide to Artisan Bread Shaping.  One of the breads that caught my eye was The  Tabatière,  a classic French style bread (from the region of Jura), shaped to resemble a purse used to hold cigarettes. Talk about traditional bread baking, this is it.  I got so excited about this recipe that I pushed all other blog posts to the side to share it with you right away.

The formula of the bread is actually quite simple, you can use any dough you like, as long as it’s more on the firm side to stand the shaping. For instance, for two small loaves, mix about 1kg dough at 65% hydration.  Roughly that would be 600g flour (you can use a mixture of white with a touch of whole wheat or spelt), 390 g water, 12 g of salt, 3 g of  yeast. Once the bread goes through the bulk fermentation, preferably in the fridge, you can divide it in two, pre-shape them as a ball, then proceed with the final shaping.  You can also follow this recipe that calls for a pre-ferment instead, making a single Tabatiere with it instead of two. Again, the most important here is the hydration level to be kept more or less at 65%. 

IT ALL STARTS WITH THE DOUGH….

Each ball more or less 500g of dough at 65% hydration. Any combination of flours you like.

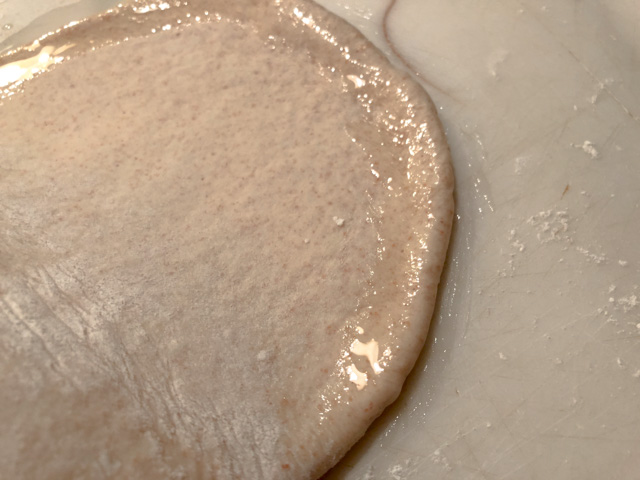
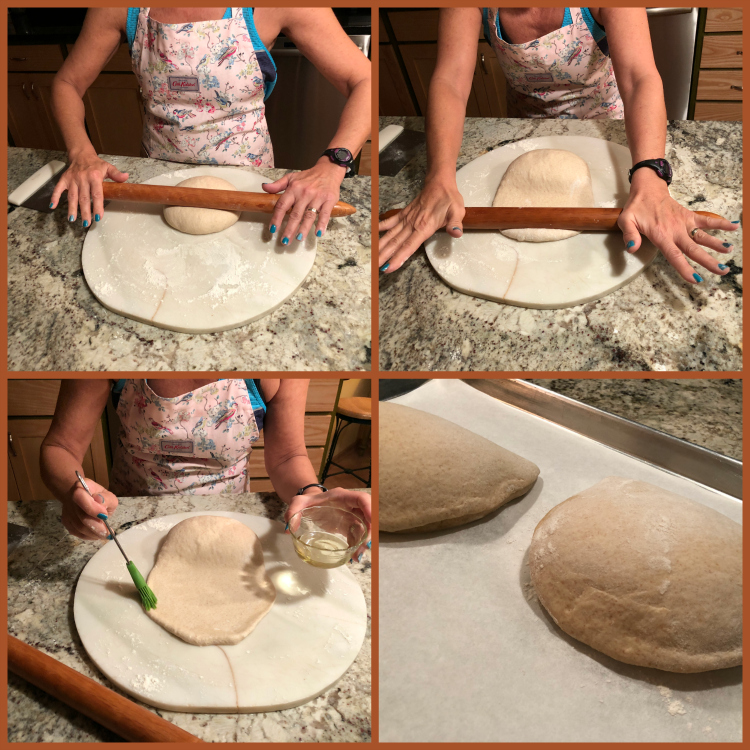
Now place your rolling-pin on the top third of the dough, and roll it to form a flap. You want it to be large enough to cover the whole extension of the other 2/3 of the dough. That’s getting there, but not quite…
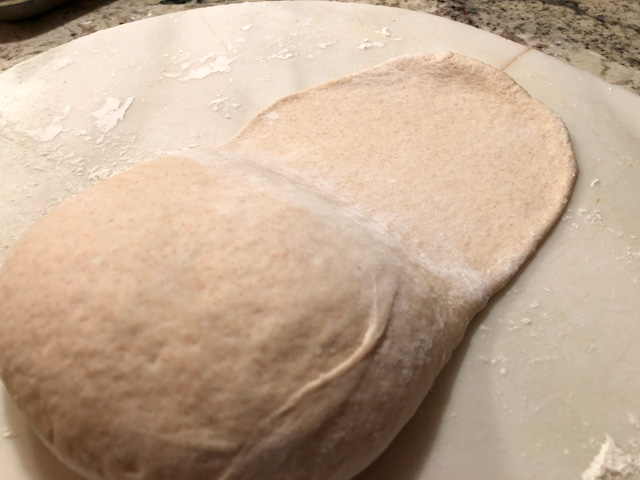
Yes, that’s more like it!

Once it’s the correct size, brush a little olive oil right on the edge, so that the flap will not glue to the ball of dough, and once in the oven, it will be more open.

This composite photo hopefully shows you how the whole process is done.

Once the little “purse” is shaped, let the bread rise for 90 minutes at room temperature. Next, give it a nice sprinkle of flour, rubbing it gently on the surface. And with a decisive frame of mind, but keeping in mind that you do not want to cut all the way through the flap you covered the bread with, slash it.  You can use any pattern you like, but this one is considered the most authentic. Slash from the bottom to the top.

There, the beauty is ready for the oven!

You can bake it in a covered Dutch oven with a moistened lid to generate steam, or use any other method you like.  I baked the two loaves at the same time, one using the Dutch oven, the other using a clay cloche from Emile Henry.  The outcome was quite different, as you can see below

The top one was baked in the clay cloche so the dusting of flour stayed nicely on the surface. The second loaf, under additional steam, had the flour pretty much baked into it, generating a darker crust.They are different, I have a hard time deciding which one I liked the most. It was good to know, though, that baking in the clay cloche worked quite well.

The “lip” of the purse could have lifted a little more, I suppose I should have stretched it thinner and maybe added a bit more olive oil, but overall I’m happy with the way it turned out.

The crumb is more on the tight side of the spectrum, as expected from a bread with low hydration level.  I am quite curious about the possibility of using a sourdough formula for the Tabatière; I might experiment with it in the near future.

I cannot recommend Craftsy classes highly enough.  This particular lesson from Ciril Hitz is simply outstanding!  From baguettes to very sophisticated bread shapes (Sun Dial is unreal), you will learn to bake them all. Clear instructions, pretty much in real-time. Brilliant!

If you are into bread baking, consider getting this online class. Worth every second. And no, I do not make a single penny from your purchase. As with everything else on my blog, I only recommend it if I absolutely love it.

Add to FacebookAdd to DiggAdd to Del.icio.usAdd to StumbleuponAdd to RedditAdd to BlinklistAdd to TwitterAdd to TechnoratiAdd to Yahoo BuzzAdd to Newsvine


ONE YEAR AGO: Curry Turmeric Sourdough

TWO YEARs AGO: Brigadeiros de Morango

THREE YEARS AGO: Feta-Stuffed Turkey Meatloaf

FOUR YEARS AGO: Artichoke-Saffron Souffle

FIVE YEARS AGO: Cinnamon-Wreath

SIX YEARS AGO:
  Yeastspotting 11.11.11

SEVEN YEARS AGO:
 Oven-baked Risotto

EIGHT YEARS AGO:
  Potato-Roquefort Cakes with Ripe Pears

SaveSave

SaveSave

SaveSave

SaveSave

SaveSave

SaveSave

SaveSave

SaveSave

SaveSave

SaveSave

SaveSave

SaveSave

SaveSave

RASPBERRY ALMOND BRUNCH CAKE FOR A SWEET MONDAY

Almost exactly three years ago I reviewed The Global Pastry Cookbook, a cookbook that is very dear to my heart, as I’d been following Gayle’s blog for a very long time. Today I share with you one more recipe from the book, which Gayle gave me permission to publish in full. It is a delicious cake, easy to prepare, with a soft crumb, intense raspberry flavor, and the perfect textural topping given by sliced almonds. Perfect. Just perfect. As it’s often the case, this cake was a Sunday baking project to be shared with our departmental colleagues next day. My goal? To turn the least appreciated day of the week into… something sweet…

RASPBERRY ALMOND BRUNCH CAKE
(from Gayle Gonzales’ Global Pastry Table)

6 oz fresh raspberries
2 tablespoons (26 grams) sugar
1 teaspoon lemon juice
1 cup (5 oz) flour
1/ 2 teaspoon baking powder
1/ 4 teaspoon baking soda
1/ 4 teaspoon salt
1 egg at room temperature
1/ 2 cup + 2 tablespoons (4 1/ 2 oz) sugar
1/ 2 cup (4 oz) buttermilk at room temperature
3 oz (6 tablespoons) butter, melted
1 teaspoon vanilla
1/ 4 cup (3/ 4 oz) sliced almonds

Heat oven to 350ºF. Lightly grease an 8” x 2 1/ 2” cake pan and line the bottom with parchment.

Combine raspberries, sugar and lemon juice and set aside to macerate. In a separate bowl, whisk together the flour, baking powder, baking soda and salt. In another bowl, whisk the egg, sugar, buttermilk, melted butter and vanilla. Use a fork to stir in the flour mixture and mix until moistened and there are no streaks of flour.

Spoon a little over half of the batter into the prepared pan, making sure to cover the entire bottom surface. Top with the raspberry mixture. Dollop the remaining batter over the raspberries and spread out in an even layer. There will be some raspberries exposed and that’s fine. Sprinkle with sliced almonds.

Bake until a tester comes out clean, about 30 minutes. Cool on a wire rack for 10 minutes. Run a thin knife around the edges and gently turn out the cake. Invert again and cool.

ENJOY!

to print the recipe, click here

It’s hard to find a more beautiful color than that of fresh raspberries…  I always catch myself smiling at the bowl, feeling it’s almost rude to cook them or hide them in a cake batter. But it’s for a great cause. They melt down into a single layer, topped by the moist cake and crowned with the almonds and their delicate crunch. Almonds and raspberries, at the risk of repeating myself, it is one of those perfect matches. This is a cake you can make with kids, very easy and it will be a hit with anyone who tries a slice. Or three…

Before I leave you, let me invite you to re-visit my old post and get a tour of Gayle’s book. Hard to believe it’s been three years. When I wrote her to ask permission to publish this recipe, I though the review was maybe a year old, 18 months tops. Almost fell off my chair when I realized it was written in November 2014.  This type of time-shock happens to me quite often these days. I wonder why… (sigh)

ONE YEAR AGO: Paalak Paneer, a Farewell Post

TWO YEARS AGO: In My Kitchen, November 2015

THREE YEARS AGO: Helen Fletcher’s Oatmeal Cookies

FOUR YEARS AGO: Thai-Style Pesto with Brown Rice Pasta

FIVE YEARS AGO: Shrimp with Spicy Orange Sauce

SIX YEARS AGO:  A Simple Appetizer (Baked Ricotta)

SEVEN YEARS AGO: Sour Cream Sandwich Bread

EIGHT YEARS AGO: Pasta with Zucchini Strands and Shrimp

SaveSave

SaveSave

SaveSave

SaveSave

SaveSave

SaveSave

SaveSave

SaveSave

SaveSave

SaveSave

SaveSave

FIRST MONDAY FAVORITE: OCTOBER 2017

First Monday of the month, it’s time to choose my favorite blog post of October.

I cannot pick another post, as “In My Kitchen” is so dear to my heart, as far as types of posts go.  

So my virtual tour of our kitchen last month gets to be highlighted again today. 

To read the full post, click here.


Thank you Sid, for organizing the First Monday Favorite!

If you are a food blogger and would like to participate, drop Sid a line.

To see the contributions from my virtual friends, click on the link below

(comments are shutdown for this post)

https://static.inlinkz.com/cs2.js

SaveSave

SaveSave

SLOW-COOKER POT ROAST WITH POTATOES, CARROTS AND FENNEL

The Instant Pot is the most recent obsession of cooks everywhere. As a lover of all gadget things, I’ve been seriously tempted to get one, but decided against it. My rationale for swimming against this current is that a regular pressure cooker does the exact same job, with the advantage of heating up faster and achieving higher final pressure (at least my model does).  I always use a skillet if I need to brown meat before cooking under pressure, so the saute feature of the Instant Pot doesn’t appeal to me. Its surface is smaller, I much rather stick with my 12 inch skillet for that. Then there is the slow-cooking capability. From what I heard, it does not compare to a regular slow-cooker and more often than not your tried and true recipe for the trusty old crock pot needs to be tweaked. I also think the size and shape of the classic slow-cooker are more appropriate for the type of stuff I cook in it. Think large pieces of pork shoulder, baby back ribs, or several little pots of custard things for crème brûlée. The only feature of the instant pot that cannot quite be matched by other gadgets is the yogurt making. But, do I ever make yogurt at home? Not really. So there you have it, the Bewitching Kitchen will go on Instant Pot-less. And today I share with you a pot roast made in our crock pot, melt-in-your-mouth tender, with the delicious addition of fennel, that absolutely makes this dish. Don’t omit it. By all means, if you own the Instant Pot, put it to use. My feelings won’t be hurt…

SLOW-COOKER POT ROAST WITH POTATOES, CARROTS AND FENNEL
(from the Bewitching Kitchen, inspired by many sources)

2 tablespoons grapeseed oil (or oil of your choice)
1 bone-in chuck roast, 4 to 5 pounds
2 tsp Herbes de Provence
2 tsp fennel seeds
1 tsp salt
1/2 tsp ground black pepper
6 yellow potatoes (such as Yukon Gold), halved
2 fennel bulbs, cut in large pieces
6 carrots, peeled, and cut in large pieces
1 shallot, diced
1 stick celery, diced
1/2 cup beef broth
1/2 cup water
fresh parsley, to serve (optional)

Mix the spices in a small bowl, crushing the fennel seeds lightly. Rub the dry rub all around the beef.  In a large skillet, heat the oil and brow the meat on all sides. As the meat browns, place the potatoes, carrots, fennel, shallots and celery inside your slow-cooker. Season them lightly with salt.

When the meat is golden brown, transfer it to the slow cooker, placing it on top of the veggies. Deglaze the skillet with a little water, and transfer the juices to the slow-cooker. Add the beef broth and water. Set it on low for 10 hours, you can also cook on high for 5 to 6 hours, but I really prefer the texture of the meat when cooked low and slow.

Shred or cut the beef in serving pieces, and enjoy with all the veggies. It is even better when prepared one day in advance.

ENJOY!

to print the recipe, click here

This was very good served over mashed cauliflower, my to-go veggie of choice for a low-carb side dish. I made the pot roast the day before our dinner, and re-warmed it gently on the stove top, adding fresh parsley right before indulging in it. The exact same recipe could be made in the pressure cooker, probably taking around 30 minutes in high pressure. Still, there’s something to be said about coming home to a house that smells like dinner is waiting for you with open arms. Even if you will place it in the fridge for a day…  Leftovers are as amazing as one would expect!

ONE YEAR AGO: The Best, the Very Best Hummus

TWO YEARS AGO: Cheddar Cheese Crackers

THREE YEARS AGO: A New Take on Cauliflower Puree
.
FOUR YEARS AGO:
 In My (NEW!) Kitchen
.
FIVE YEARS AGO:
 
The Lab Move and New Beginnings
.
SIX YEARS AGO:
 Honey-Oat Pain de Mie
.
SEVEN YEARS AGO:
 Carrot and Leek Soup
.
EIGHT YEARS AGO:
 Chicken Parmigiana 101


SaveSave

SaveSave

SaveSave

SaveSave

SaveSave

SaveSave