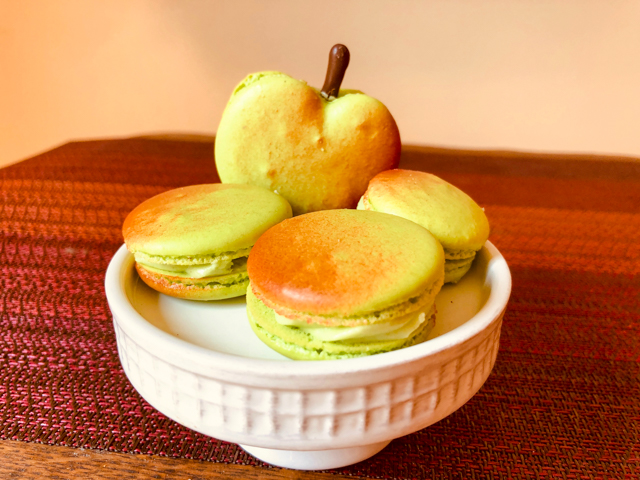
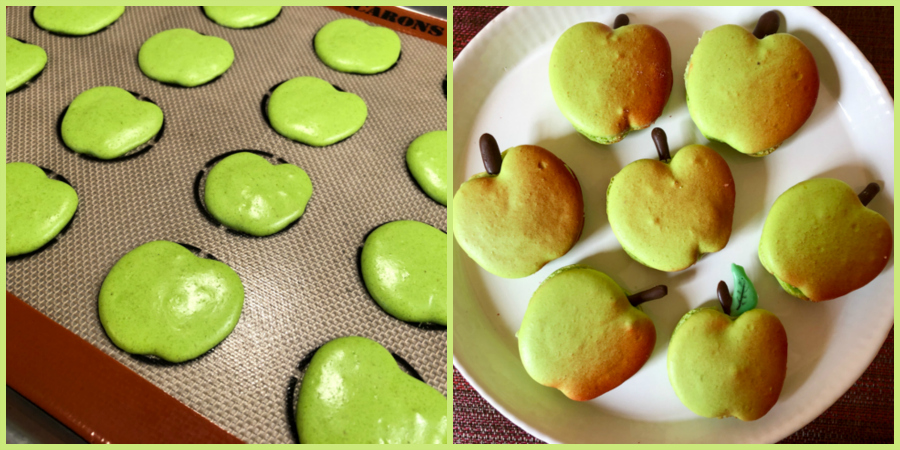
The year ended with macarons, the new year starts with them. French macarons launched me on the path of baking, so they will always have a very special place in my heart. But if you are a reader of my blog, you know that already. I wanted my first macarons of 2021 to be happy and uplifting. And sweet. Sweet as honey. Like life should be.

MANUKA HONEY & MASCARPONE MACARONS
(from the Bewitching Kitchen, decoration inspired by Sugar and Cloth)
For the shells:
200g Icing/powdered sugar
115 g almond flour
115 g egg whites at room temperature (approx. 4 eggs)
1/8 tsp of cream of tartar (optional)
100 g granulated sugar
¼ tsp vanilla paste or extract
gold or yellow food gel color (I used gold from Sunny Side Up Bakery)
For filling:
30 g unsalted butter softened
60 g mascarpone cheese, at room temperature
1 tbsp manuka honey (or another intense honey)
185 g powdered sugar
1/8 tsp lime oil or extract
Line 3 heavy baking sheets with parchment/baking paper or Silpat mats. Layer the powdered/icing sugar and ground almonds/almond meal in a food processor. Pulse until the mixture looks like fine meal, about 12 pulses. Pass through a sieve and transfer to a small bowl or to a sheet of parchment/baking paper. Set aside.
Place the egg whites and cream of tartar in the bowl of a stand mixer fitted with the whisk attachment. Make sure that the bowl and the whisk are impeccably clean. Starting on medium speed, whip the whites with the cream of tartar until they look like light foam. The whites should not appear liquid. The foam will be light and should not have any structure.
Slowly rain in the granulated sugar in five additions, trying to aim the stream between the whisk and the side of the bowl. Turn the speed up to high. Continue to whip the meringue until it is soft and shiny. It should look like marshmallow creme (marshmallow fluff). Add the vanilla and food colors. Whip the egg whites until the mixture begins to dull and the lines of the whisk are visible on the surface of the meringue. Check the peak. It should be firm. Transfer the whites to a medium bowl.
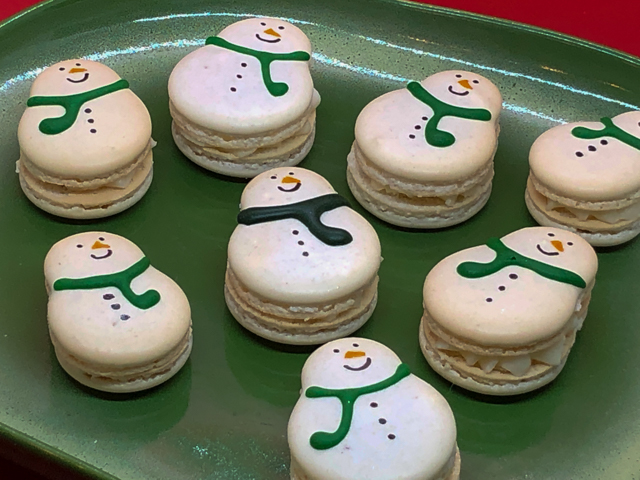
Fold in the ground almond/almond meal mixture in two increments. Paint the mixture halfway up the side of the bowl, using the flat side of a spatula. Scrape the mixture down to the center of the bowl. Repeat two or three times, then check to see if the mixture slides slowly down the side of the bowl. Put the mixture in a piping bag fitted with your choice of piping tip (round, ¼ or ½ inch in diameter or 6 – 12 mm). If you don’t have a macaron mat, draw circles on baking/parchment paper about 2inches/5cm in diameter & turn the paper over before placing on the baking sheets. Pipe shells, I like to count numbers in my head and use the same count for each shell so they end up similar in size. If making snowmen, make a template with two circles joined together to form head and body, and pipe each section.
Slam each sheet hard four to six times on the counter/worktop. Let the unbaked macarons dry until they look dull but not overly dry. Drying time depends on humidity. In a dry climate, the macarons can dry in 15 to 20 minutes; in a humid climate, it can take 35 to 40 minutes.
While the macarons are drying, heat the oven to 300 F. Bake one sheet at a time on the middle rack. Check in 11 minutes. If the tops slide or move (independently of the ‘feet’ when you gently twist the top), then bake for 2 to 3 more minutes. Check one or two. If they move when gently touched, put them back in the oven for 1 to 2 more minutes until they don’t move when touched. Let the macaroons cool for 10 minutes before removing from the pan. The macarons should release without sticking.
For the filling, use a hand-held electric mixer and whisk the butter and mascarpone cheese until creamy. Add the honey and lemon extract, whisk a minute longer. Add the powdered sugar, whisk in low-speed at first, the increase speed and whisk until creamy and smooth. If needed, add a very small amount of milk or heavy cream.
Assemble the macarons: find two macarons similar in size and add a good amount of filling to the bottom of one of them. Place the other on top and squeeze gently to take the filling all the way to the edge. Store in the fridge for 24 hours for perfect texture.
Decorate with Royal icing bees if desired.
ENJOY!
to print the recipe, click here

Comments: I must confess something. The filling was going to be slightly different: I wanted to make a buttercream or ganache with burnt honey. Recently one of my tent-baking friends made a cake and used it for the filling. Apparently the flavor is just amazing. But I got lazy. So I decided to part with a tablespoon of my Manuka honey because its flavor is so intense, it could (maybe) compensate for my laziness. And it really did. I love the way these macs turned out. The lemon extract cuts a bit through the sweetness, so don’t omit it.

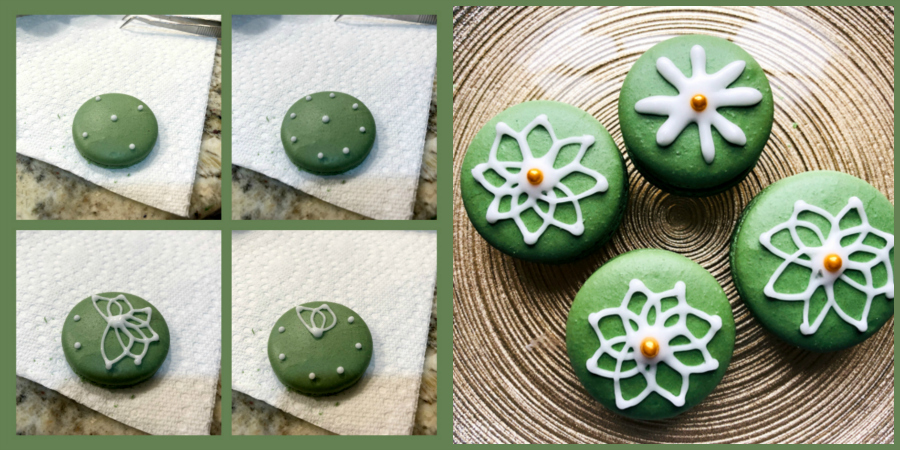
The decoration requires a little time but is pretty simple. You will need a very small amount of Royal Icing dyed yellow-orange. Pipe small cylinders where you want each little bee to be (ooops, sorry about that). Let it set. Next, make the little dots to represent their flying path with a fine tip food pen. Use the same pen to draw antennas and wings. Please note that the antennas should go opposite to the end of the flying path (after a few bees it is easy to make a mistake). To make the black lines on the body, it is best to use a marker with a soft tip (like these), but if you don’t have one, let the bodies set for at least 4 hours and then go gently with a regular food pen. The surface is obviously very fragile. I am truly in love with these babies!

So there you have it, my first batch of macarons for the year 2021:
BEE HAPPY!

ONE YEAR AGO: Episode 7 of Great American Baking Show, Canapes, Opera Cake and Running out of Gas
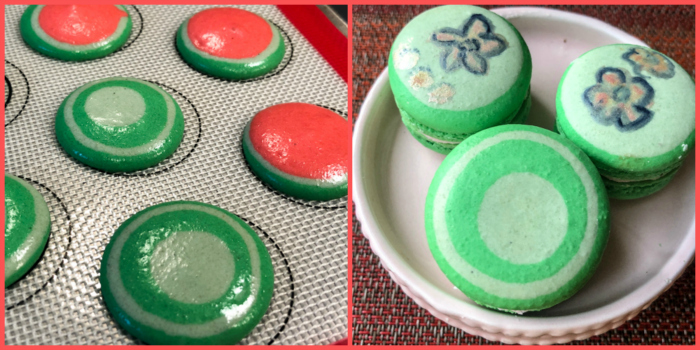
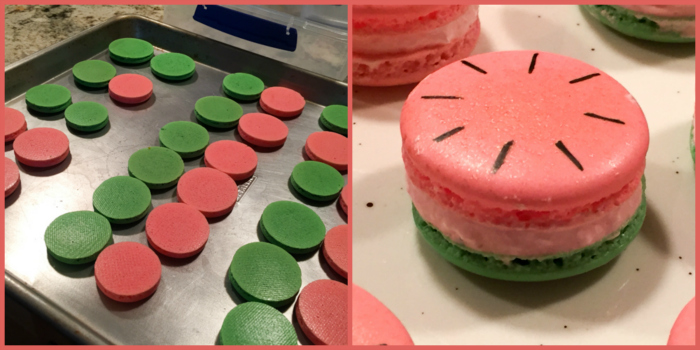
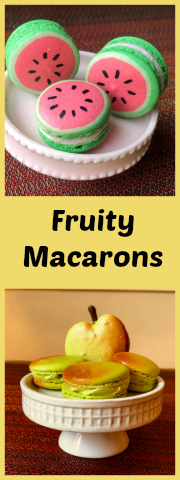
TWO YEARS AGO: Raspberry Ganache Macarons
THREE YEARS AGO: Pain au Chocolat
FOUR YEARS AGO: Two Unusual Takes on Roasted Veggies
FIVE YEARS AGO: Kadoo Boranee: Butternut Squash Perfection
SIX YEARS AGO: Creamy Broccoli Soup with Toasted Almonds
SEVEN YEARS AGO: Fennel and Cheddar Cheese Crackers
EIGHT YEARS AGO: A Festive Pomegranate Dessert
NINE YEARS AGO: My First Award!
TEN YEARS AGO: A Message from WordPress
ELEVEN YEARS AGO: Turkish Chicken Kebabs