BRIGADEIROS DE MORANGO

Strawberry Brigadeiros

Say it like a native: repeat after me….


I grew up enjoying brigadeiros, probably the most popular food item in Brazilian birthdays and wedding celebrations. They are pretty much mandatory in such occasions. Then, last month we were at my niece Raquel’s home and when it was time for dessert she marched into the dining room with a humongous batch of brigadeiros sent by one of my cousins who could not join us that day. Brigadeiros, home-made with love! Most were the normal, chocolate type, but some were pretty wild, with a bright neon-pink color. “What are these?”  The answer puzzled me: “These are bicho de pé.” A literal translation produces something definitely unappetizing. Bicho de pé is a type of flea-like creature that lives in tropical swamps. Walking barefoot in those places carries a high risk of having those creatures set territory in the delicate flesh between your toes. They happen to look a lot like strawberry seeds, therefore the name. With this explanation, I just proved to you that Brazilians have a twisted sense of humor… At any rate, I rather go with  “strawberry brigadeiros.”  They are addictive. It’s hard for me to decide if they are better than the traditional ones, but… they put up a decent fight for first prize.  Easy to make and even easier to wolf down.  You’ve been warned!

Strawberry Brigadeiros2

STRAWBERRY BRIGADEIROS
(from the Bewitching Kitchen)

makes about 35 brigadeiros

2 cans of sweetened, condensed milk
2 tablespoons butter
1 package of strawberry gelatin
1 tablespoon of strawberry liquor (optional)
pink granulated sugar, or other coating of your choice

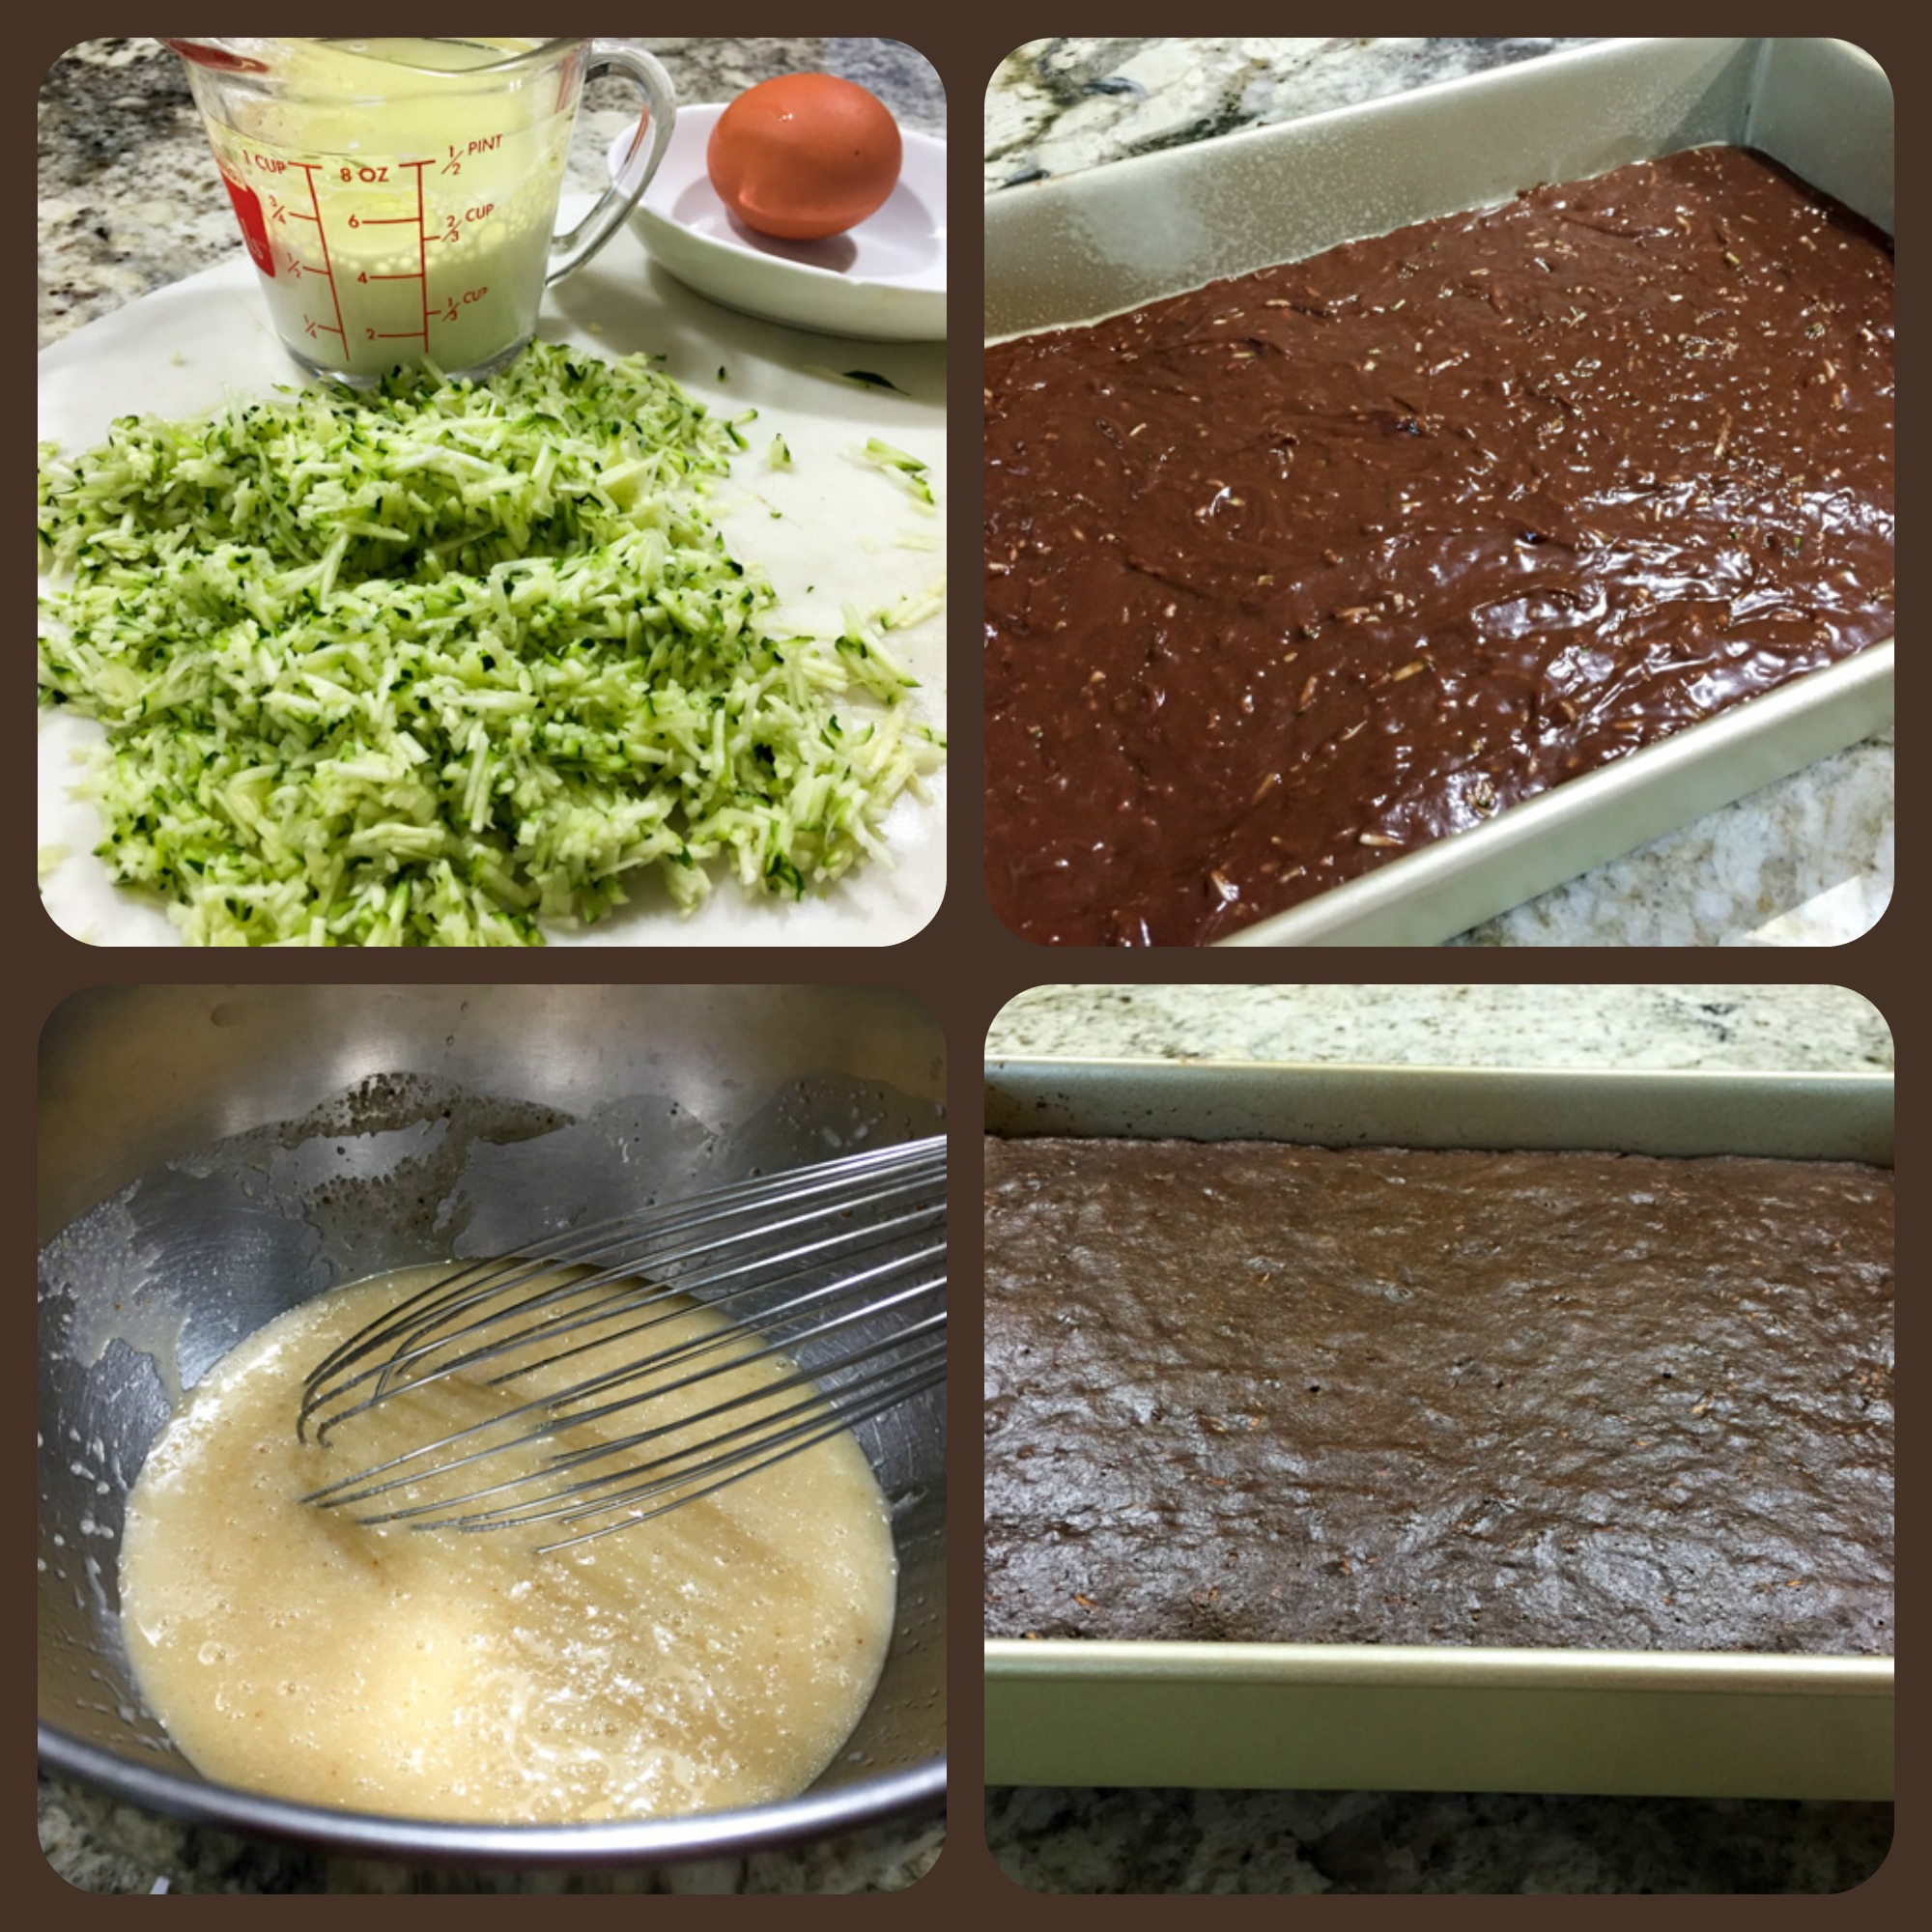
Add the condensed milk and butter to a saucepan, preferably non-stick. Cook over medium-low heat until the butter melts. Add the strawberry gelatin and the strawberry liquor, if using.

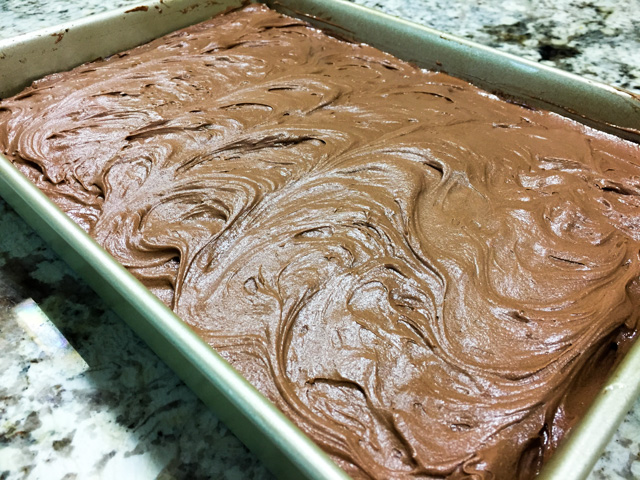
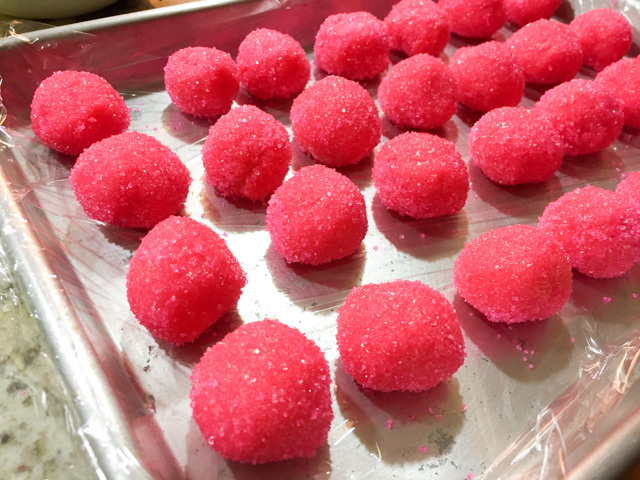
Cook, stirring constantly, until the mixture thickens and starts to release from the bottom of the pan.  Keep it in low to medium-low heat, and stir often so that it doesn’t burn at the bottom of the pan.  When it is thick, remove from heat and dump it over a half-sheet pan to cool faster. You can also simply transfer to a bowl and stick it in the fridge.

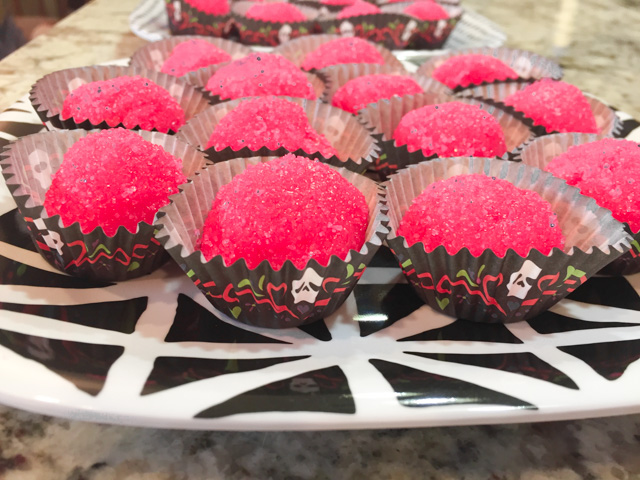
Pour about half a cup of granulated sugar on a small bowl. Reserve. When the brigadeiro mixture is cool, form little balls with a teaspoon, and roll on the palm of  your hand. If you wet your hands with cold water it is easier to roll, and also helps the granulated sugar to adhere.  Roll each ball on granulated sugar, and place in little paper cups.

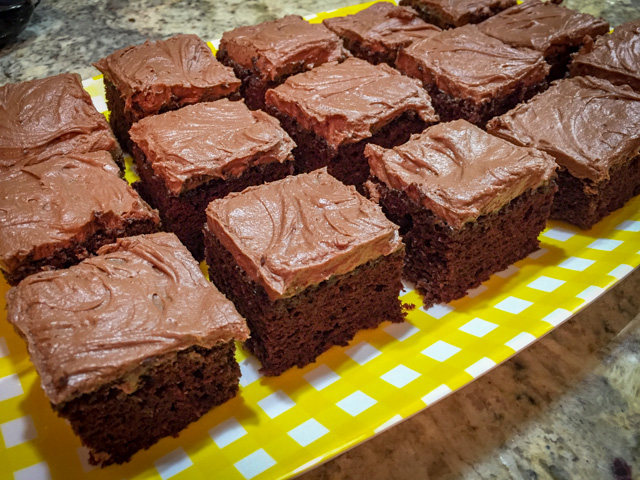
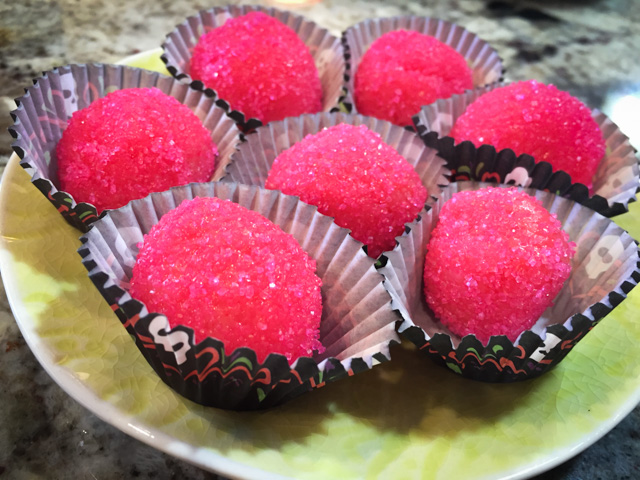
Set the brigadeiros on a platter, and…

ENJOY!

to print the recipe, click here

PicMonkey Collage

Comments: Wanna try to guess how to say Bicho de Pe’? Hint: the “CH” in Portuguese has a sound of “SH.”  (try it then click on the sound file below to see how well you did)


Bicho de pé
is actually a registered trademark for these adorable candies. They were first made in a patisserie called “Amor aos Pedaços” (Love by the Slice) that opened in São Paulo back in 1982.  The person behind the store, Ivani Calarezi, made beautiful gourmet cakes and pies, and her customers could choose one, grab a slice (or several), and go. It was a huge hit. Today Amor aos Pedaços is a chain with 50 stores all over the country. From what I’m told, the quality is not compromised. Apparently Bicho de Pé was available since its opening, so it’s a bit surprising that I had never seen one until now. Better late than never!  I got the recipe from my cousin Yvone and made it right away after coming back home. A Halloween party was the perfect occasion…  Everyone loved them!

They are a little tangy, a little sweet, plenty delicious… You can use different gelatin flavors, raspberry, blueberry, to have a slightly different color and taste. You can coat with chocolate sprinkles or make a mixed batch with different coatings, whatever you decide to do, I know these will be a huge success. Kids will go crazy for them, adults will try to act with restraint. HA! Wish them luck with that… Everyone turns into a kid around a batch of brigadeiros

😉

tothefreezer

We freeze well too! Make a big batch, stick us in the freezer,
and we’ll be ready to party whenever you are…

ONE YEAR AGO: Pan-charred Veggies from Cooking Light

TWO YEARS AGO: Artichoke-Saffron Souffle

THREE YEARS AGO: Cinnamon-Wreath

FOUR YEARS AGO:  Yeastspotting 11.11.11
.
FIVE YEARS AGO: Oven-baked Risotto
.

SECRET RECIPE CLUB: CHOCOLATE ZUCCHINI CAKE WITH CHOCOLATE FROSTING

Chocolate Zucchini Cake Pieces
The last Monday of October is here in all its pre-Halloween glory, and chilly not-so-glorious mornings!  It is Reveal Day of The Secret Recipe Club, and here I am to disclose the blog I was assigned to cook from: The Colbert Clan, hosted by Kate. Now, I must confess that this month I almost decided to skip participating because we traveled so much.  I kept the blog going normally, but we barely stayed home. First a trip to Santa Monica, CA, back home for 24 hours, then we caught a plane to São Paulo, Brazil.  I knew that my only chance of sticking with the Secret Recipe Club would be to jump on the assignment right away.  So, I took a slightly different approach to it, and went straight with a search for a cake. Cake? Me, the anti-cake-baker? Yes, you got that right. I wanted to take a chocolate cake to the department and that’s what I searched for.  The choice was easy, painless, and very sweet: a Chocolate Zucchini Cake, adorned with a luscious buttercream frosting which yours truly made with only minor boo-boos. It was an almost painless baking experience, which is saying a lot. But let me tell yo a little bit about Kate. She is a young, stay-at-home Mom of three kids, and her blog reflects life-style of someone who needs to get good food at the table for a family of five.  I am sure it’s not easy, kids can be picky, and juggling everyone’s desires is like a full-time job!  Kudos for her…   I could not resist browsing a little bit through The Colbert Clan, and was tempted to make her Mini-snickers Cheesecakes, which are simply adorable with a drizzle of caramel on top. I am sure my colleagues at the department would be absolutely thrilled…  And, since we are on the subject of cuteness, how about these Macaroon Kisses? Definitely something to consider as a baking project…  But, chocolate cake was on my mind, and without further ado, let me share the recipe with you.

Chocolate Zucchini Cake

CHOCOLATE ZUCCHINI CAKE WITH CHOCOLATE FROSTING
(from The Colbert Clan)

for the cake:
1/2 cup oil
1 1/2 cups sugar
2 teaspoons vanilla
1 large egg
1/2 cup milk
2 cups shredded zucchini
2 cups flour
1/2 cup cocoa powder
1 1/2 teaspoons baking soda
1/2 teaspoon salt

for the frosting:
1 cup butter, softened
1/2 teaspoon vanilla
3-4 tablespoons milk
1/2 cup cocoa powder
3 1/2 cup powdered sugar

Heat oven to 350 and spray your 9×13 pan.

In one bowl mix together oil, sugar, vanilla, egg and milk until combines. Add grated zucchini.In a second bowl mix together flour, cocoa powder, baking soda and salt.

Pour dry ingredients into wet mixture and mix.

Pour into your 9×13 pan and bake for 28 to 30 minutes. Cool completely before frosting.

Make the frosting: Beat the butter until fluffy. Mix in vanilla and milk. Mix in cocoa and powdered sugar, whip until the mixture is smooth and creamy. I did not have to use all the powdered sugar mixture.

Cut in squares and serve.

ENJOY!

to print the recipe, click here

composite

Comments: I’ve always wanted to make a chocolate cake with zucchini in it, because it’s so intriguing! Of course, I am very fond of a particular type of carrot cake from my childhood, and zucchini is not too far from carrots as far as food is concerned. Plus, chocolate can make many things taste delicious and decadent, even the humble zucchini.  This cake is simple to prepare, the hardest part was shredding the squash.  Now, a piece of advice for novice bakers: if you are a neat freak like I am, and decide to rinse the sieve after making the cake batter, make sure it is 100% dry before you go sifting the cocoa powder for the frosting.  If there is water in it, you’ll have a big mess on your hands, especially if you are puzzled about the cocoa not going through and decide to “help” it with your fingers.  Enough said.

The cake was a big success with our colleagues, and of course Phil had to remind me of speeches he gave me in the past, like  “The Importance of Frosting on Any Cake,” and  “Why Cakes are Not Real Cakes If Not Smothered in Frosting.”  He is thrilled that I seem to be getting his point, after so many years of food blogging.  Our marriage only gets better and better.

Kate, I hope you had a great time cooking from your assigned blog!
I invite my readers to browse through the collection of goodies made by my fellow virtual friends from The Secret Recipe Club with a click on the blue frog at the end of the post.

ONE YEAR AGO: Pecan-Crusted Chicken with Honey-Mustard Dressing

TWO YEARS AGO: Bewitching Kitchen on Fire!

THREE YEARS AGO: Cashew Chicken Lettuce Wraps

FOUR YEARS AGO: Chiarello’s Chicken Cacciatore

FIVE YEARS AGO: Donna Hay’s Thai-Inspired Dinner

SIX YEARS AGO: Panettone

APPLE CINNAMON OATMEAL CAKE

Not too long ago I mentioned that apples and cinnamon make a perfect match. If you need any formal proof for the statement, look no further, this is it. Absolutely perfect for the season, this cake keeps the apples in chunks that get deliciously sweet and soft during baking. It reminded me a bit of a famous cake by Dorie Greenspan. But this version includes oats for a slightly more substantial cake. Let’s say it walks through a rustic path I am quite fond of. Complex flavors, delicious topping… The recipe comes from Pastry Studio, a blog I visit all the time and cook from regularly.  As usual, Gayle’s bench notes are perfect guidelines to highlight what is important when preparing the cake, as well as her rationale while designing the recipe.  A nice lesson in baking is what I always find when I stop by her site.

Apple Oatmeal Cake

APPLE CINNAMON OATMEAL CAKE
(from Pastry Studio)

for the streusel:
1/3 cup (1 5/8 oz) flour
1/3 cup (1 oz) old-fashioned oats
1/4 cup (1 3/4 oz) dark brown sugar, packed
1/2 teaspoon cinnamon
pinch allspice
2 oz (4 tablespoons) cold unsalted butter
1 1/2 teaspoons (8 grams) molasses

for the cake:
2 medium (about 13 oz) apples
1 teaspoon lemon juice
1 1/4 cups (6 1/4 oz) flour
3/4 teaspoon salt
1 teaspoon baking soda
1 teaspoon cinnamon
1/8 teaspoon allspice
pinch nutmeg
1 cup (3 oz) old-fashioned oats
3/4 cup (6 oz) apple juice
1/2 cup (4 oz) canola oil
1/2 cup (3 1/2 oz) dark brown sugar, packed
1/2 cup (3 1/2 oz) granulated sugar
2 eggs at room temperature
1 3/4 teaspoon vanilla
1/2 cup (4 oz) milk at room temperature

Heat oven to 350 degrees F.  Lightly grease a 9” square cake pan and line with parchment, leaving a short overhang on two sides.

To prepare the streusel, mix the flour, oats, brown sugar and spices.  Cut the cold butter into 1/4” pieces and add.  Toss until coated with the dry ingredients and drizzle the molasses.  Using your fingers or a fork, press the butter pieces until they break off into smaller pieces and the mixture clumps together and is crumbly with large and small chunks. Chill until ready to use.

Peel, core and cut the apples into small cubes.  You should have about 2 cups.  Toss the apples with lemon juice to prevent browning.  Set aside.

Whisk together the flour, salt, baking soda and spices.  Set aside. Combine the oats and apple juice and set aside for about 5 minutes.

In another bowl, whisk the oil, both sugars and eggs until thoroughly blended. Add in the vanilla and oat and apple juice mixture.  Mix in the dry ingredients in 3 additions, alternating with half the milk and beginning and ending with the dry ingredients.  Mix just until there are no dry streaks of flour.  Fold in the chopped apples.  Pour the batter into the prepared pan and spread it out in an even layer.  Sprinkle the streusel evenly over the top of the batter.

Bake until a toothpick inserted into the center comes out clean, about 34 – 36 minutes.  Remove from the oven and place on a wire rack to cool completely.

Run a thin-bladed knife around the edges of the cake.  Gently lift it out of the pan using the parchment overhang to assist.  Using a platter, flip the cake over and peel off the parchment.  Use another plate or platter to flip the cake right side up.

ENJOY!

to print the recipe, click here

applecakecomposite
Reading Gayle’s bench notes you can tell she worked hard to perfect this cake. The batter is much more liquid than most cakes I’ve ever made, and it smells amazing as it bakes. The aroma seems to only get better as the cake sits and cools. Which brings me to the only tricky part of this recipe. Keeping the cake intact for 24 hours. Not easy. At some point Phil said if I did not cut it he would take matters into his own teeth and bite it. I was unmoved. Defended the cake as if my life depended on it. And it was worth it, because it is a cake that profits from a little time to itself, 24 hours left to evolve into its maximal deliciousness.

Apple Oatmeal Cake Pieces

It was hard to wait for a full day before indulging, but worth it…
Look at the chunks of apple waiting for you…

ONE YEAR AGO: Sourdough Rye Bread with Flaxseeds and Oats

TWO YEARS AGO: Apricot-Raspberry Sorbet: A farewell to Summer

THREE YEARS AGO: Marcela’s Salpicon

FOUR YEARS AGO: Pork Kebabs

FIVE YEARS AGO: Fondant au Chocolat

SIX YEARS AGOGot Spinach? Have a salad!

MAPLE GLAZED PUMPKIN BREAD

Since all my requests to bring Spring back have been ignored, I resign myself to celebrate the season by baking a pumpkin loaf coated with a fantastic maple icing which found its way to a few of my fingers. First encounter was by accident. The other seven were intentional.  The recipe is from Sue’s site, The View from Great Island, a blog you must visit regularly. I’d like to make pretty much everything she shares, our taste in food is quite similar.  Although I must say she is a lot more daring than me, facing projects like this one that leave me in complete awe. Never in a gazillion years I could go for it. But, this pumpkin loaf? Doable and absolutely wonderful.  Make it. And don’t forget to lick your fingers…

Pumpkin Loaf with Maple Icing

MAPLE GLAZED PUMPKIN BREAD
(from The View from Great Island)

for the pumpkin bread:
2 large eggs
1 cup pumpkin puree (NOT pumpkin pie filling)
1/2 cup vegetable oil
1 cup sugar
1/2 tsp ground ginger
1/2 tsp ground cinnamon
1/4 tsp ground cloves
1/4 tsp ground nutmeg
1 1/2 cups all-purpose flour
1/2 tsp salt
1 tsp baking soda

for the maple glaze:
1 1/2 cups confectioner’s sugar, sifted
4 tbsp maple syrup (more or less)
1/4 tsp maple extract (optional)

Set oven to 350F.

Spray a non-stick standard loaf pan with cooking spray and line the pan with a sheet of parchment paper with long ends to help remove the bread later.

Whisk the eggs in a large mixing bowl. Whisk in the pumpkin, oil, sugar, and spices. Stir in the flour, baking soda and salt and mix until combined. Turn the batter into the pan and even out.

Bake until a toothpick comes out without wet batter clinging to it, about 50 minutes. Let the loaf cool almost to room temperature before glazing.

To make the glaze, whisk together the sugar with enough maple syrup to make a thick, spreadable glaze. Keep whisking until all the little lumps are dissolved. Whisk in the extract, if using. Spread thickly onto the cooled bread.

ENJOY!

to print the recipe, click here

compositepumpkin

Comments:  Guess what? I brought this loaf to our colleagues at work. I am sure you are not surprised. One of the most frequent compliments I heard was “OMG, that icing!”, which made me feel a lot better about the obsessive finger licking I went through while preparing this delicacy.  But please, don’t think it’s just about the icing, the loaf itself is wonderful, I guarantee that even pumpkin haters will fall in love with it.

sliced

Sue, thank you so much for such a great recipe, I know I’ll be making it again before pumpkin season is over because one of our graduate students said it was one of the best things I shared so far. She’s been around for 2 years! How’s THAT for a compliment?  

😉

ONE YEAR AGO: In My Kitchen, October 2014

TWO YEARS AGO: Grilled Steelhead Trout

THREE YEARS AGO: Brown Butter Tomato Salad

FOUR YEARS AGO:  Spelt and Cornmeal Rolls

FIVE YEARS AGO: Roasted Potato and Olive Focaccia

SIX YEARS AGO: Multigrain Bread Extraordinaire

SECRET RECIPE CLUB: AMAZING APRICOT BARS

Here we are. Last Monday of September, which means Summer is gone. Over. Finito. Acabado. I could sit here and whine for hours, filling your screen with paragraph after paragraph describing in detail my despair, frustration, and overall gloom. Telling you how my interactions with human beings are affected as the average daily temperature goes down. You don’t want to be around me in January, even with all that New Year upbeat aura. But, enough with the negativity.

The last Monday of the month brings many reasons to be joyful, as it is Reveal Day for The Secret Recipe Club. This month I got a fantastic blog to stalk and cook from: A Palatable Pastime, hosted by Sue, who lives in Ohio with her husband and two lovely cats. She develops her own recipes – often with a Southern US flair – and not only has won several contests, but her productions have been featured in many top-notch sites like LDS Living, Mrs. Field’s and the Christian Science Monitor’s food section. I was thrilled to stalk her site, although a bit overwhelmed by the number of possibilities bookmarked to pick, cook, and share with my readers today.

Twelve recipes made the final list, but to keep it manageable, I’ll just mention half of them: Sweet Potato Biscuits (I’ve always wanted to make them… was very close to choosing it for this assignment), Thai Salmon Curry….   Vegan Mushroom Pumpkin Chili (her description tells me it’s a winner of a recipe), Dutch-Baby Pancake (another recipe I’ve always wanted to try), Thai Larb Soft Rolls… and Sue’s Almost Famous Meatballs (great post!). There were so many tasty options to choose from, but in the end I made a batch of her Amazing Apricot Bars. No doubt 2015 is the year of the apricot in the Bewitching Kitchen…  These turned out spectacularly amazing!

Apricot Bars

AMAZING APRICOT BARS
(from A Palatable Pastime)

For shortbread crust:
3/4 cup unsalted butter, softened
1/2 cup granulated sugar
1 teaspoon vanilla extract
1/4 teaspoon salt
1-3/4 cups all-purpose flour (8-1/2 ounces)

For topping:
1/4 cup old-fashioned oats, toasted
1/4 cup sliced almonds, toasted
1/4 cup sweetened flaked coconut
1/4 cup dried cranberries (craisins)
1/4 cup dried apricots, chopped
1/2 cup unsalted butter (1 stick)
1/4 cup granulated sugar
3 tablespoons honey

For finishing:
1/3 cup apricot jam
3 tablespoons sweetened flaked coconut

Heat oven to 350F.

Butter the inside of a glass 8×8-inch square baking pan. Cream together the butter and sugar (thoroughly mix until sugar dissolves). Stir in the vanilla, salt and flour and mix into a dough. Press dough evenly into the bottom of the buttered baking pan, then chill in the refrigerator while you continue.

Mix the dry ingredients for the topping together in a small bowl. In a small saucepan, melt the butter with sugar and honey over low heat. Stir in the dry fruit topping mixture and bring to a boil; boil for 2 minutes then remove from heat. Take out the baking pan, and spread the top of the dough with the simply fruit apricot spread. Top the spread with the cooked fruit mixture.

Sprinkle the topping with an extra 3 tablespoons of sweetened flaked coconut. Bake in a preheated 350F oven for 20 minutes. Allow to cool completely before slicing into squares.

ENJOY!

to print the recipe, click here

ApricotComposite

The bars were juicy, sweet, with a slight tang from the cranberries to balance flavors. The crust., which I find the trickiest component of this type of concoction was perfect: not too hard, not too crumbly.  As usual, I brought the whole batch to our department, and by 9:30 am, not a single crumb was left on the platter.  So, I advise that if you intend to share it friends, make sure to grab a square for yourself right away…  They are seriously addictive.

square

Sue, I thoroughly enjoyed stalking your site, I love the way you go the extra mile to explain the technique behind your recipes, so that even a novice cook will be able to make the many tasty things you share on your blog.  I hope you also had fun with your assignment this month. My readers are invited to browse through this month’s collection by poking the cute frog at the end of this post.

Apricot Bars2
ONE YEAR AGO: Spiralizer Fun

TWO YEARS AGO: Linguine with Cauliflower Pesto

THREE YEARS AGO: Carriage House Apple-Walnut Pie

FOUR YEARS AGO: Chicken Marsala

FIVE YEARS AGO:  Home, sweet home

SIX YEARS AGO: Levain Bread with Caramelized Onions