RASPBERRY RICOTTA CAKE

This cake recipe was published in a recent issue of Bon Appetit magazine, and I wanted to make it right away.  I subscribe to several cooking magazines but they tend to accumulate by my bedside table, untouched. Then, a trip comes up and they go with me in the plane. I read and rip the pages that interest me, tossing the magazine before coming back home. I know that for some this might be a huge no-no, but ever since we moved from OK to KS and I donated my collection of Fine Cooking magazines, I stopped saving them. The cut out recipes are glued in a notebook, a system that works great for me.  Anyway, as I was reading that issue on a flight to Hawaii (yeah, you got that right…. we’ve been to paradise last month), this recipe screamed at me: MAKE ME! MAKE ME! MAKE ME! Glad I finally did, it’s a great cake, moist, tender, and not overly sweet, thanks to the natural tartness of raspberries.

RaspberryRicottaCake

RASPBERRY RICOTTA CAKE
(from Bon Appetit, March 2015)

Non-stick vegetable oil spray
1½ cups all-purpose flour
1 cup sugar
2 teaspoons baking powder
¾ teaspoon salt
3 large eggs, at room temperature
1½ cups ricotta
½ teaspoon vanilla extract
½ cup (1 stick) unsalted butter, melted
1 cup frozen raspberries, divided

Heat oven to 350°. Line a 9”-diameter cake pan with parchment paper and lightly coat with nonstick spray. Whisk flour, sugar, baking powder, and salt in a large bowl.

Whisk eggs, ricotta, and vanilla in a medium bowl until smooth; fold into dry ingredients just until blended. Then fold in butter, followed by ¾ cup raspberries, taking care not to crush berries. Scrape batter into prepared pan and scatter remaining ¼ cup raspberries all over the surface of the batter.

Bake cake until golden brown and a tester inserted into the center comes out clean, 50–60 minutes. Let cool at least 20 minutes before removing from the pan.

ENJOY!

to print the recipe, click here

Composite
Comments: This cake was so easy to make that I got into hyperventilation from excessive confidence. Basically, there is no way out for me, cakes make me suffer, even when nothing goes wrong. I thought that the raspberries sitting on top of the batter looked awfully cute, but after a few minutes in the oven, I pushed some of them a little into the batter, just in case.  I bet it made no difference whatsoever, the cake experts might be shaking their heads at my naiveté.  Oh, well.

As you know, food blogging is a very social activity. We leave comments, we follow food bloggers we enjoy, sometimes for their cooking alone, sometimes for the “whole package”.  I love bloggers who are witty (hard to beat Maureen on that category) make me laugh, make me think, teach me something. I normally stay clear from sites that push endless surveys or advertisements. But, anyway, some bloggers seem to always cook stuff I want to make. One such example is Steve, from Oui, Chef.  He subscribes to the same magazines I do, so quite often I bookmark a recipe and, being the slow self I am, next thing I know, the recipe is on his site!  This is exactly what happened with this cake. Take a look at Steve’s post by clicking here.  Obviously, great minds read alike, bookmark alike, and bake alike.

This cake was absolutely delicious! I added a sprinkle of powdered sugar on top because I felt the raspberries would be happy. And everyone who tried this cake in our department seemed to be happy too.  Such a great simple treat to celebrate spring…  Make it, and tell me what you think.
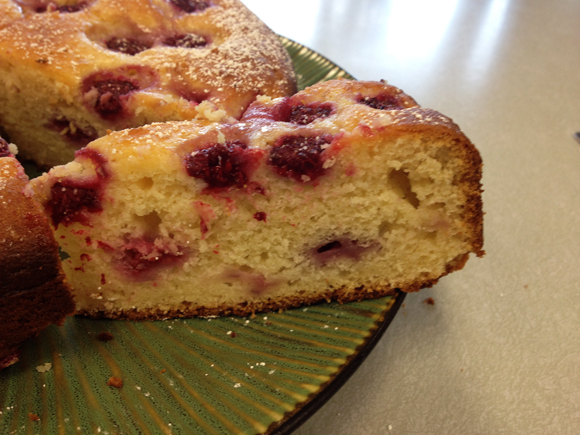
sliceHow about a slice?
😉


ONE YEAR AGO:
In My Kitchen, April 2014

TWO YEARS AGO: Whole-wheat Pasta with Lemony Tomatoes and Spinach

THREE YEARS AGO: Blood Orange Duck: A work in progress

FOUR YEARS AGO: Grilled Mahi-mahi with citrus marinade

FIVE YEARS AGO: Memories of Pastéis (and my Dad)
SECRET RECIPE CLUB: GLUTEN-FREE & VEGAN RASPBERRY BARS

Last Monday of March, a month that makes me happy for several reasons. I was born in March, Phil and I got married 15 years ago in March, and the month also welcomes the beginning of Spring.  Can you fully grasp the unmeasurable joy associated with it? It means I survived another winter, and here I am, alive and kicking to share with you one more adventure as part of The Secret Recipe Club.   You know, that event that pairs two food bloggers in secret, and then the whole group posts about their chosen dish at exactly the same time. My assignment this month was the blog Without Adornment, hosted by Bean. She has a degree in Chemical Engineering, and her hobbies are cooking/baking, and photography, so of course her blog is a perfect venue to showcase her talent.  I was thrilled by this assignment, because Bean is a very accomplished baker who must make exclusively gluten-free recipes. Those of you who have gluten allergies know how tricky it can be to try and mimic the delicious cookies, breads, pies, and muffins that rely on gluten for perfect texture and taste. Browsing her blog really opened my horizons and the list of goodies I wanted to try was extensive.  To name a few, I was inclined to bake a batch of her White Chocolate Oatmeal Cookies with Cranberries,  then almost chose her Gluten-Free Pear Clafoutis, Another amazing option that I will bake soon: Dairy Free Creme Brulée (using coconut milk, how sweet is that?). As usual, savory stuff appeals a lot to me, so I also saved her Vegan Walnut Zucchini Crackers for final consideration. After a little bit of a mental struggle,  I went with her Raspberry Bars, in part because they use quinoa flakes and I had a box sitting in my pantry begging to come out and play.  I could not miss the opportunity…

RasberryBars

GLUTEN FREE VEGAN RASPBERRY SQUARES
(from Without Adornment)

1/2 cup almond flour
1/2 cup brown rice flour
1/4 cup tapioca starch
1/4 cup coconut flour
1 tsp. baking powder
1/4 tsp. salt
1 cup oats
1/2 cup quinoa flakes
3 tbsp. palm sugar
1/2 – 2/3 c. coconut oil
3 cup thawed raspberries, with as much of the liquid drained as you can.
3 – 4 tbsp. honey
1 tsp. cinnamon
1/2 tsp. nutmeg
1/2 tsp. cardamom
1/2 tsp. pure vanilla extract

Heat oven to 350F.

Whisk together flours, baking powder and salt. Add oats, quinoa flakes and palm sugar and mix until evenly distributed. Add in unmelted coconut oil. Using your fingers, work the coconut oil into the flour mixture until there are no lumps remaining and the mixture is crumbly.

In a separate bowl, stir together raspberries, honey and spices. Add more sweetener to reach desired sweetness. Press over half of the crumb mixture into a greased 8″ square pan. Scoop the raspberries onto the pressed bar mixture and distribute evenly. Sprinkle the remaining crumb mixture on top of the raspberries and pat lightly.

Bake for 30 – 40 minutes or until topping is light brown.

Cool completely before cutting into squares.

ENJOY!

to print the recipe, click here

composite1

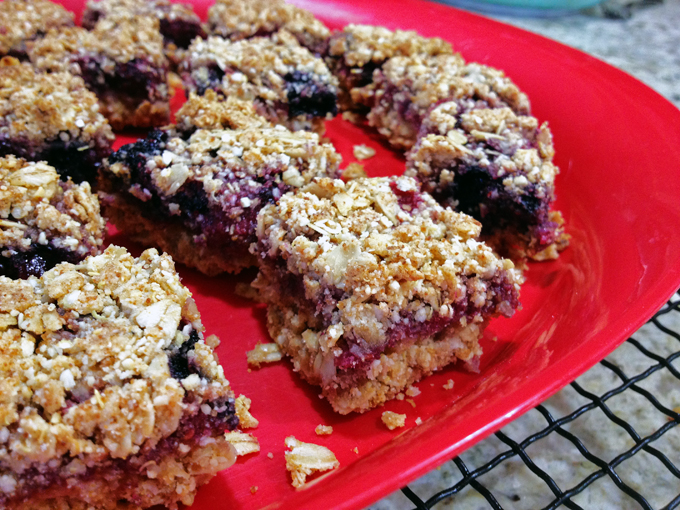
Comments:  I changed the recipe slightly by using a mixture of raspberries and blueberries, as the price tag on the raspberries was a little high. I don’t think it hurt anything, it just made the color of the filling darker than Bean’s concoction, and also a bit more chunky, as the blueberries retain their shape. The cute box of quinoa flakes was one of those classic impulse buys that I am often a victim of. But I knew the flakes would come in handy, and was glad to be able to use them in this recipe.

composite2

Gluten-free baking is really a huge challenge, because without gluten to provide that nice, elastic structure, baked goods tend to be dry, and much less pleasant to eat. However, using the right mixture of flours and grains, one can get close enough to the “real thing” and these bars are a perfect success story.  I took the squares to the department and did not mention they were gluten-free. Nobody seemed to notice, and they were inhaled in a little over one hour.  I call it a success story indeed.

Bean, I hope you had as much fun with your assignment as I had with mine!  And for those reading my blog, make sure to click on the blue amphibian smiling at you at the very end.  She (or he, who knows?) will take you to a new page showing all the tasty concoctions made by my virtual friends of The Secret Recipe Club.  Enjoy the collection!

ONE YEAR AGO: Lasserre, a French Classic

TWO YEARS AGO: Sourdough Bread with Walnuts and Dates

THREE YEARS AGO: Braised Brisket with Bourbon-Apricot Glaze

FOUR YEARS AGO: The Real Vodka Sauce

FIVE YEARS AGO: Pork Tenderloin and Blue Cheese

THE PIE OF THE CENTURY

The number π (pi) is the ratio between the circle’s circumference and its diameter, a value approximated as 3.14159. March 14th, 2015 becomes the closest match to the value of pi so lots of people will be making and/or enjoying some type of pie to celebrate a special day that only happens every 100 years! In my humble opinion, the real day should be celebrated in 2016, as if you were to approximate the value of pi to four decimal points, 3.14159 would turn into 3.1416. But, who am I to swim against such a strong current? I rather join the fun. And maybe have a pi encore next year 😉

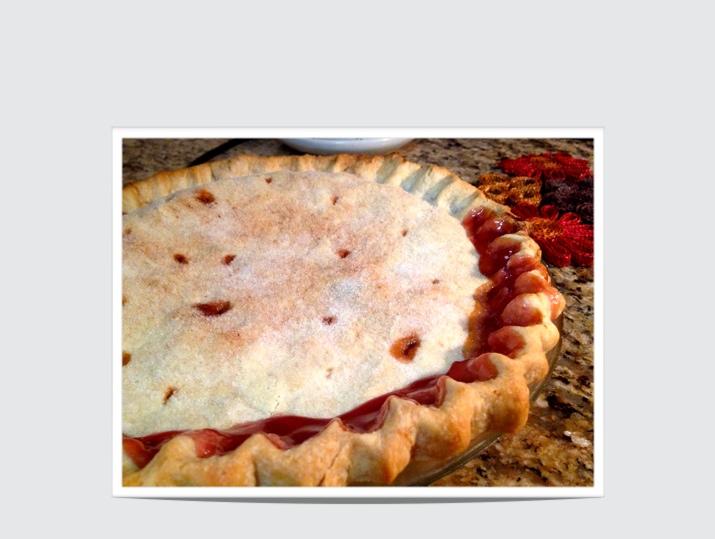
We will be enjoying a Cherry Pie made by special friends… sorry, no recipe.

unnamed-10


But to compensate for the lack of recipe, I am sharing a few pies of my past…
ENJOY!

baked1

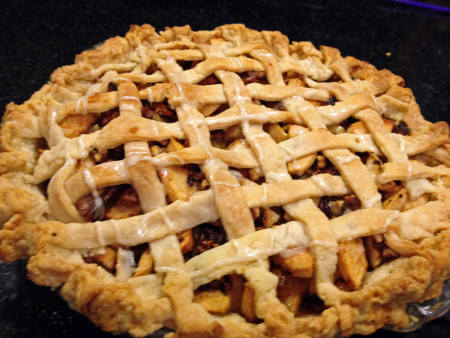
Carriage House Walnut Apple Pie

pieces

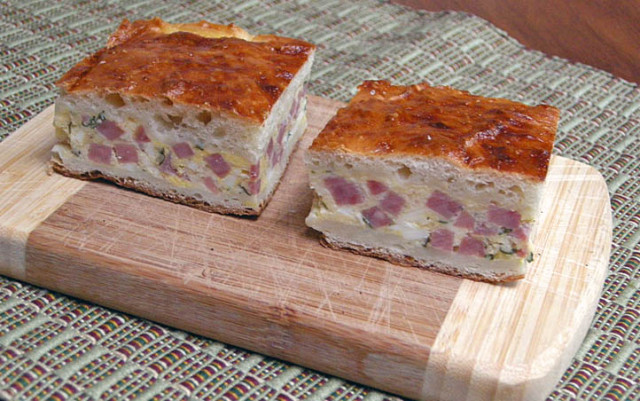
Italian Easter Pie

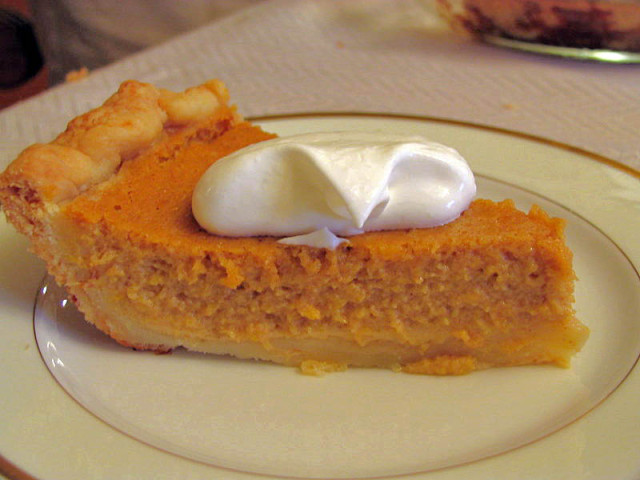
slicePumpkin Pie

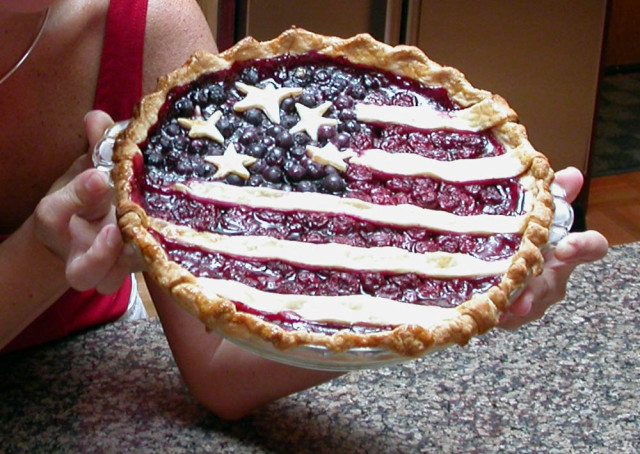
4thofjulypieA Pie for the 4th of July

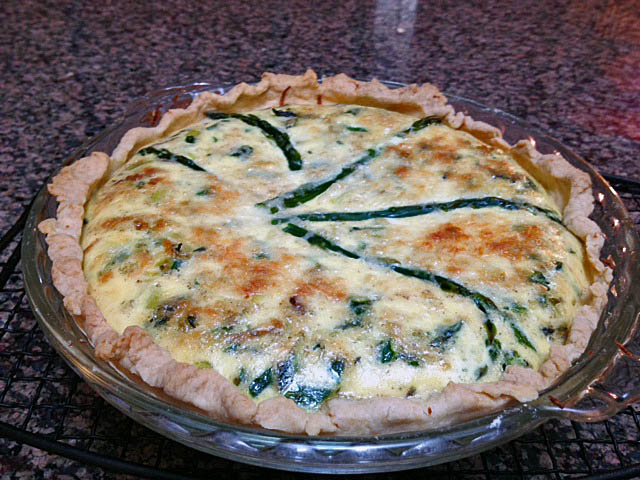
baked1-2Asparagus Quiche
(
maybe a stretch on the pie concept, but too delicious to pass)

HAVE A WONDERFUL PI DAY!

Add to FacebookAdd to DiggAdd to Del.icio.usAdd to StumbleuponAdd to RedditAdd to BlinklistAdd to TwitterAdd to TechnoratiAdd to Yahoo BuzzAdd to Newsvine

RED VELVET CUPCAKES

If you are not completely overwhelmed by the influx of sweets, chocolates,  strawberries, and heart-shaped things in the blogosphere, you could be now, because I am adding one more shockingly red item to the 26.2 mile-long list. But, how could I resist joining this party, when I baked a batch of these:

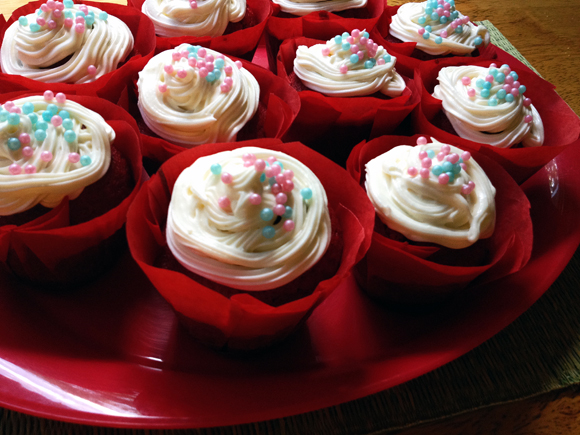
RedVelvetCupcakes1
Aren’t you absolutely amazed?  Aren’t they cute? Did you notice the icing? Can you believe “I” made them? So many questions, I know… but you have to be amazed. Because I certainly am. Granted, this baking adventure was not drama-free.

RED VELVET CUPCAKES WITH CREAM CHEESE FROSTING
(from Kristine’s Kitchen)

**recipe makes 24 cupcakes, I halved all amounts for a batch of 12**

for the cupcakes:
2 ½ cups cake flour
1 ½ cups sugar
1 tbsp. cocoa powder
1 tsp. baking soda
1 tsp. salt
2 eggs
1 ¼ cups vegetable oil
1 cup buttermilk
2 tbsp. (1 ounce) red food coloring
1 tsp. vanilla extract
1 tsp. distilled white vinegar

for the cream cheese frosting:
8 oz. cream cheese (straight from refrigerator do not soften)
5 tbsp. unsalted butter, at room temperature
3 – 3 ½ cups powdered sugar, sifted
2 tsp. vanilla extract

Heat oven to 350 degrees F. Line cupcake tins with paper liners and set aside.

In a large bowl, whisk together cake flour, sugar, cocoa powder, baking soda, and salt until well combined. In the bowl of a stand mixer fitted with the paddle attachment, combine eggs, oil, buttermilk, red food coloring, vanilla, and vinegar. Mix on medium speed until well combined. Add the dry ingredients to the mixer and beat first on low-speed and then on medium speed until smooth, about 2 minutes.

Divide batter evenly between cupcake liners, filling each a little over halfway full. Bake, rotating pans halfway through, until a tester inserted in the center of a cupcake comes out clean, 16-18 minutes. Let cupcakes cool in pans for 5 minutes and then remove to a wire rack to cool completely before frosting.

To make the frosting: Beat together the cream cheese and butter with an electric mixer on medium-high speed until fluffy, about 3 minutes. Add 3 cups powdered sugar and mix on low-speed until incorporated, and then medium-high speed until frosting reaches desired consistency, about 3 more minutes. For a stiffer icing, add more powdered sugar. Beat in the vanilla extract. Pipe frosting onto cooled cupcakes as desired. Store frosted cupcakes in the refrigerator.

ENJOY!

to print the recipe, click here

baked

The stunning paper linings were a gift from our friend Cindy. I decided to trim their tops after baking to make it easier to frost the cakes. I know my limitations.

iced
Everything was going on well, until it was time to frost the cakes. I was set on doing a good job on these, so I bought myself a pastry bag. Not a fancy one, but a disposable, single use plastic type. I filled the bag with the cream cheese frosting,  took a deep breath, and went to work.  All went smoothly for the first two babies, then all of a sudden, I squeezed and squeezed, and nothing came out of the pastry bag’s tip.  I told myself – you are a P90Xer, you can certainly squeeze harder than that! – and that’s when I felt a moist, cold, sticky feeling on my wrist, the consequence of frosting that had found its way up instead of down, and not satisfied to reach midway through my arm, was now splashing on the floor.

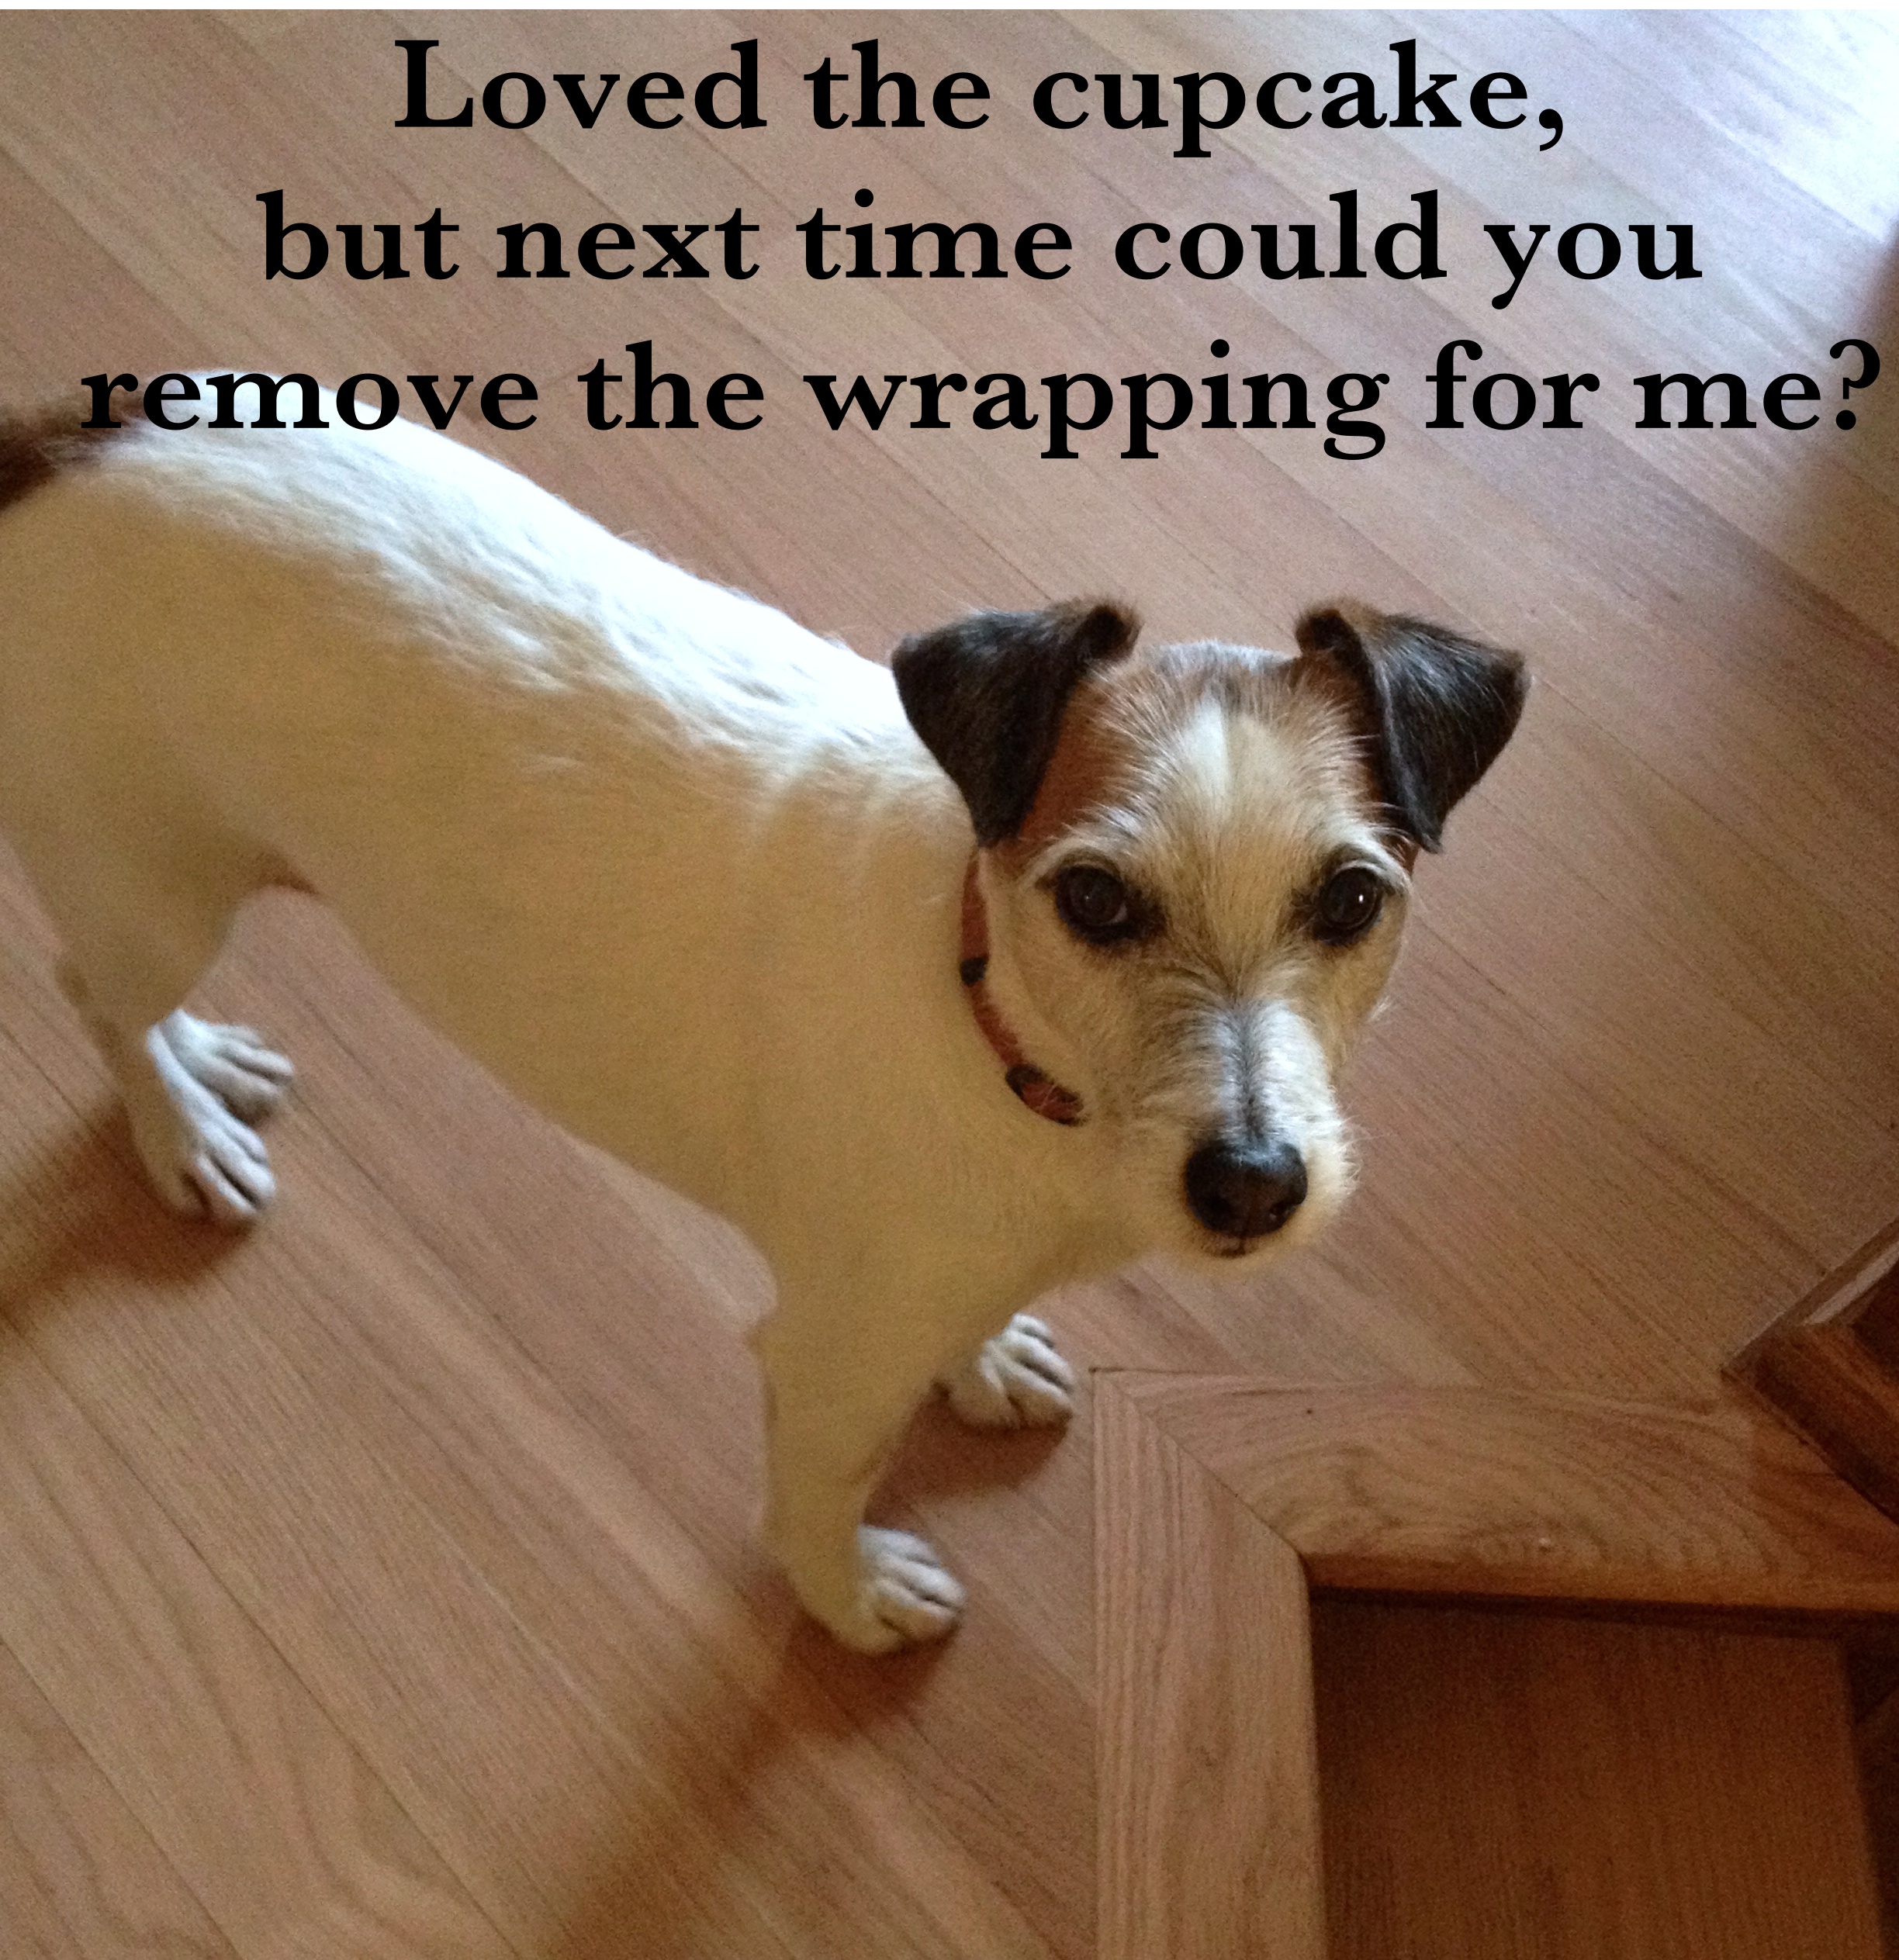
Not sure if you ever had to deal with this type of situation, but there’s only one word to describe it: messy.  Very messy.  The bag gets slippery, the frosting refuses to compact down, and the Jack Russell gets overly agitated from the sudden intake of sugar. Chaos in the Bewitching Kitchen. Still, only one little cake was lost in that battle, due to jerky movements on my part and the merciless Law of Gravity.

These cupcakes were moist, tender, and the frosting complemented them quite well. The only problem was the decoration added on top. It turns out that those sugar pearls were rock hard.  I thought they would more or less melt in the mouth, but… not the case. More the dental filling destroyer kind. I will use a different type of sprinkle next time.  Because obviously there will be a next time. And when that next time arrives, I intend to do as pros do, and twist the top of the pastry bag. It’s all in the details, my friends.  🙂

BuckBoy

HAPPY VALENTINE’S DAY!

ONE YEAR AGO: Happy Valentine’s Day!

TWO YEARS AGO:  A Few Blogging Issues

THREE YEARS AGO: Dan Dan Noodles

FOUR YEARS AGO:  Sophie Grigson’s Parmesan Cake

FIVE YEARS AGO: Antibiotics and Food


MACARONS: MUCH BETTER WITH A FRIEND!

Making macarons has been on my list of culinary projects for a very long time! They are quite intimidating, because small details in the preparation can ruin them. Even experienced bakers often share stories involving feet-less macarons  (can you imagine the horror?), cracked macarons, and many other types of monstrosities. Even though I did not list cooking projects for 2014, I was set on not letting another year pass by without attempting them.  Then, the perfect opportunity shaped up: our friend Cindy came up for a visit with her husband, and we decided to tackle this challenge together.  We had so much fun, I highly recommend that you consider inviting a friend over and doing the same. I’d been collecting recipes, tips, advice, and after consulting with my expert patissier friend Gary, we focused our efforts in two sites: Gwen’s Kitchen Creations and Joanne’s Eats Well With Others. They both definitely know their ways around the tricky Parisian macarons.

FrenchMacarons

SNICKERDOODLE MACARONS
(adapted from Gwen & Joanne)

for the shells:
3 large egg whites, (95-100g), aged overnight
1/4 tsp cream of tartar
1/4 cup sugar (50g)
pinch of salt
2 cups powdered sugar (200g)
1 cup almond flour  (120g)
.
for the filling:

(makes a lot, you can reduce the amount, if you prefer)
1 cup unsalted butter, room temperature
4 cups confectioner’s sugar
¼ cup heavy cream
2 tsp vanilla extract
salt, to taste
1 tbsp cinnamon, plus more for dusting

 .
 Sift the salt, powdered sugar, and almond flour into a large container. Discard any clumps in the sieve. Using a whisk attachment, beat egg whites with cream of tartar until foamy. Add sugar in 3 batches. Continue beating until stiff peaks form. Add gel food coloring, if desired, whisk again.
.
Add 1/3 of the almond mixture into the egg whites. Fold until incorporated – about 15-20 turns. Then add another 1/3. Fold again. Repeat one last time. It will take about 65 folds for the right consistency.
.
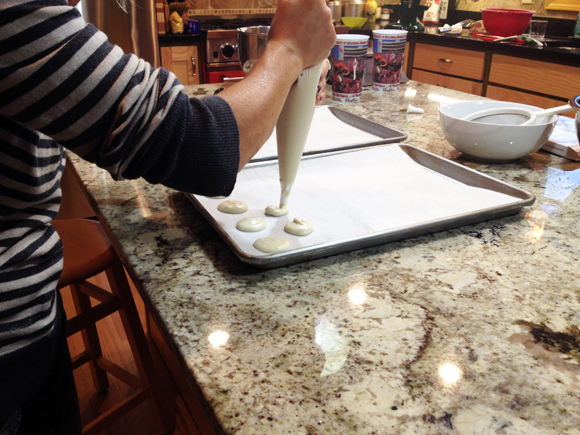
Draw circles with a pencil on a sheet of parchment paper, then place the sheet with the drawing side down on a baking sheet, so that you can see the lines through. Pipe small circles using a pastry bag, making sure your hand is vertical, at 90 degrees over the center of the circle.
.
Let rest until a skin forms. It should no longer be sticky. 30-60 minutes.
.
Bake at 275F for 17 minutes. Let the shells cool completely before attempting to peel them off.

Make the filling: in the bowl of a stand mixer fitted with the paddle attachment, combine the butter and powdered sugar, mixing on medium-high speed until light and fluffy. Add in the cream and vanilla and beat on medium-high for 3 minutes. Mix in the cinnamon until completely combined, as well as salt to taste.

Pipe the buttercream onto the flat side of half of the macarons and then top them with a second, similarly sized macaron. Refrigerate in an airtight container overnight. Dust with cinnamon before serving.

ENJOY!

to print the recipe, click here

piping

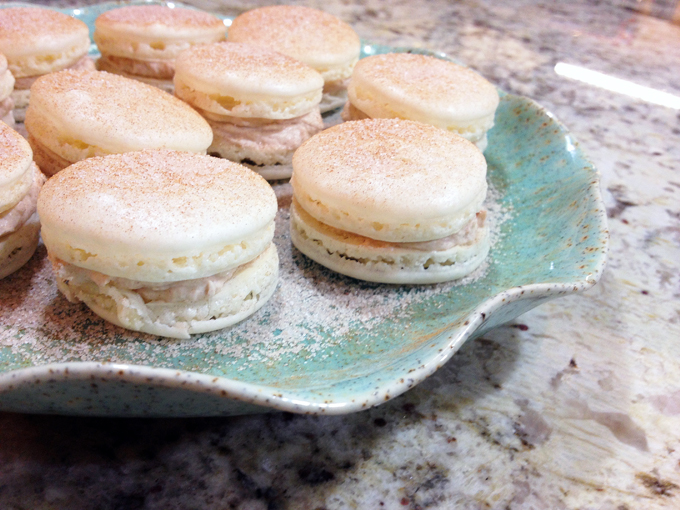
Comments: Very few culinary projects will confuse you as much as macarons. If you read cookbooks or advice online, you will find conflicting info almost for every step. Do not over-beat the egg whites… It’s impossible to over-beat the egg whites, beat a couple of minutes longer after you think they are done… don’t over-dry the shells…. it’s impossible to over-dry the shells….  sift the flour at room temperature…. roast the flour to dry it completely…  don’t even think of making macarons with regular meringue…  Mind blowing, my friends, mind-blowing.  At some point you will have to settle on a recipe for your first time, take a deep breath, and see how it goes. I think for a first time we did pretty good, actually.  Aren’t they cute?

closeup
From what I gathered around the many sources, it is VERY important to age the egg whites, so make sure to do that. Crack the eggs the day before, separating the whites and let them sit over the countertop overnight.

Since this was such an involved process, I’d like to share a few photos of our adventure…

Sifting… it was by far the most painful and boring step of the whole recipe. We took turns, but sifting the almond flour took a loooong time. Cindy did a much better job than me, she is patient and thorough. Moi? Not so much… (sigh)
sifting

We made a nice template for the shells, using the top of shot glasses….
template

Egg whites were beaten until shiny, smooth-looking peaks formed…
eggwghites

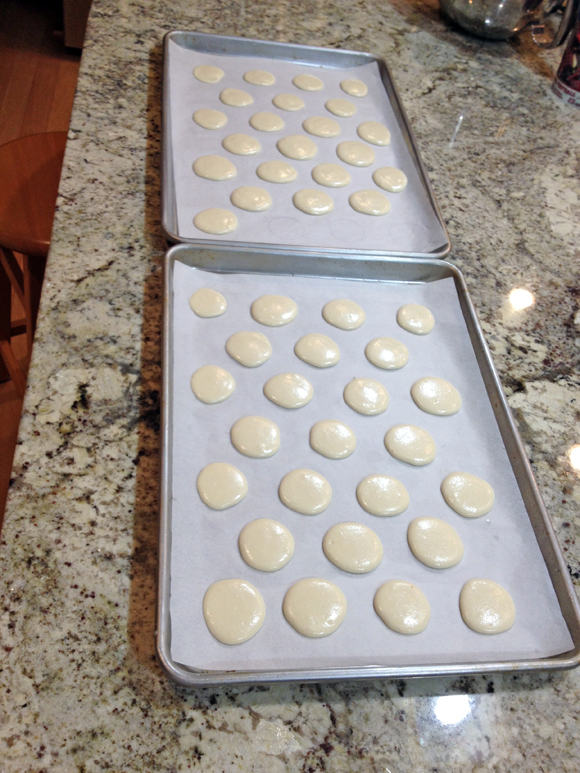
Here are the results of our labor of love, shells piped and drying….
drying

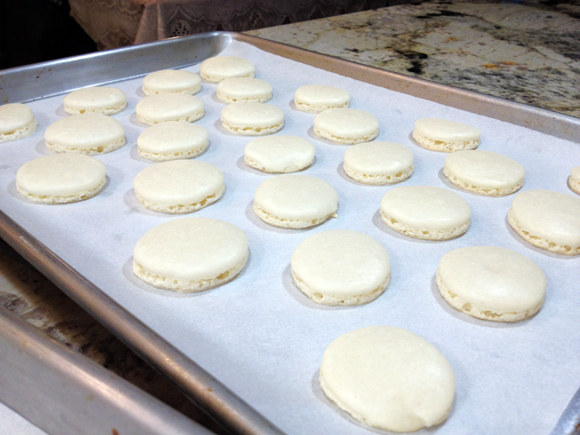
Here are our baby-shells after baking, most with nice little feet…..
baked

All in all, we had a great time, and learned a lot that day… We assembled the best looking ones, and some of the ugly ducklings were consumed right away by our partners in the name of aesthetics.
ready

The advice to wait to savor them next day is also spot-on: there is a definite improvement in texture, so these are perfect to make in advance and show-off your baking abilities at a get together.

Next time I will try Dorie Greenspan’s recipe, that uses an Italian-type meringue, in which the sugar-egg white mixture is stabilized by heat. I thought it was too involved for our first time, but from what I’ve been reading, it might be a better approach.

Cindy, thanks for joining me in this challenge,
I definitely could not have done it without you!

ONE YEAR AGO: Our Mexican Holiday Dinner 

TWO YEARS AGO: The Ultimate Cranberry Sauce

THREE YEARS AGO: Edamame Dip

FOUR YEARS AGO: Gougeres

FIVE YEARS AGO: Beef Wellington on a Special Night