THE HANDMADE LOAF

IMG_1462-1

Like a Mother who adamantly refuses to name her favorite child, I have a hard time picking a favorite cookbook. But, if someone asked me which cookbook had the greatest impact on my cooking,  I’d pick “The Handmade Loaf” by Dan Lepard, hands down.

If you dream of making great bread, if you feel that calling those preserved abnormalities at the grocery store “bread” is disrespectful to bakers everywhere, then you need this book.   Not only are the photos  gorgeous, but Dan’s writing will excite you to try every single bread from the book.  Isn’t that the mark of a great cookbook? Each page you turn makes you want to stop reading and start cooking! 😉

His main message is simple: if you want to become great at baking bread, forget about using a bread machine, or even a mixer. You won’t be pushing buttons, you will be using your hands to knead the dough. But his kneading technique is miles and miles ahead of the traditional, back-breaking, sweat-inducing method. You’ll fold the dough instead,  allowing time to accomplish what brute force used to do. You will also, for the most part, use yeast captured from your own kitchen, starting from flour, water, and a few raisins.  This book will completely change your approach to bread baking.

Yes, you will make the sourdough starter. Yes, at first you will feel intimidated. Yes, you will make mistakes, but you’ll soon realize that the starter is a very forgiving creature. Some of you who read my profile might be mumbling: “yeah, right, she is a biochemist who works with bacteria, easy for her to make starter”.  Believe me, I felt intimidated too.  I was afraid of the sourdough turning rotten, of my breads not rising, tasting flat, ending up hard as a hockey puck. In part because those things happened to me in the past, I was convinced that bread baking was simply not my cup of tea.

That all changed with “The Handmade Loaf”.  My first starter was born on March 2008 (I now have more than one). Since then, I’ve baked sourdough bread on a regular schedule, by far the MOST rewarding activity in my Bewitching Kitchen. I will share many of my bread baking adventures here, so stay tuned. 😉

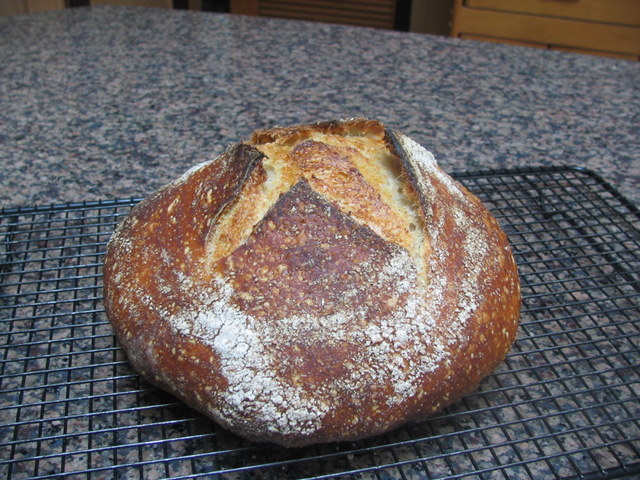
Meanwhile, would anyone care for a piece of levain bread with black olives?
DSCN2236

Add to FacebookAdd to DiggAdd to Del.icio.usAdd to StumbleuponAdd to RedditAdd to BlinklistAdd to TwitterAdd to TechnoratiAdd to Yahoo BuzzAdd to Newsvine

BBA#9: Cinnamon Raisin Walnut Loaf

Nine breads down, thirty-four to go!

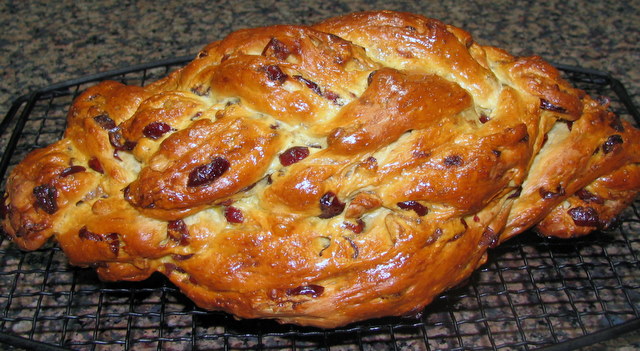
From cinnamon rolls we follow a similarly delicious path, to a cinnamon-raisin-walnut-loaf  (that’s quite a mouthful!).   Running the risk of eternally jinxing myself, I’ll say that making this bread was a piece of cake, especially considering that I threw caution to the wind and halved the recipe again.

Peter Reinhart offers two variations to the basic recipe: a sprinkle of cinnamon-sugar before rolling the dough into a loaf (creating a beautiful swirl in the center of the bread), and a light coating with melted butter plus cinnamon-sugar on top after baking. I decided to skip the swirl, as both me and beloved prefer to go light on sweets. But the sweet crust on top was impossible to resist, so I complied.

Loaf1

dough9

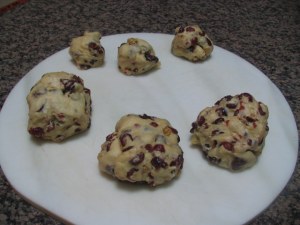
The dough was very nice to work with, smooth, soft, and rose quite well. But, you don’t have to take my word for it… Just follow the link for additional photos.

click here to see more

BBA#7 – CIABATTA: judging a bread by its holes

ciabatta1

With this post, I finally join as a blogger the crowd of bakers  who are taking  “The Challenge“. You can see the other breads, made before this blog was launched, by clicking here.

Ciabatta is one of my favorite kinds of bread.  A friend of mine (you know who you are…) says she does not understand this fascination with holes in the bread, as obviously where there is a hole, there is NO bread. What can I say? I love the texture, the look, the “feel” of a bread invaded by holes…

I have made ciabatta in the past, but never this particular recipe. Peter Reinhart gives us a choice, ciabatta made with “poolish” or “biga”.  No need to panic, those are simple terms used by bakers, that define a pre-mixture of yeast with water and flour.  In very general terms, a “poolish” contains more water, ends up looking like porridge. “Biga” is thicker, resembles play dough.  Either of  these are incorporated in the final dough, sometimes more yeast might be added to it. For this bread, I decided to use a “poolish”.

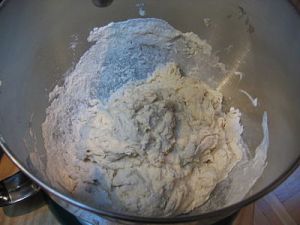
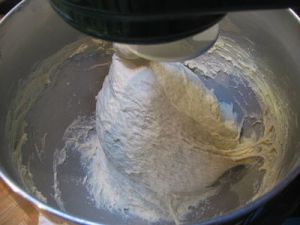
The “poolish” is added to flour and more yeast in the bowl of a stand mixer.

ciabatta3

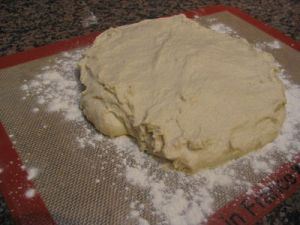
After mixing, the dough is spread in a rectangular shape and folded twice during a few hours of rising. You can see how a dough is folded by clicking here.

ciabatta4

After the first fold, things start to get really smooth, but the second fold is what really changes the look of the dough. Notice the nice “bubbly” nature…

ciabattafold

More rising, the dough is cut in pieces, and allowed to rise some more in improvised “couches”

ciabattacutciabattacouche

Ready to go into the oven!

ciabattaoven

click here to see the outcome

FOCACCIA

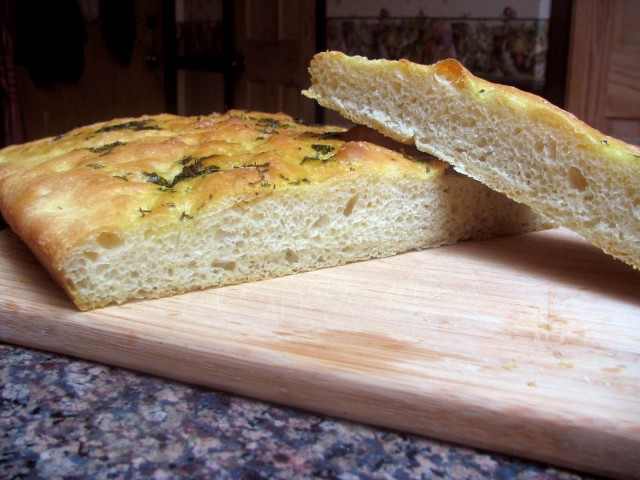
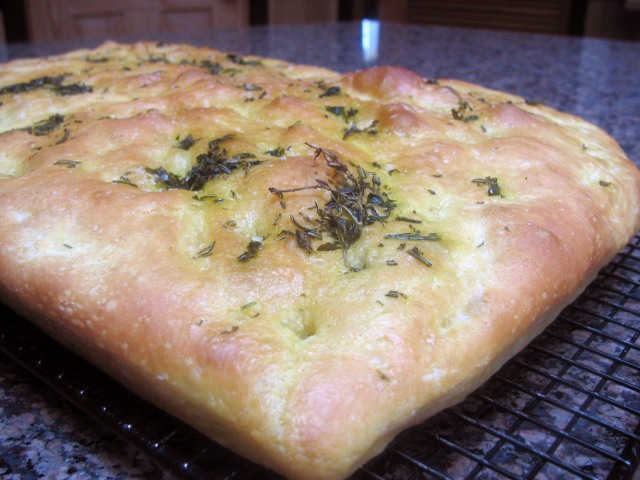
This is one of those recipes that I always go back to. Simple, straightforward, and as far as bread things go, it certainly qualifies as quick, as you can have it on a cooling rack 1 hour after your focaccia craving hits.

It comes from  “No Need to Knead”, a book published in 1999, years before the “no-knead-bread fever” hit the US.

For dinner parties I make the full recipe, for me and hubby I make half and cook it in a cast iron pan. Works like a charm….

IMG_1229

FOCACCIA
(adapted from Suzanne Dunaway’s “No Need to Knead”)

2 cups lukewarm water
2 tsp active dry yeast
4 cups unbleached bread flour
3 tsp salt
2-3  tsp olive oil
2 T chopped fresh rosemary
1 tsp kosher salt

Measure the water in a large bowl, sprinkle yeast over water and stir until dissolved. Using a strong wooden spoon mix 2 cups of flour and salt until smooth, about 2 minutes. Add the remaining 2 cups of flour, stirring for 2 more minutes, just until the dough pulls away from the sides of the bowl, and the flour is fully incorporated. Cover the bowl with plastic wrap and let it rise in a warm place until doubled in volume, 30 to 40 minutes.

Heat the oven to 500F. Oil one or two non-stick 13×18 inch baking sheets.

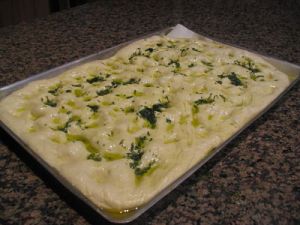
Pour the dough onto the sheet(s),  brush the surface with 2 tsp olive oil. Dip your fingers in cold water or olive oil and make indentations all over the dough, working to stretch the dough as you go. If you are using a single sheet, the dough should cover it. Brush the surface with another teaspoon of olive oil, sprinkle with rosemary and  salt.

Place in the oven and reduce the temperature to 450F. Bake for 15 to 20 minutes, until golden brown. Cool on a wire rack and enjoy!

comments and photos