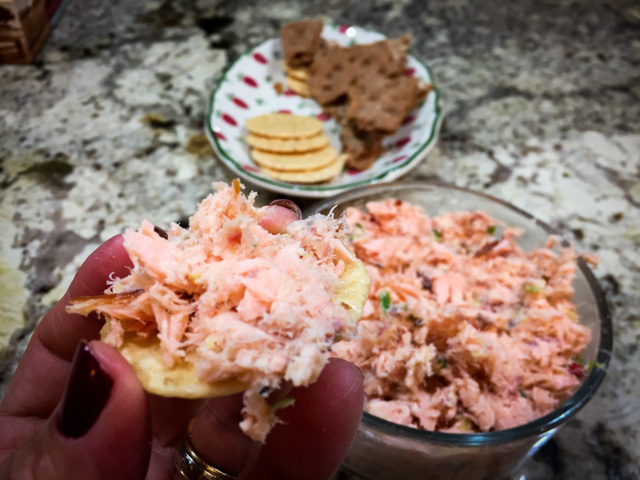
My last post featured the main dish I chose for Phil’s birthday dinner. Now it’s time to share with you a nice appetizer from the same evening: salmon rillettes. When we lived in Paris, rillettes were a favorite item we ordered in restaurants. Often pork, sometimes duck rillettes. In one of the little neighborhood bistrots, Aux Artistes, they would serve them (as well as their country terrine) family style. A big dish would be brought to the table, so you could serve yourself some, then the waiter would take it away for others to enjoy. Very civilized in that unique French way. Hard to imagine the same situation in the US. What? You expect me to eat something that was already on someone else’s table? Manipulated by other human beings? You must be out of your mind! I say “Vive la différence!” And pass me the rillettes, will you?
I found this recipe in Karen’s site. She loved it so much that she confessed to having it for breakfast, lunch, and dinner several days in a row. That, my friends, is what food endorsement is all about. I knew I had to make it sooner rather than later.
1 jalapeno pepper, sliced in half, one half minced
5 to 10 white peppercorns
5 to 10 coriander seeds
2 to 3 green onions, cut into 3 inch slices
salt
1/2 pound salmon fillet, cut into 1/2 inch cubes
6 ounces smoked salmon (peppered coho smoked salmon, if available)
3 tablespoons unsalted and softened butter
salt and pepper to taste
1 large shallot, peeled and minced
1/2 tsp pink peppercorns, crushed
1/2 tsp crushed red peppers
With a vegetable peeler, cut off a strip of the peel of the lemon. Finely zest the rest of the lemon and set the zest aside. Set the lemon aside.
.
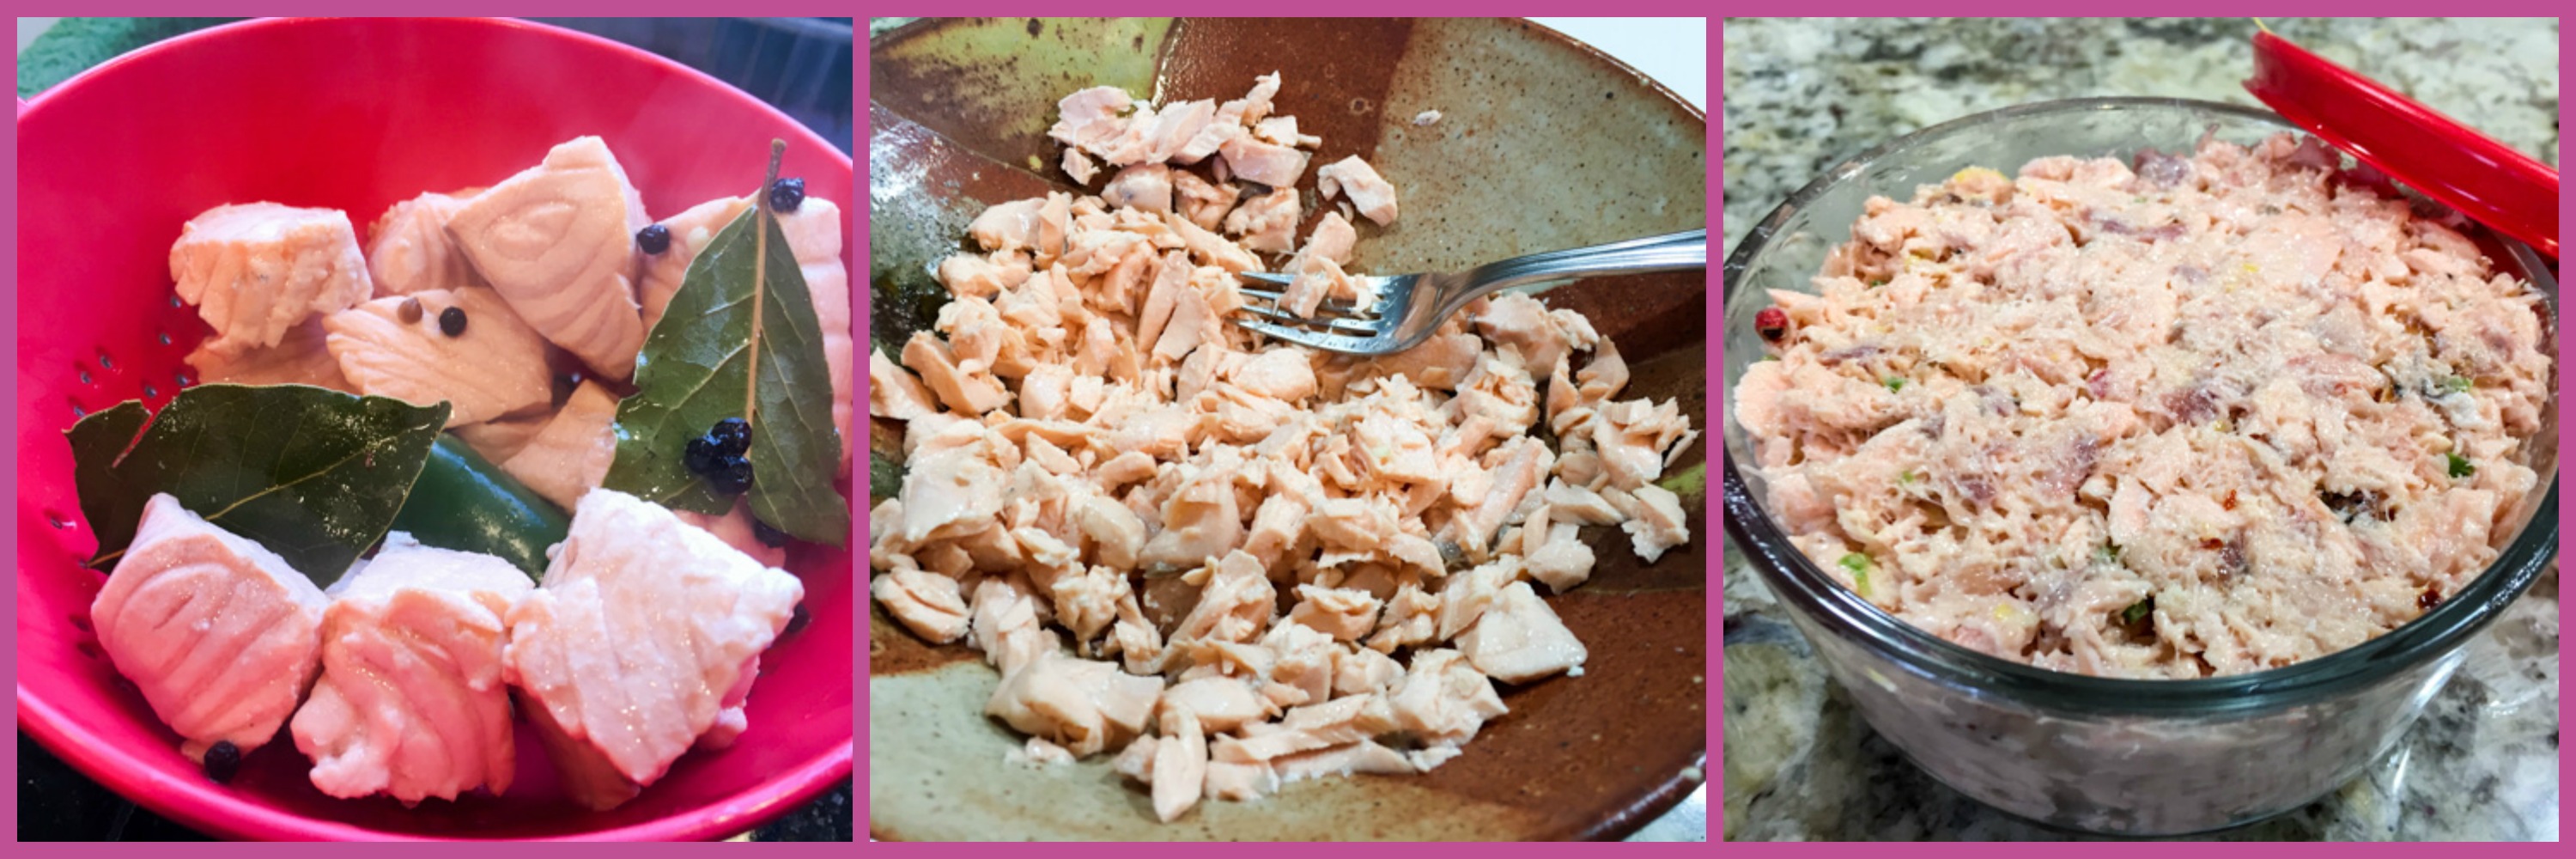
Place the unchopped half of the jalapeno into a small saucepan. Add the vermouth, water, bay leaf, peppercorns, and coriander seeds. Bring the mixture to a boil over medium heat. Add the green onions and fresh salmon cubes. Reduce the heat to low, cover, and simmer for three to five minutes. Drain in a colander. Discard the vegetables and place the salmon in a medium bowl.
.
Mash the salmon roughly with a fork. Add the smoked salmon and mash with a fork. Add the butter and blend with a fork. Add some of the juice from the lemon, the lemon zest, along with some salt and pepper to taste. Add the shallots, minced jalapeno, crushed pink peppercorns, and crushed red pepper. Mix thoroughly. Stir in more lemon juice, to taste.
Pack the mixture into a canning jar or other container. Press the top with plastic wrap and refrigerate for at least 2 hours and up to a day before serving for the first time. The rillettes will last up to 3 or 4 days.
Comments: This was incredibly tasty, just as Karen promised it would be, and got better each day. The mixture of smoked salmon with the lightly poached fish, the lemon, the spices, everything works together in perfect harmony. It is surprisingly mild in flavor. Plus, what a fun recipe to make! I don’t know why I never attempted rillettes at home, but now that I did, I feel like trying my hands at some pork rillettes, served ‘comme il faut’, with those small cornichons, and a crusty baguette. I will be catapulted straight back to Aux Artistes, although between you and me, the place brings mixed feelings. Yeah, the food was awesome, prices affordable, great atmosphere. but the owner, a gorgeous blonde, tall, bright-blue-wandering eyes, could not – I repeat – could not stop flirting with Phil. Oh, well… as a mentor of mine used to say… attractive people attract. I took it all with my best smile, sips of Bordeaux, and a few discreet but assertive kicks under the table. Let’s keep in mind though, that two can play that game. Not that I would ever… you know, I am just not the vindictive type…
😉
I hope you try this recipe on your next dinner party. Not only it is unusual and elegant, but you will be better off making it in advance. It’s the hostess’ dream come true!
.
Karen, once again I should thank you for the constant inspiration!
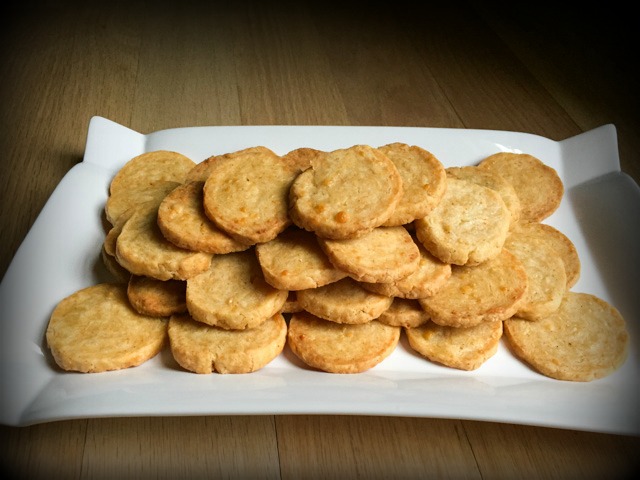
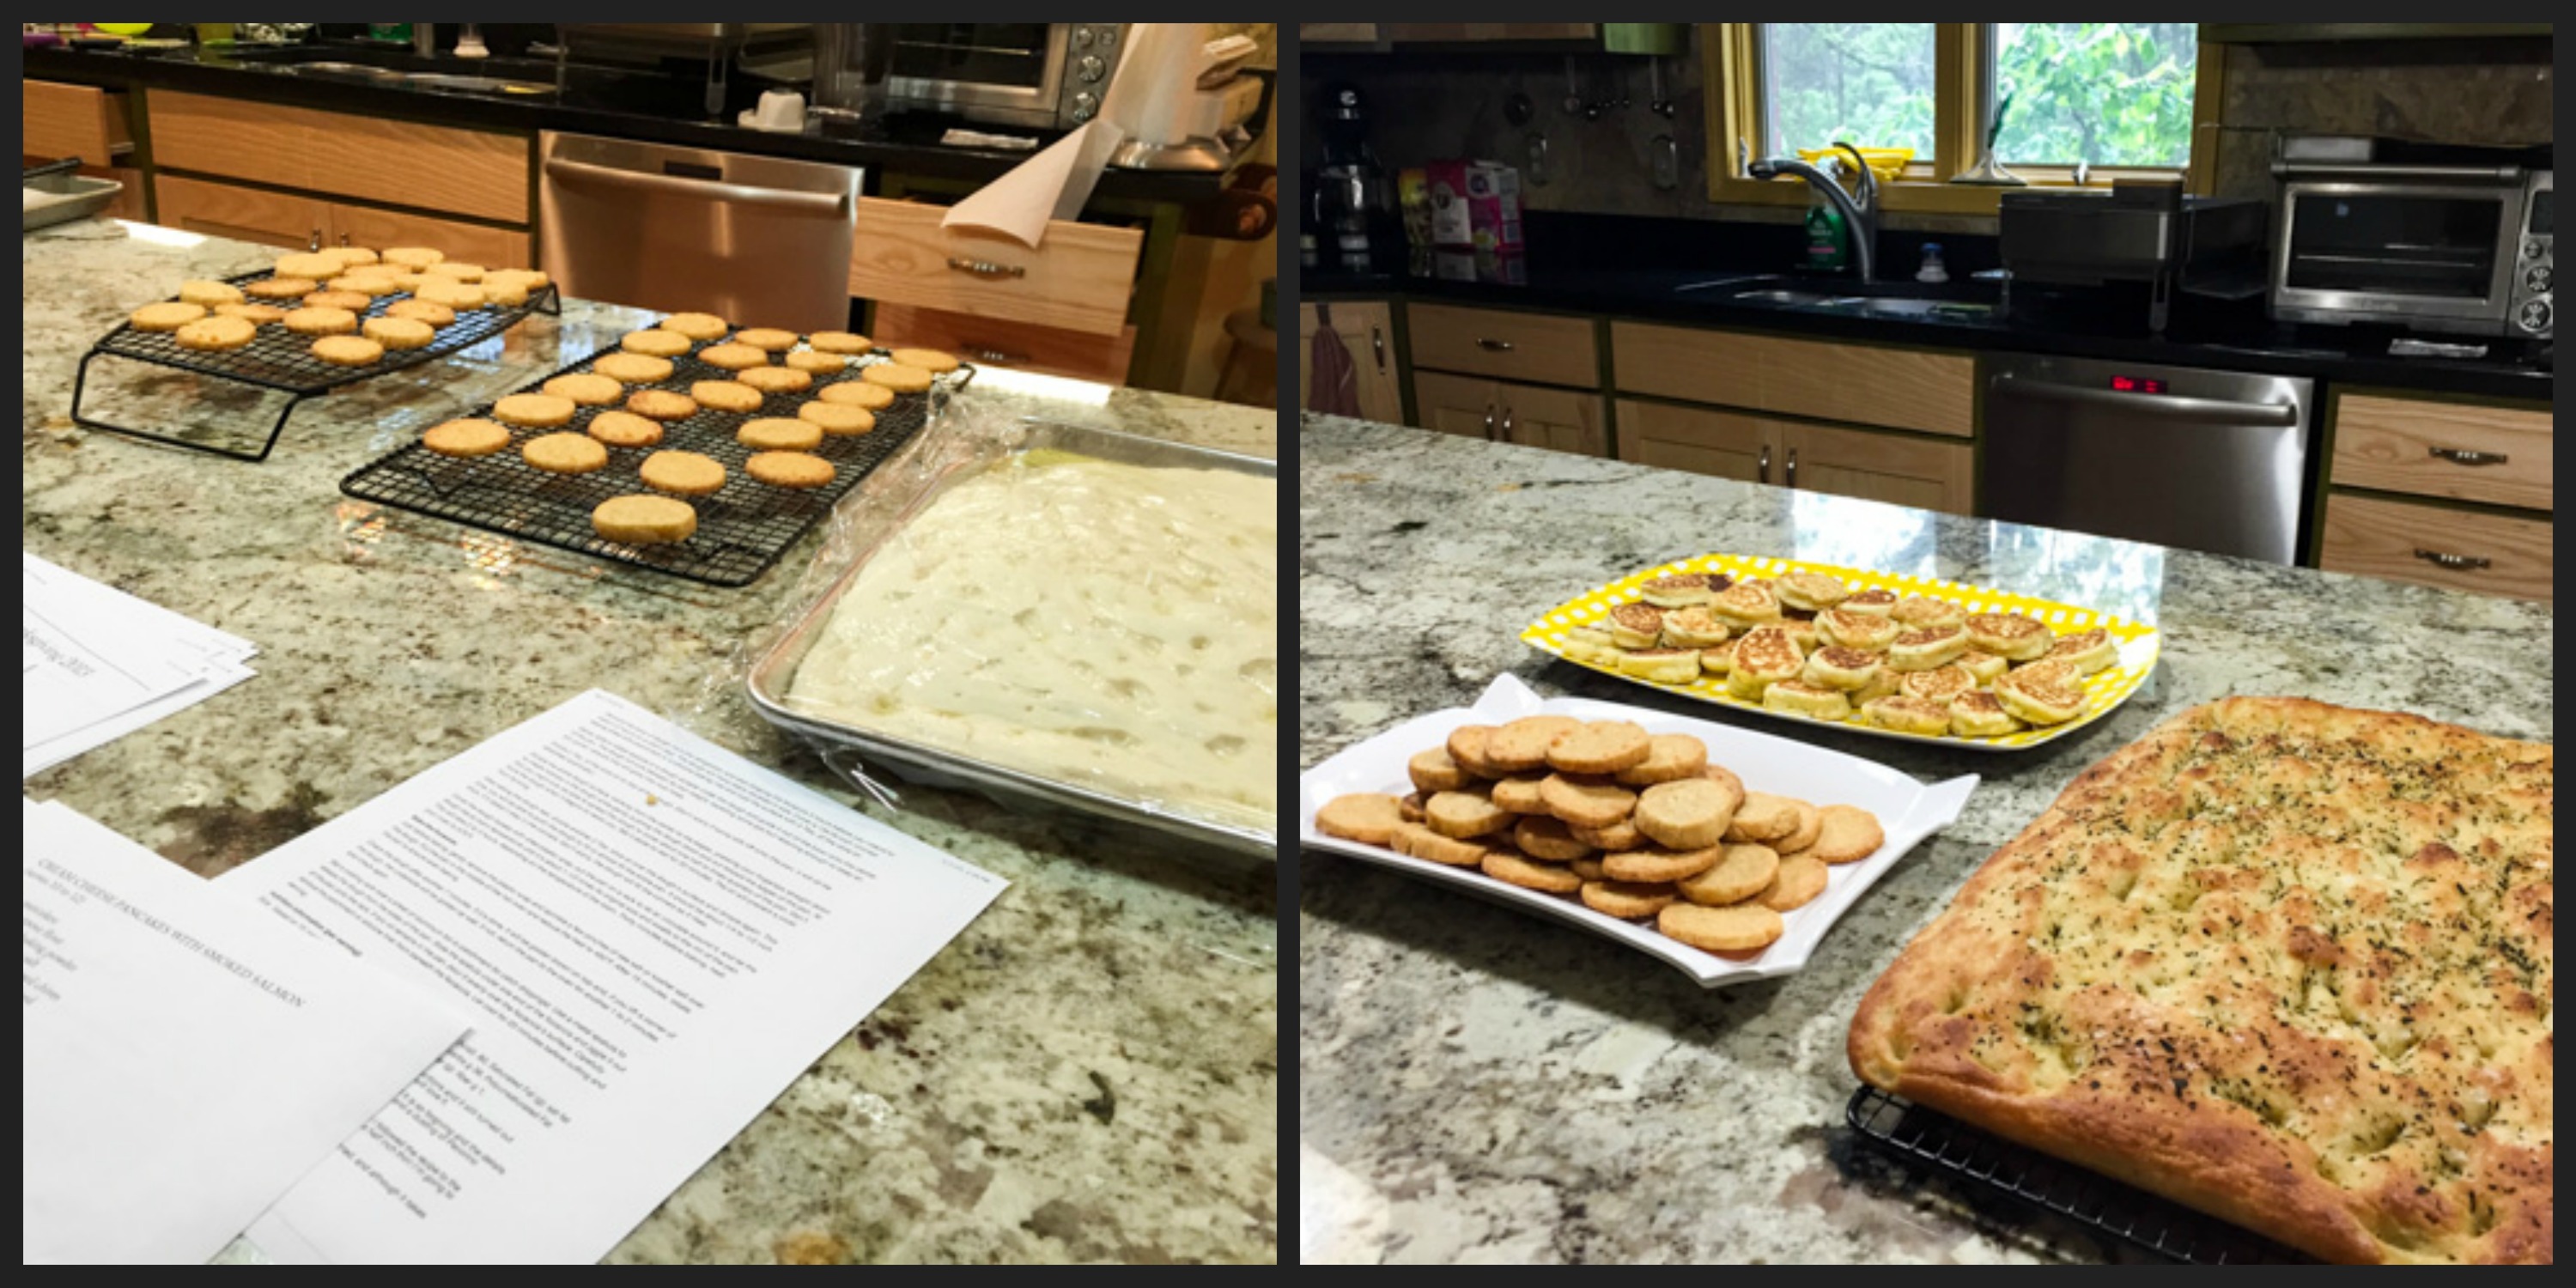
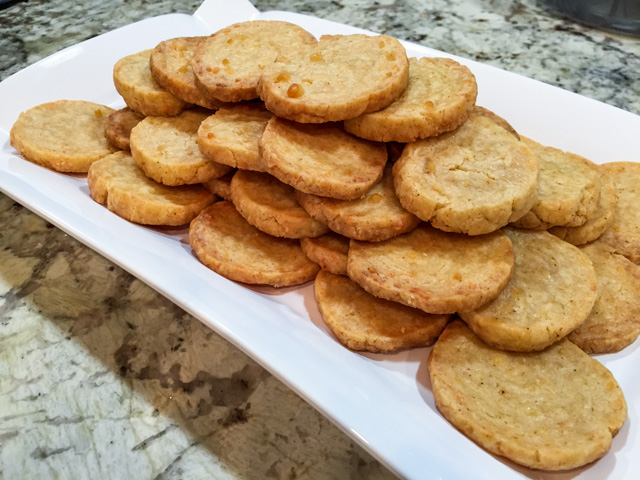
Today I finally share a recipe made for a very special reception hosted at our home a few months ago. These are simple to make in the food processor and have great texture. You know when you bite into a cracker and it feels kind of hard, but in 2.5 seconds it dissolves in your mouth releasing all sorts of enticing flavors? These are exactly it. The recipe I used was inspired by two sources, Fine Cooking and America’s Test Kitchen, you can certainly adapt it to your own taste. They are a bit spicy, so if you prefer to take the crackers into a different path, omit the cayenne, go for cumin or even some curry, that could be wonderful too. Most important thing is to use good quality Cheddar and Parmigiano cheeses because their flavors will be quite prominent in the crackers. I guarantee you will have no leftovers at the end of your party…
CHEDDAR CHEESE CRACKERS (inspired by ATK & Fine Cooking magazine)
1 cup extra-sharp Cheddar cheese, shredded
1 cup shredded Parmigiano-Reggiano cheese
1 + 1/2 cups all-purpose flour
1 tablespoon cornstarch
1/2 teaspoon salt
1/4 teaspoon cayenne pepper
1/4 teaspoon smoked paprika
8 tablespoons butter, cut in pieces and kept cold
3 tablespoons water
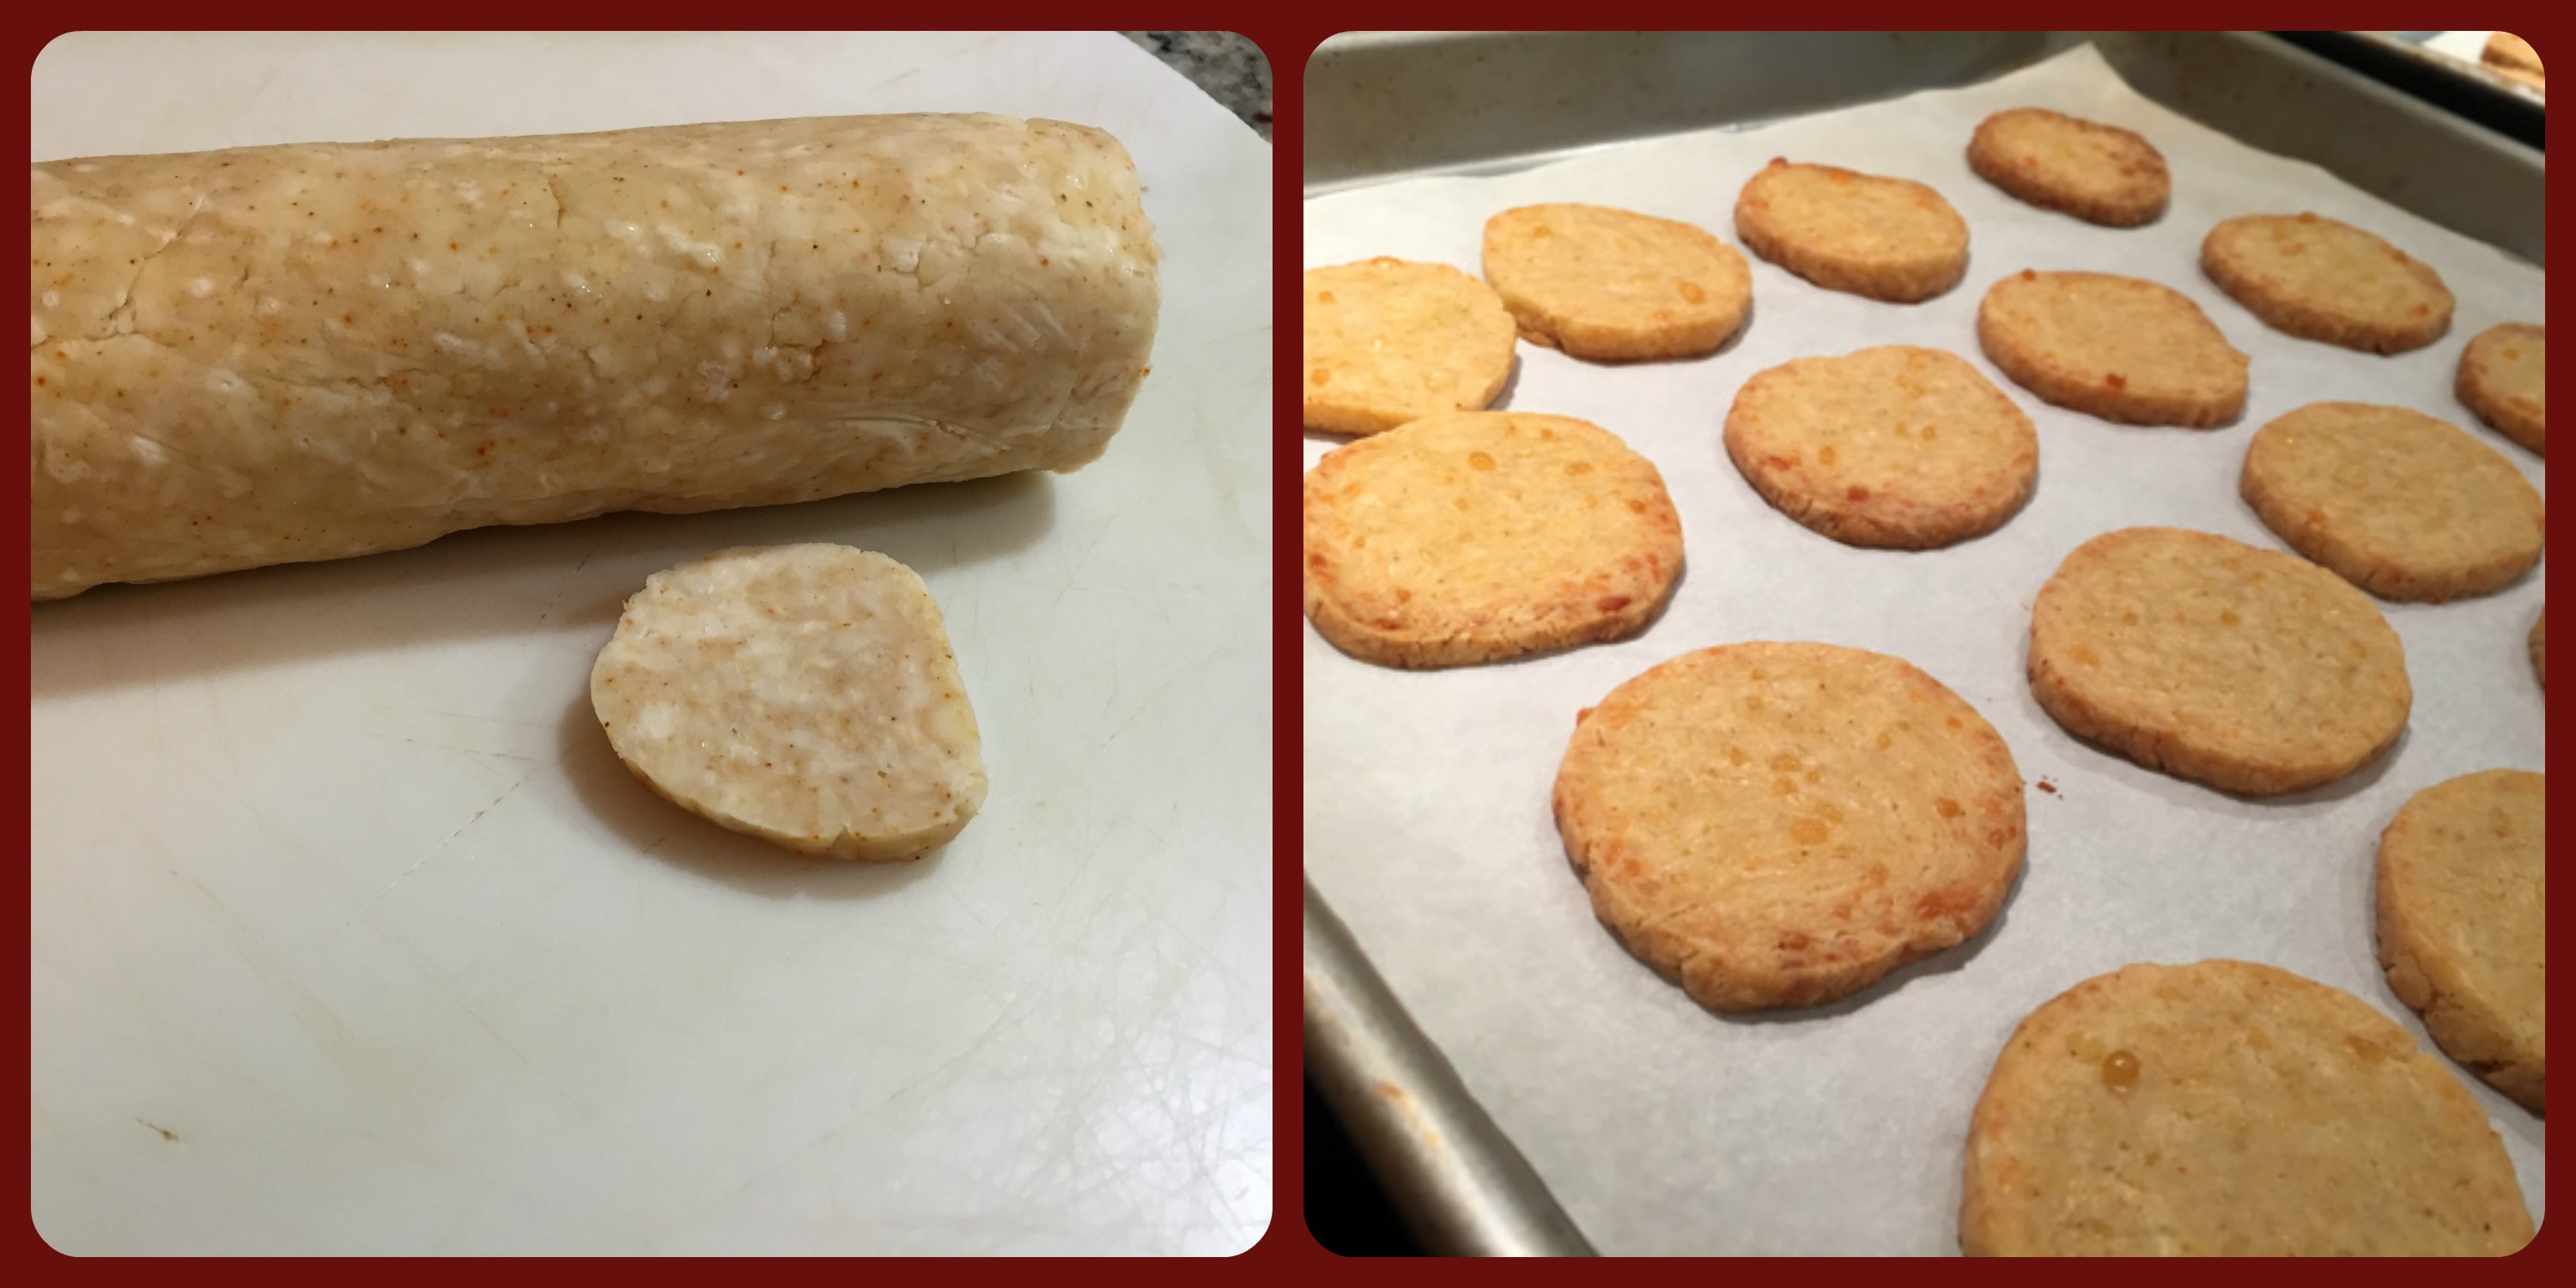
Process cheddar, flour, cornstarch, salt, cayenne, and paprika in food processor until combined, about 30 seconds. Add butter and process until mixture resembles wet sand, about 20 seconds. Add water and process until dough ball forms, about 10 seconds. Transfer dough to counter and divide in half. Roll each half into 10-inch log, wrap in plastic wrap, and refrigerate until firm, at least 1 hour.
Adjust oven racks to upper-middle and lower-middle positions and heat oven to 350 degrees. Line 2 rimmed baking sheets with parchment paper. Unwrap logs and slice into ¼-inch-thick coins. Place coins on prepared sheets, ½ inch apart. Bake until light golden around edges, 22 to 28 minutes, switching and rotating sheets halfway through baking. Let coins cool completely on sheets before serving.
Comments: It is easy to open several boxes of crackers to serve alongside cheeses and spreads. But nothing takes a cocktail party to another level like homemade crackers. And homemade bread, of course. These keep very well at room temperature inside a can, so you could prepare them in advance and impress that special group of friends stress-free. Wait for the question “What brand of crackers are these? They are so good!”. To that you follow with a short pause… and say as nonchalantly as possible… “These? Oh, these I made myself…” A little bit of Hollywood never hurt a cocktail party, trust me on that…
.
I shared these photos before, but I must say it gives me some pleasure to look at them again, thinking about the marathon of preparation I went through before the party…
You know how some recipes adapt ingredients to make an overly heavy dish lighter and “healthier?” Maybe using cauliflower instead of potatoes, baking instead of frying? Well, this recipe is not it. This is authentic Brazilian cooking the way it was meant to be: substantial, loaded in carbs, and to make matters worse, breaded AND deep-fried. My advice? Enjoy it with a tropical smile, then go for a Spartan life-style for a couple of days. Totally worth it. This is the type of finger food that Brazilians grow up enjoying at parties and street markets. It originated in São Paulo, in the 19th century. It turns out that Imperial Princess Isabel had a son who loved to eat chicken, but he would only eat the thigh meat. One day, the cook ran out of chicken thighs and decided to shred the meat of chicken breasts, and hide it in a dough shaped as a drumstick. The boy loved it, and from then on coxinhas were a regular item in the Imperial kitchen. Imagine the thrill of that cook if he knew that 200 years later his creative recipe would be featured in a Bewitching Kitchen 6 thousand miles away!
Before getting in the gastronomic aspect of this delicacy, I must give you a little lesson on Brazilian Portuguese. I promise it won’t be too painful. Ready? Ok, in Portuguese you can turn almost any word into a diminutive form by adding the suffix “inho” or “inha” depending on the gender of the word. Masculine words get “inho“, feminine gets “inha“. A few examples:
Casa (house) –> Casinha (little house)
Gato (cat) –> Gatinho (kitten)
Chuva (rain) –> Chuvinha (very light rain)
Linda (beautiful) –> Lindinha (more appropriate to describe a young girl or baby)
So, that brings me to the title of this post, “coxinha de galinha.” Sounds like two diminutives put together, right? Not so fast, dear students! The first part is indeed a diminutive. It derives from “coxa” (thigh), so coxinha is a small thigh. Now, moving to the second part: galinha… that is not a diminutive per se, it is a real word that means chicken. The word for rooster is “galo.” So, in Portuguese a male rooster gets a beautiful word, but the female is defined by its diminutive form. How sexist is that?
All jokes aside, let’s make sure you can pronounce the words correctly. The “inha” component might be a bit tricky, be patient, listen carefully and repeat after me…
Sheila, a Brazilian graduate student from our department…
For the filling:
2 Tablespoons olive oil
2 shallots, finely minced
1 celery rib, finely minced
3 cups cooked (or rotisserie) chicken, finely shredded
Salt and ground black pepper to taste
A pinch of red pepper flakes
¼ cup cream cheese, softened
3 Tablespoons minced green onions
minced cilantro leaves to taste
For the dough:
3-1/3 cup chicken stock
A pinch of salt (enough to taste)
¼ teaspoon annatto or turmeric
2 teaspoons olive oil
3 cups sifted all-purpose flour
For dredging and frying:
2 cups all-purpose flour
4 eggs, whisked with a tablespoon of water
2-3 cups breadcrumbs
enough vegetable oil to fully immerse the coxinhas
Prepare the filling: In a large skillet, heat the olive oil over medium heat. Add the shallots and celery and cook, stirring occasionally, until soft and translucent. In a large bowl, place the finely shredded chicken and stir in the cooked onion and celery mixture, salt, pepper, red pepper flakes , the cream cheese, green onions, and cilantro. Set aside. It can be made a couple of days in advance, keep refrigerated.
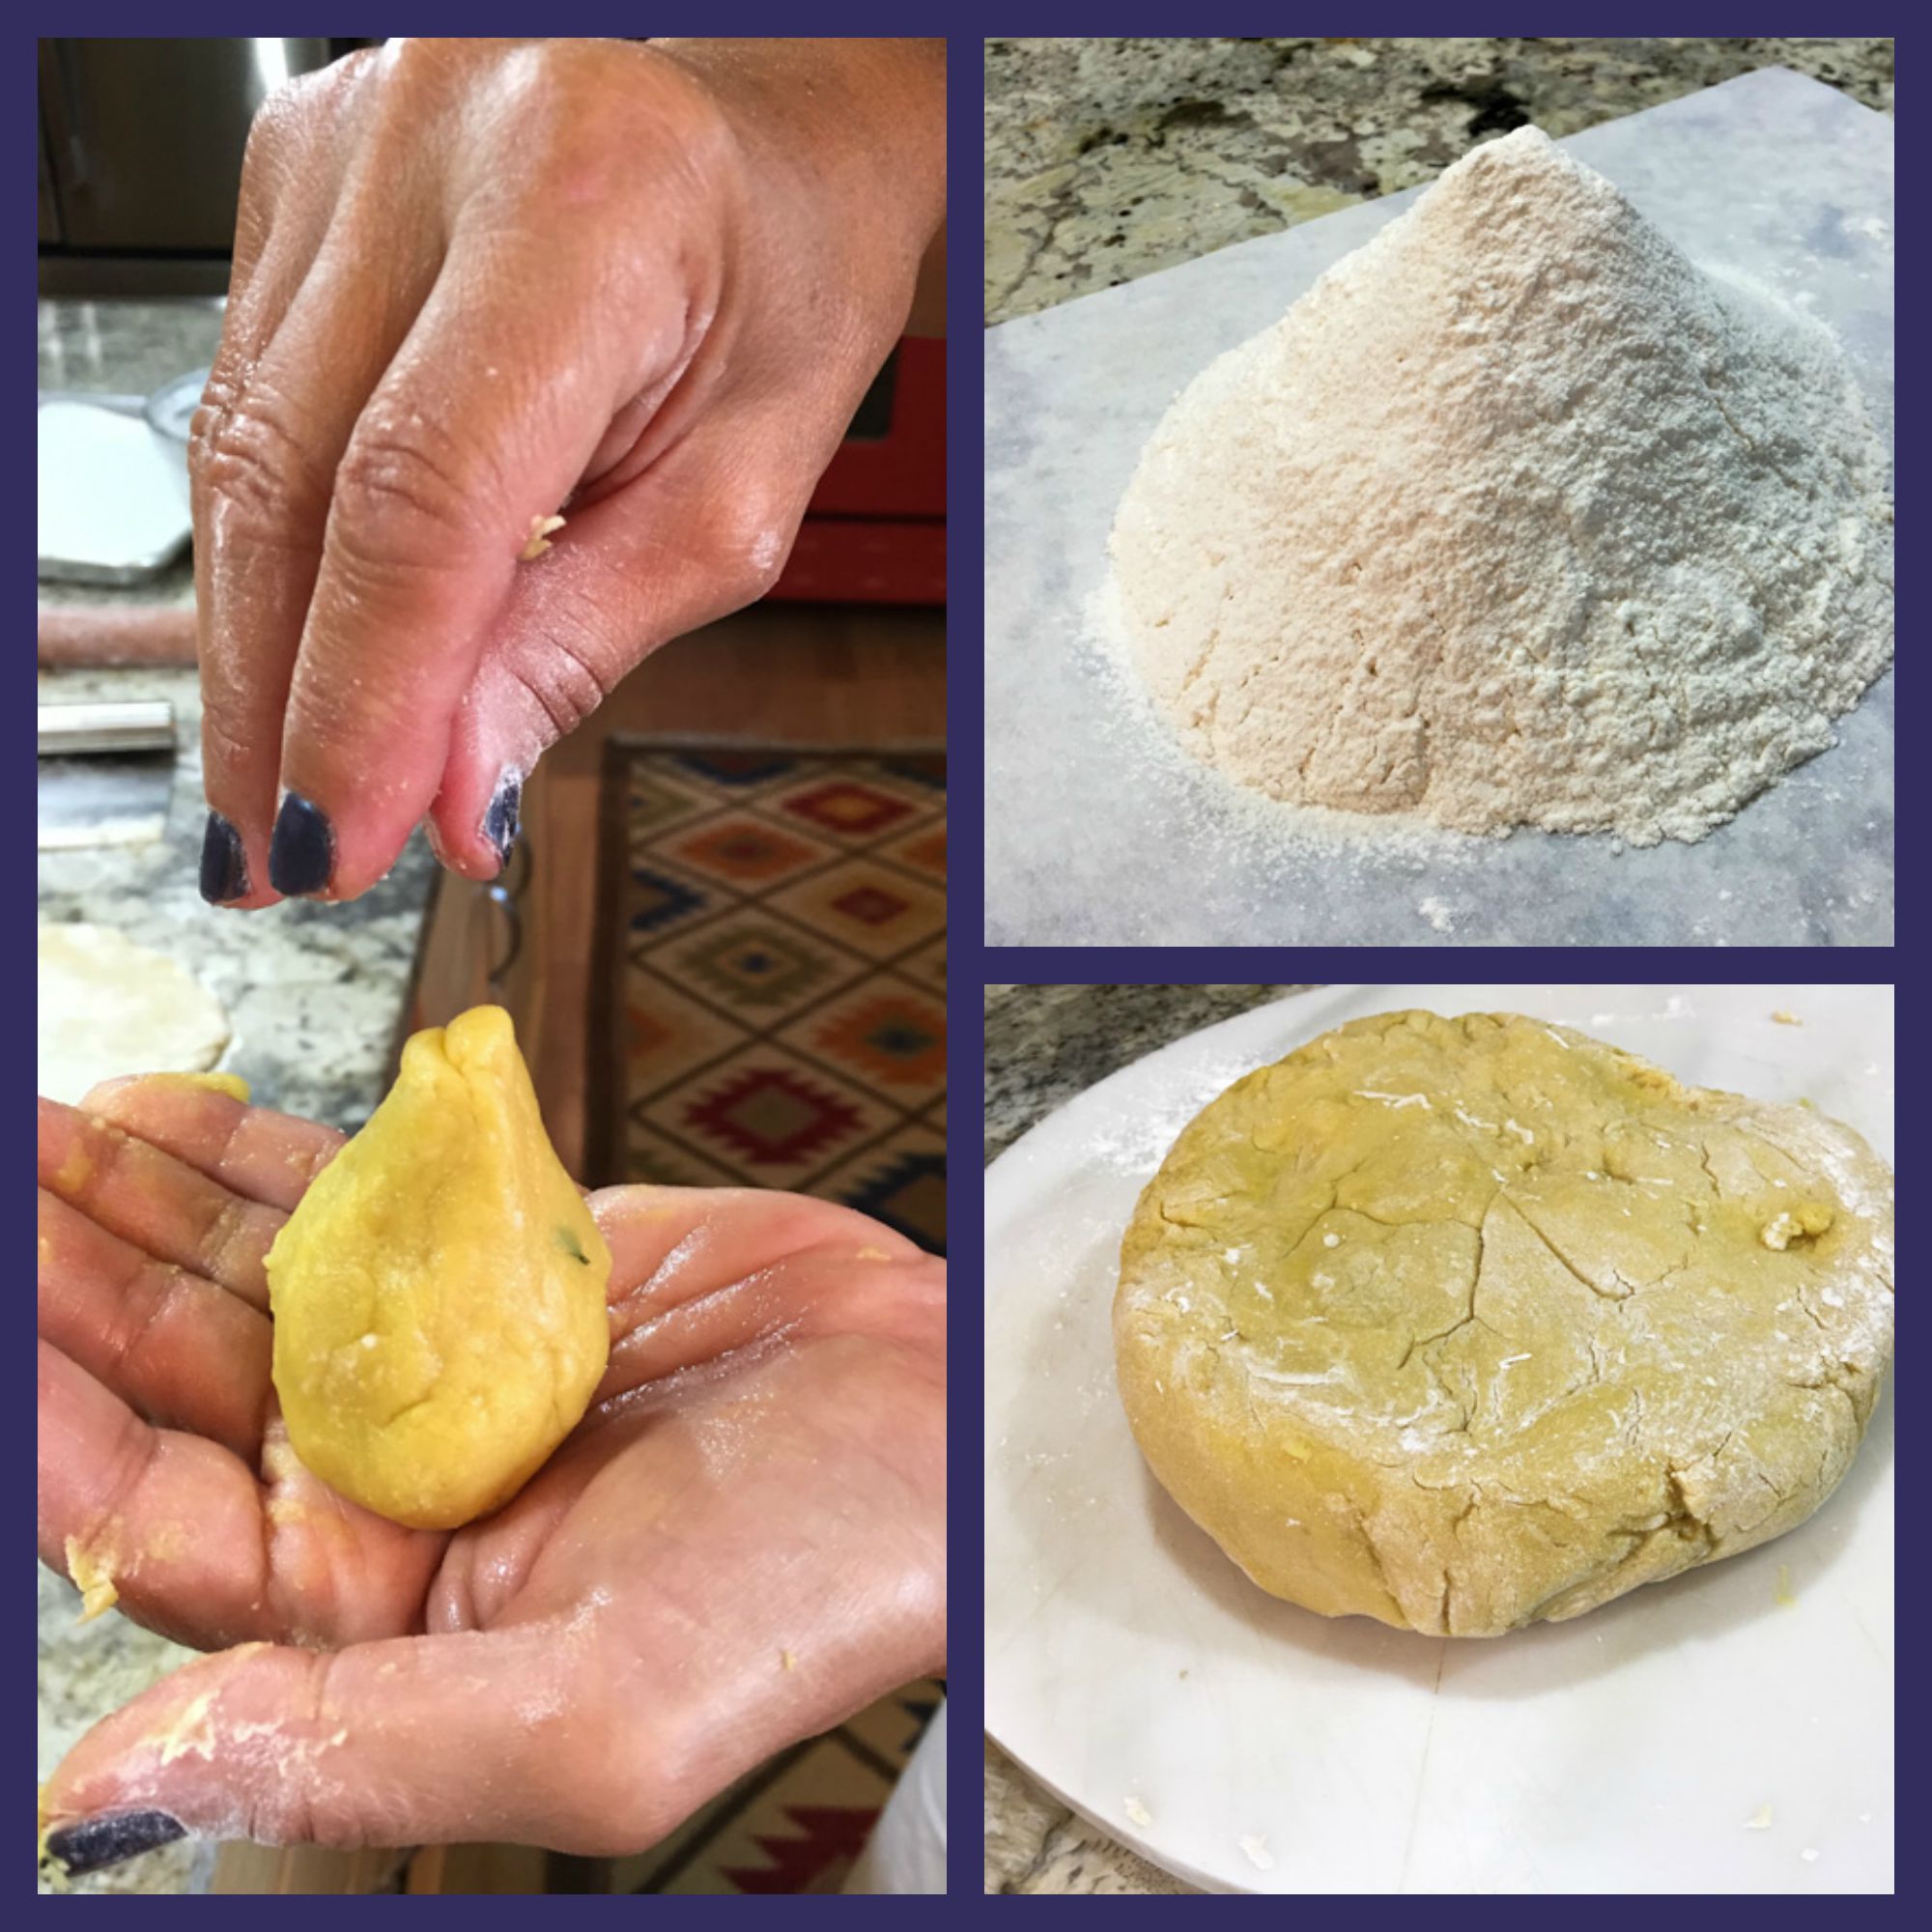
Prepare the coxinha dough: In a large, non-stick saucepan, place the chicken stock, salt, annatto or turmeric, and olive oil, and bring to a simmer over medium-low heat. When the stock is hot, add the sifted flour all at once while stirring very well. It will get more and more difficult to stir but continue to stir vigorously for about 1 minute or so until obtaining a uniformly lumpy dough.
Remove from heat and transfer the coxinha dough to an electric mixer fitted with a hook attachment. Knead dough at low-speed for about 5 minutes or until it becomes soft and smooth. Scrape dough from mixing bowl onto a well-floured surface with a dough scraper or spatula, and knead a little bit more by hand. Shape the coxinha dough into a flat disk and let rest for 10 minutes at room temperature.
Using a rolling-pin, roll out the dough onto a well-floured surface until it is about ¼ to ⅛-inch thick. Using a 3-1/4-inch round cookie cutter, cut out disks of dough and place them on a baking sheet lined with parchment paper (a metal spatula can be useful to help pry the disks from the rolling surface). Aggregate the dough leftovers, re-roll, and cut out more disks. You should have between 30 and 35 disks.
Form the coxinhas: Scoop about 1 tablespoon of the chicken filling onto the center of each disk. Lightly oil your hands and shape the filled disks into drumsticks by folding the dough up and around the filling into a beggar’s purse shape, forming the neck of the coxinha between your encircled index finger and thumb, and gently press the filling down into the center as you close. Pinch and seal the edges. Pull the dough at the top out slightly so that it resembles a drumstick. Use a moist towel to clean your fingers off each time they touch the filling. Make sure the dough has no cracks; if it does crack, wet your fingers in water and pinch the dough together. Flatten the rounded bottom of the coxinhas very minimally with the palm of your hand (just enough that they will be able to rest upright), and placed shaped coxinhas on a baking sheet lined with parchment paper.
Dredge and fry the coxinhas: Prepare three separate bowls for the all-purpose flour, eggs, and breadcrumbs. Pass the fritters through each bowl (flour, egg whites, and then breadcrumbs), shaking off any excess. Pour enough vegetable oil into a frying machine or heavy-bottomed pot. Heat to 350 degrees F. Fry the fritters in batches. Please, do not place too many coxinhas or chicken fritters in at the same time because this will lower the temperature, making the fritters oily. Make sure to turn all sides while frying the fritters so that they will brown evenly. Transfer coxinhas or fritters to a baking sheet lined with a double sheet of paper towels to absorb any excess oil. To serve coxinhas warm, keep the finished batches in a warm oven until serving.
Comments: I won’t sugar coat the pill, this is a pretty involved culinary project. If you have a couple of friends to join in the fun it will be a lot easier. In that particular Sunday I had two friends over, Cindy, who has been a regular in our kitchen since the days we lived in Oklahoma, and Sheila who wanted to introduce Brazilian cuisine to her friends on campus. We made the full recipe, ending up with 33 coxinhas, more than enough for us to enjoy and share. Perfect!
Shaping takes some practice, but even if you don’t hit it perfectly it will taste great, it’s all about the crunchy outside, the soft dough, and the flavorful meat inside.
Nothing better than biting into one of these babies….. The turmeric gives the dough a characteristic yellow color, but you can definitely omit it. The same dough could be used to enclose all sorts of goodies, you can even opt for a vegetarian filling, but if you do, please don’t call them ‘veggie coxinhas,” and don’t worry about the shaping, go for a simple round or oblong fritter. I am so glad Sheila asked me to dive into this culinary adventure! I hope you enjoyed this post on a super traditional Brazilian delicacy. It was a great weekend, actually, because the day before Cindy and I made French macarons for the second time together. You will read all about it soon…
Remember our Nobel Reception that happened a few months ago? I still have a few items from that event to share with you, as cooking goes by at a fast pace in the Bewitching Kitchen, but blogging takes a little longer. Good thing my readers seem to be quite patient… Lucky blogger, yes I am. These mini-pancakes were a big hit at the party. I’d say of all the things I prepared, they were the most involved, but quite a fun project to tackle. I found the recipe during a session of Pinterest hopping on the week before our get-together, and the decision to make them happened in 3.8 seconds. A phrase that sums me up well: I am hip about time (be ready for a quiz).
CREAM CHEESE MINI-PANCAKES WITH SMOKED SALMON (from Evil Shenanigans)
For the pancakes:
1 cup all-purpose flour
1 1/4 teaspoon baking powder
1/4 teaspoon kosher salt
1 tablespoon fresh chopped chives
1 ounce cream cheese, softened
1 tablespoon butter, softened
1 egg
3/4 cup milk
8 ounces cold smoked salmon
Freshly chopped chives, for garnish
For the sour cream sauce:
1/2 cup sour cream
1 teaspoon horseradish
1/4 teaspoon kosher salt
In a medium bowl whisk together the flour, baking powder, salt, and chives. In a small bowl cream together the cream cheese and butter until smooth. Add the egg and whisk until completely incorporated. Whisk in the milk.Pour the wet ingredients into the dry and whisk until just incorporated and no large lumps remain. Do not over-mix.
Heat a non-stick skillet over medium heat. Spray lightly with non-stick spray then scoop the batter by the tablespoon into the pan. Cook for one minute on the first side, flip, then cook for an additional thirty seconds, or until the cakes are golden brown and spring back when gently pressed in the center. Remove to a plate to cool while you prepare the rest.
While the cakes cool prepare the sour cream sauce by adding the sour cream, horseradish and salt to a small bowl. Whisk to combine then let stand ten minutes.
To prepare, spoon a heaping 1/4 teaspoon of the sauce onto the center of the cakes. Top with a piece of the salmon. Garnish with the chives. These can be assembled up to one hour in advance. Serve at room temperature.
Comments: There’s something to be said about practicing recipes before a big event, however, it’s not always possible. Still, a recipe such as this makes me admire caterers, because small details are so important in that business. If I had to make these again, I would try to make each pancake a little smaller. They puffed up more than I expected, so in the end my appetizers were a tiny bit too big. I was so involved in frying them that I did not realize the problem until it was time to assemble the sour cream topping and the salmon. So, if you make them for your next dinner or cocktail party, run a little test, fry different portions and settle on the amount that will be perfect for your topping. Of course, you don’t have to limit yourself to smoked salmon, but let’s face it: it’s a classic topping with the dill and all. Capers would feel totally at home also… just sayin’….
You can make these pancakes ahead of time, and I am sure they freeze well too with all the cream cheese in the batter. I think a salmon mousse would be superb topping these babies, with a sprinkle of fresh dill all over. Come to think of it, I’ve never made salmon mousse. Once, years and years ago, before my blogging life, I made a fish mousseline that shaved a few years off my life. It was a recipe from a special cookbook I own, one written by Vincent Price. The recipes are amazing, but soooo involved and complicated. That fish mousse tasted wonderful but hell will have to freeze over three times before I attempted it again. These pancakes? A walk at the beach by comparison… try them and you will not be disappointed!
And now it’s time for the quiz… do you know which movie the expression “I’m hip about time” comes from? It’s as much of a classic as smoked salmon on a horseradish cream with dill and capers….
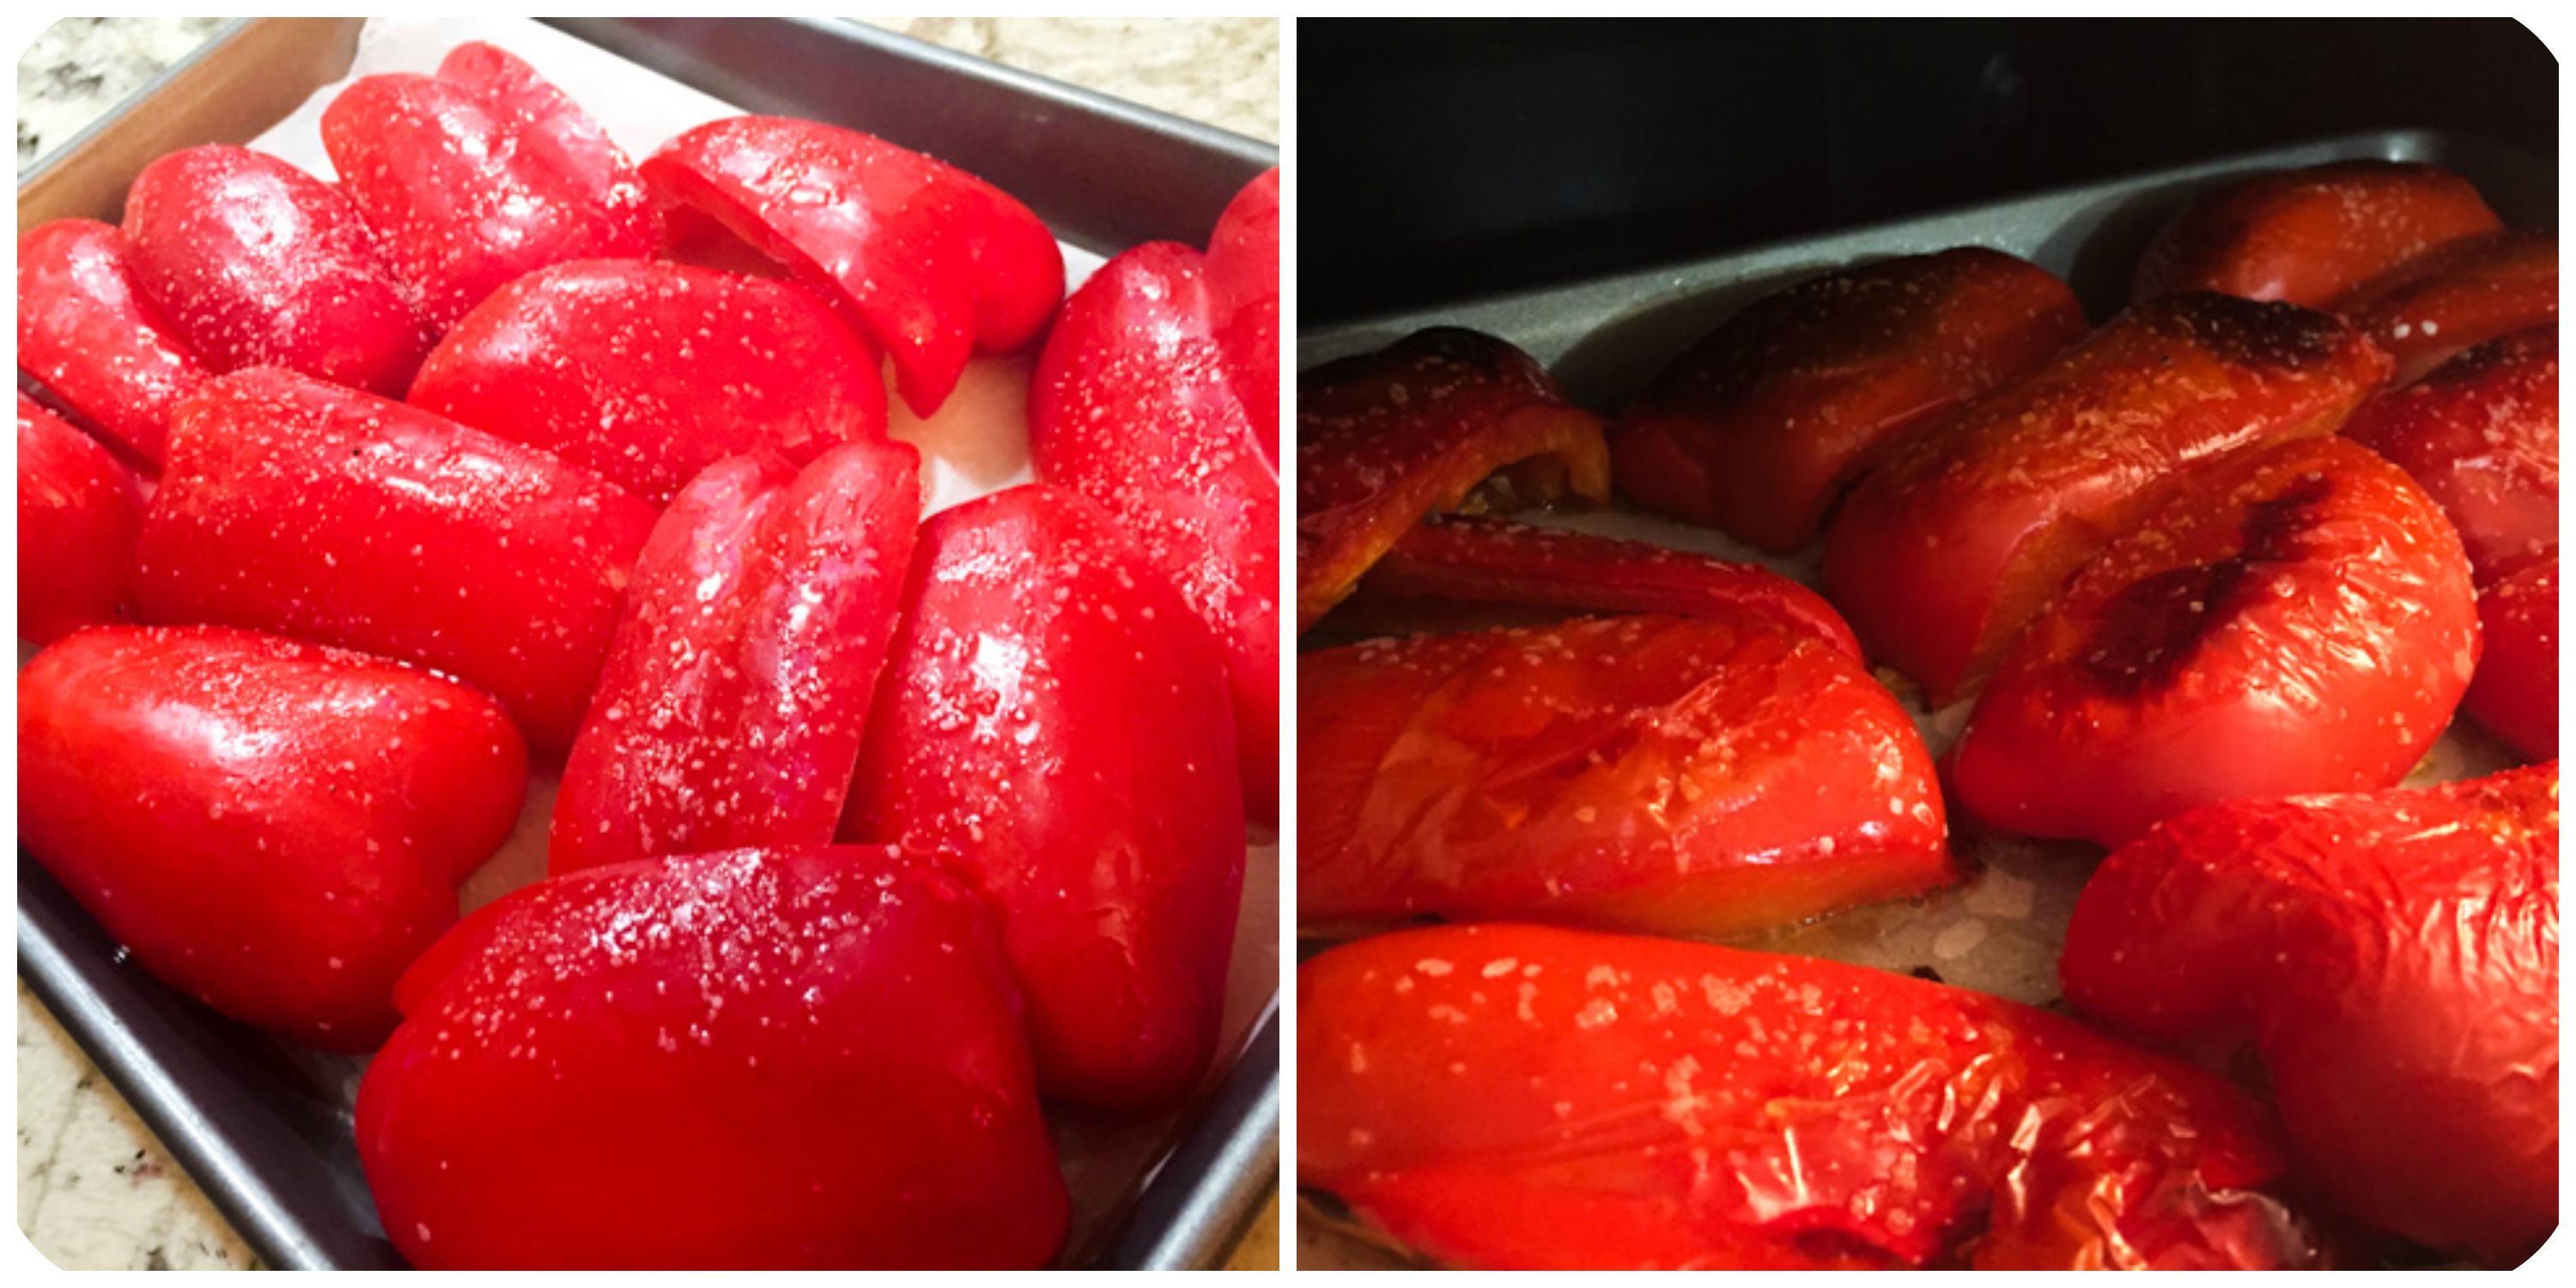
Are you familiar with Muhammara, a flavorful Middle Eastern red pepper dip? This concoction is similar but not quite the same. The addition of dates gives it a sweeter note, and the use of pomegranate juice is also a departure from the classic. I made it for a dinner party we hosted not too long ago, and served it with Ka’kat bread. Perfect partner for the dip. The recipe comes from Martha Stewart, and contrary to my expectations, there were problems. In fact, it was almost a disaster, but my beloved husband saved the show and thanks to his advice, the dip did not metamorphose into soup. And guess what? This is Paleo-friendly, so if you are into it, feel free to dig in!
ROASTED RED PEPPER-WALNUT DIP WITH POMEGRANATE (from Martha Stewart)
4 pitted dates
3 chopped roasted red peppers
1/2 cup pomegranate juice (use less:see my comments)
1/2 cup toasted walnuts
1/2 teaspoon red-pepper flakes
2 tablespoons extra-virgin olive oil
Coarse salt and freshly ground pepper
Pomegranate seeds (optional)
Soak dates in hot water until softened, about 10 minutes; drain. Pulse dates, red peppers, pomegranate juice, walnuts, and red-pepper flakes in food processor until smooth. With machine running, slowly add olive oil until thoroughly combined. Season with salt and pepper.
Dip can be stored in refrigerator in an airtight container up to 3 days.
Comments: Don’t let my almost disaster stop you from making this dip, it was delicious! However, I even left feedback on Martha Stewart’s website stating that there are problems with the recipe as published. No way 1/2 cup of pomegranate juice will work. I actually roasted more bell peppers than the recipe called for, and it was still pretty much a soup once I was done processing it.
In complete despair, I told Phil that we would have to settle for store-bought hummus for our dinner party because the dip was ruined, but he did not even blink: put it in a sieve to drain, it will be alright. He is simply the most optimistic human being ever, nothing brings him down. Take golf, for instance. He faces each shot, no matter how tough, with full composure. Moi? I start shaking uncontrollably when my golf ball goes into a bunker (the golf balls I play with have a mind of their own, did you know that?). In part because I know how many strokes it will take me to get said ball out of there. But, let’s get back to cooking, a nicer subject.
Following the advice of the resident scratch golfer, I placed the dip inside a small colander lined with a coffee filter, and within 30 minutes it had reached a perfect dip consistency. Tragedy averted! I struck gold in March 07th, 2000.