One of the things I don’t like to do in the kitchen is peeling hazelnuts. The other is frying stuff. Not for concerns with fat intake, which don’t bother me even slightly, but for the mess it makes on the stove and the lingering smell in the kitchen. It probably explains why I ended up getting an air-fryer. Wait, who am I trying to fool? I have a weak spot for cooking gadgets… Anyway, whenever I find a method that circumvents the need for frying stuff, I am on it. Most recipes for meatballs insist you must brown them on a frying pan. Not this one. And the result is a super tender lamb meatball, that seems to soak the flavor of the tomato sauce better than traditional versions. Plus, the fact that it cooks unattended in the crock pot is a bonus. After forming the meatballs, your work is pretty much done.

SLOW-COOKER LAMB MEATBALLS
(from the Bewitching Kitchen)
1 pound ground lamb
1/3 cup almond flour
1 large egg plus 1 egg yolk, beaten
grated zest or 1/2 large lemon
½ teaspoon ground cumin
fresh parsley leaves, to taste (about 1/4 cup)
½ teaspoon ground cinnamon
1 + 1/2 teaspoon salt, divided
28-ounce can whole tomatoes
1/2 tsp red pepper flakes
Gently combine the lamb, almond flour, beaten egg and yolk, cumin, cinnamon, parsley, lemon zest, and 1 teaspoon of salt in a large bowl.
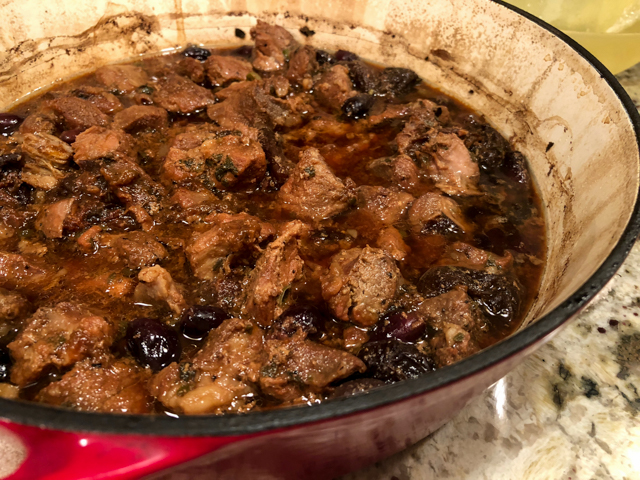
Put the tomatoes and red pepper flakes into slow cooker. Break up the tomatoes with a potato masher. Season it with 1/2 teaspoon salt. Form the meat mixture into meatballs, make them slightly bigger than golf-ball size. Drop them gently in the tomato sauce.
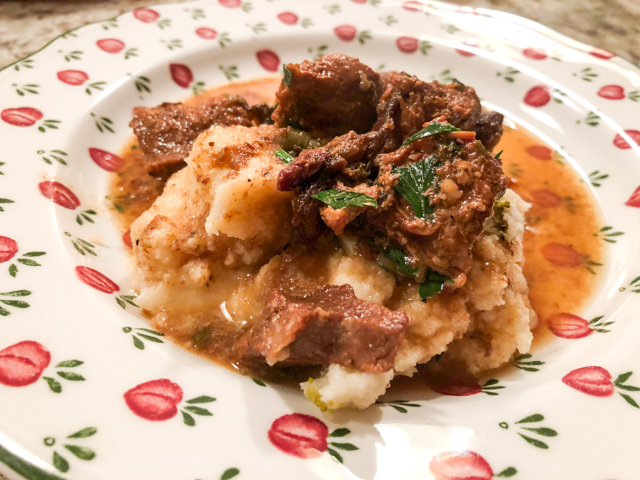
Cook on LOW for 4 hours, serve with any side dish you like.
ENJOY!
to print the recipe, click here

Comments: This recipe works better with larger meatballs, so they don’t turn into mush through the long cooking. Two make a very nice portion for dinner, so by cooking a full batch we can have either a repeat dinner later in the week, or… my favorite thing: leftovers for lunch!
You can use breadcrumbs instead of almond flour if you prefer. I tend to go with almond flour because it’s lower in carbs and I like the slightly nutty taste it gives to the meatballs. On my second time making this recipe, I added Sriracha to the ground lamb mixture. If you like some extra heat, give it a try. I bet gojuchang sauce could be a winner too.

But, before I leave you….
HAPPY HALLOWEEN!

(October 2009)
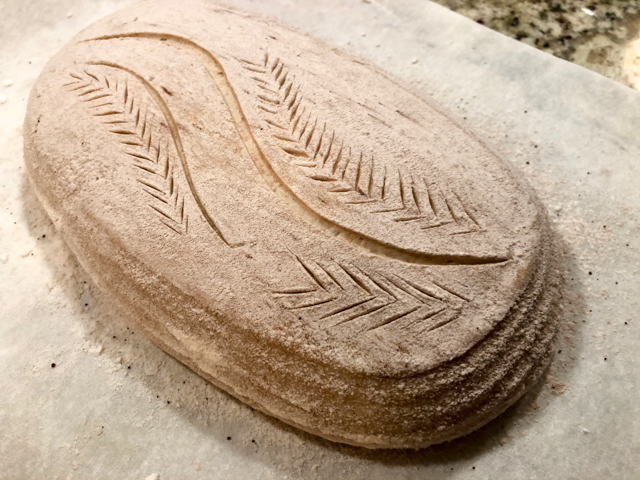
ONE YEAR AGO: Elaine’s Sourdough Boule
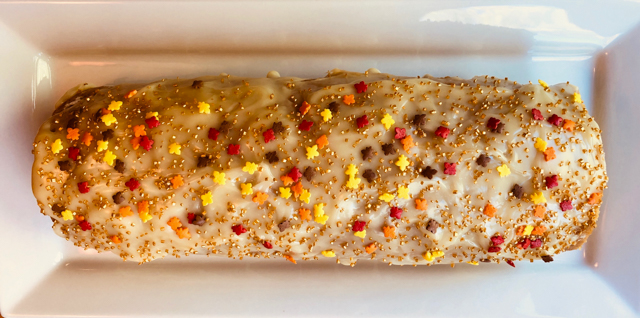
TWO YEARS AGO: Zucchini, Lemon and Walnut Cake
THREE YEARS AGO: Paleo Energy Bars
FOUR YEARS AGO: Pecan-Crusted Chicken with Honey Mustard Dressing
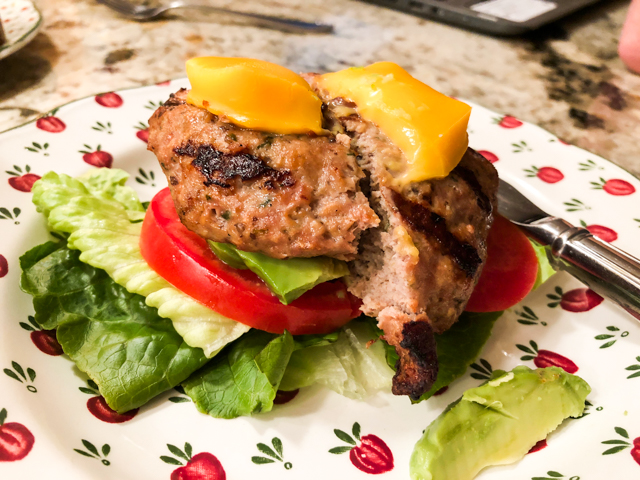
FIVE YEARS AGO: Mozzarella Stuffed Turkey Burgers
SIX YEARS AGO: Cashew Chicken Lettuce Wraps
SEVEN YEARS AGO: Clay-pot Pork Roast
EIGHT YEARS AGO: Panmarino
NINE YEARS AGO: A Classic Roast Chicken