PALEO MOUSSAKA

Do I follow a Paleo diet? No, not really.  But I am quite open-minded when it comes to food, and love a recipe that turns something a bit on the heavy side into a lighter but still delicious version.  I have zero interest in lighter food that loses a ton in the flavor department. Or texture.  This is another gem of a recipe I found at Mike’s site, The Iron You, made and loved.  It is amazing how versatile cauliflower can be, in this preparation it doubles as a pseudo-bechamel sauce, and I guarantee you won’t miss the real thing. Plus, instead of having a hard time getting up from your dining chair because your stomach acts as if it’s trying to digest 14 bricks, you’ll be light as a feather slowly dangling through the air. Ok, not quite as light.  But close enough.

Paleo Moussaka

PALEO MOUSSAKA
(slightly adapted from The Iron You)

for the eggplant layers:
2 medium eggplants, peeled and sliced into ½-inch thick rounds
olive oil
lemon juice
sea salt
ground black pepper

for the meat sauce:
1 lb ground beef (or ground lamb, more authentic)
1 tablespoon olive oil
1 medium shallot, finely chopped
1 garlic clove, minced
1 can 28 oz diced tomatoes
1 tablespoon tomato paste
2 handfuls fresh parsley, chopped
2 teaspoons dried oregano
½ teaspoon ground cinnamon
1 tablespoon red vinegar
¼ teaspoon fine grain sea salt
A pinch of ground black pepper

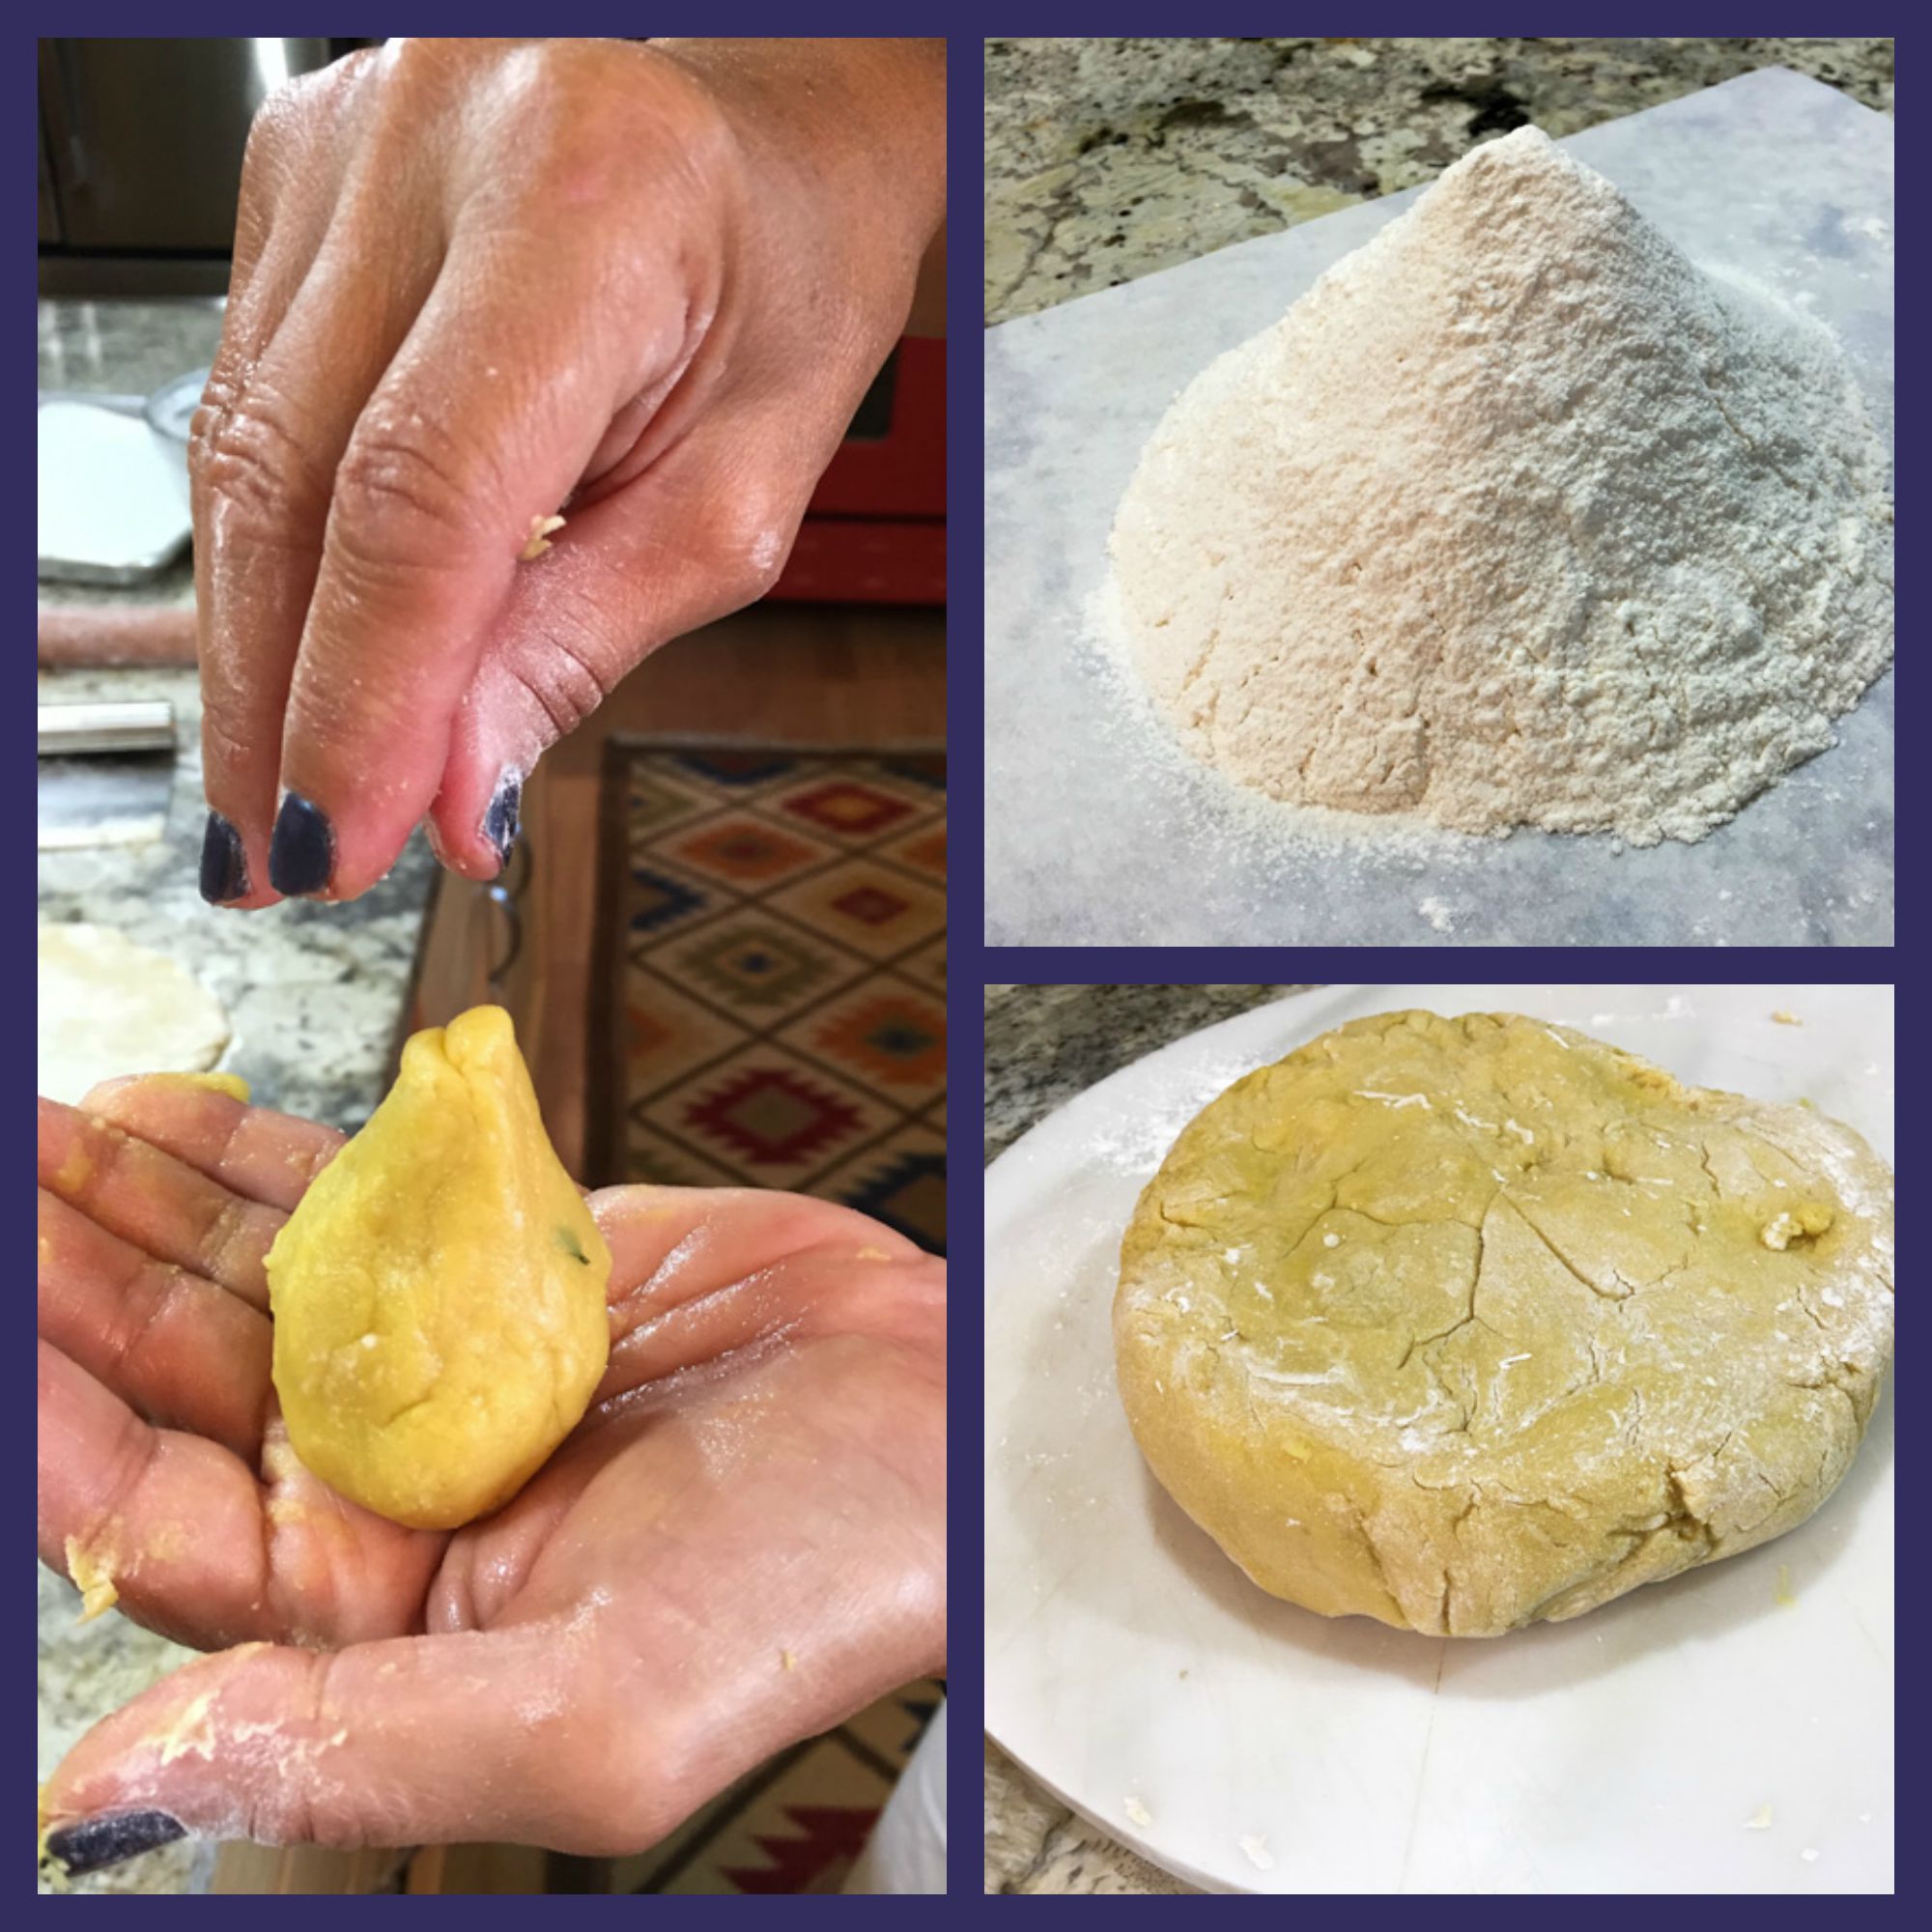
for the Paleo bechamel sauce:
¾ cup almond milk  (I used half milk, half almond milk)
2 cups  (7 oz) cauliflower florets (best to weigh it)
dash of nutmeg
1 teaspoon fine grain sea salt
A pinch of ground black pepper
3 eggs

Heat oven to 400°F.

Whisk a little olive oil with lemon juice. On a baking sheet brush eggplant slices with the oil/lemon mixture and season generously with salt and pepper. Spread in a single layer and roast in the oven until soft and golden about 25 to 30 minutes. While the eggplant is roasting make the meat sauce.

In a large saucepan, heat one tablespoon of olive oil over medium-high heat, add shallots and garlic and saute for 2 to 3 minutes until translucent. Add meat and cook, stirring to prevent sticking, until meat is browned, 5 to 7 minutes. Stir in diced tomatoes, tomato paste, parsley, oregano, cinnamon, vinegar, salt and pepper and simmer for 15 to 20 minutes. Turn off the heat and set aside.

In the meantime make the paleo bechamel sauce. In a saucepan add cauliflower florets, milk, salt and pepper. Bring to a boil, reduce to a simmer, cover with a lid and cook for 15 minutes. Add a pinch of nutmeg. Remove from the heat and with an immersion blender, blend until smooth, or use a food processor.  Whisk the eggs in a medium bowl, add a little of the warm sauce to temper them, then slowly add them to the sauce.

To assemble the moussaka, lightly grease baking dish large appropriate to make two layers of eggplant slices. I used a round, 10-inch diameter baking dish. Arrange eggplant slices to form a uniform layer. Cover the eggplant evenly with half of the meat mixture. Repeat to make a second layer. Carefully spoon the cauliflower bechamel sauce over the meat mixture and spread evenly to the edges.  Try not to disturb the meat mixture too much.
.
Bake uncovered for about 25 minutes, until the top is nicely puffed and browned. Let rest 10 minutes, and serve warm.

ENJOY!

to print the recipe, click here

moussakacomposite

Comments: I like to peel my eggplant slices after roasting, but if you prefer to peel before, or to leave the slices  unpeeled, go for it.  I am not too fond of the bitter taste of the peel and find its texture unappealing, so I definitely remove it before assembling the moussaka.  For dishes such as this one, I am happy to remove the peel on my plate, as the presentation is nicer with the intact Solanum melongena.

I love the meat sauce with its touch of cinnamon. The smell as it simmered was to die for!  And I must share this picture, because it’s a rare occasion: I managed to catch a photo of steam rising from the pan… how sexy is that?   I was impressed by Karen’s achievement in her post a while ago, and managed to get there too….

MeatSauce


Since it was my first time making pseudo-bechamel with cauliflower,  I decided to be precise and weighed the florets. I suppose eyeballing 2 cups would work too, but I felt like playing safe. The best part of the dish? Leftovers were even better than on the first day. In fact, I would almost advise you to make this dish a couple of days before showtime. The flavors mingled together perfectly, the dish had a more wholesome feel. Awesome.

When I served this moussaka, I did not tell Phil the modifications to make it Paleo.  He could hardly believe when I divulged the dirty secret to involve cauliflower. It works so well, it’s kind of surprising. Don’t be put off by it, give this method a try, it is so much lighter than the real thing, but it still feels like comfort food. A gastronomic win-win situation.

Mike, thanks again for the great recipe, your blog is a constant source of inspiration!
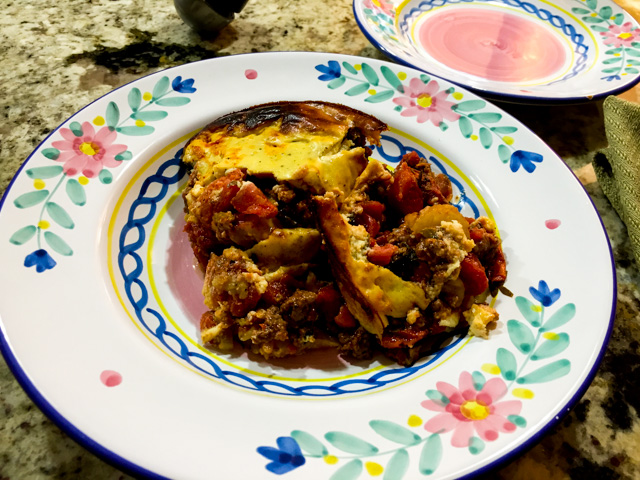
served

Dinner is served!


ONE YEAR AGO: Zucchini “Hummus”

TWO YEARS AGO: In My Kitchen – October 2013

THREE YEARS AGO: Bourbon and Molasses Glazed Pork Tenderloin

FOUR YEARS AGO: Crimson and Cream Turkey Chili

FIVE YEARS AGO: Taking a break from the nano-kitchen

SIX YEARS AGO: Chocolate Chip Cookies

MAPLE GLAZED PUMPKIN BREAD

Since all my requests to bring Spring back have been ignored, I resign myself to celebrate the season by baking a pumpkin loaf coated with a fantastic maple icing which found its way to a few of my fingers. First encounter was by accident. The other seven were intentional.  The recipe is from Sue’s site, The View from Great Island, a blog you must visit regularly. I’d like to make pretty much everything she shares, our taste in food is quite similar.  Although I must say she is a lot more daring than me, facing projects like this one that leave me in complete awe. Never in a gazillion years I could go for it. But, this pumpkin loaf? Doable and absolutely wonderful.  Make it. And don’t forget to lick your fingers…

Pumpkin Loaf with Maple Icing

MAPLE GLAZED PUMPKIN BREAD
(from The View from Great Island)

for the pumpkin bread:
2 large eggs
1 cup pumpkin puree (NOT pumpkin pie filling)
1/2 cup vegetable oil
1 cup sugar
1/2 tsp ground ginger
1/2 tsp ground cinnamon
1/4 tsp ground cloves
1/4 tsp ground nutmeg
1 1/2 cups all-purpose flour
1/2 tsp salt
1 tsp baking soda

for the maple glaze:
1 1/2 cups confectioner’s sugar, sifted
4 tbsp maple syrup (more or less)
1/4 tsp maple extract (optional)

Set oven to 350F.

Spray a non-stick standard loaf pan with cooking spray and line the pan with a sheet of parchment paper with long ends to help remove the bread later.

Whisk the eggs in a large mixing bowl. Whisk in the pumpkin, oil, sugar, and spices. Stir in the flour, baking soda and salt and mix until combined. Turn the batter into the pan and even out.

Bake until a toothpick comes out without wet batter clinging to it, about 50 minutes. Let the loaf cool almost to room temperature before glazing.

To make the glaze, whisk together the sugar with enough maple syrup to make a thick, spreadable glaze. Keep whisking until all the little lumps are dissolved. Whisk in the extract, if using. Spread thickly onto the cooled bread.

ENJOY!

to print the recipe, click here

compositepumpkin

Comments:  Guess what? I brought this loaf to our colleagues at work. I am sure you are not surprised. One of the most frequent compliments I heard was “OMG, that icing!”, which made me feel a lot better about the obsessive finger licking I went through while preparing this delicacy.  But please, don’t think it’s just about the icing, the loaf itself is wonderful, I guarantee that even pumpkin haters will fall in love with it.

sliced

Sue, thank you so much for such a great recipe, I know I’ll be making it again before pumpkin season is over because one of our graduate students said it was one of the best things I shared so far. She’s been around for 2 years! How’s THAT for a compliment?  

😉

ONE YEAR AGO: In My Kitchen, October 2014

TWO YEARS AGO: Grilled Steelhead Trout

THREE YEARS AGO: Brown Butter Tomato Salad

FOUR YEARS AGO:  Spelt and Cornmeal Rolls

FIVE YEARS AGO: Roasted Potato and Olive Focaccia

SIX YEARS AGO: Multigrain Bread Extraordinaire

COXINHA DE GALINHA: A SAVORY BRAZILIAN DELICACY

You know how some recipes adapt ingredients to make an overly heavy dish lighter and “healthier?”  Maybe  using cauliflower instead of potatoes, baking instead of frying? Well, this recipe is not it. This is authentic Brazilian cooking the way it was meant to be: substantial, loaded in carbs, and to make matters worse, breaded AND deep-fried. My advice? Enjoy it with a tropical smile, then go for a Spartan life-style for a couple of days. Totally worth it.  This is the type of finger food that Brazilians grow up enjoying at parties and street markets.  It originated in São Paulo, in the 19th century.  It turns out that Imperial Princess Isabel had a son who loved to eat chicken, but he would only eat the thigh meat.  One day, the cook ran out of chicken thighs and decided to shred the meat of chicken breasts, and hide it in a dough shaped as a drumstick.  The boy loved it, and from then on coxinhas were a regular item in the Imperial kitchen. Imagine the thrill of that cook if he knew that 200 years later his creative recipe would be featured in a Bewitching Kitchen 6 thousand miles away!

Coxinhas de galinha

Before getting in the gastronomic aspect of this delicacy,  I must give you a little lesson on Brazilian Portuguese. I promise it won’t be too painful. Ready? Ok, in Portuguese you can turn almost any word into a diminutive form by adding the suffix “inho” or “inha” depending on the gender of the word. Masculine words get “inho“, feminine gets “inha“.  A few examples:

Casa (house) –> Casinha (little house)

Gato (cat) –> Gatinho (kitten)

Chuva (rain) –> Chuvinha (very light rain)

Linda (beautiful) –> Lindinha (more appropriate to describe a young girl or baby)

So, that brings me to the title of this post, “coxinha de galinha.”   Sounds like two diminutives put together, right?  Not so fast, dear students!  The first part is indeed a diminutive. It derives from “coxa” (thigh), so coxinha is a small thigh. Now, moving to the second part: galinha… that is not a diminutive per se, it is a real word that means chicken. The word for rooster is “galo.”  So, in Portuguese a male rooster gets a beautiful word, but the female is defined by its diminutive form. How sexist is that?

All jokes aside, let’s make sure you can pronounce the words correctly. The “inha” component might be a bit tricky, be patient, listen carefully and repeat after me…

Sheila

Sheila, a Brazilian graduate student from our department…

COXINHA DE GALINHA
(adapted from From Brazil to You)

For the filling:
2 Tablespoons olive oil
2 shallots, finely minced
1 celery rib, finely minced
3 cups cooked (or rotisserie) chicken, finely shredded
Salt and ground black pepper to taste
A pinch of red pepper flakes
¼ cup cream cheese, softened
3 Tablespoons minced green onions
minced cilantro leaves to taste

For the dough:
3-1/3 cup chicken stock
A pinch of salt (enough to taste)
¼ teaspoon annatto or turmeric
2 teaspoons olive oil
3 cups sifted all-purpose flour

For dredging and frying:
2 cups all-purpose flour
4 eggs, whisked with a tablespoon of water
2-3 cups breadcrumbs
enough vegetable oil to fully immerse the coxinhas

Prepare the filling: In a large skillet, heat the olive oil over medium heat. Add the shallots and celery and cook, stirring occasionally, until soft and translucent. In a large bowl, place the finely shredded chicken and stir in the cooked onion and celery mixture, salt, pepper, red pepper flakes , the cream cheese, green onions, and cilantro. Set aside. It can be made a couple of days in advance, keep refrigerated.

Prepare the coxinha dough: In a large, non-stick saucepan, place the chicken stock, salt, annatto or turmeric, and olive oil, and bring to a simmer over medium-low heat. When the stock is hot, add the sifted flour all at once while stirring very well. It will get more and more difficult to stir but continue to stir vigorously for about 1 minute or so until obtaining a uniformly lumpy dough.

Remove from heat and transfer the coxinha dough to an electric mixer fitted with a hook attachment. Knead dough at low-speed for about 5 minutes or until it becomes soft and smooth. Scrape dough from mixing bowl onto a well-floured surface with a dough scraper or spatula, and knead a little bit more by hand. Shape the coxinha dough into a flat disk and let rest for 10 minutes at room temperature.

Using a rolling-pin, roll out the dough onto a well-floured surface until it is about ¼ to ⅛-inch thick. Using a 3-1/4-inch round cookie cutter, cut out disks of dough and place them on a baking sheet lined with parchment paper (a metal spatula can be useful to help pry the disks from the rolling surface). Aggregate the dough leftovers, re-roll, and cut out more disks. You should have between 30 and 35 disks.

Form the coxinhas: Scoop about 1 tablespoon of the chicken filling onto the center of each disk. Lightly oil your hands and shape the filled disks into drumsticks by folding the dough up and around the filling into a beggar’s purse shape, forming the neck of the coxinha between your encircled index finger and thumb, and gently press the filling down into the center as you close. Pinch and seal the edges. Pull the dough at the top out slightly so that it resembles a drumstick. Use a moist towel to clean your fingers off each time they touch the filling. Make sure the dough has no cracks; if it does crack, wet your fingers in water and pinch the dough together. Flatten the rounded bottom of the coxinhas very minimally with the palm of your hand (just enough that they will be able to rest upright), and placed shaped coxinhas on a baking sheet lined with parchment paper.

Dredge and fry the coxinhas: Prepare three separate bowls for the all-purpose flour, eggs, and breadcrumbs. Pass the fritters through each bowl (flour, egg whites, and then breadcrumbs), shaking off any excess.  Pour enough vegetable oil into a frying machine or heavy-bottomed pot. Heat to 350 degrees F. Fry the fritters in batches. Please, do not place too many coxinhas or chicken fritters in at the same time because this will lower the temperature, making the fritters oily. Make sure to turn all sides while frying the fritters so that they will brown evenly. Transfer coxinhas or fritters to a baking sheet lined with a double sheet of paper towels to absorb any excess oil. To serve coxinhas warm, keep the finished batches in a warm oven until serving.

ENJOY!

to print the recipe, click here

compositecoxinha

Comments: I won’t sugar coat the pill,  this is a pretty involved culinary project.  If you have a couple of friends to join in the fun it will be a lot easier. In that particular Sunday I had two friends over, Cindy, who has been a regular in our kitchen since the days we lived in Oklahoma, and Sheila who wanted to introduce Brazilian cuisine to her friends  on campus. We made the full recipe, ending up with 33 coxinhas, more than enough for us to enjoy and share. Perfect!

Shaping takes some practice, but even if you don’t hit it perfectly it will taste great, it’s all about the crunchy outside, the soft dough, and the flavorful meat inside.

composite2

Nothing better than biting into one of these babies….. The turmeric gives the dough a characteristic yellow color, but you can definitely omit it. The same dough could be used to enclose all sorts of goodies, you can even opt for a vegetarian filling, but if you do, please don’t call them ‘veggie coxinhas,” and don’t worry about the shaping, go for a simple round or oblong fritter. I am so glad Sheila asked me to dive into this culinary adventure!  I hope you enjoyed this post on a super traditional Brazilian delicacy. It was a great weekend, actually, because the day before Cindy and I made French macarons for the second time together. You will read all about it soon…

ONE YEAR AGO: Prosciutto-Wrapped Shrimp Skewers

TWO YEARS AGO: Linguine with Cauliflower Pesto

THREE  YEARS AGO: Secret Recipe Club: A Tribute to Daniel

FOUR YEARS AGO: Nutella Drop Cookies

FIVE YEARS AGO:  Dreaming of butternut squash

SIX YEARS AGO: Simply Elegant: Salmon Curry (one of my very favorite dishes!)