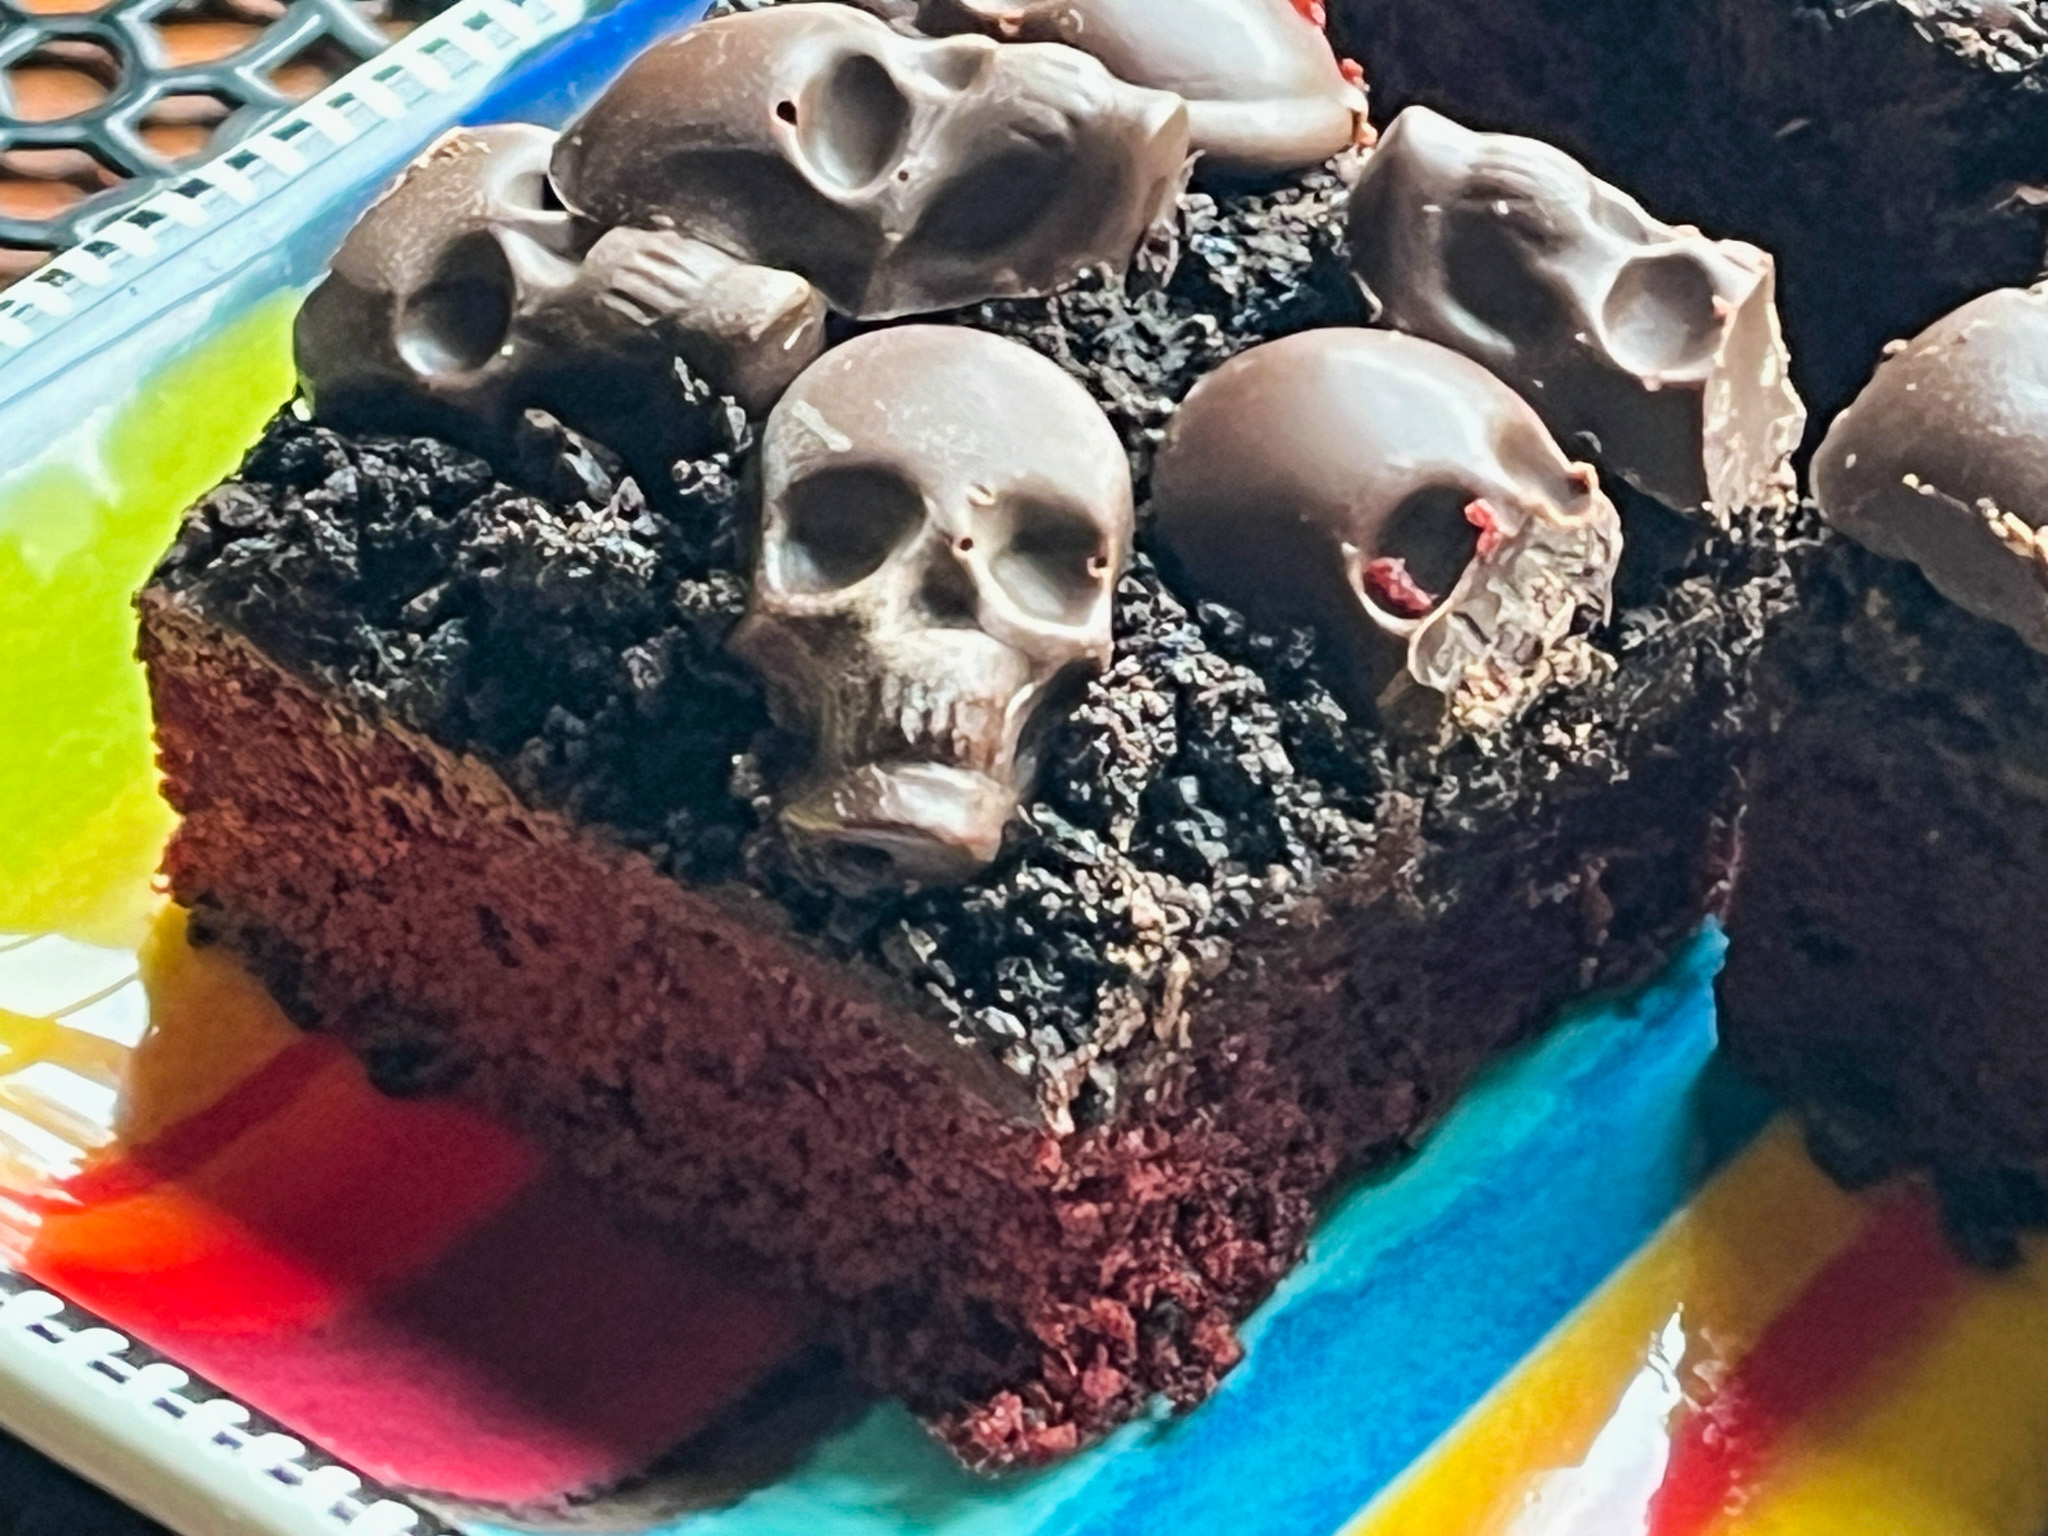
SPOOKY LITTLE SPICE CAKES

HAPPY HALLOWEEN!

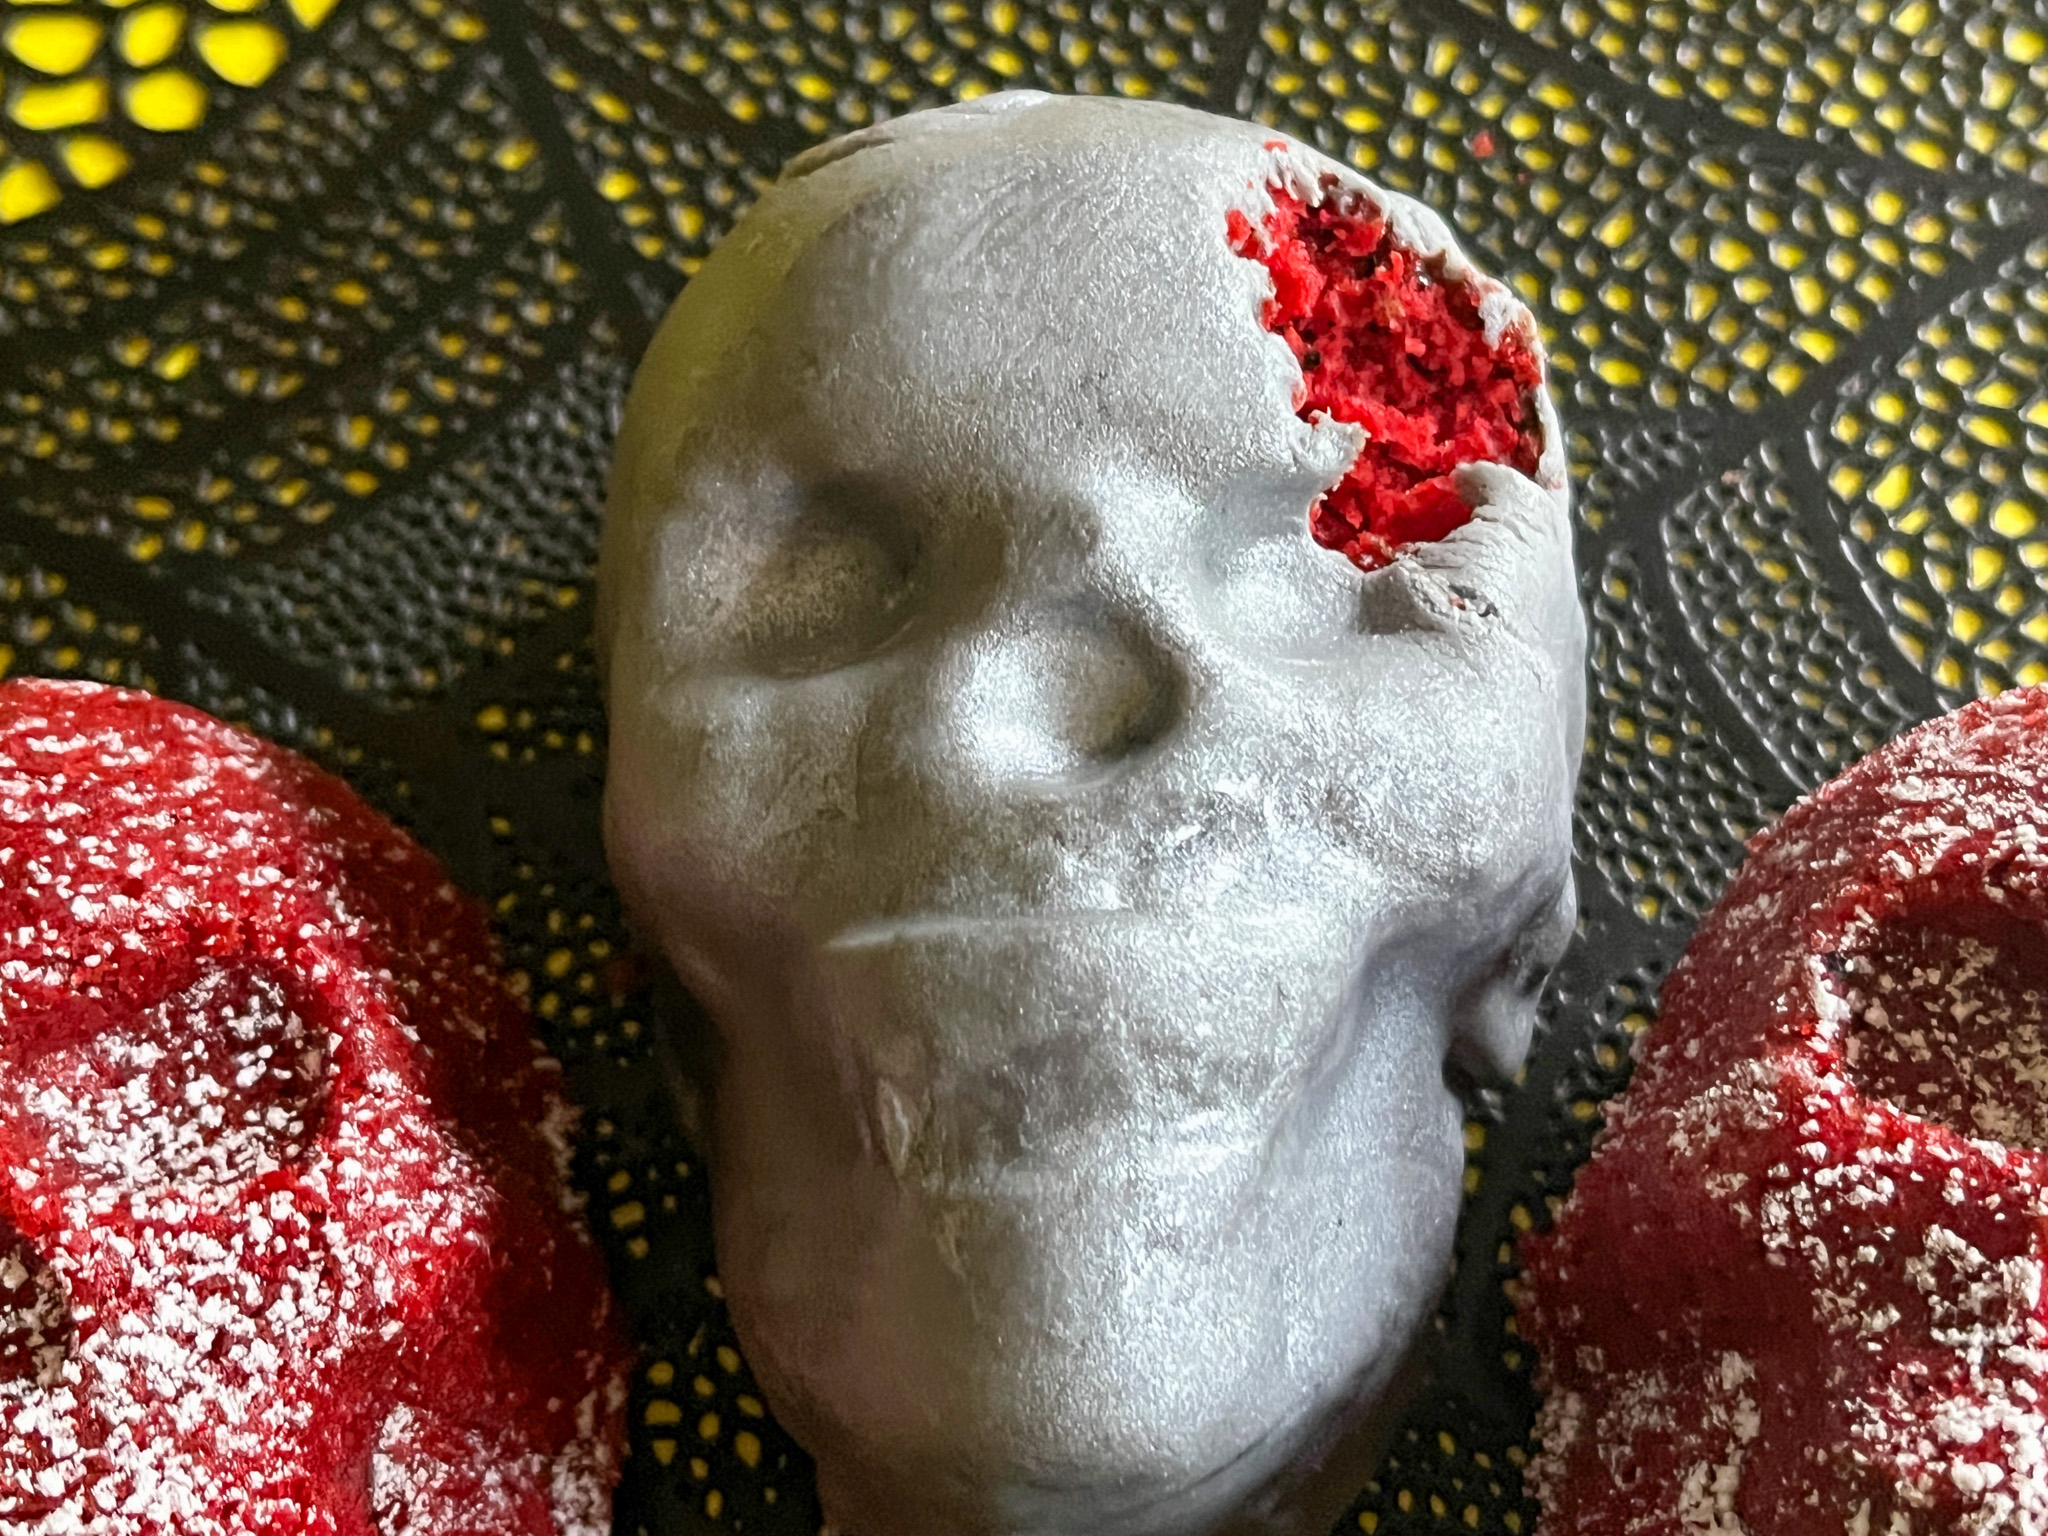
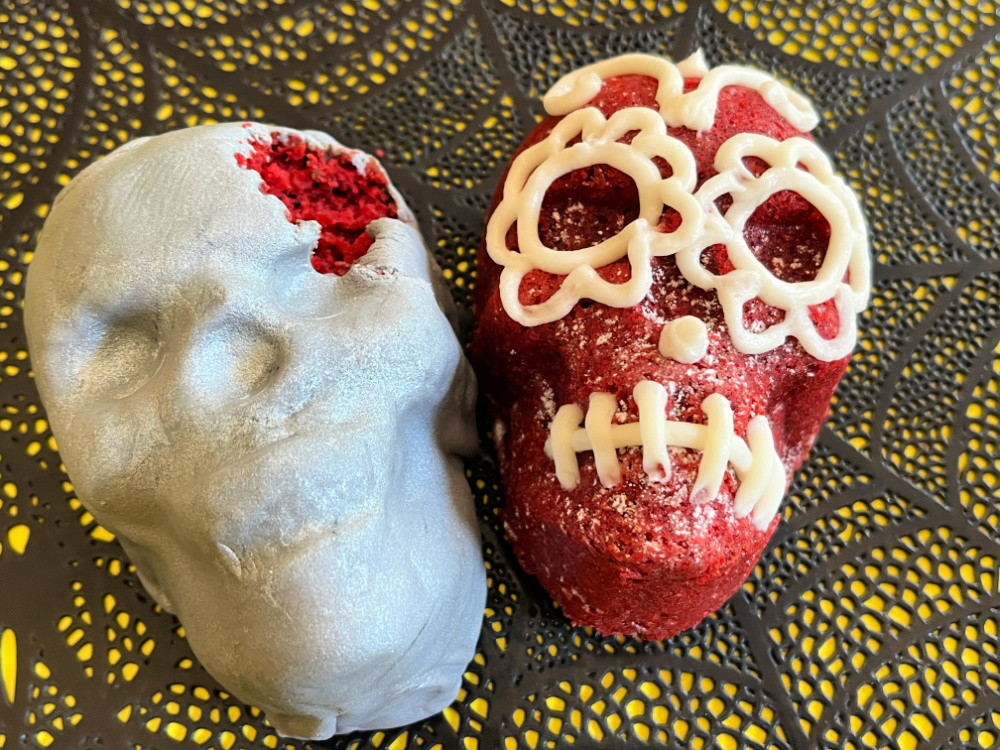
The big day is here, and I am already sad because it will be over so soon… These little cakes will please those who like spicy cakes not very sweet. I used the recipe that came with the Nordicware pan, a new acquisition I could not resist. It is available on many online stores and also at Walmart (check it out here). I added a glaze to the cakes to make the skull features more visible but the glaze is optional, if you find it too sweet, omit it, and maybe go with a super light dusting of powdered sugar once the cakes are fully cold.

SPICY SKULL MINICAKES
(from The Bewitching Kitchen, adapted from Nordicware)

1/2 cup brown sugar, packed
6 tablespoons unsalted butter, softened
1 large egg
1/2 cup pure maple syrup
1 + 1/2 cup all-purpose flour
1 tsp cinnamon
1/2 tsp ginger
1/2 tsp cayenne pepper
1/4 tsp ground cloves
1/4 tsp baking soda
1/2 tsp salt
1/4 cup hot water

Glaze:
1/2 cup powdered sugar
1/4 tsp vanilla
1 tablespoon milk

Heat oven to 350F. Prepare skull pan with baking spray.

Cream sugar and butter in a KitchenAid type mixer with the paddle attachment. Blend in the egg and maple syrup until smooth.

In a small bowl, whisk together flour, spices, baking soda and salt. Slowly pour the dry mixture on the butter/sugar, and blend on low-speed until combined. Stir in the hot water. Fill each cavity with the smooth batter, not more than 1/2 the capacity.

Bake for about 12 minutes. Leave in the pan for 5 minutes, invert and cool completely.

Make the glaze by whisking all ingredients, adjust with milk or powdered sugar. Coat each skull cake with the glaze, let it set at room temperature.

ENJOY!

to print the recipe, click here

Comments: I will definitely be using this pan next year, as I bought it too close to the big day and only had a chance to play with it once. The mini cakes are tender, moist and super spicy, going well with the overall atmosphere of the season. I hope you get to try this recipe… Two bites and they will be gone, a perfect little treat.

ONE YEAR AGO: Revving the Engines for Halloween

TWO YEARS AGO: Happy Halloween from my Cookie Blog to You!

THREE YEARS AGO: Incredibly Simple Carrots

FOUR YEARS AGO: Sarah Bernhardt’s Cookies

FIVE YEARS AGO: A Really Big Announcement

SIX YEARS AGO: Stir-Fried Chicken in Sesame-Orange Sauce

SEVEN YEARS AGO: Monday Blues

EIGHT YEARS AGO: A New Way to Roast Veggies

NINE YEARS AGO: Two Takes on Raspberries

TEN YEARS AGO: Spice Cake with Blackberry Puree

ELEVEN YEARS AGO: Own Your Kitchen with Cappuccino Panna Cotta

TWELVE YEARS AGO: Chicken Parmigiana, the Thriller

THIRTEEN YEARS AGO: Wild Mushroom Risotto

FOURTEEN YEARS AGO: Tartine Bread:  Basic Country Loaf 

FIFTEEN YEARS AGO:  Pugliese Bread

HALLOWEEN BROWNIES, TWO WAYS

For a real scary version, you must go with Graveyard Brownies, another super cool recipe from Ghoulatheart. The second version takes the cute approach, and is also much simpler to make. But, first things first, let’s visit the graveyard.

GRAVEYARD BROWNIES
(from Ghoulatheart.com)

1 cup all purpose flour
3 tbsp cocoa powder
½ tsp. salt
½ cup butter, room temperature
1 cup sugar
½ cup brown sugar
3 large eggs
2 tsp. vanilla extract
1 tbsp. red food coloring


1 cup milk chocolate melting wafers, divided
8 Oreo cookies, processed into crumbs

Make the skull decorations: Place ½ cup of the milk chocolate melting wafers into plastic bowl and microwave gently until melted. Pipe into the skull mold. Freeze for a few minutes, un-mold and reserve.

Make the cookie dirt. Process the Oreo cookies in a food processor until crumbs form. Transfer to a bowl. Reserve.


Make the Red Velvet Brownies: Heat oven to 350℉ and line a 8 x 8 x 2-inch brownie pan with parchment paper.

Cream together the butter and sugars in a stand mixer. Lightly whisk the eggs, vanilla extract and red food coloring in a small bowl and add to the stand mixer and process on low until incorporated.
Sift flour, cocoa powder and salt into a medium bowl and add it to the stand mixer and process on low until flour is incorporated. Take care to not overmix. Pour batter into the prepared pan and bake for 30-35 minutes, or until a toothpick comes out clean.

Remove brownies from oven and sprinkle the remaining ½ cup chocolate chips over the top of the brownies. Let it sit for 2 minutes to melt the chips and then smooth the chocolate with the back of a spoon. Sprinkle cookie crumbs over the melted chocolate and allow to cool for 15 minutes. Garnish with chocolate skull chips over the cookie crumbs and allow to cool completely before cutting into 16 pieces.

ENJOY!

to print the recipe, click here


Comments: Super fun bake! To make the little skulls, I used this mold. I used candy melts because I did not want to have to temper chocolate, but feel free to splurge! The skulls won’t be fully glued to the brownie, let your guests know about it so that they don’t spill skulls on the floor…

.

HALLOWEEN BROWNIE CUPCAKES

Recipe for those can be found in this blog post from my past. I used Chai frosting for them. Orange dye, sprinkles and candy eyes. So simple! And delicious…

It is a bit hard to see Halloween at the corner and then ready to say goodbye for another year… Once again, I did not have a chance to bake all things I wanted to, but I will be back in 2025 for more!

ONE YEAR AGO: Revving the Engines for Halloween

TWO YEARS AGO: Happy Halloween from my Cookie Blog to You!

THREE YEARS AGO: Incredibly Simple Carrots

FOUR YEARS AGO: Sarah Bernhardt’s Cookies

FIVE YEARS AGO: A Really Big Announcement

SIX YEARS AGO: Stir-Fried Chicken in Sesame-Orange Sauce

SEVEN YEARS AGO: Monday Blues

EIGHT YEARS AGO: A New Way to Roast Veggies

NINE YEARS AGO: Two Takes on Raspberries

TEN YEARS AGO: Spice Cake with Blackberry Puree

ELEVEN YEARS AGO: Own Your Kitchen with Cappuccino Panna Cotta

TWELVE YEARS AGO: Chicken Parmigiana, the Thriller

THIRTEEN YEARS AGO: Wild Mushroom Risotto

FOURTEEN YEARS AGO: Tartine Bread:  Basic Country Loaf 

FIFTEEN YEARS AGO:  Pugliese Bread

SCARY SKULL BAKES

.

One pan, many possibilities to scare your family and friends, because now is the time to really go for it!

RED VELVET SKULL CAKES
(from the Bewitching Kitchen, inspired by Jo-Ann)

275g cake flour
1 teaspoon baking powder
1 teaspoon salt
2 tablespoons cocoa powder (unsweetened)
1 tsp Red Velvet Emulsion (LorAnn)
red food gel (I used Super Red Americolor, about 1/2 tsp)
113g (1/2 cup) unsalted butter, at room temperature
300g sugar
2 eggs, at room temperature
1 cup buttermilk, at room temperature
1 teaspoon white vinegar
1 teaspoon baking soda

chocolate buttercream (home-made or store-bought)

Fondant (I used Renshaw)
Gun Metal food gel (Americolor)
Air-Brush silver (or Wilton silver spray)

Skull pan from Nordicware (available here)


Heat oven to 350F. Spray your skull pan with baking spray or coat with butter and flour. Reserve.

Sift together the cake flour, baking powder, and salt into a medium bowl; set aside. In a small bowl, mix food coloring, Red Velvet emulsion and cocoa powder to form a smooth paste.

In the mixing bowl of your stand mixer, cream butter and sugar together until light and fluffy. Beat in the 2 eggs, one at a time, then add the cocoa-red gel mixture, scraping down the bowl with a spatula as you go. Add one third of the flour mixture to the butter mixture, mix well, then add half of the buttermilk. Beat in another third of flour mixture, then second half of buttermilk. End with the last third of the flour mixture, beat until well combined, making sure to scrape down the bowl with a spatula. As the mixer is going, whisk the baking soda with the vinegar, and as it is sizzling, add to the mixer.

Fill the cavities of the skull pan about 2/3 of the volume. You might have a little batter leftover. Bake for 28 to 30 minutes, until toothpick comes out clean. Cool for 15 minutes in the pan, then invert on a rack for the cakes to cool.

Coat them with a very thin layer of buttercream, place in the fridge. Grab a portion of fondant and dye it with gun metal gel. Roll it thin to a size large enough to coat one of the cakes. Remove the cakes from the fridge, and coat with the fondant. Use a fondant baller tool to get the fondant to go into the eyes and nose cavities. Trim the excess. Air-brush the surface with silver, or spray with Wilton Silver Shimmering Mist. Once the fondant is fully set, you can carve out a small portion to reveal the red cake underneath.

ENJOY!

to print the recipe, click here

Comments: I saw these mini-cakes at Jo-Ann site, but the instructions were a bit vague, and it also used a boxed cake mix, so I took baking matters into my own hands. My only shortcut was to buy buttercream icing at the store because my schedule was tight and I figured that the buttercream was such a tiny component, basically just a glue to get the fondant to stick to the cake. You can serve it in two different ways, intact or with some of the skull exposed…

.
Just grab a fork and go at it… yes, the baker can eat the piece removed, and call it “quality control”. I really wanted to make a knife in fondant to stick into the cake, but my skills were not good enough and I don’t have a knife mold. I know, SHOCKING!


The red cakes can also be decorated with a simple buttercream, if you prefer them to be more festive. I think they get a little scarier this way.


The skull mold also works for savory bakes, but I cannot share a recipe yet because it is a work in progress…. I need to tweak the tortilla component.

The tortilla was gluten-free and the recipe I used was impossible to roll out thinly. It turned out too dense and heavy. But I will work on it some more. The filling was ground turkey with the usual taco seasonings, corn, black beans and peppers. But I definitely like the way the mold behaved for a savory bake.

I am already sad that Halloween is almost gone… I feel that for one reason or another, I did not bake enough scary things. Oh, well… there are much more serious problems in life. Let’s go with the flow and embrace…………. THANKSGIVING!

ONE YEAR AGO: Spicy Citrus Peanut Salad

TWO YEARS AGO: Shrimp Stir-Fry, Kung Pao-Inspired

THREE YEARS AGO: Cauliflower Steaks with Olive and Caper Salsa

FOUR YEARS AGO: Twice-Cooked Eggplant

FIVE YEARS AGO:  Turkey Burger, Japanese-Style

SIX YEARS AGO: Pumpkin Macarons

SEVEN YEARS AGO: Slow-Cooked Whole Chicken

EIGHT YEARS AGO: Chocolate Zucchini Cake with Chocolate Frosting

NINE YEARS AGO: Pecan-Crusted Chicken with Honey-Mustard Dressing

TEN YEARS AGO: Bewitching Kitchen on Fire!

ELEVEN YEARS AGO: Cashew Chicken Lettuce Wraps

TWELVE YEARS AGO: Chiarello’s Chicken Cacciatore

THIRTEEN YEARS AGO: Donna Hay’s Thai-Inspired Dinner

FOURTEEN YEARS AGO: Panettone