BAKING THROUGH THE BLOGOSPHERE

Today I share six recipes from blogs I follow and love. You can find the links to each recipe so you can visit the original source and get to know them too…

Here they are, in the chronological order they showed up in our kitchen…

.

HANIELA’S CHOCOLATE WHIRLS

Haniela is a cookie decorator, but her blog covers all kinds of cooking, including savory stuff. Definitely worth subscribing to her feed. This particular recipe can be found here. The chocolate variation is in the end of the post, I made no changes and used the highest amount of powdered sugar listed. I made them as sandwich cookies, and used a little caramel buttercream that I had leftover from another project. Recipe for the filling is here. I loved the contrast of the chocolate with the caramel buttercream, so keep that combination in mind.

.

MARTIN’S LEMON VERBENA SHORTBREAD COOKIES

Martin blogged on these cookies right after the Botanical Episode from Great British Bake Off aired in the US. He’s been very diligent about baking along with the show, and of course, he is the best person to do that, having won the last Great American Baking Show, with a totally stellar performance. I was lucky to meet him in person when we were in London taping season 5. The recipe for these super tasty cookies can be found here.

If you’ve never baked with lemon verbena, please do so, it has very unique flavor and works absolutely perfectly in a shortbread format. I made no changes whatsoever to his recipe, and it turned out wonderful!

.

KAREN’S SIGTEBOLLER

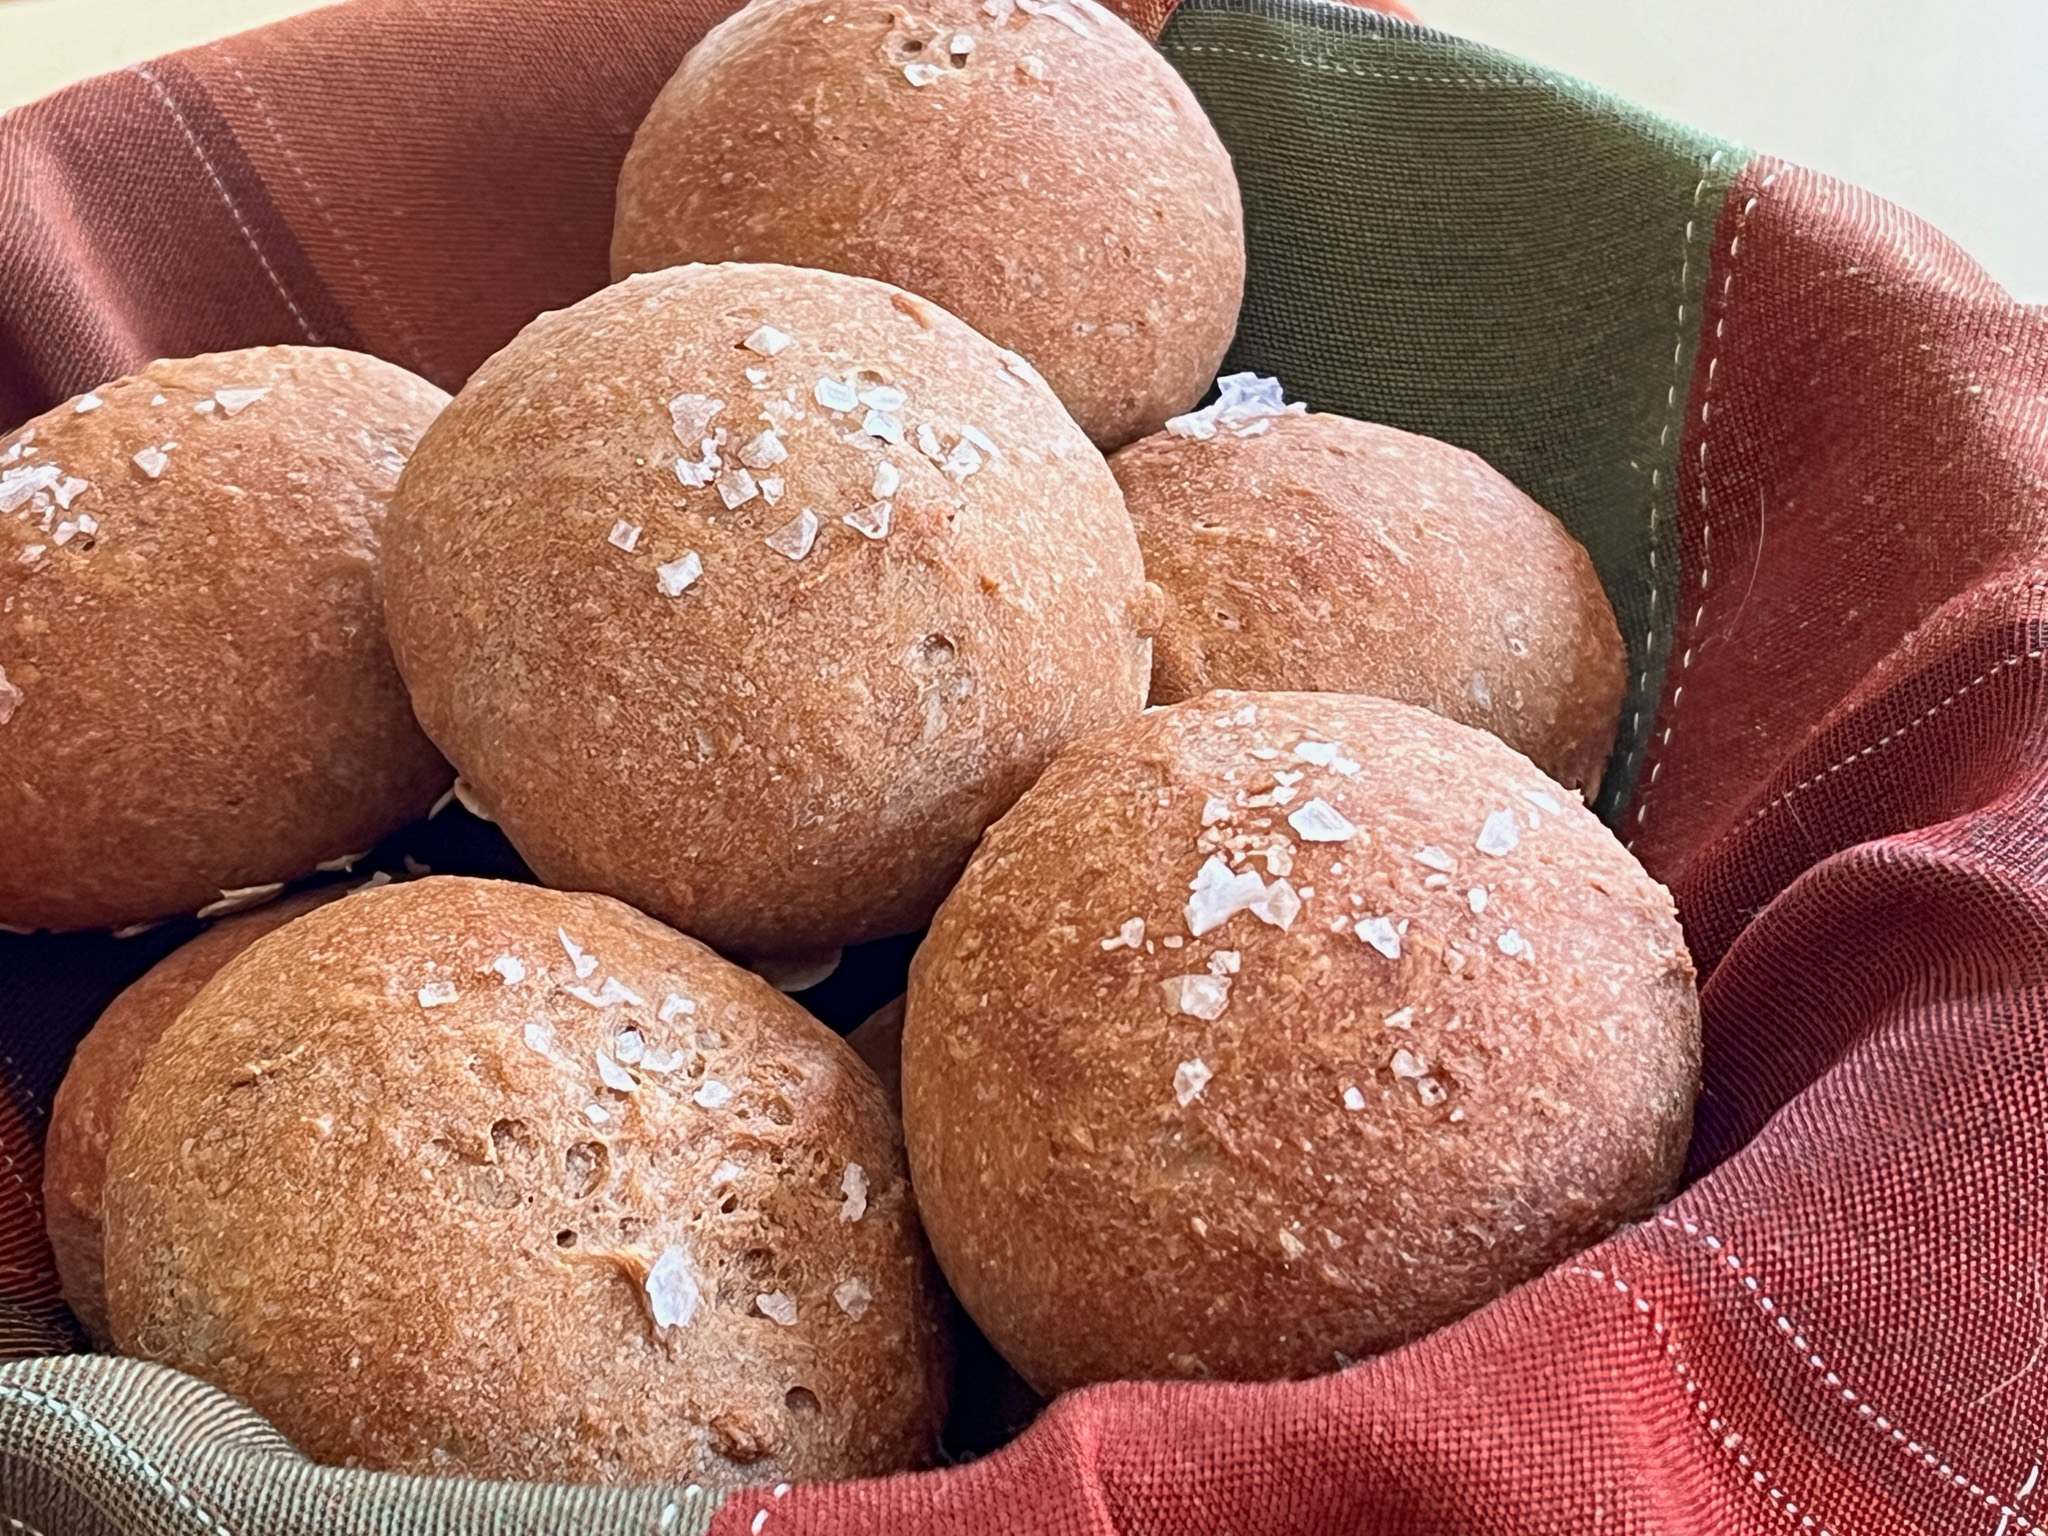
Sigteboller are Salted Rye Rolls, made with a little rye sourdough starter and some commercial yeast. Rye is a very tricky flour to work with, but I had no issues with this recipe. Both hubby and I absolutely LOVED these rolls. The salt on top is a touch of genius, but everything works with them. The taste and texture, spot on. I think Paul Hollywood should send a virtual handshake to Karen for these! Recipe available here.

.

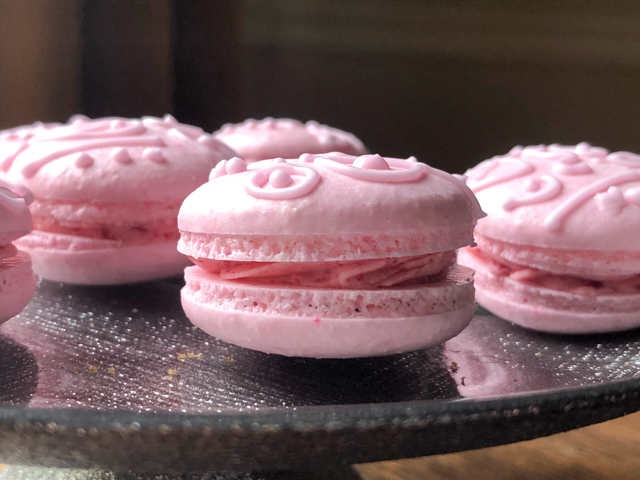
HELEN’S HASELNUSSMAKRONEN

Also known as German Hazelnut Macaroons, these should go into the OMG files of Baking… Helen does it again, shares a recipe that is super simple to prepare but amazes the tastebuds once you try a bite. My only change was to use Nutella to fill them because I realized too late that I had no seedless raspberry jam in our pantry. You can find her recipe and super detailed tutorial here.

.

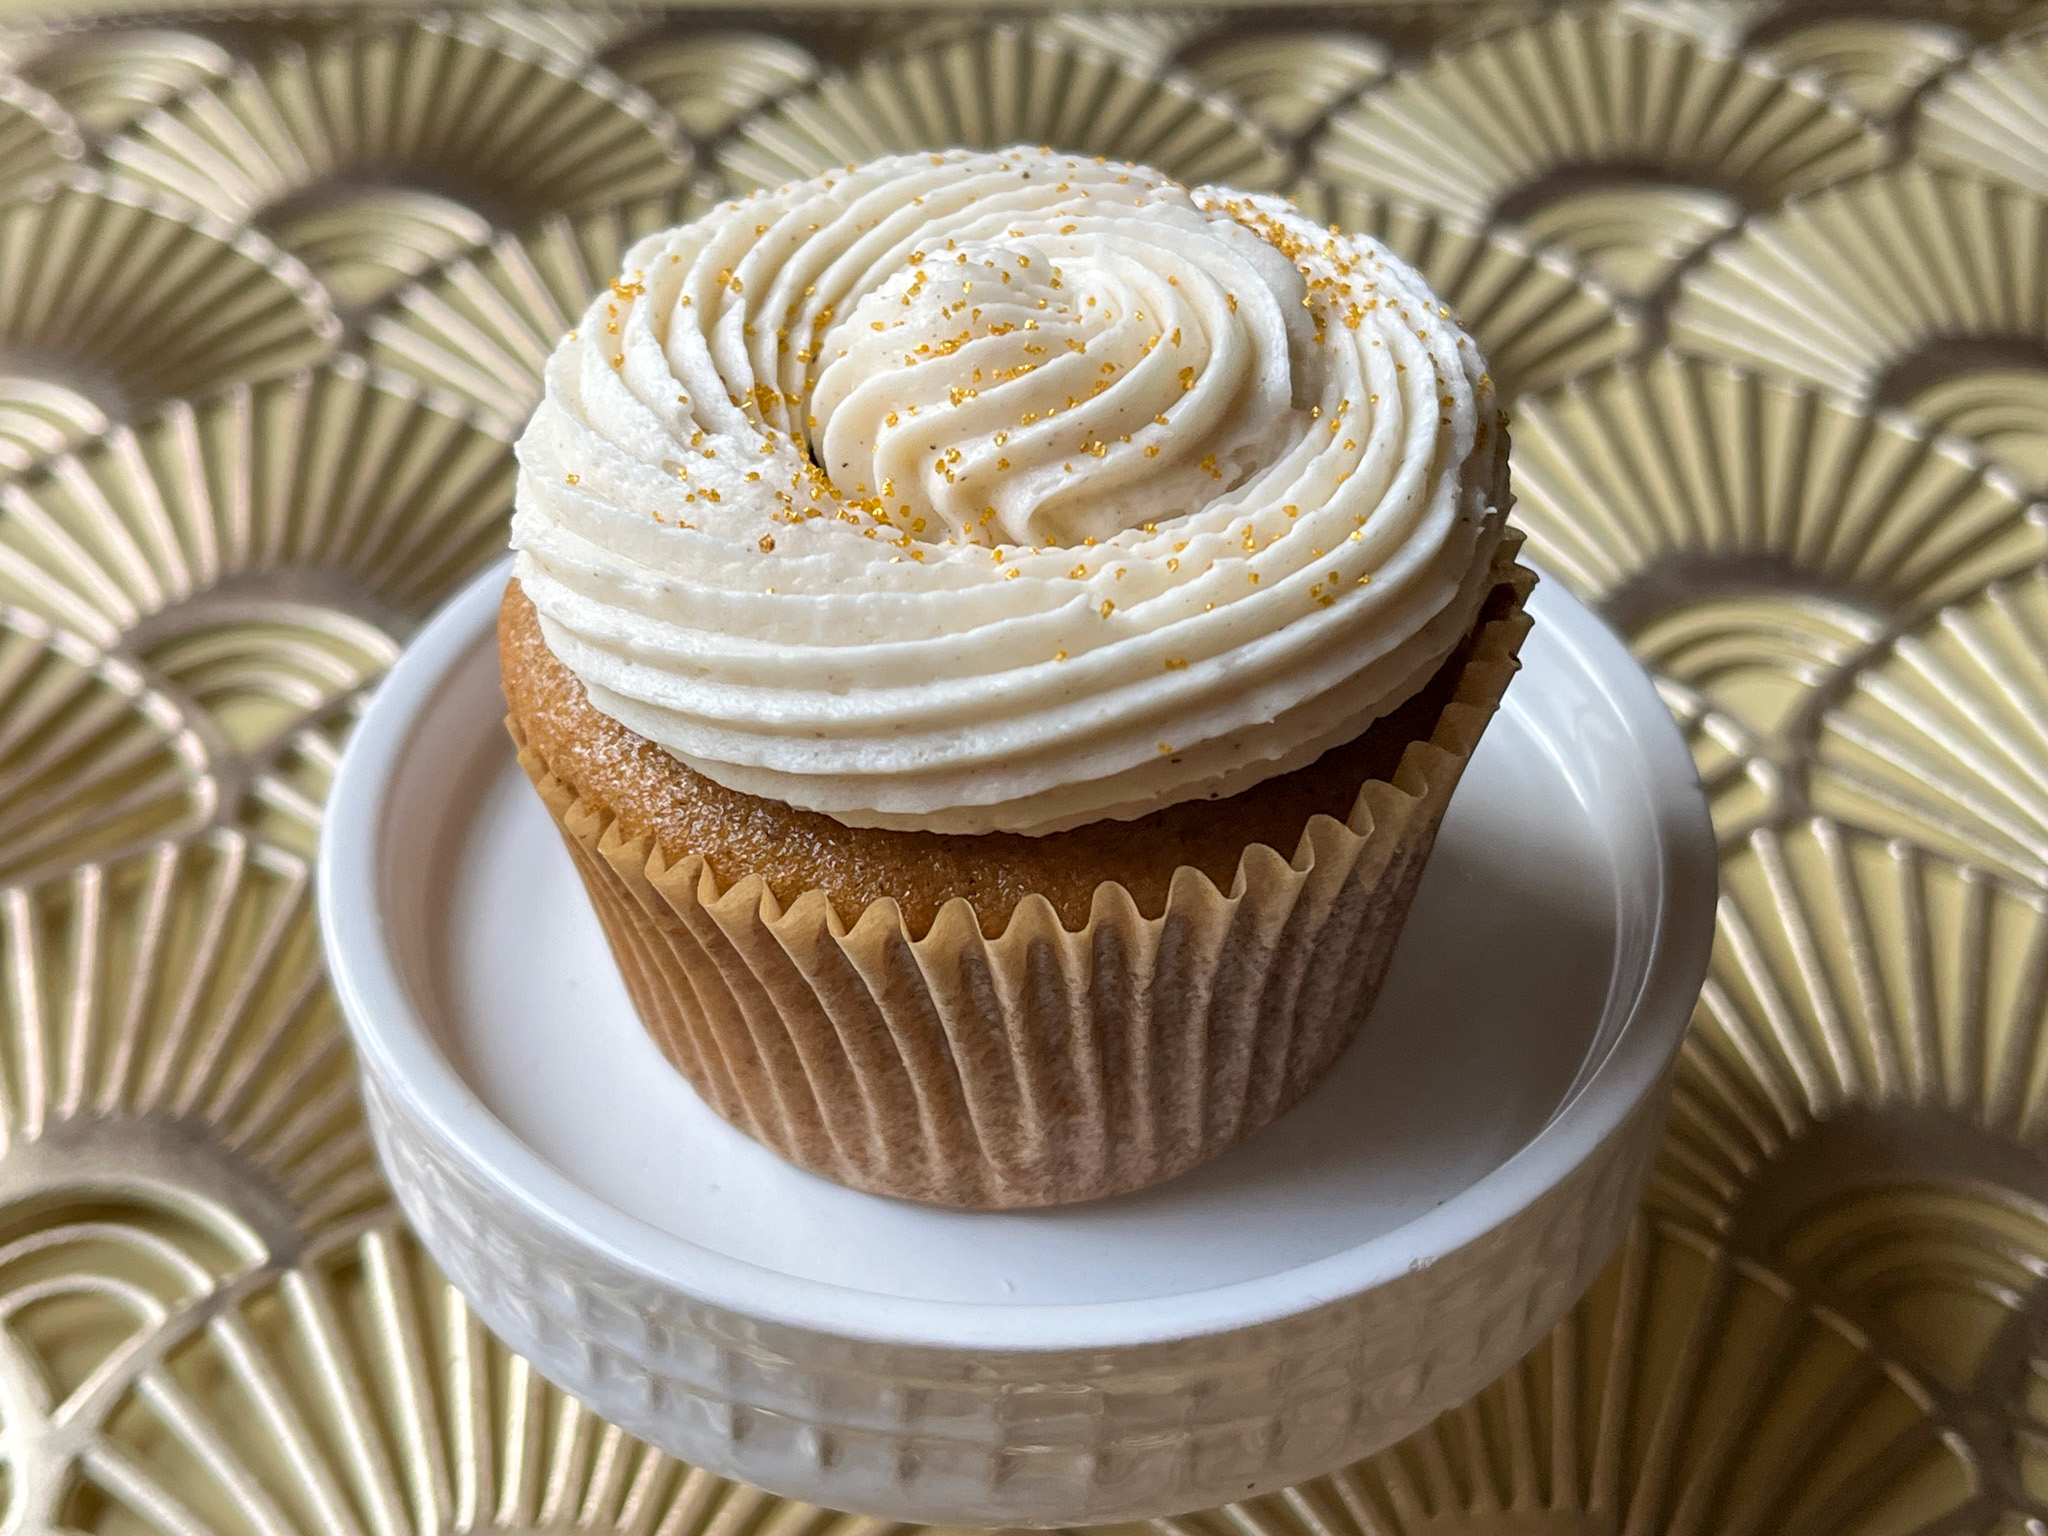
TANYA’S IRRESISTIBLE SPICE CAKE CUPCAKES

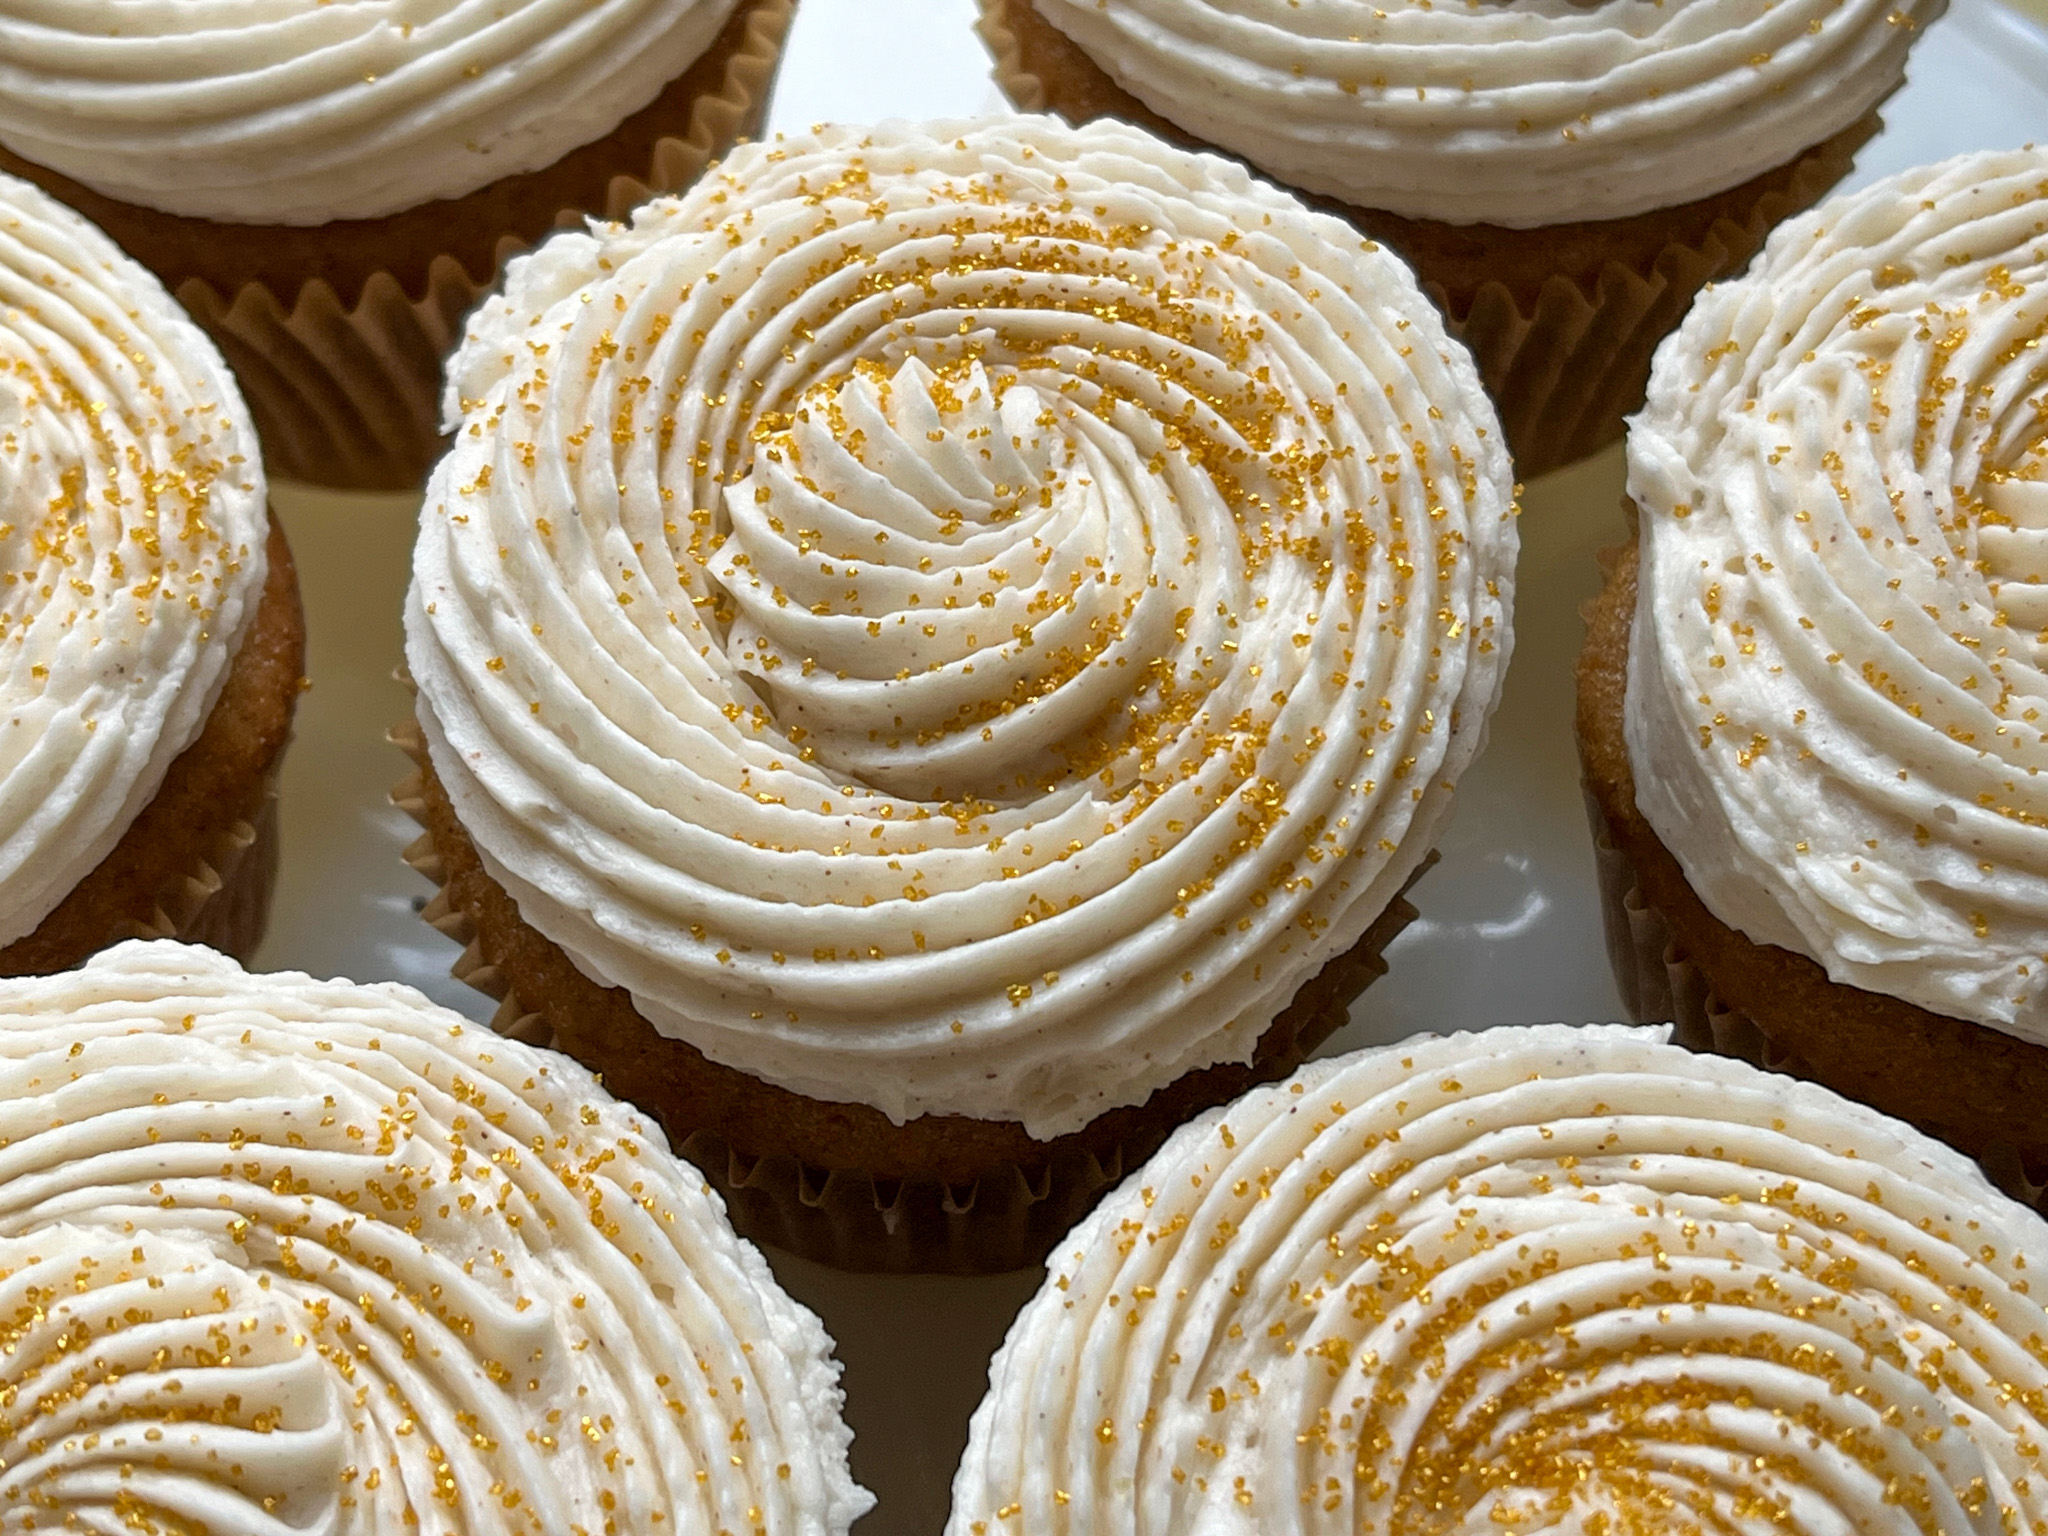
In case you don’t know, Tanya was my tent-baking friend in Season 5 of The Great American Baking Show and we have kept in touch ever since. Recently she and her husband visited us and we baked together, but that is a story to be told another time (SOON!). Tanya’s recipes always work, and if she says something is irresistible, I pay attention. I was forced to modify the buttercream icing, because her original post uses cream cheese frosting, but I never know for how long the cupcakes will sit at room temperature once I donate them. I felt it was safer to go the route of American buttercream, so I “spiced it up” to go along with the cake. They smell simply amazing, and although I did not get to try any, the reviews from the volunteers who served them made me super happy, and I am sure Tanya will be glad to hear that also! You can find her recipe here. For the buttercream, I used my default recipe adding 1 tsp cinnamon, 1/2 tsp ginger, 1/4 tsp allspice.

.

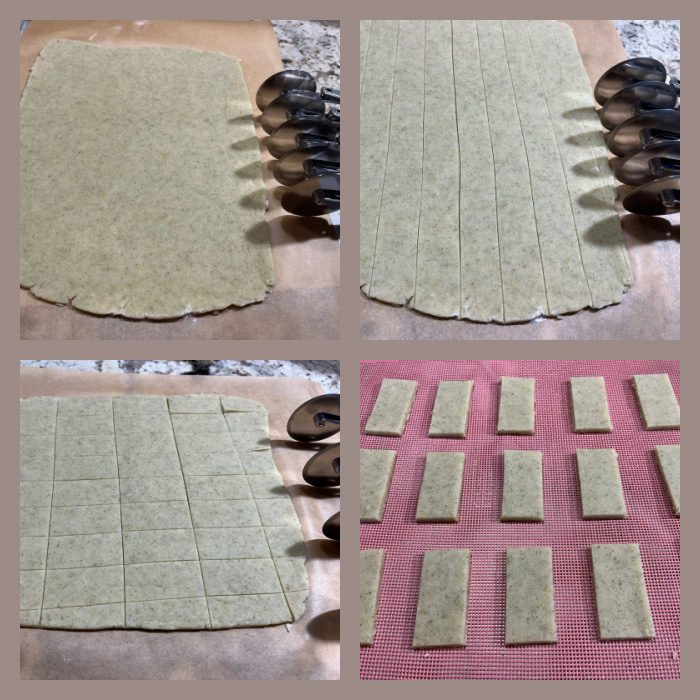
CARO’S EASY PEASY SMOKIN’ CHEESE CRACKERS

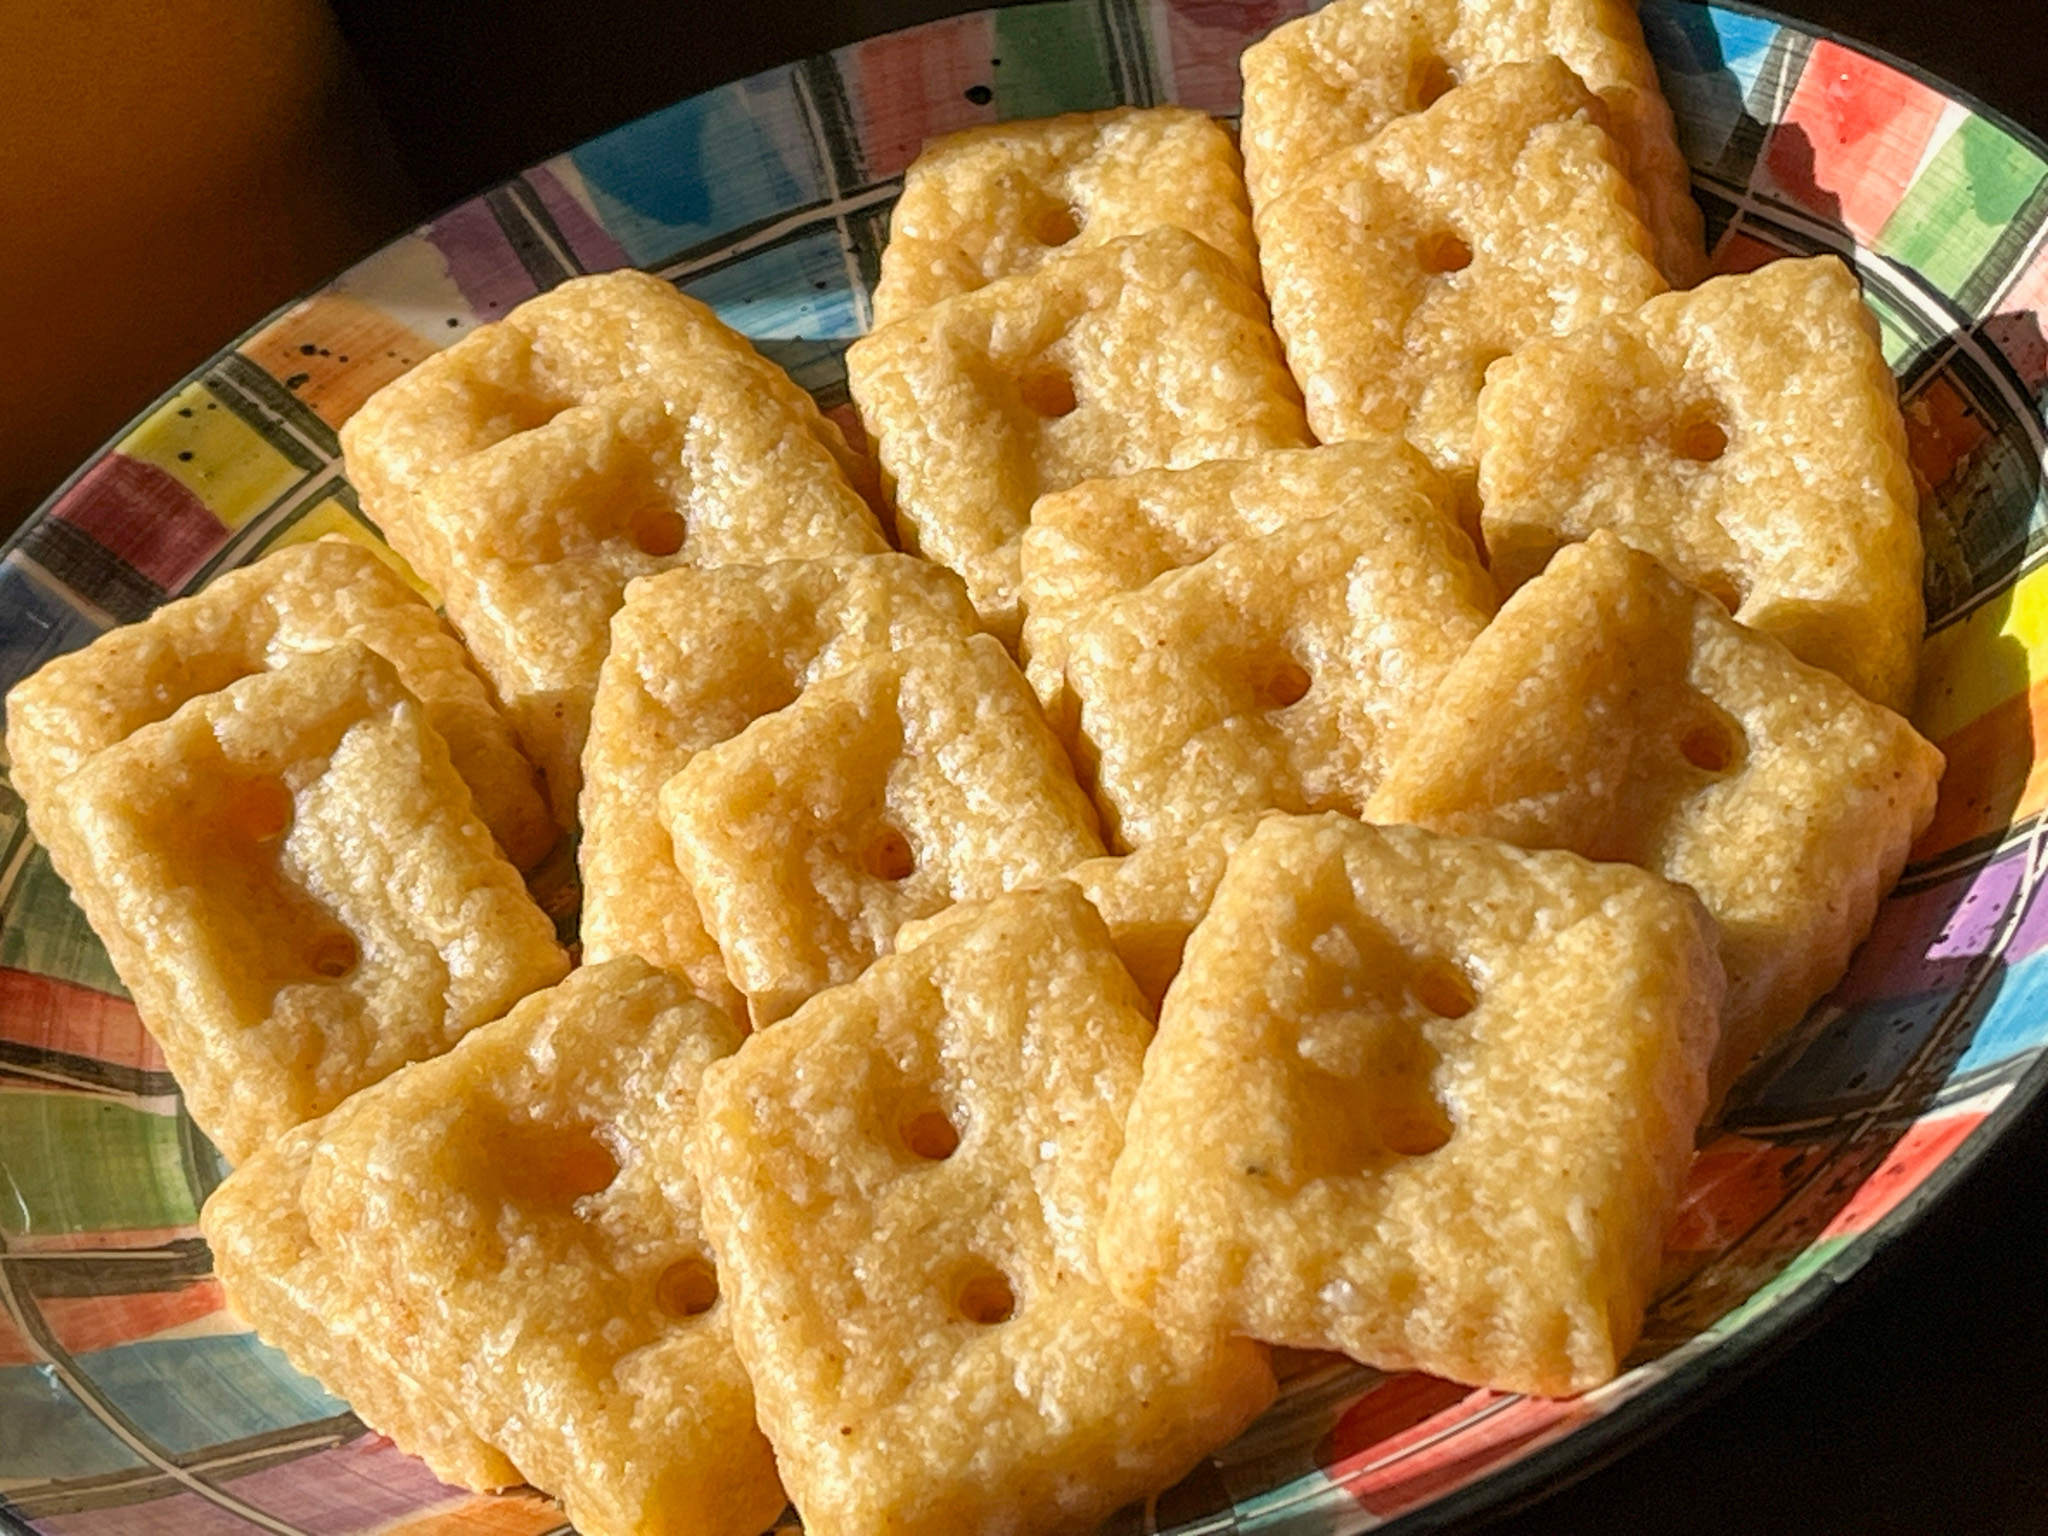
Caro’s blog is one of my go-to sites when I want a recipe that will not disappoint. As I mentioned before, her posts are real tutorials, all the details that matter to make a recipe work. These cheese crackers are addictive – salty, hot to the right level, great texture. I used two types of hard cheese for them, so play with what you have in the fridge and have fun. Recipe can be found here.

I admit that I had a little help while making them, as far as timing exactly when they were perfectly done!

.

ONE YEAR AGO: Crispy Air-Fried Zucchini

TWO YEARS AGO: Pasta with Cremini Mushroom Ragu

THREE YEARS AGO: A Magical Marinade

FOUR YEARS AGO: Roast Veggies with Black Barley

FIVE YEARS AGO: Pumpkin Sourdough

SIX YEARS AGO: First Monday Favorite

SEVEN YEARS AGO: Secret Recipe Club: Paalak Paneer, a Farewell Post

EIGHT YEARS AGO: In My Kitchen, November 2015

NINE YEARS AGO: Helen Fletcher’s Oatmeal Cookies

TEN YEARS AGO: Thai-Style Pesto with Brown Rice Pasta

ELEVEN YEARS AGO: Shrimp with Spicy Orange Sauce

TWELVE YEARS AGO:  A Simple Appetizer (Baked Ricotta)

THIRTEEN YEARS AGO: Sour Cream Sandwich Bread

FOURTEEN YEARS AGO: Pasta with Zucchini Strands and Shrimp

VEGAN RASPBERRY MACARONS

Vegan baking fascinates me. It is challenging – to put it mildly – to bake things when you cannot use any dairy or eggs. Macarons are considered tricky to bake, but I tell you, vegan macarons are what nightmares are made of. I’ve had so many failures, it’s not even funny. But then… then this happened, and I am still thrilled!

VEGAN RASPBERRY MACARONS
(adapted from Pies and Tacos)

for shells:
110 grams almond flour
110 grams powdered sugar
75 grams aquafaba
1/4 teaspoon cream of tartar
66 grams granulated sugar
for vegan buttercream:

125g powdered sugar, sifted
3 tbsp freeze dried raspberry powder (about 18g)
56g vegan butter (I used Earth Balance)
1/2 tsp lemon juice
tiny pinch of salt

To decorate:
Royal icing (optional)

Process the almond flour and powdered sugar in a food processor for about 20 seconds total using short pulses. Sift the mixture and reserve.

Place the aquafaba in the bowl of a mixer. Start whipping on low speed and add the cream of tartar. Whip for about 30 seconds, until the aquafaba starts getting white and thick like soup. Raise the speed to medium and continue to whip for another couple of minutes, until you are able to see streaks left by the whisk on the aquafaba.

Raise the speed to high, and start to add the granulated sugar, slowly, a bit at a time. Continue to whip until the aquafaba achieves stiff peaks, which can take 10 minutes or more, depending on your mixer.

Add the sifted dry ingredients to the whipped aquafaba. Start folding with a spatula slowly. Fold the batter forming a letter J with the spatula.

You will fold until the batter is flowing slowly but effortlessly off the spatula. To test it out, you can grab a teaspoon of batter and place it on a baking sheet, watch how it behaves for 1 minute. If the batter smooths out the top, it means you are ready to go. If batter forms a pointy tip, you have more folding to do. But be very careful. You also don’t want to overfold. Just fold a couple more times, and test again.

Transfer the batter to the piping bag. Pipe circles on a baking sheet lined with silicon mat. Slam the trays against the counter to release air bubbles. Let the trays rest for 30-45 minutes until the shells are dry.

Heat the oven to 285ºF. Bake one tray at a time for a total of 20 minutes, or until the macarons tops do not twist independently of the bottom if you try to rotate them. Let the macarons cool down before filling.

Make the filling: Sift the powdered sugar and freeze dried raspberry powder together. Whip the butter on medium for about 1 minute, until creamy. Add the powdered sugar and freeze dried raspberry powder and mix on low until combined. Raise the speed and cream for another minute, add the lemon juice and salt and continue whipping to incorporate it all. Adjust consistency with non-dairy milk or more powdered sugar, if needed.

Assemble shells, fill with some buttercream, and decorate with Royal Icing using a very fine icing tip, if so desired. Let the macarons sit in the fridge overnight before enjoying them.

ENJOY!

to print the recipe, click here

Comments: Most vegan macaron recipes rely on aquafaba (the liquid from canned chickpeas), others use potato protein powder instead. I have tried the potato protein but had two epic failures and decided to concentrate on aquafaba. Most recipes will instruct you to reduce the aquafaba by boiling it down, which adds an extra step that this recipe omits. Having made 11 batches of vegan macs with many horrific outcomes, I can tell you that three things really matter:

1. the extent of whipping the aquafaba (contrary to egg whites, you cannot over-whip it, so when you think you’ve done enough, whip some more).

2. stopping the macaronage a little short, never taking it to the smooth level you could with a regular egg-white meringue recipe.

3. Baking at a lower temperature, 285F worked well for me. It is highly advisable that you check the temperature of your oven with a thermometer.

The inspiration for decorating the shells came from another obsession of mine, earrings. I am a shameless collector of clay earrings. They are very light (never hurt your earlobes), very colorful, and the moment I got this pair, I knew I had to turn it into macarons… Nothing like joining two obsessions!

The color is a bit off, it is not easy to judge as it also changes a bit with baking, but I am glad with the overall look. These beautiful earrings were made by an artist in Canada, check her etsy store here. She is a sweetheart!

Now the most important question. How do they taste? I will be totally honest with you, I cannot tell any difference in the shells using egg white meringue or aquafaba. The off-putting smell of aquafaba totally disappears upon baking. The texture is perfect, the taste undistinguishable (to me). I do find the vegan buttercream less flavorful than one made with real butter, but it’s not a deal-breaker. These macs were a big hit with our colleagues and also at the homeless meal, I shared the batch 50:50.

If you are interested in vegan macs, I advise you to stop by Pies and Tacos (hosted by Camila, a Brazilian-American baker with a passion for these cookies) and watch her very detailed videos on the subject.

ONE YEAR AGO: Scary Good Recipes for your next Halloween

TWO YEARS AGO: Devil Wears Chocolate

THREE YEARS AGO: Slow-Cooker Pot Roast with Potatoes, Carrots, and Fennel

FOUR YEARS AGO: The Best, the Very Best Hummus

FIVE YEARS AGO: Cheddar Cheese Crackers

SIX YEARS AGO: A New Take on Cauliflower Puree

SEVEN YEARS AGO:
 In My (NEW!) Kitchen

EIGHT YEARS AGO:
 
The Lab Move and New Beginnings

NINE YEARS AGO:
 Honey-Oat Pain de Mie

TEN YEARS AGO:
 Carrot and Leek Soup

ELEVEN YEARS AGO:
 Chicken Parmigiana 101

LET IT SNOW, LET IT SNOW, EGGS IN SNOW

Eggs in snow” or “oeufs a la neige” or “ovos nevados“… conveys the same delight in any language: a classy, delicious, impressive dessert, that’s surprisingly simple to make. Besides that, you can prepare its components in advance, which is the golden rule for a relaxed host.


OEUFS A LA NEIGE

(adapted from several sources)

for the creme anglaise
4 egg yolks
1/2 cup sugar
1 tsp cornstarch (optional)
1 + 1/2 cup boiling milk

for the meringue
4 egg whites
6 Tbs sugar
1 tsp vanilla
1/4 tsp cream of tartar
1/4 tsp salt

for the caramel glaze
2/3 cup sugar
1/4 cup water

Thinly sliced almonds (optional)

Prepare the creme anglaise: beat the sugar and yolks with an electric mixer for a few minutes, until the color turns pale yellow and the texture becomes somewhat thick (ribbon stage). Beat in the cornstarch, if you decide to use it, and while still beating, slowly add the hot milk without scorching the egg yolks.
Transfer the mixture to a saucepan and warm over low heat, while constantly stirring. Don’t let it boil, but bring the temperature to 170F on a candy thermometer. Remove from heat and pass it through a fine sieve to remove any bits of egg yolk that might ruin the texture of the creme anglaise. Put it in the fridge until ready to assemble the dessert.

Prepare the meringue:
Starting with egg whites at room temperature, beat them with the vanilla, cream of tartar, and salt until soft peaks form. Add the sugar and continue beating at very high speed, until the peaks are all glossy and thick.
Heat water in a large skillet to 180F (at this point, the water will form bubbles on the edges). Using two tablespoons or an ice cream scoop, spoon mounds of meringue and gently dislodge them into the water. You can cook several at the same time, making sure that the water never boils. If it does the meringues will disintegrate. Cook them for 3-4 minutes per side, then transfer to a baking sheet lined with a soft cloth to drain any excess water. Reserve in the fridge.

When ready to assemble the dessert, add about 1/4 cup of creme anglaise to the serving dish and add 3 cooked meringues to the dish. Sprinkle on some almonds and glaze everything with streams of caramel, made as follows:

Add the sugar to a small saucepan, drizzle the water on top. Set the mixture over medium-low heat, and gently swirl the pan until the sugar dissolves. Then, increase the heat to high, cover the pan, and boil the caramel for 2 minutes. Remove the lid and continue boiling until the sugar turns amber. Place the bottom of the pan in cold water to rapidly cool it, and working quickly, dip a fork in the caramel and allow it to stream through the tines of the fork onto the  cooked meringue and almonds.

Serve immediately, or keep in the fridge for 1-2 hours.

ENJOY!

to print the recipe, click here

for more photos and comments, keep reading