This dough will work well for stamps or to roll out thin or thick. Delicious, nice texture, and a very small amount of baking powder to make sure your design will stay nicely imprinted. Embossed rolling pins will be another option, so keep that in mind.

RED VELVET SUGAR COOKIES
(slightly modified from Fancy Flours)
1 cup butter at room temperature (226g)
1 + 1/2 cups powdered sugar (170g)
1 large egg
1 tablespoon Red Velvet Emulsion
1 tablespoon cocoa powder (I used Dutch processed)
1/4 cup melted chocolate chips
3 cups flour (360g)
1/4 tsp baking powder
1 tablespoon dry buttermilk powder
3/4 tsp salt
Mix flour, baking powder, buttermilk powder and salt in a large bowl. Reserve. Cream butter and sugar in the bowl of a standing mixer with a paddle attachment. Add egg. Mix in red velvet emulsion, vanilla, cocoa, and melted chocolate.
Blend in the dry ingredients reserved. Mix until dough pulls away from the paddle and begins to form a ball. Dust the surface of your counter and rolling pin with flour and roll out the dough to a thickness of approximately 3/8 inch to 1/2 inch. (If your dough is too soft to work with, refrigerate it for an hour or so.
Dust the surface of your dough and your cookie mold with flour. Press the mold into the dough just far enough down to fill the mold cavity. Remove your mold and cut out the cookie. Brush off the excess flour on the top of your cookie. Excess flour will appear white on the surface if not removed.
Place your cookies on a cookie sheet lined with parchment paper.
Freeze your cookies for 15 minutes, bake from frozen in a 350F oven until done, depending on the size, 10 to 13 minutes.
ENJOY!
to print the recipe, click here
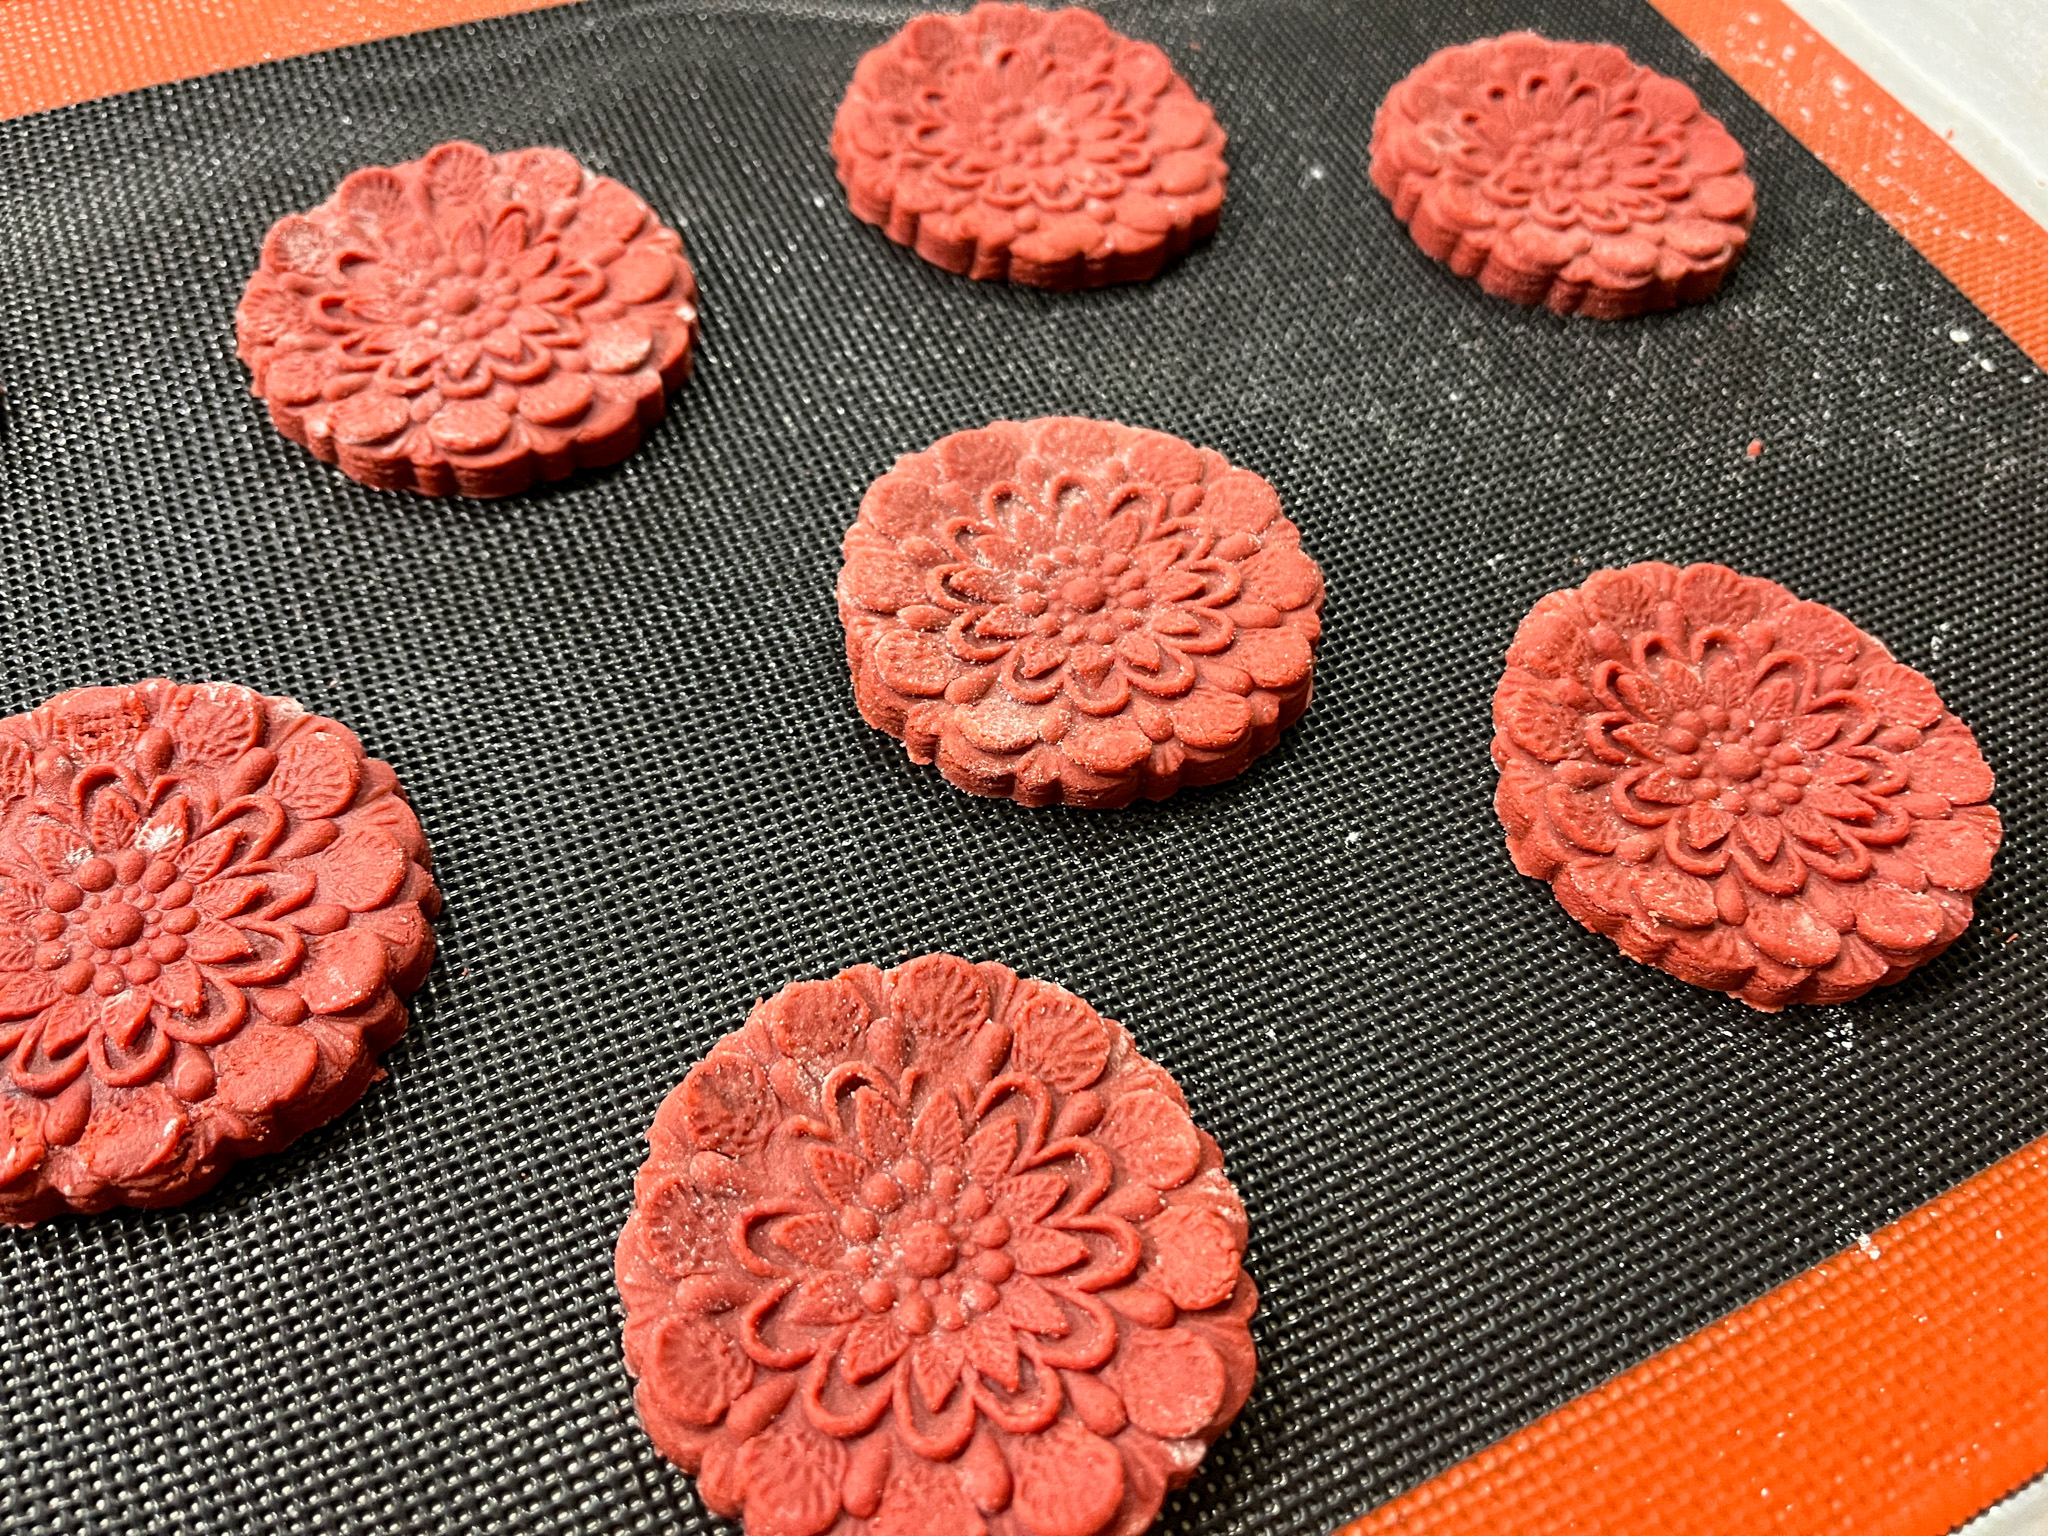
STAMPED RED VELVET COOKIES

Very simple to make, just roll, press the stamp and bake. I bake most of my cookies over a perforated mat. After baking, I sprayed a little bit of PME pearl luster over the surface, but that is optional.
.
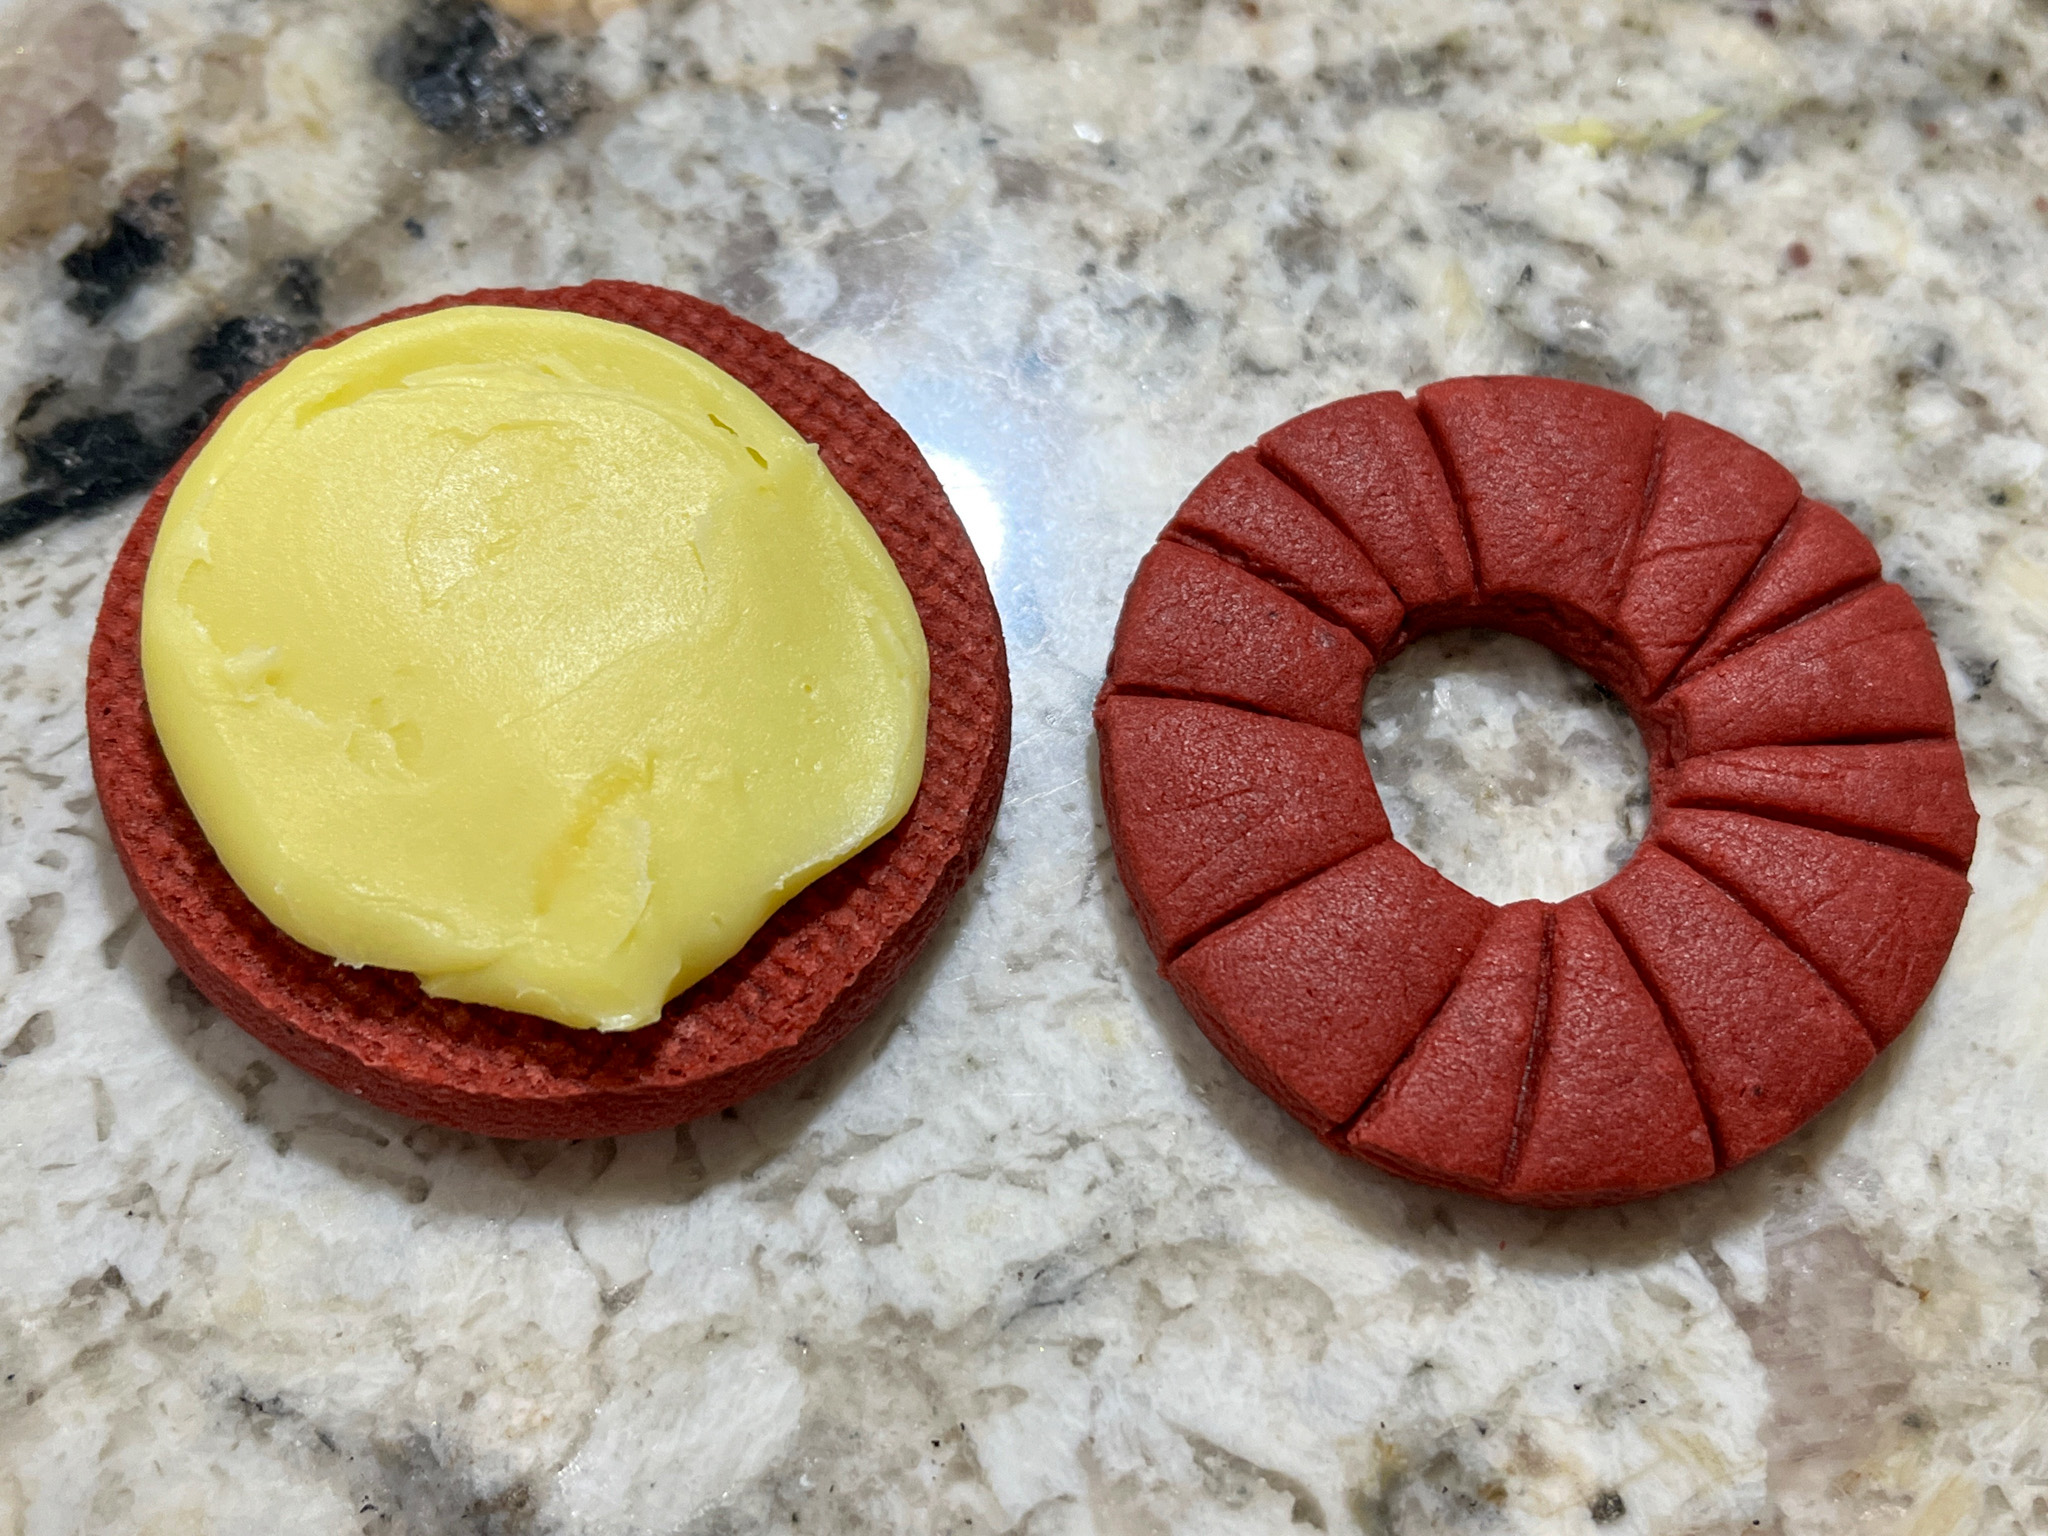
LEMON GANACHE SANDWICH COOKIES.
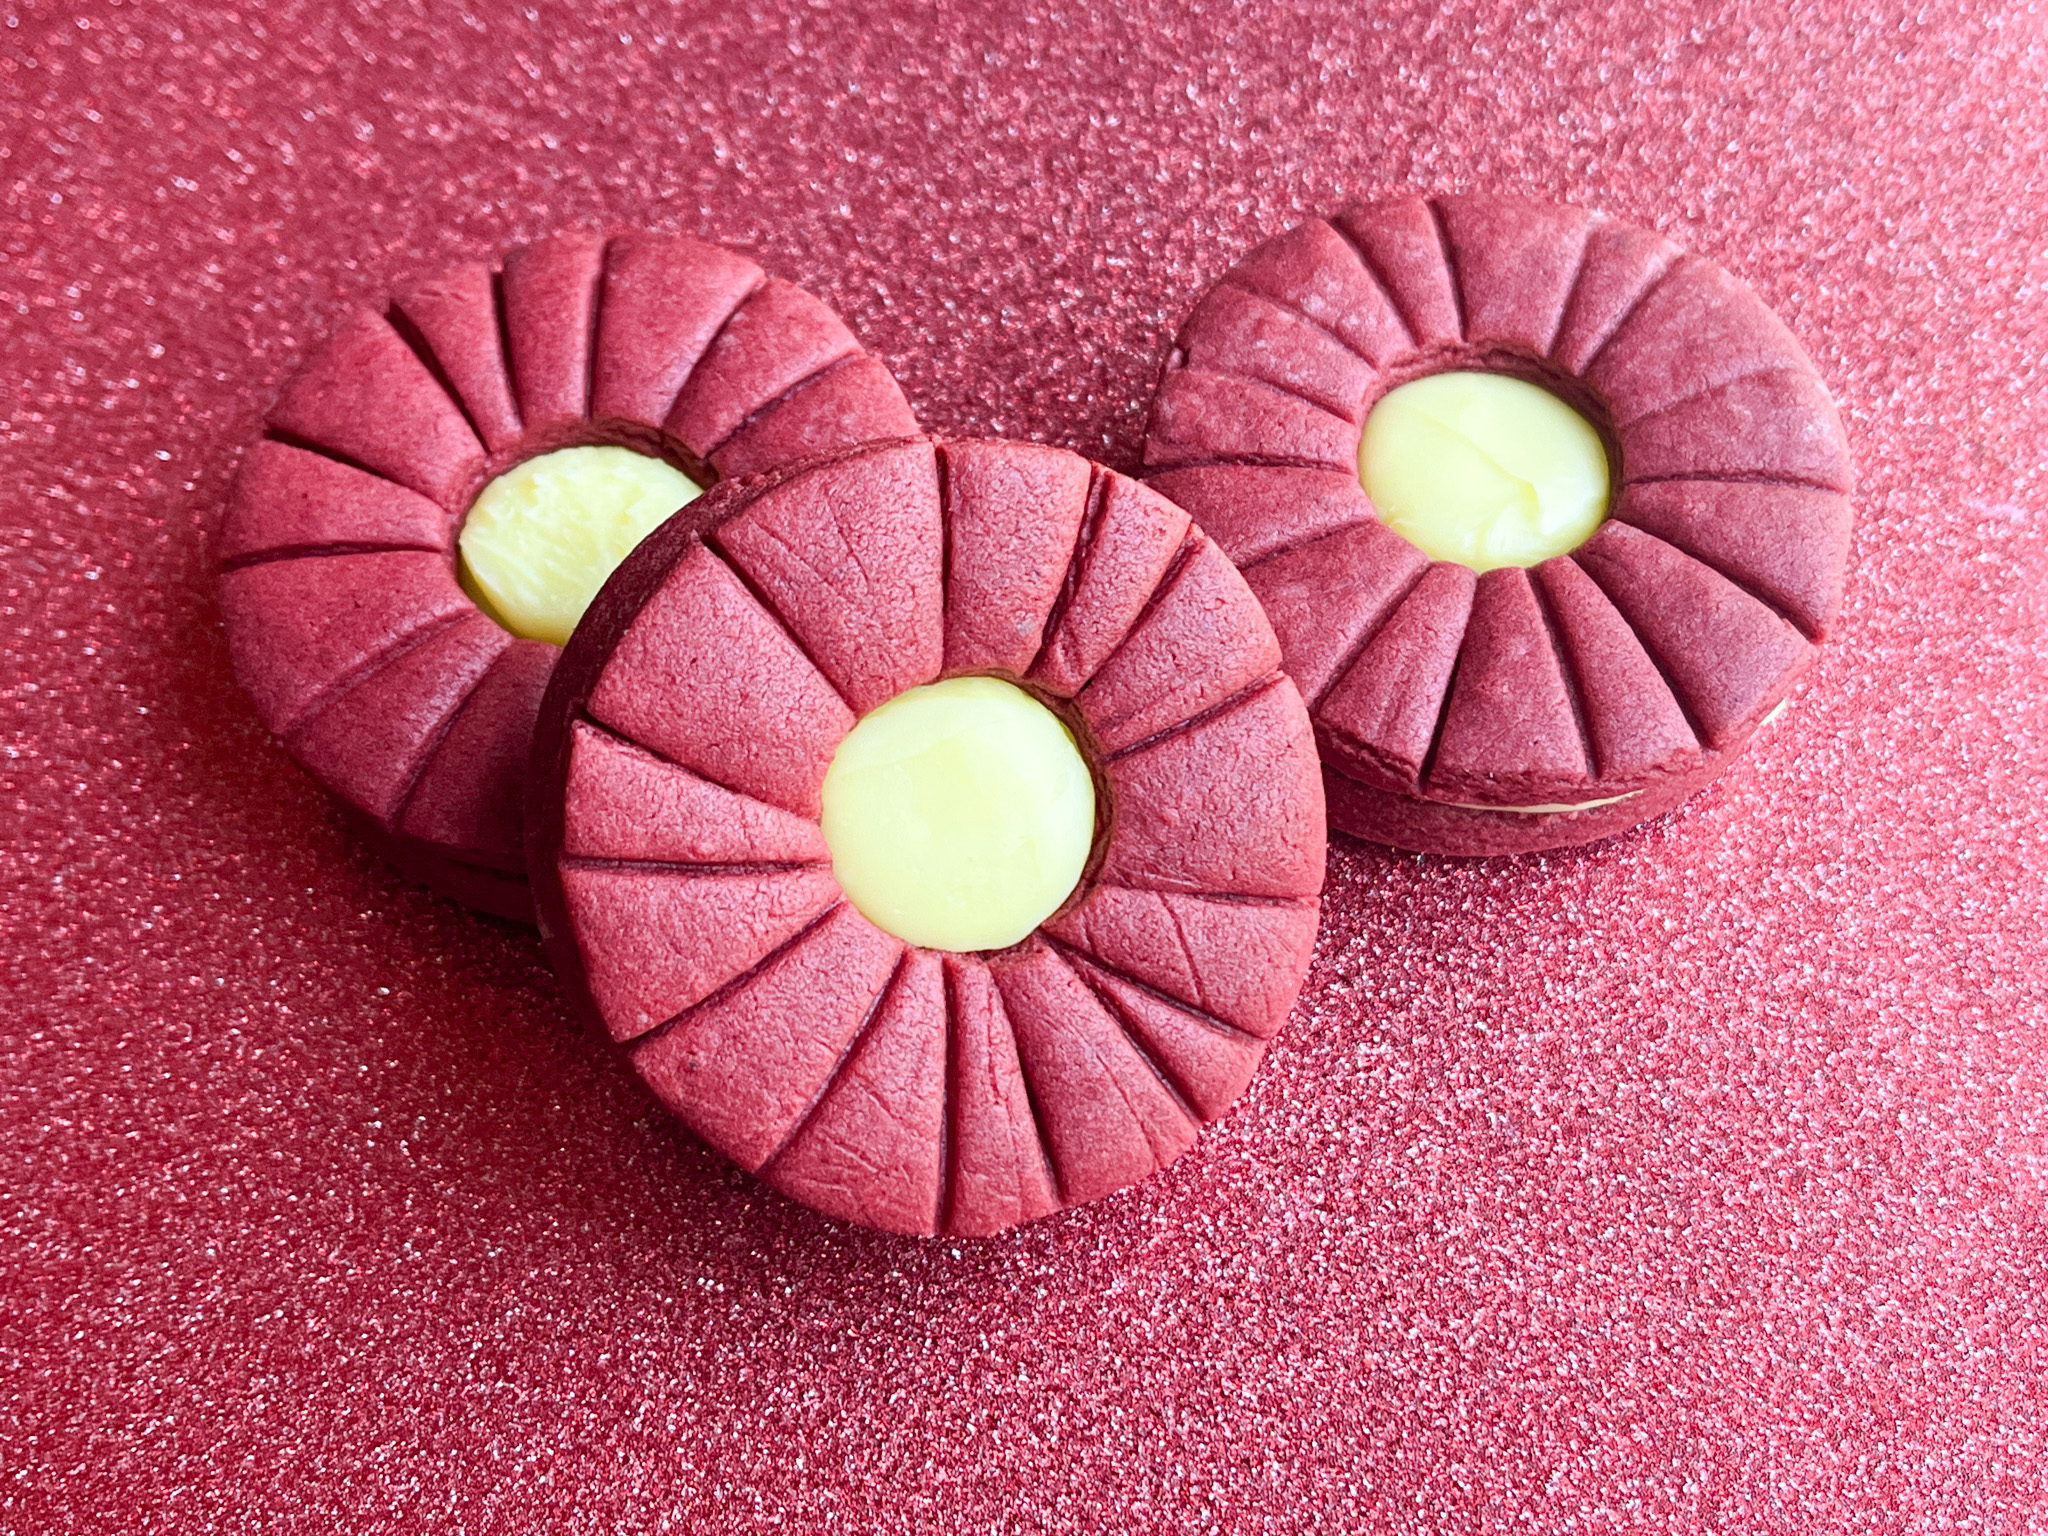
I rolled them a little thinner, cut circles from half the cookies, and used a bench scraper to create a design on the cookies with a hole in the center. The lemon ganache I used is from this macaron post.
.
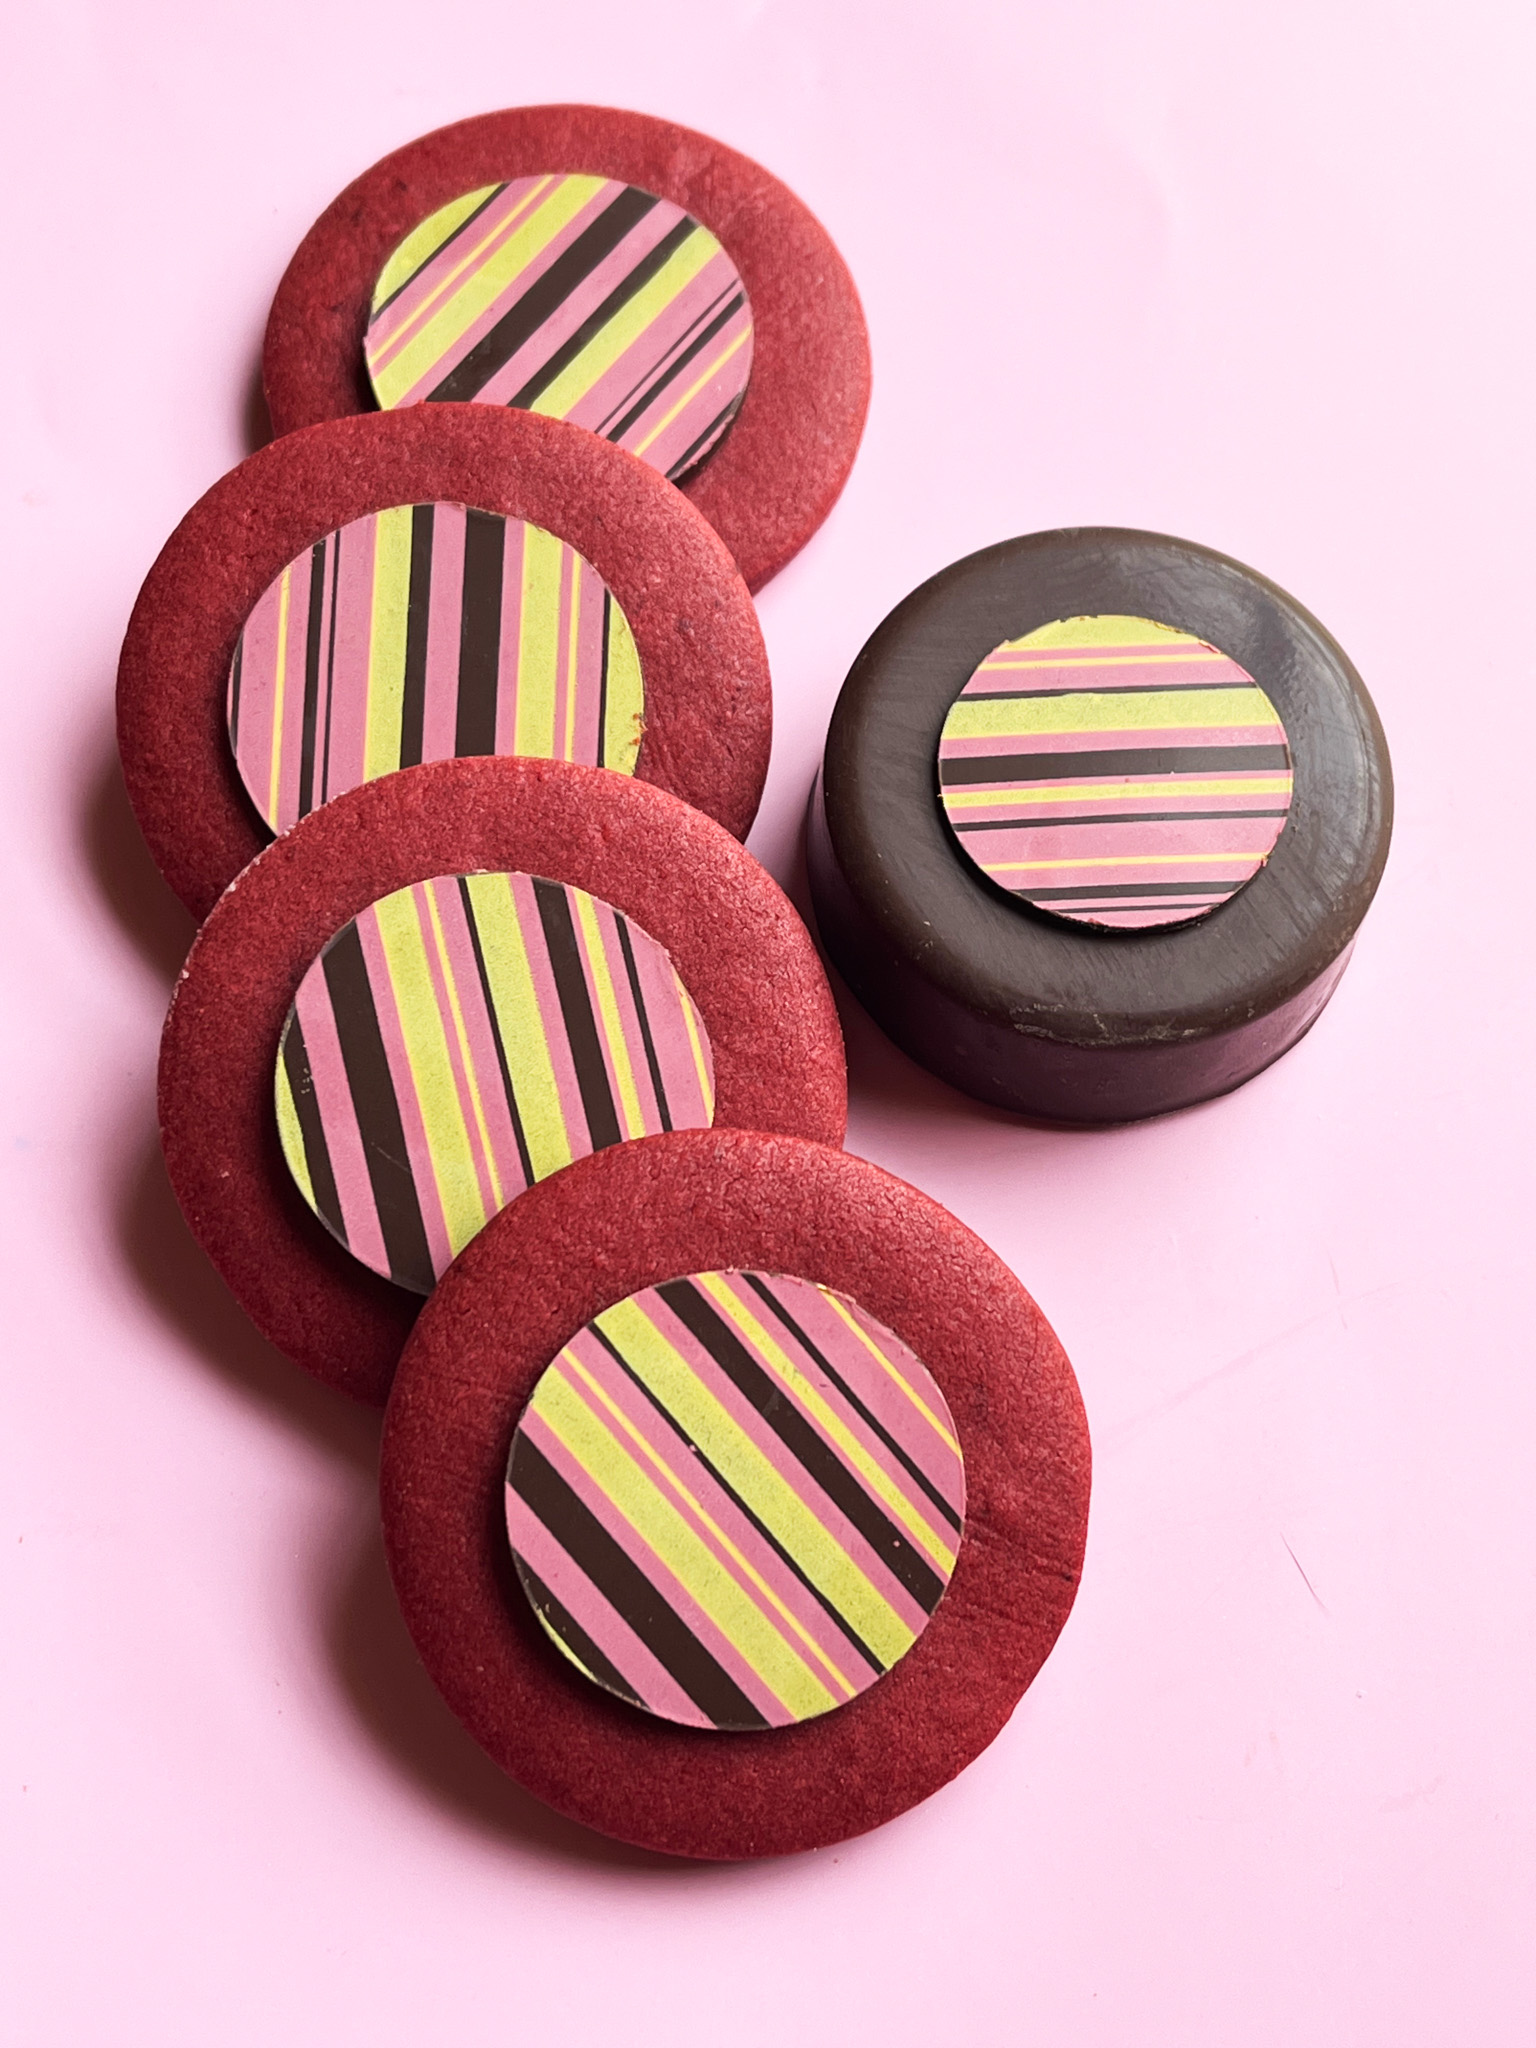
MODERN DESIGN
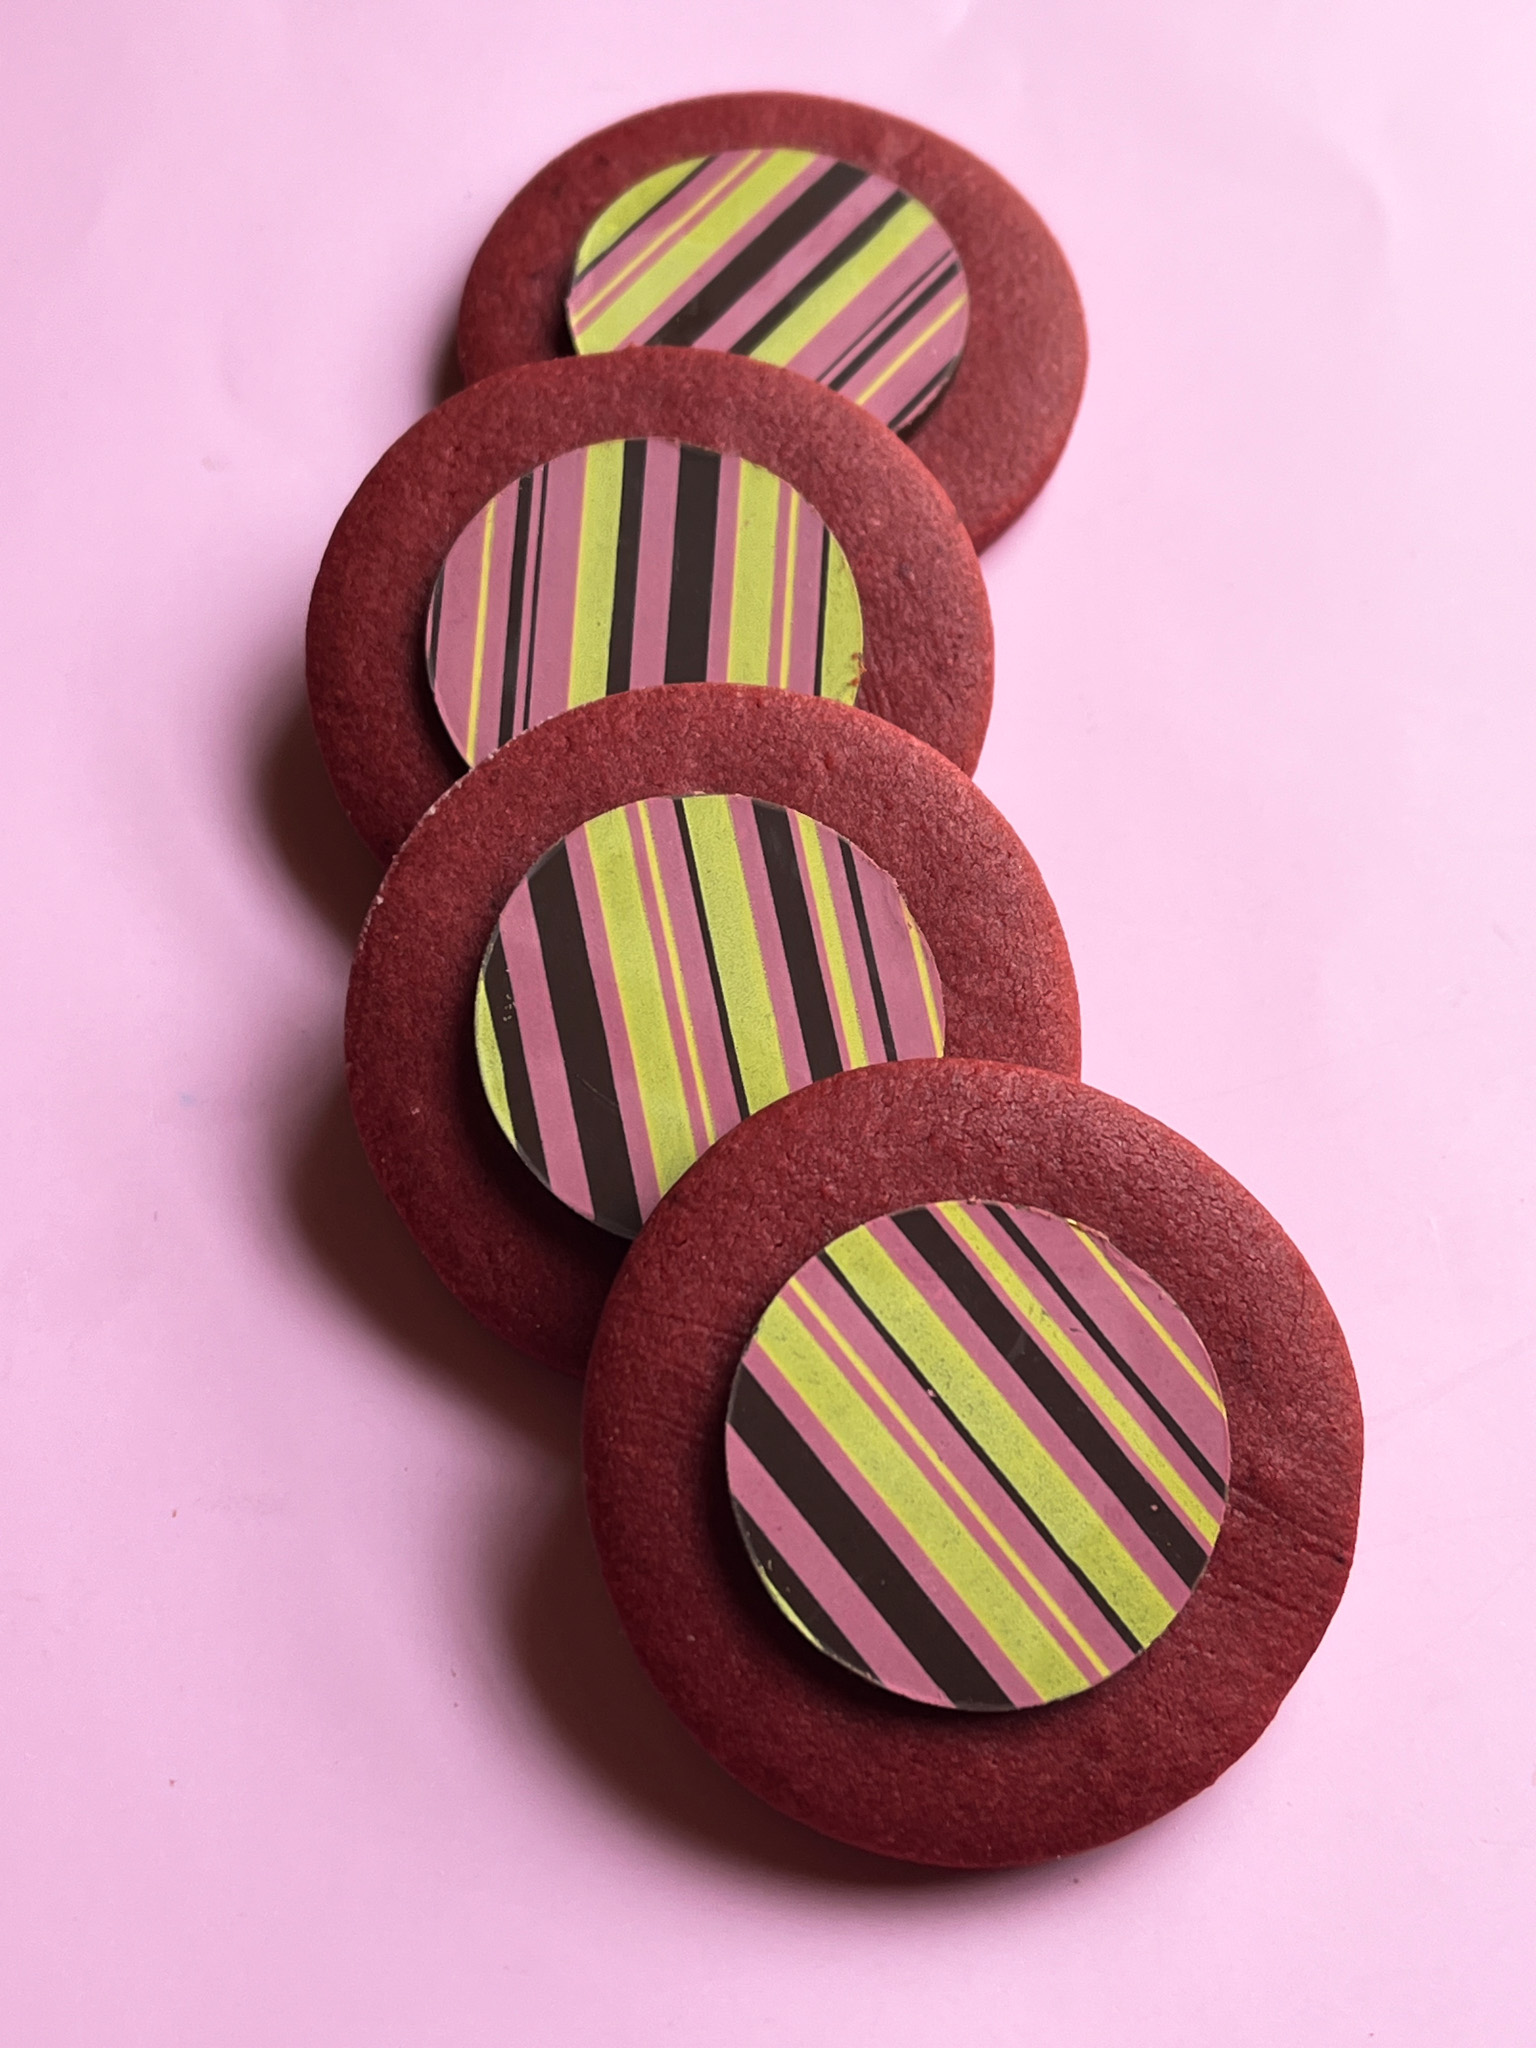
Cookies were simple rounds. To decorate them, I used compound chocolate spread over chocolate transfer sheets, a method I use often for Chocolate-covered Oreos. Let the chocolate set, cut circles smaller than the diameter of your cookies. Glue the disc to a cooled cookie with a bit of Royal icing or melted chocolate. Below the cookies and a little Chocolate-covered Oreo with the same “outfit”.
I love the texture and flavor of these cookies, and intend to use them often in the future. And guess what? You can also use Royal icing to decorate them! Designs inspired by The Graceful Baker.

ONE YEAR AGO: Lemon Macarons
TWO YEARS AGO: Thai Chicken with Peanut Sauce
THREE YEARS AGO: Baharat Flower Sourdough
FOUR YEARS AGO: Biscoitinhos de Canela
FIVE YEARS AGO: Salmon Tacos
SIX YEARS AGO: The Chignon
SEVEN YEARS AGO: Rack of Lamb Sous-Vide with Couscous Salad
EIGHT YEARS AGO: Focaccia with Grapes, Roquefort and Truffled Honey
NINE YEARS AGO: Moroccan Carrot Dip over Cucumber Slices
TEN YEARS AGO: White Chocolate Macadamia Nut Cookies
ELEVEN YEARS AGO: Cilantro-Jalapeno “Hummus”
TWELVE YEARS AGO:A Moving Odyssey
THIRTEEN YEARS AGO:Hoegaarden Beer Bread
FOURTEEN YEARS AGO: Ancho-Chile Marinade: Pleased to Meat you!