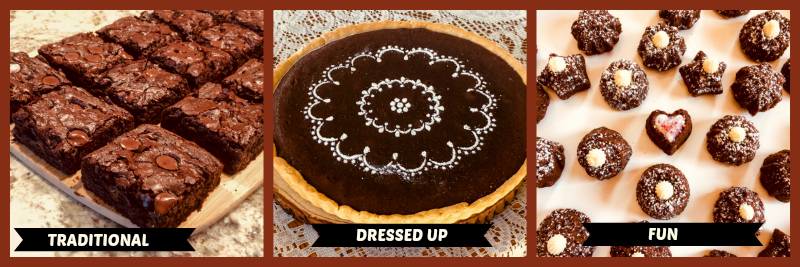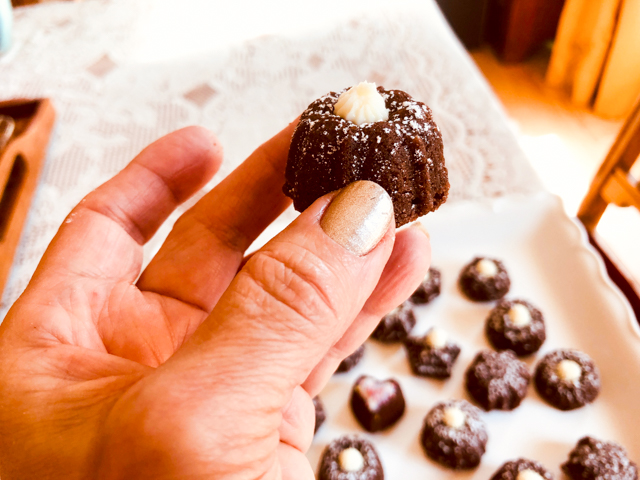
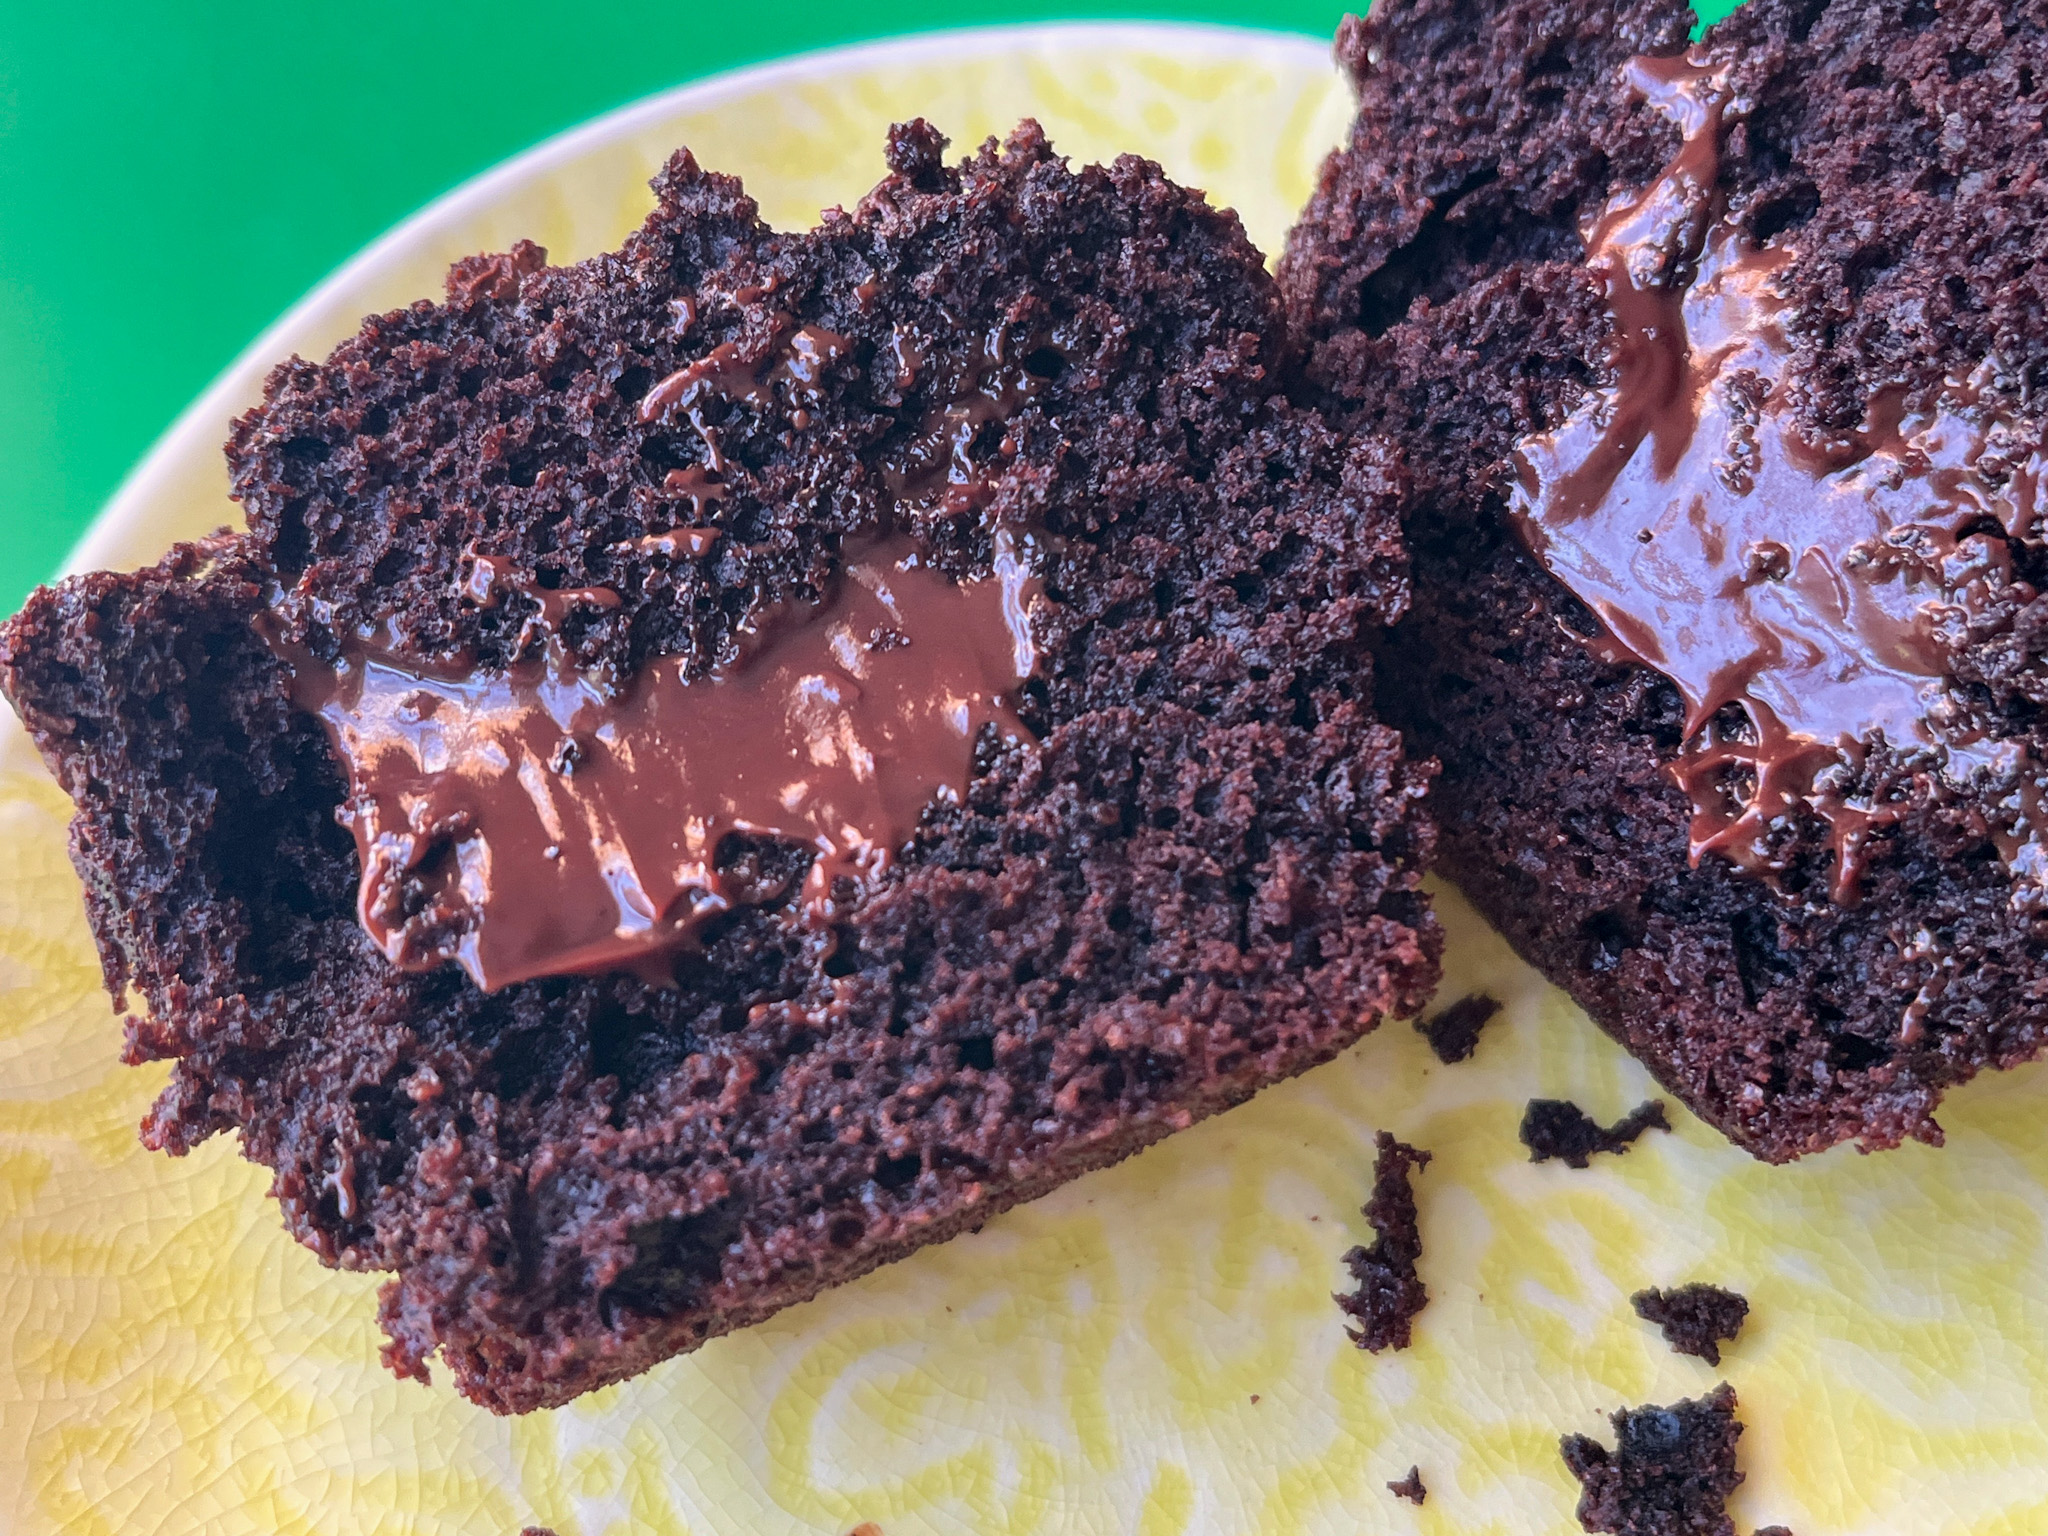
Today I share three delicious recipes that center on that dreamy ingredient that almost every human being loves: chocolate. I have known a few members of our species who claim to “hate” chocolate, and my hope is that they get their genomes sequenced to solve the mystery. Anyway, I digress. The first recipe comes from my favorite baker-instructor-guru, Helen Fletcher. These are beyond amazing and not for the faint of heart. Rich. Decadent. Luscious. Special. They are Double Chocolate Truffled Muffins!
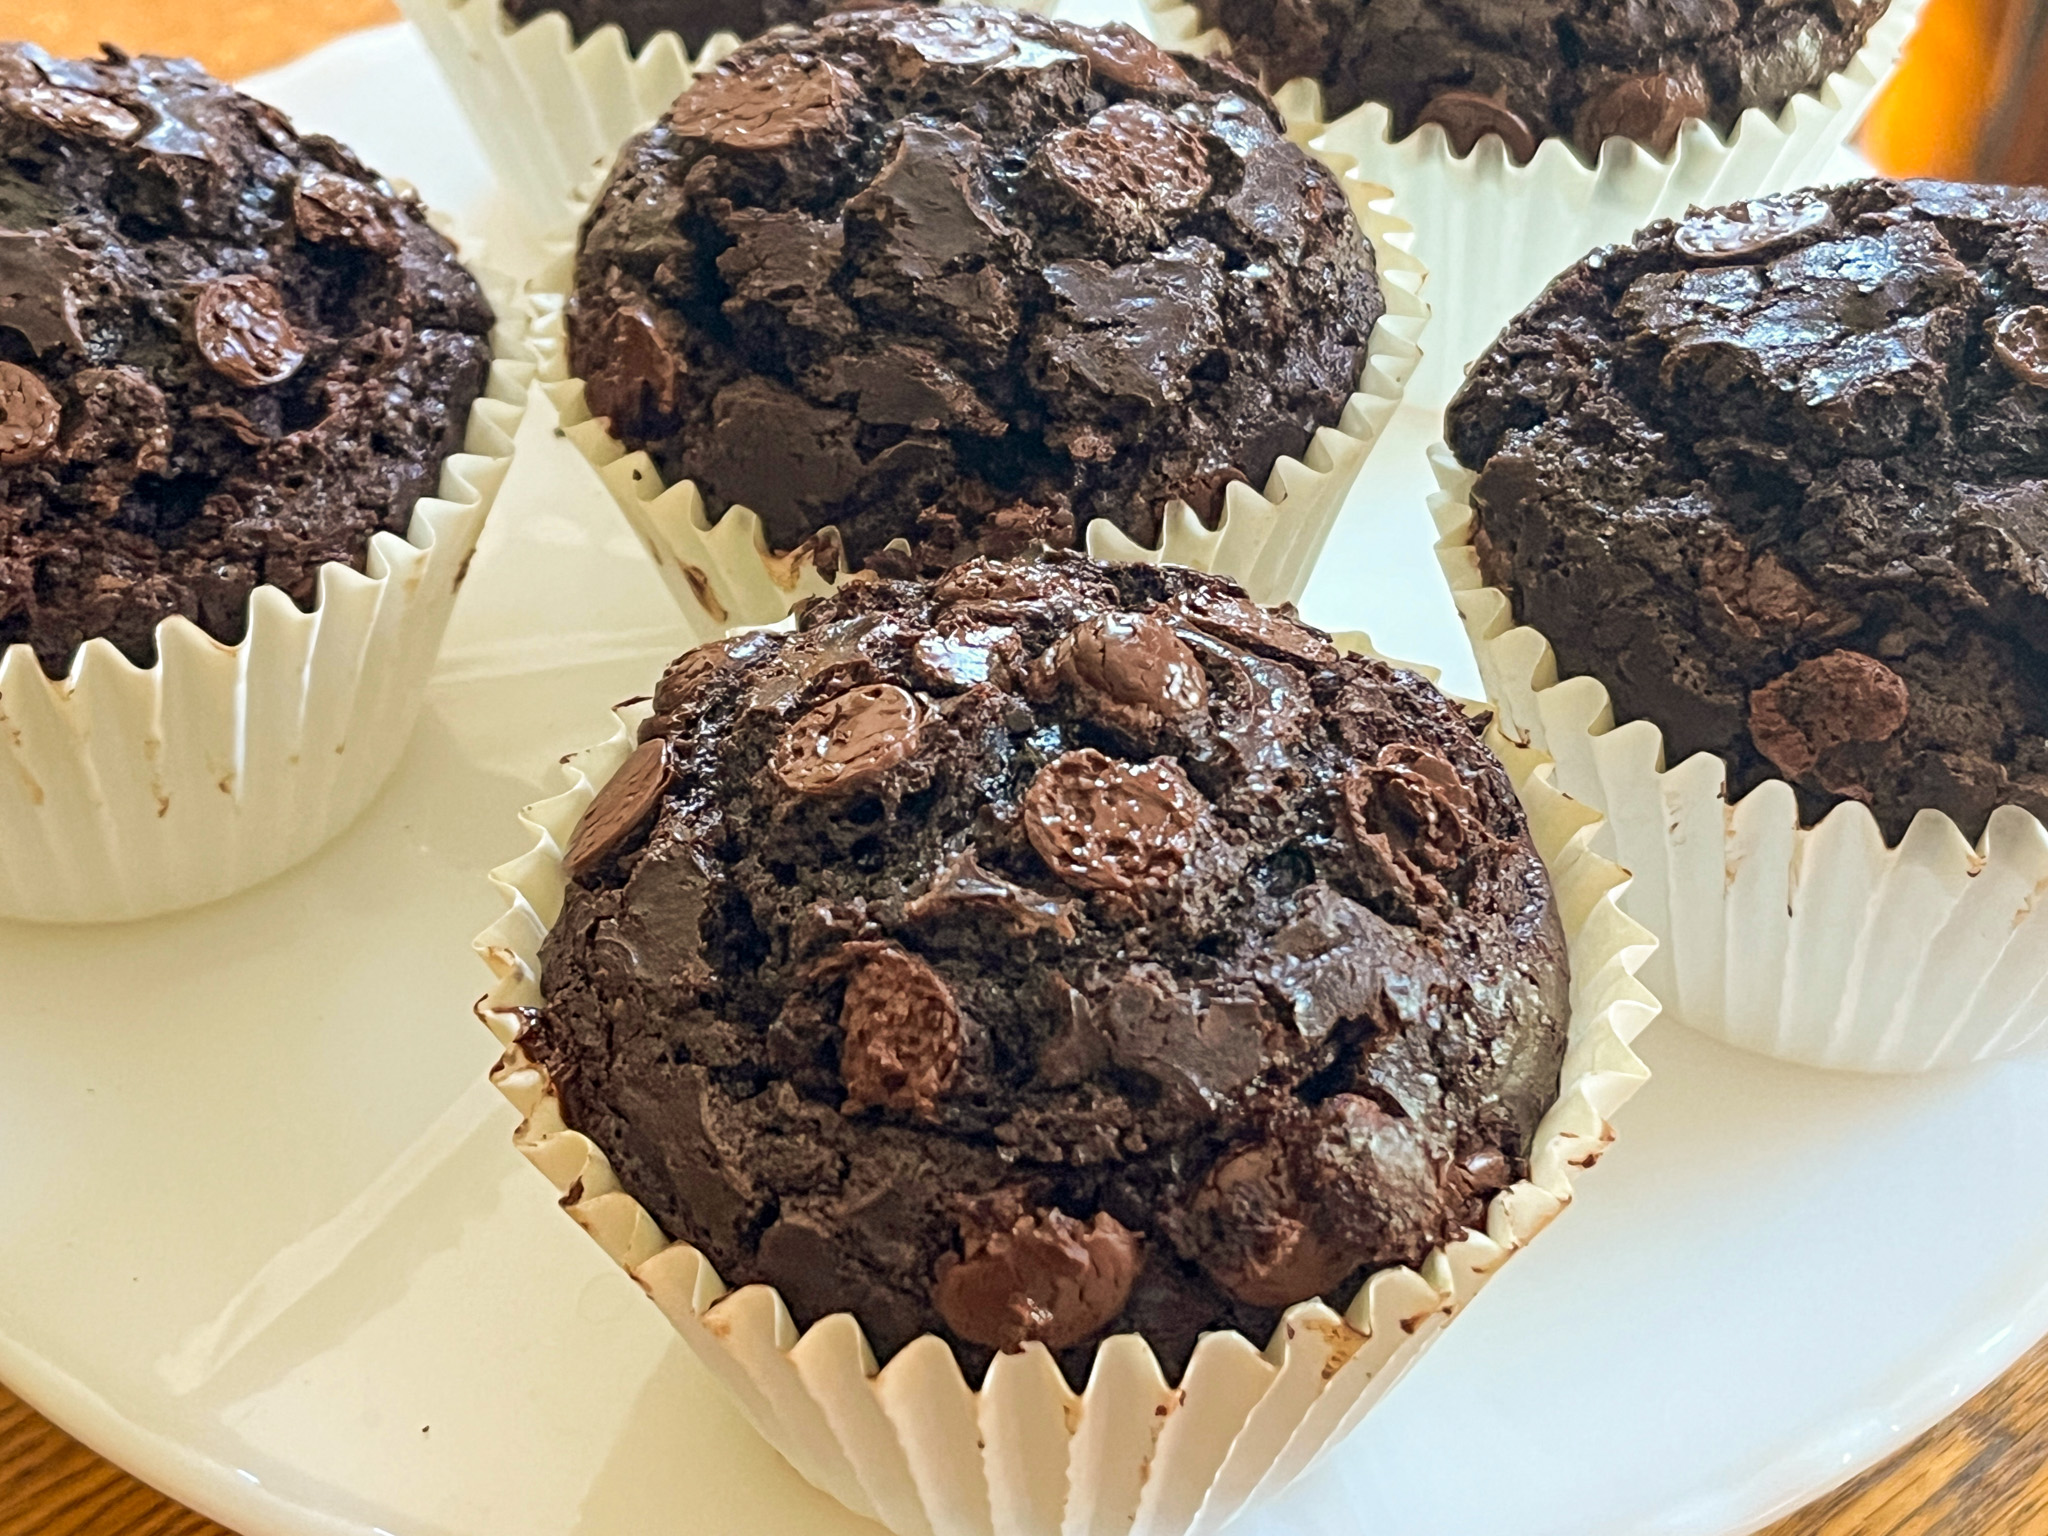
DOUBLE CHOCOLATE TRUFFLED MUFFINS
(from Helen Fletcher’s Pastries Like a Pro)
For the truffle component:
½ cup heavy cream
2 tablespoons unsalted butter (30 grams)
2 tablespoons granulated sugar (25 grams)
5 ounces semisweet or bittersweet chocolate (140 grams)
1 teaspoon vanilla extract
for the muffin component:
1 ½ cups all-purpose flour (210 grams)
1 cup Dutch cocoa (85 grams)
¼ teaspoon baking powder
¾ teaspoon baking soda
1 teaspoon salt (I use table salt)
1 ⅓ cups brown sugar, either dark or light (265 grams)
½ cup whole milk
¾ cup canola or vegetable oil
2 large eggs
1 cup sour cream (225 grams)
1 tablespoon vanilla
1 teaspoon instant coffee or espresso powder
1 cup chocolate chunks (114 grams)
Start by making the truffle filling: Heat the cream, butter and sugar together in a small saucepan just until steamy. Do not let it come to a boil. Submerge the chocolate under the cream mixture and let it sit for 3 or 4 minutes. Whisk until smooth, making sure to get into the corners. Using a rubber spatula, go around the edges of the pan and bottom to make sure all of the chocolate is incorporated. Add the vanilla. Cover the surface with plastic wrap and set aside to cool.
Make the muffins: Line 9 jumbo muffin holes with paper liners. Set aside. Heat the oven to 425°F.
Sift the flour into a large bowl. Sift the cocoa, baking soda, baking powder and salt on top of the flour. Whisk together to mix well. In a very small bowl stir together the coffee or espresso and vanilla until the coffee or espresso is dissolved.
In a third smaller bowl, whisk together the milk, canola oil, eggs, sour cream, and coffee mixture. Pour the liquid ingredients over the dry ingredients and stir with a spoon or fold together with a rubber spatula just until everything is mixed well. Do not over mix.
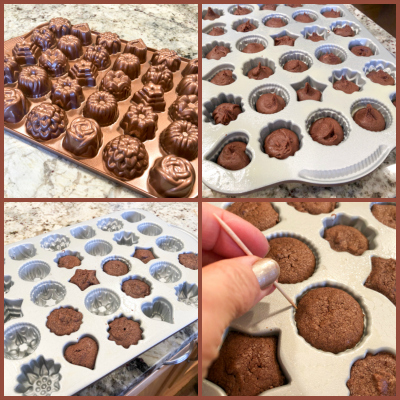
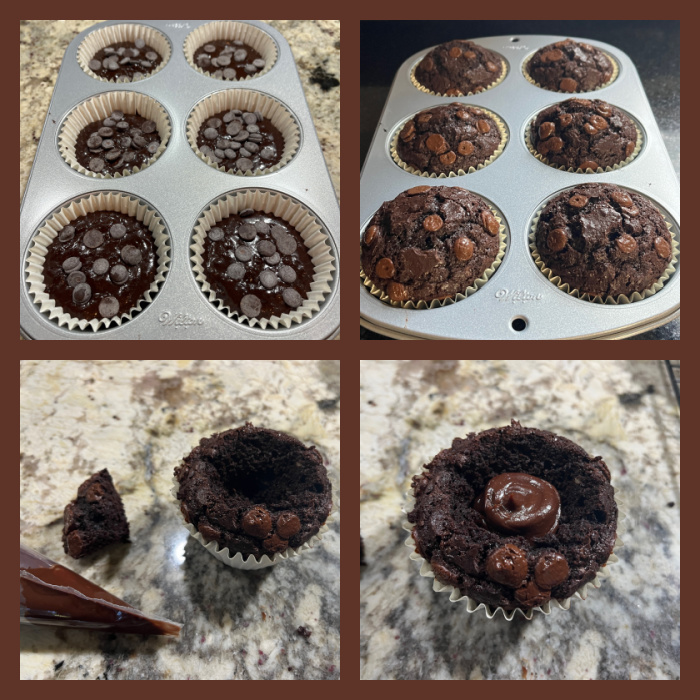
With a #8 disher/scooper or a ½ cup measure, drop the batter into the paper lined muffin cups for the jumbo muffins. Top generously with the chocolate chunks. Bake at 425°F for exactly 6 minutes for the jumbo and lower the temperature to 350°F. Continue to bake for about 20 minutes or until a tester comes out clean. Cool the muffins.
Starting about ½” from the edge of a muffin, insert a paring knife slanted towards the middle of the muffin and go all the way around the muffin. Remove the wedge shaped cake and set aside intact. To enlarge the hole for more filling, use a small spoon and scoop out additional cake.
Fit a piping bag with a ½” tip, fill with the truffle filling and pipe into the hole almost up to the top. Alternately, spoon the filling in. Replace the wedge shape piece pushing it into the filling.
ENJOY!
to print the recipe, click here
Comments: Please make sure to read Helen’s blog post about them, as she gives detailed explanation of their origin and how she adapted the recipe to make it more user-friendly without any loss of deliciousness (I can testify to that, they are spectacular). The pictures do not make it justice, as so often is the case with brown food. Their texture is superb, and that filling is unreal! Thank you thank you thank you, Helen!
.
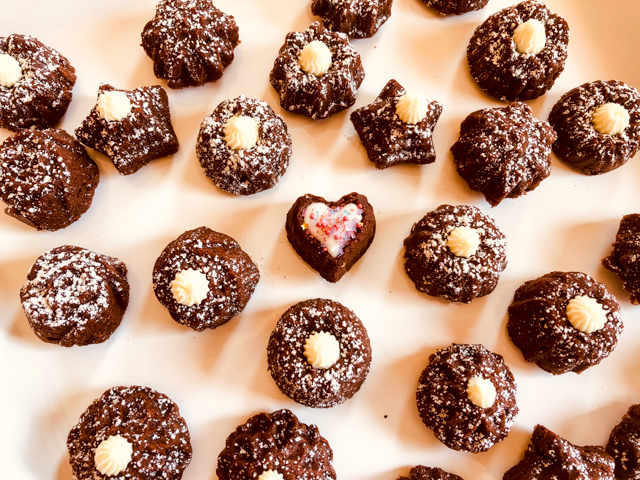
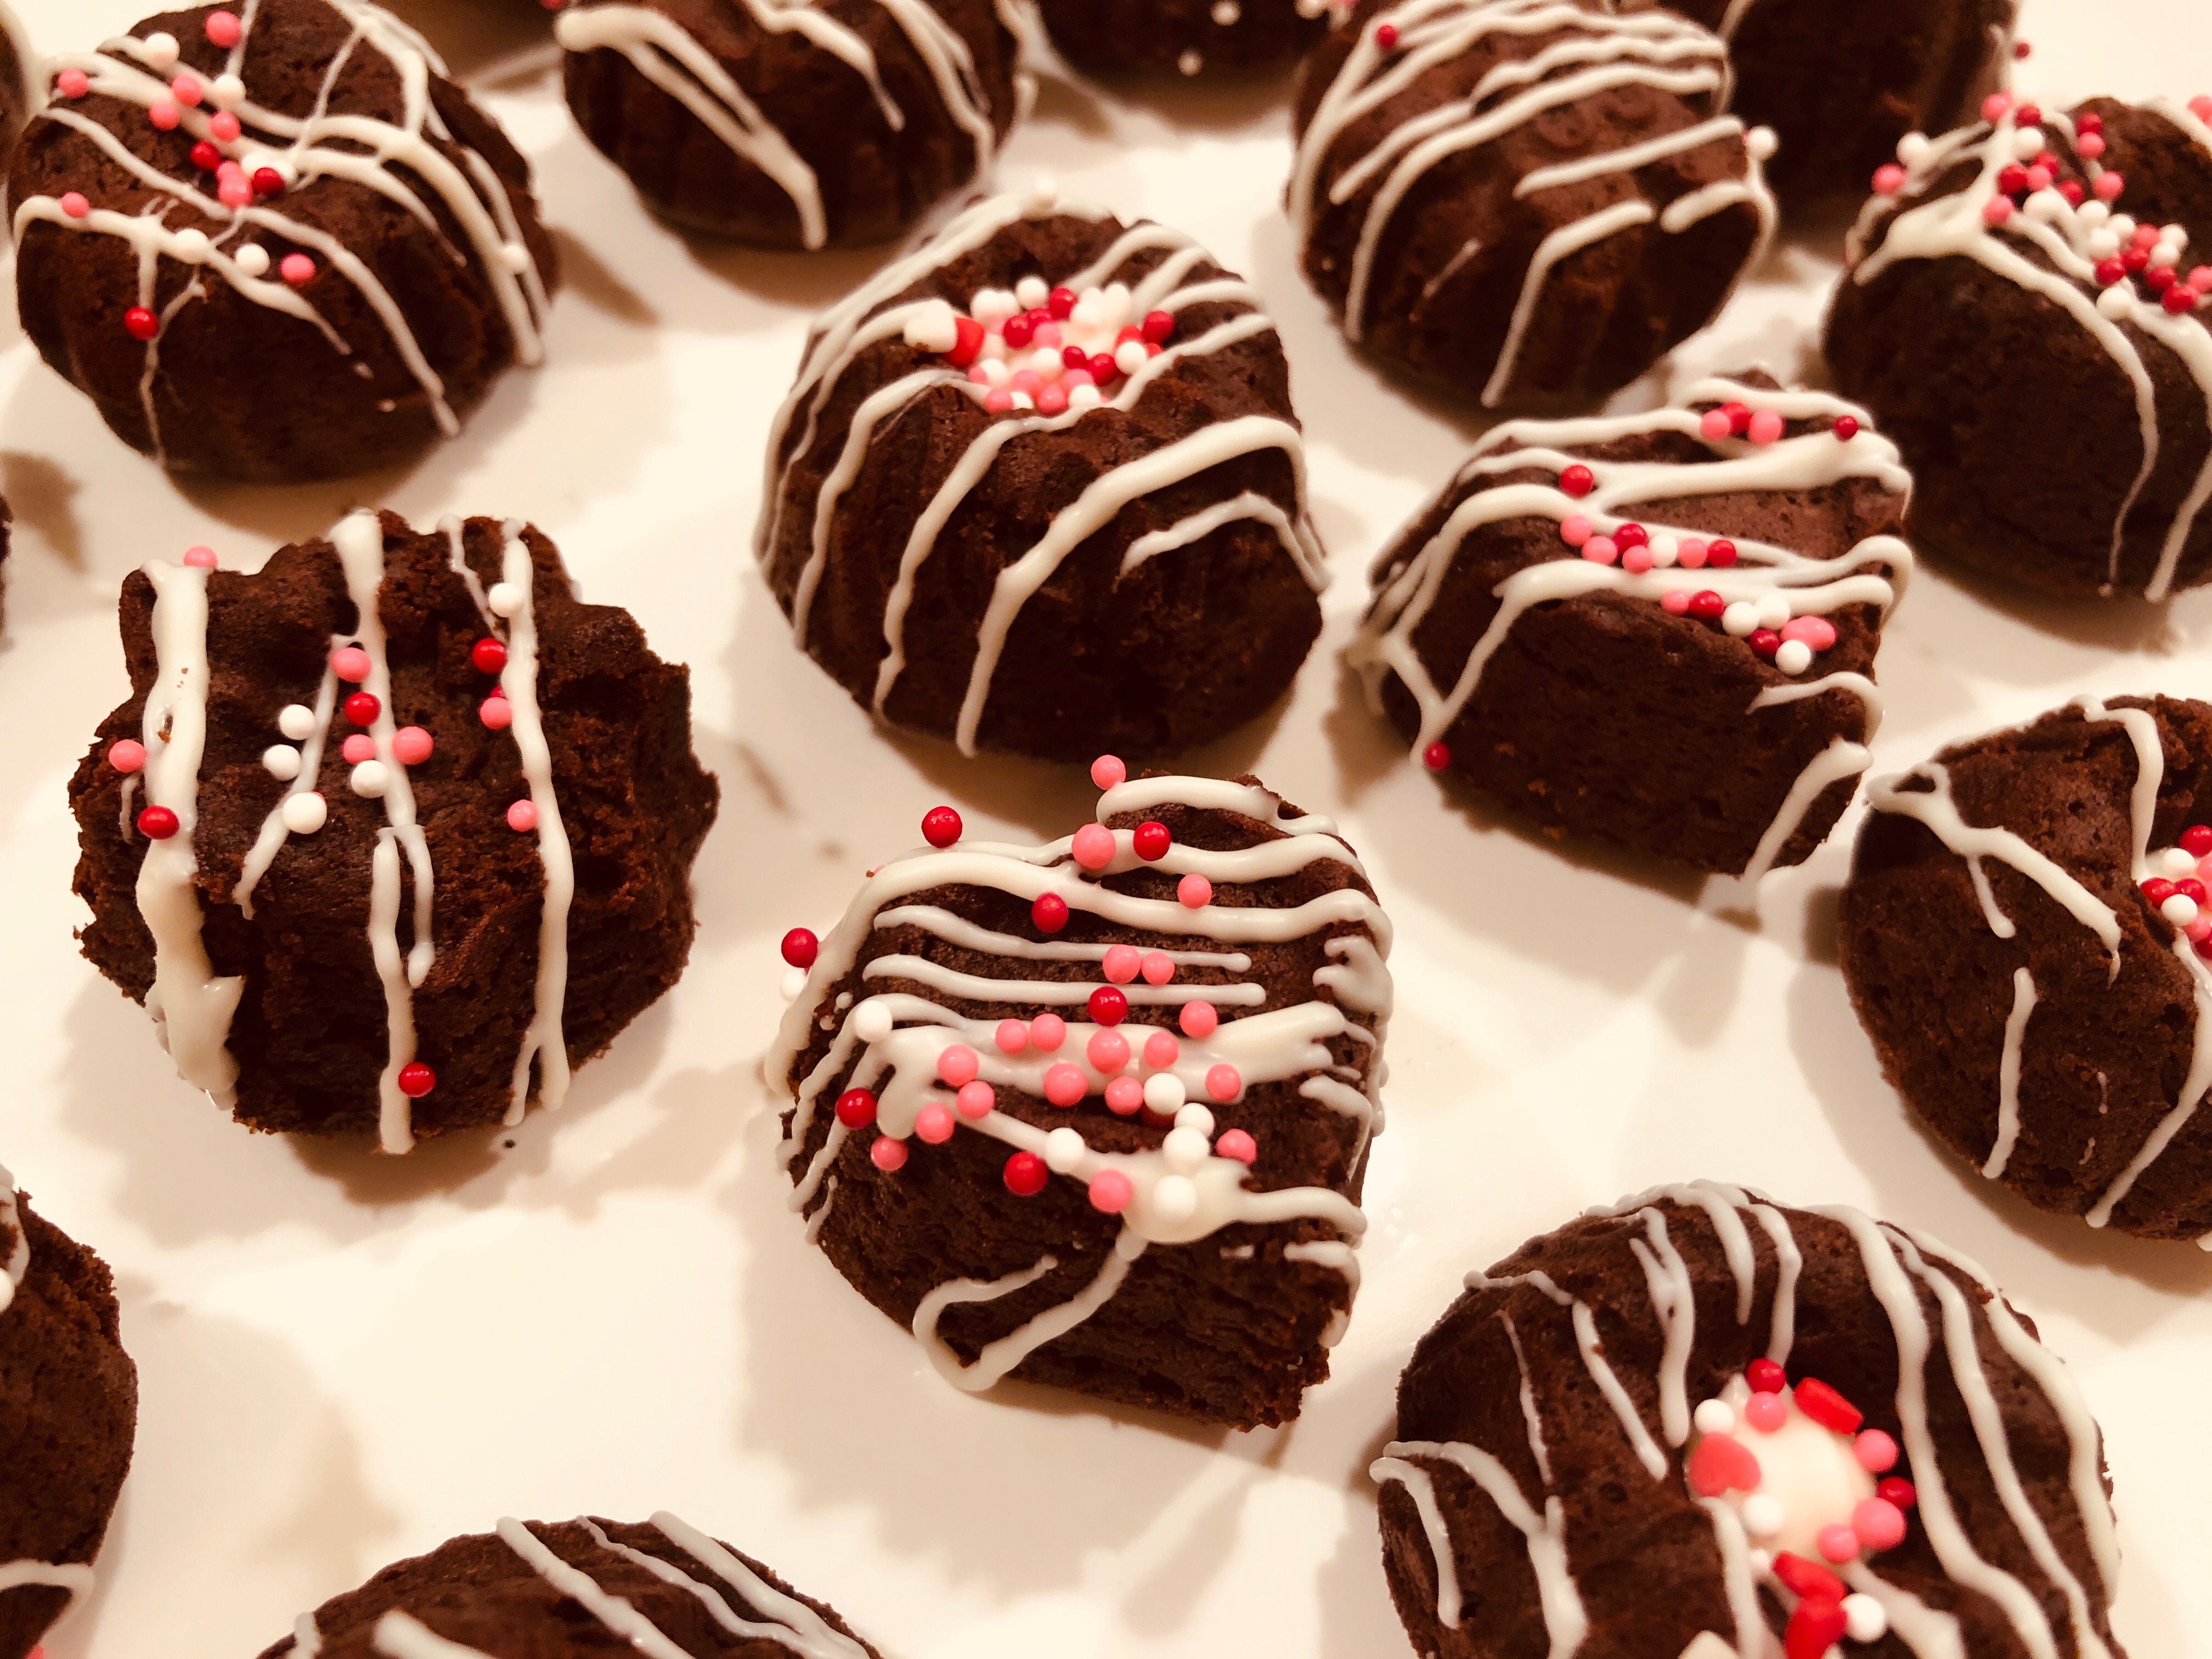
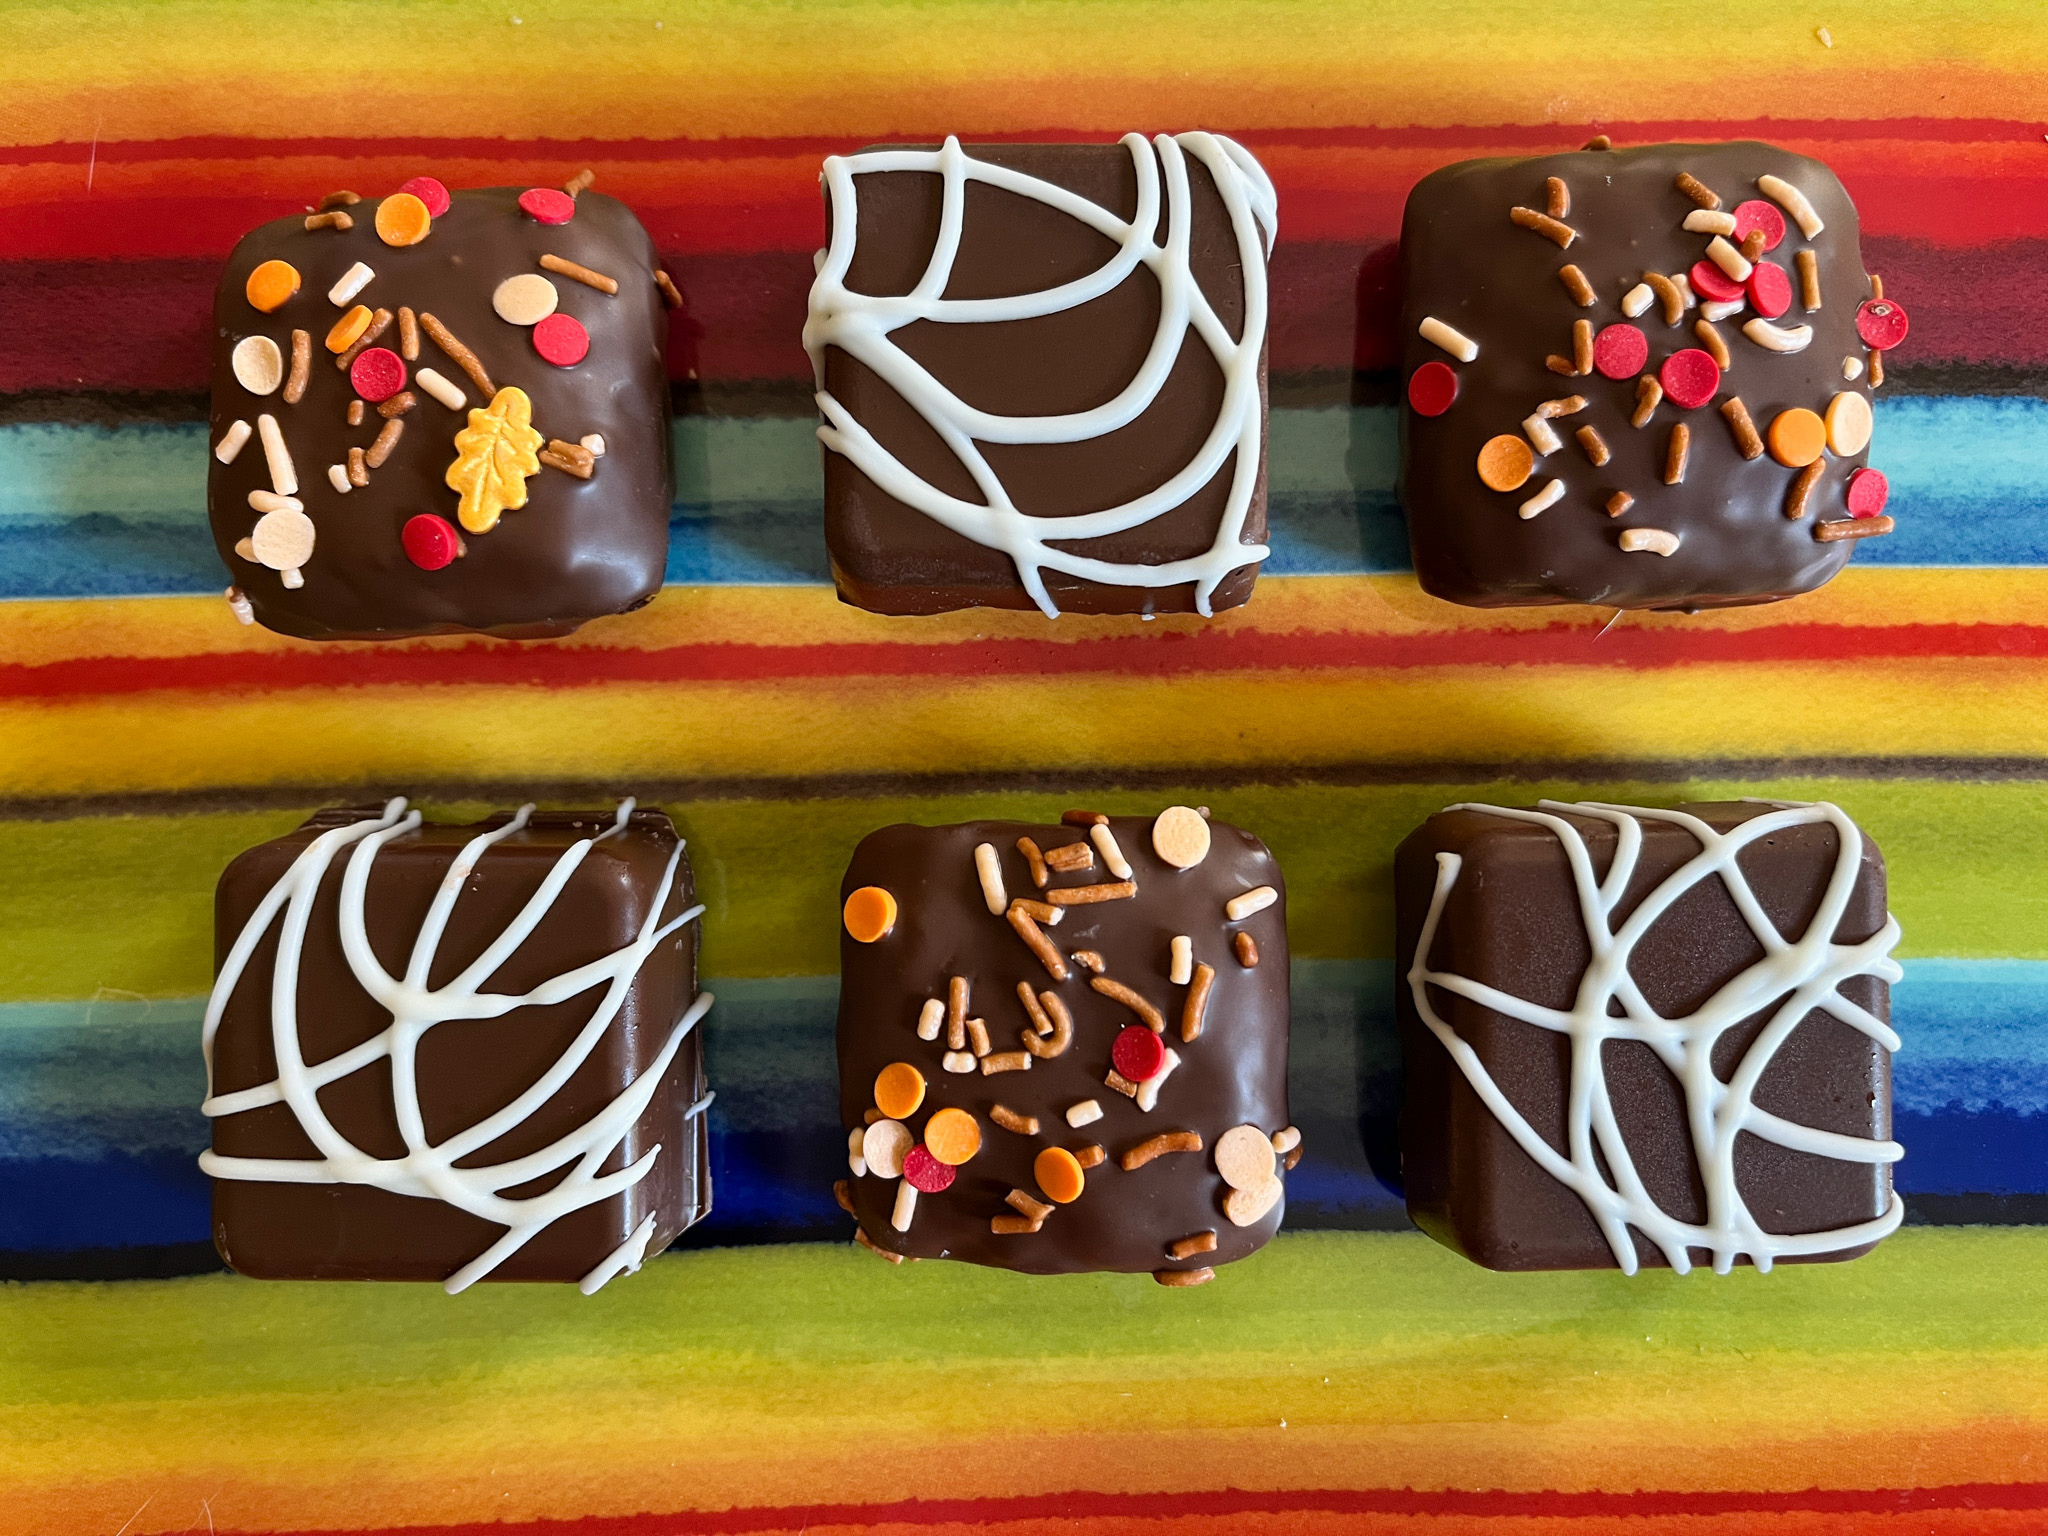
Moving on to the second recipe, credit goes to my beloved husband, who suggested that instead of coating Oreos with chocolate, I could do small pieces of brownies. I used a very small pan from Wilton to bake them. Without further ado…
.
CHOCOLATE-COVERED BROWNIE BITES
.
CHOCOLATE-COVERED BROWNIE BITES
(from Wilton website)
1 cup all-purpose flour (130g)
1 cup granulated sugar (200g)
1/3 cup cocoa powder (35g)
1/2 teaspoon baking powder
1/4 teaspoon salt
1/2 cup vegetable oil
1 egg, lightly beaten
3 tablespoons milk
1/2 teaspoon vanilla extract
to coat: compound chocolate like Candy Melts or Almond Bark
to decorate: sprinkles (optional)
Heat the oven to 350°F. Prepare the pan with baking spray.
In a medium bowl, whisk together flour, sugar, cocoa powder, baking powder and salt. Add vegetable oil, egg, milk and vanilla extract; stir well until smooth. Divide batter evenly between cavities, smoothing into an even layer (about 1 tablespoon per cavity).
Bake for 13-16 minutes, or until edges are set and a toothpick inserted in the center comes out almost clean. Cool in pan on a cooling rack 5-10 minutes, loosen edges if necessary, and remove. Let cool completely on the rack.
Melt the compound chocolate until smooth using gentle power in the microwave. If too thick, add a small amount of coconut oil (refined). Coat the bites and decorate right away, or after setting, if going with drizzles of melted compound chocolate.
ENJOY!
to print the recipe, click here
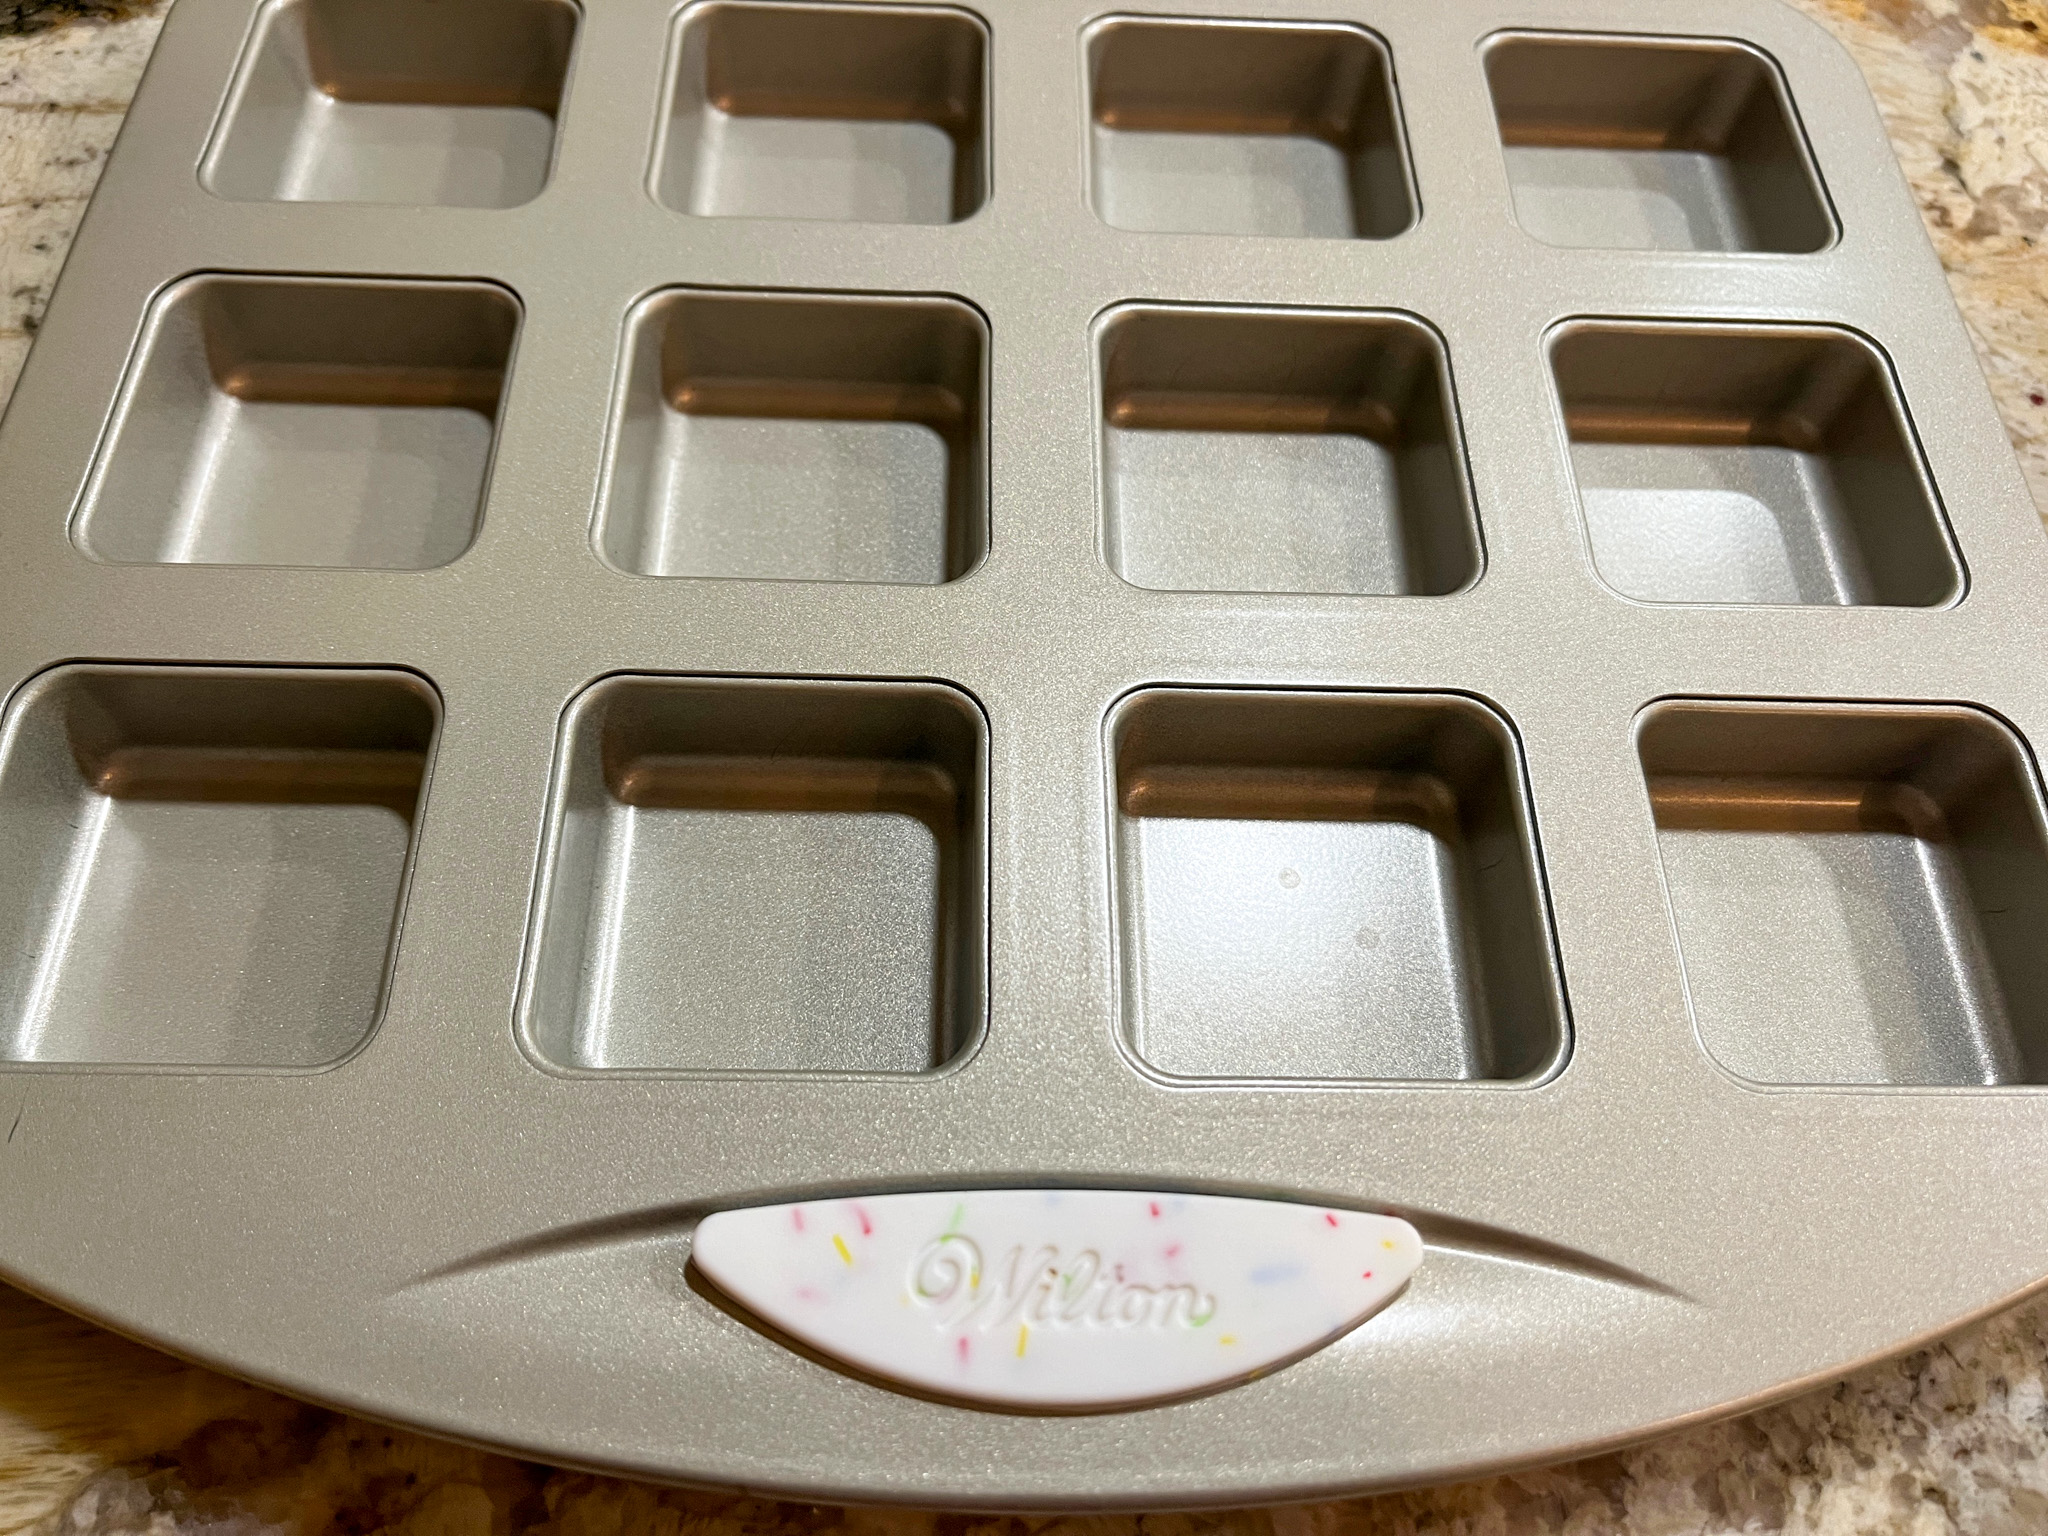
Comments: I got this pan at a sale in Jo-Ann store in town, and of course, could not resist it (info here). You can use silicone pans, or any other type of pan that makes mini-cakes. To coat, you can use two different methods. First, just melt the chocolate in a bowl and dip the cake to coat. That will give a rustic appearance, and you can add sprinkles right away. Second method will require you to clean the pan, then add melted chocolate in each cavity and quickly place the cake inside, pressing a bit so that the chocolate moves up along the sides. You can coat the bottom or not. Let it harden, remove from the pan, and if desired, make decorations with swirls of melted chocolate, I used white for that. Below you can see the different outcome.

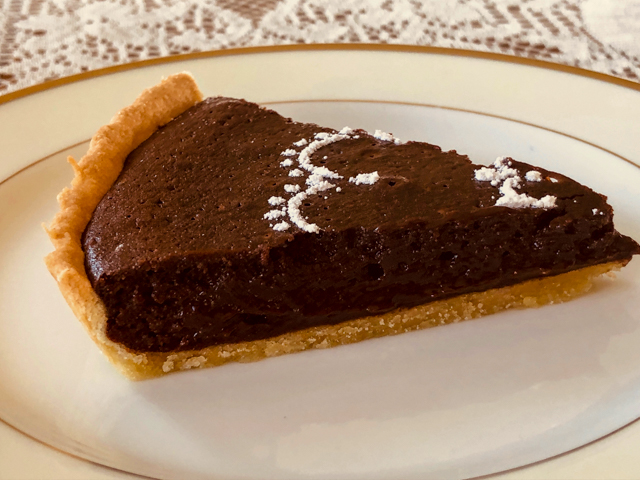
And now for the last recipe, what might seem like your regular chocolate chip cookie, but it is truly special, due to the inclusion of an unexpected ingredient: buttermilk. You must give this recipe a try!
BUTTERMILK CHOCOLATE CHIP COOKIES

BUTTERMILK CHOCOLATE CHIP COOKIES
(slightly modified from Yesterfood blog)
2 cups flour (260g)
1/2 teaspoon baking soda
1/2 teaspoon salt
1/2 cup butter, unsalted, melted
3/4 cup cocoa powder (75g)
1 + 1/2 cups sugar (300g)
1 teaspoon vanilla
2/3 cup buttermilk
1 (12 oz.) bag semi-sweet chocolate chips (about 2 cups)
Heat oven to 350 degrees. Line cookie sheets with parchment paper. Set aside.
In a medium bowl, combine flour, baking soda, and salt. Whisk to combine. Set aside.
In a large bowl, whisk the cocoa powder and melted butter until very smooth. Stir in the sugar, vanilla, and buttermilk until well combined.
Add the flour mixture to the chocolate mixture in thirds, stirring each time just until combined. Stir in the chocolate chips.
Scoop cookie dough onto prepared cookie sheets by heaping tablespoonfuls about 2″ apart. Bake for 10 to 12 minutes, until cookies are puffed, edges are set, and center is still moist. Place cookie sheets on wire racks for 5 minutes, then remove cookies onto wire racks to cool completely. Store tightly covered.
ENJOY!
to print the recipe, click here

Comments: These cookies will definitely please any chocolate lover out there. It almost feels as if you are having a brownie. Excellent texture, I reduced the sugar from the published version and I think it was a good move. I do hope you give it a try…
So, that’s all for now, three real nice recipes celebrating chocolate!
ONE YEAR AGO: It’s Sourdough, Witches!
TWO YEARS AGO: Raw Zucchini and Chickpea Salad with Tahini Yogurt
THREE YEARS AGO: Black Tahini Shortbread Cookies
FOUR YEARS AGO: A Fruitful Trio (of Macarons)
FIVE YEARS AGO: Halloween Entremet Cake
SIX YEARS AGO: Pork with Prunes, Olives and Capers
SEVEN YEARS AGO: Kansas Corn Chowder
EIGHT YEARS AGO: Impossibly Cute Bacon and Egg Cups
NINE YEARS AGO: Pulling Under Pressure
TEN YEARS AGO: Cooking Sous-vide: Two takes on Chicken Thighs
ELEVEN YEARS AGO: Miso Soup: A Japanese Classic
TWELVE YEARS AGO: On my desk
THIRTEEN YEARS AGO: A must-make veggie puree
FOURTEEN YEARS AGO: Vegetarian Lasagna
FIFTEEN YEARS AGO: Brazilian Pão de Queijo