These turkey meatballs lean towards Thai cuisine, but I took a few departures and incorporated a Brazilian moqueca touch. If you want to make the meal heartier, serve some rice or noodles as side dishes. Soba would work great.
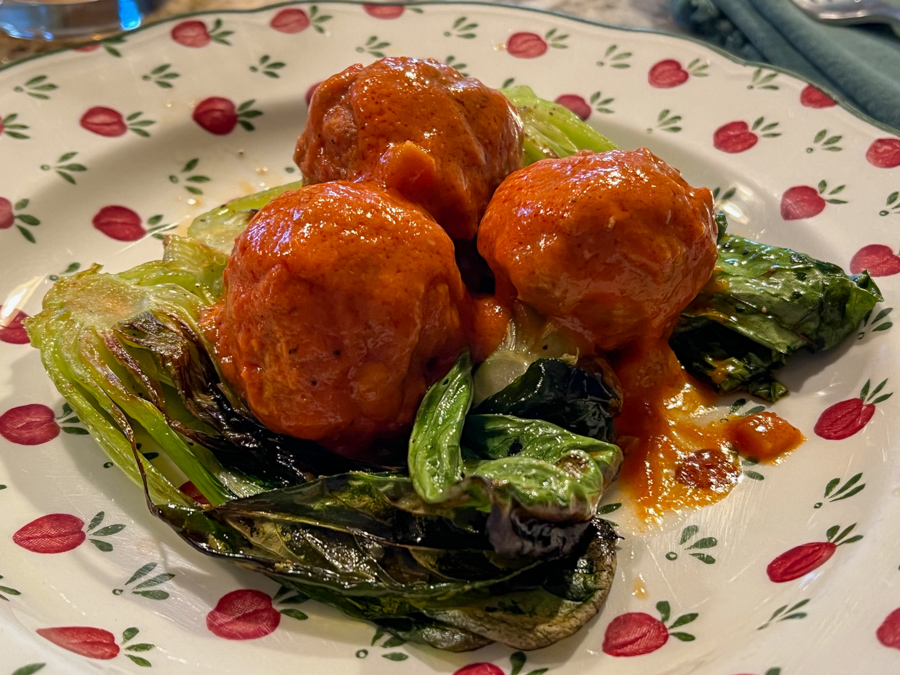
THAI-MEATBALLS WITH WILTED BOK-CHOY
(from the Bewitching Kitchen)
for the meatballs (makes about 16)
2 pounds ground turkey (I use 85% fat)
1 tablespoon fish sauce
1 tablespoon cornstarch
1 tablespoon sugar
2 teaspoons kosher salt
1 teaspoon red curry paste
1 egg
for the sauce:
1 tablespoon grapeseed oil
1 shallot, minced
1 tablespoon red curry paste
1 cup pureed tomatoes (canned is fine)
1 cup coconut milk (low-fat is ok)
2 tsp fish sauce
salt and pepper to taste
juice of one lime
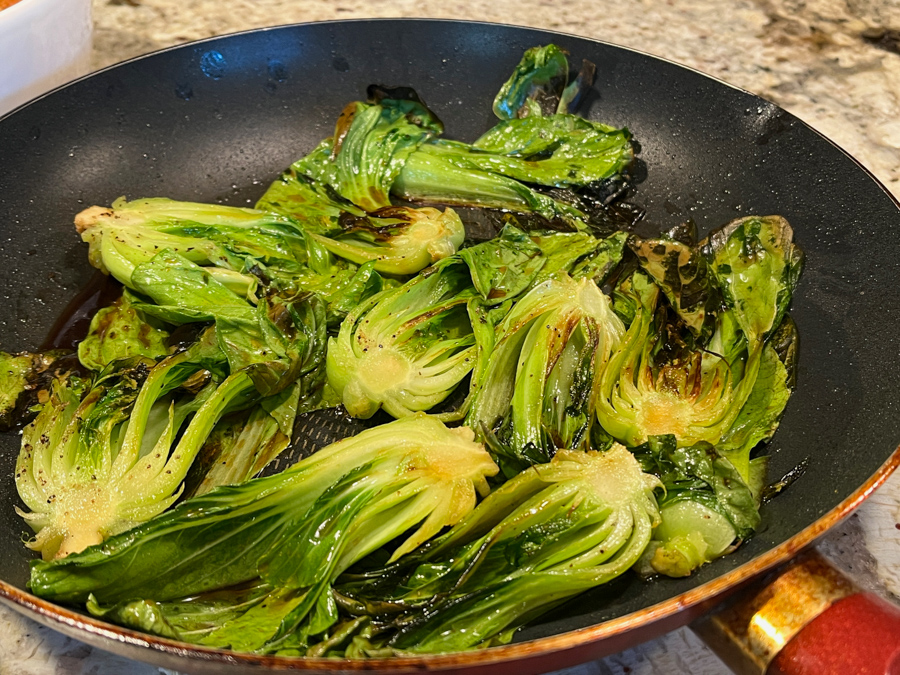
for the bok-choy:
6 to 8 baby bok-choy, sliced in half lengthwise
2 tablespoons olive oil
salt and pepper to taste
drizzle of soy sauce
drizzle of lime juice
Heat oven to 420F.
Make the meatballs combining all ingredients in a large bowl. Form 16 meatballs and place them on a baking sheet covered with aluminum foil. Spray the foil lightly with olive oil, then spray lightly the surface of the meatballs also. Roast for 20 minutes, flipping them over halfway through baking time. Remove from the oven and reserve. This can be made hours or a day in advance.
Make the sauce. Heat the oil and sautéed the shallot for a few minutes until soft and fragrant. Add the red curry paste and cook for a minute or two, stirring. Add the tomatoes, coconut milk, fish sauce, season lightly with salt and pepper. Cook for a couple of minutes, add the reserved meatballs and simmer gently for 20 minutes. Add the lime juice right before serving.
Make the bok-choy. Heat the oil on a large skillet. Add the bok-choy, cut side down, cook for a couple of minutes without moving them, to get a nice browning on the surface. Flip the pieces over, season with salt and pepper. Drizzle soy sauce, lime juice, cover the pan and simmer for a few minutes until tender. Serve right away, with the meatballs and sauce.
ENJOY!
to print the recipe, click here
Comments: Traditionally, this type of recipe calls for coconut milk as the main component of the sauce. I find that a bit too heavy, also very high on the saturated fat content. So I tone it down with pureed tomatoes. You can just use a full can of coconut milk, if you prefer.
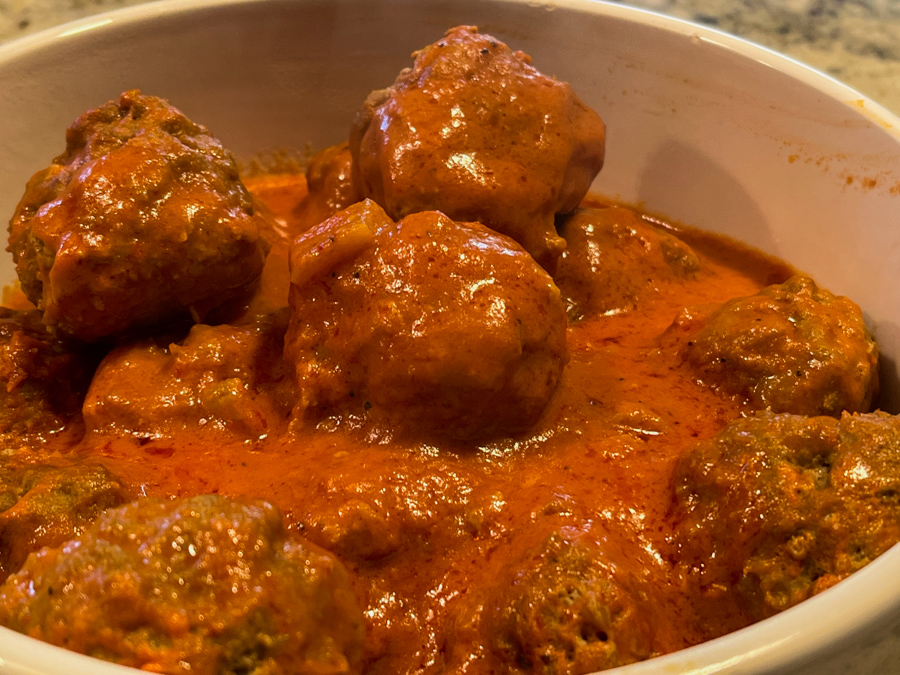
The meatballs have a nice texture, and incorporate the flavor of the sauce well. As to the red curry paste, I have a favorite brand now, after seeing it recommended by cookbook authors and food bloggers: Mae Ploy. It is much better than any brand I’ve used in the past. You can find it online if not available in stores where you live (click here). Leftovers (meatballs only, bok-choy was gone) were delicious on day #2 and day #3. And yes, they were mine, all mine…
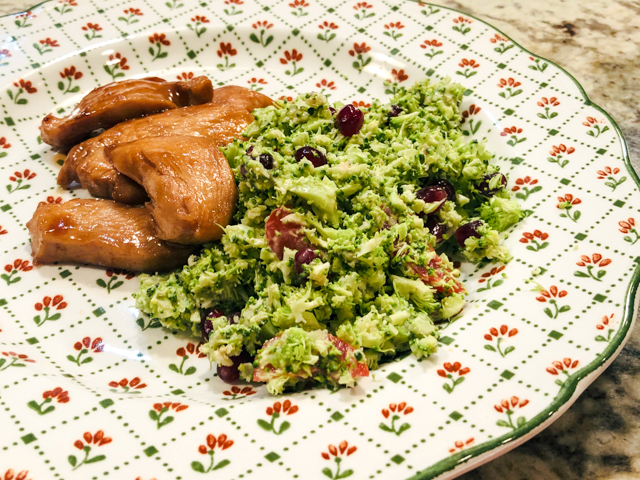
ONE YEAR AGO: Asparagus with Gunpowder Masala
TWO YEARS AGO: The Home Bakers Collective, April Project
THREE YEARS AGO: Asian-Style Eggplant Meatballs
FOUR YEAR AGO: Uzbek Flatbread
FIVE YEARS AGO: First Monday Favorite – Black Sesame FOUR
SIX YEARS AGO: Chocolate Orange Mini-Cakes
SEVEN YEARS AGO: In My Kitchen, May 2015
EIGHT YEARS AGO: P90X3, a Review of Tony Horton’s Latest Fitness Program
NINE YEARS AGO: Pasta and Mussels in Saffron Broth
TEN YEARS AGO: Triple Chocolate Brownies
ELEVEN YEARS AGO: Shanghai Soup Dumplings
TWELVE YEARS AGO: Bite-sized Chocolate Pleasure