FINE TUNING THOMAS KELLER

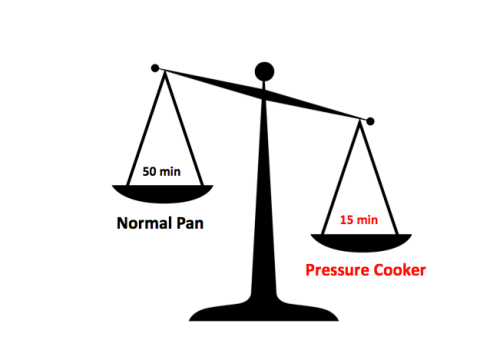
If you are interested in  sous-vide cooking,  chances are you either own or have heard of the book Under Pressure: Cooking Sous-vide,  by Thomas Keller (a dear friend gave me a copy, am I lucky or what?). When it comes to sous-vide, the outcome is all about the combination of temperature and time in the water bath, and Keller’s book is an amazing source of information to get you going.  I have already shared in the blog a few recipes for chicken thighs sous-vide that relied on the temperature that Thomas Keller recommends,  around 150 F. They turned out delicious, with homogeneously cooked meat, and good flavor. But they lacked a quality I happen to love in this type of meat: the falling off the bone tenderness. I browsed around cooking forums, but found no specific advice to help me out. Then I stumbled more or less by accident into this article and decided to re-visit the issue. Basically, the article states that a temperature of 150 F  will produce very juicy chicken, but with a firm texture. If you increase the temperature to 165 F, your outcome will depend on the time of cooking, going from tender (1 to 4 hours) to “falling off the bone tender” (4 to 8 hours).  I decided to try  the combination of 168 F for 5 hours. Results? Oh Em Gee perfection! Exactly what I’ve been hoping for.  You should have seen me doing the Happy Chicken Thigh Dance. Wait, maybe not.  Some things are better staying in the privacy of a home. So, with apologies to Mr. Keller, I dare say that I prefer my tweaked version, a drastic departure from his. If you don’t own a sous-vide gadget, no need to worry, I give you the specifics to make it in a regular oven too.

Chicken Thighs Sous-vide


ORANGE-SOY CHICKEN THIGHS
(sous-vide or regular oven)
(from the Bewitching Kitchen)

8 chicken thighs
1/2 cup soy sauce (or coconut aminos)
zest and juice of a large orange
1 tablespoon Dijon mustard
1 tablespoon agave nectar
2 tsp lime juice
1 tsp grated ginger
salt and black pepper to taste

Make a marinade whisking well all the ingredients.  Add the pieces of chicken to a large bag, pour the marinade over and let it sit in the fridge for a few hours, or at room temperature for 30 minutes.

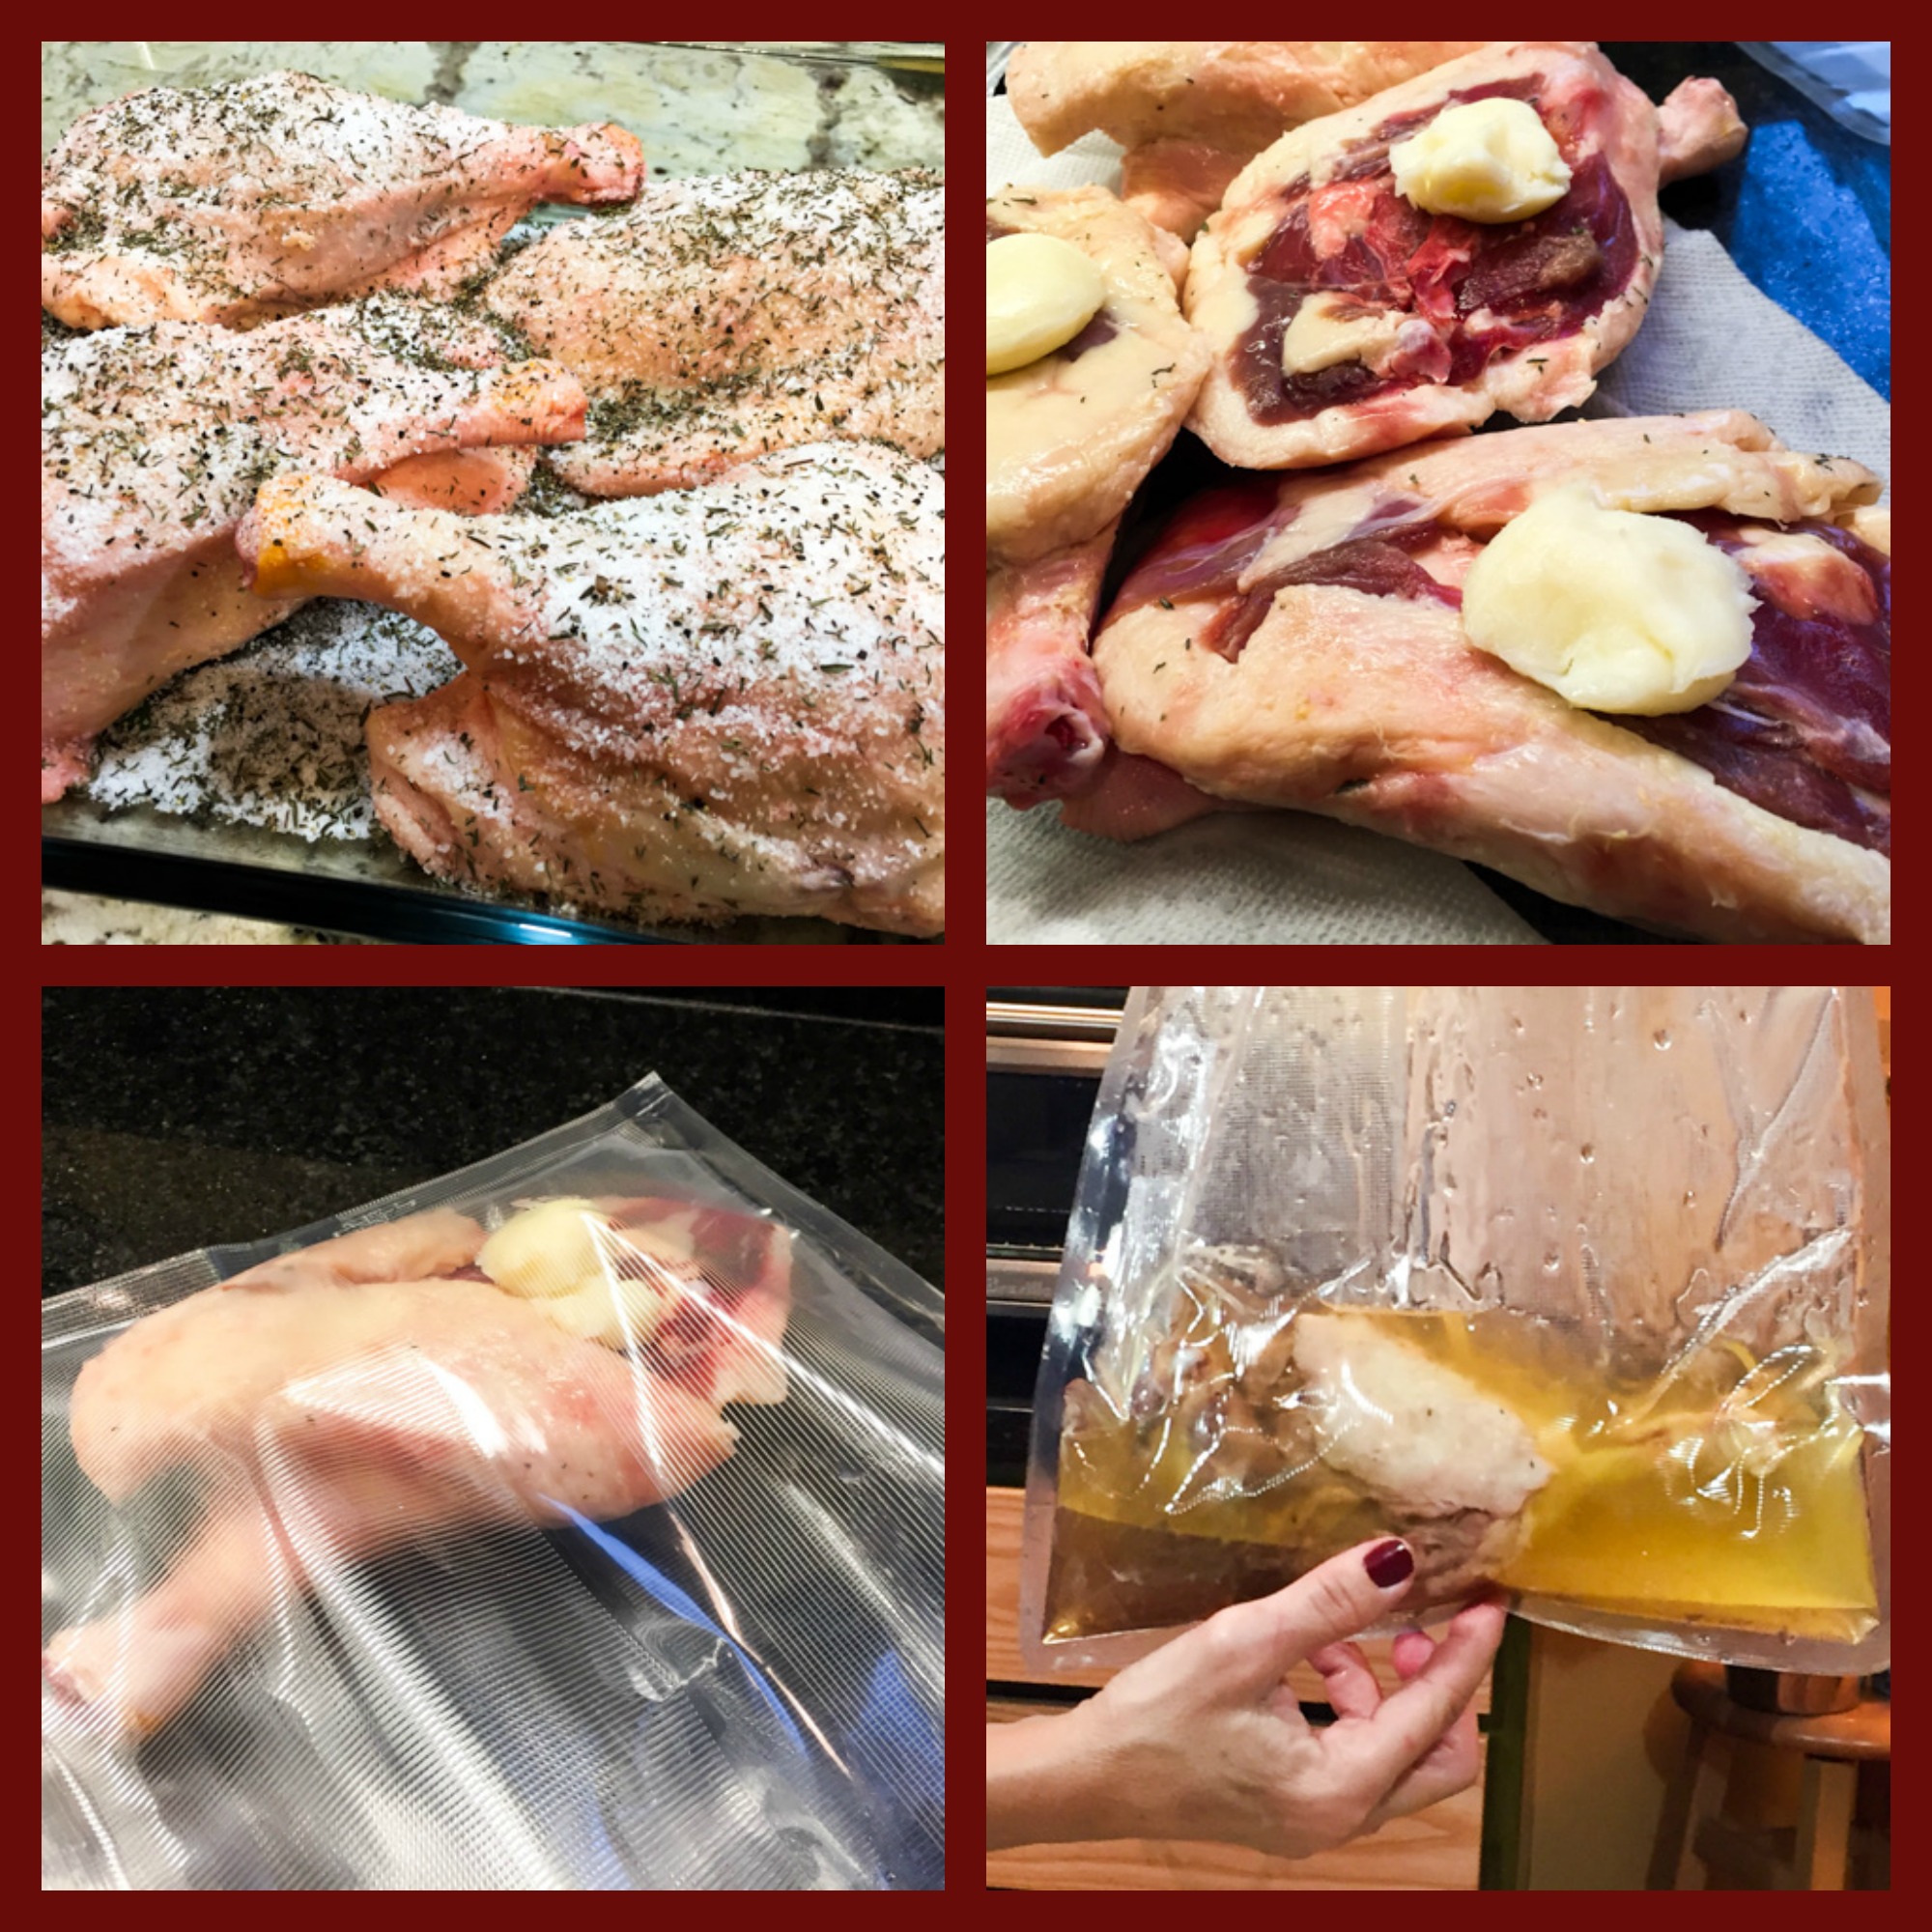
If cooking sous-vide:
Remove the chicken from the marinade (save the marinade in the fridge), vacuum-seal four pieces in each of two bags. Place the bags in a water-bath set to 168 F for 5 hours. Close to the end of cooking time, place the reserved marinade in a small pan and cook it over medium-high heat for a few minutes to reduce it slightly. Remove the chicken pieces from the bag, place over a roasting pan, and brush the skin with the reduced marinade. Add a little more salt if you like. Place the pieces under the broiler and roast until dark and crispy.

If cooking in a regular oven:
Place the chicken pieces skin down in a roasting pan with enough marinade all over to keep them moist during roasting.  Season lightly with more salt if you like (we do). Cover with aluminum foil and roast at 325 F for 1 hour.  Remove the foil, turn the pieces over and finish roasting at 425F until the skin is crispy.

ENJOY!

to print the recipe, click here


tender


Comments: What I like the most about sous-vide cooking is how forgiving it is in terms of timing. Take this recipe, for instance, if you set it up at lunch time but do not expect to be home until 6 hours later, no problem. One hour more, two hours more won’t affect the outcome.  Some say that the crock pot behaves the same way, but I don’t think so. Poultry can develop a sort of chalky texture when sitting in a slow-cooker past a certain point.

We enjoyed the chicken thighs with the salad I blogged about not too long ago. I simply do not get tired of it, it is perfect!  If you haven’t yet tried the combination of roasted carrots with avocados, don’t wait for too long…

ONE YEAR AGO: Cauliflower Tortillas

TWO YEARS AGO: Majestic Sedona, Take Two

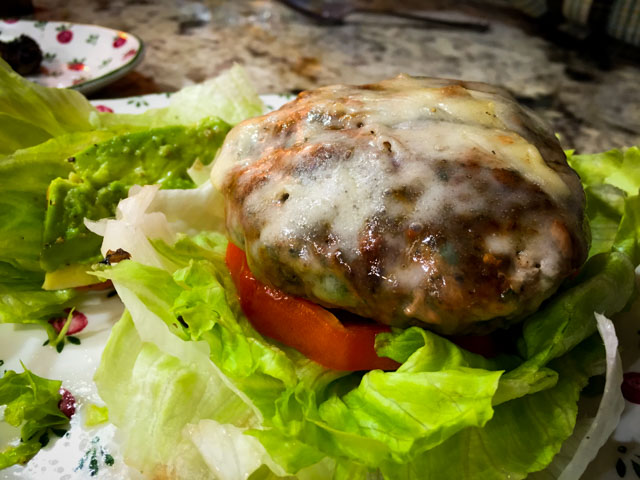
THREE YEARS AGO: Secret Ingredient Turkey Meatballs

FOUR YEARS AGO: Swedish Meatballs and Egg Noodles

FIVE YEARS AGO: Italian Easter Pie

SIX YEARS AGO: Black Olive Bialy


TURKEY PORTOBELLO BURGER

This will be a bit embarrassing. I’ve made this recipe four times since December, a pretty strong endorsement as I tend to follow the “cook and move on” mode.  Last week I wanted to make it again, so I did a quick search on the blog but came up empty-handed. Puzzled, I went to the index page, and it wasn’t there either.  I concluded I failed to add it to the index page and also did not tag it with the appropriate search words. But then a troubling thought hit me: what if… what if… I simply forgot to blog about it?  Could it be possible?  Only one way to find out. I went to my computer and almost fell off my chair: the pictures were all there, but straight from the camera, never optimized for publication!  Yours truly is officially losing it, but she’s not alone: John from The Bartolini Kitchens  recently had the exact same thing happen to him. We are now virtual siblings, and that makes me happy. So, before I forget everything about ground turkey, mushrooms, and burgers, allow me to share a great recipe that is now part of our regular rotation.

Turkey Portobello Burger

TURKEY PORTOBELLO BURGER
(slightly modified from FoodTV Network)

1 large Portobello mushroom cap
1 tablespoon coarsely chopped shallot
3 tablespoons lightly packed fresh parsley
1 1/4 pounds ground turkey
2 tablespoons extra-virgin olive oil, plus more for brushing
1 teaspoon Worcestershire sauce
zest and juice of 1/2 lime
Kosher salt and freshly ground pepper
cheese slices (optional)

Use a spoon to scrape out the gills from the underside of the mushroom cap. Cut the cap into 1-inch pieces and transfer to a food processor. Add the shallot and parsley and pulse until chopped.

Transfer the mushroom mixture to a large bowl. Add the turkey, olive oil, Worcestershire sauce, lime zest, 1 teaspoon salt, and pepper to taste; gently mix with your hands until just combined. Squeeze lime juice all over and mix very gently. Divide into 4 balls, then lightly press into 1-inch-thick patties. Put on a large plate, cover and refrigerate until firm, about 30 minutes.

Heat a grill to medium. Brush the grates with olive oil. Grill the patties, undisturbed, until marked on the bottom, 4 to 5 minutes. Give the patties a quarter turn and cook until marked again, 4 to 5 more minutes. Flip the patties and grill until cooked through, 6 to 7 more minutes; and if you’d like top each with 2 slices cheese during the last 3 minutes of cooking.

ENJOY!

to print the recipe, click here

patties

Comments: As everybody knows, the problem with turkey burgers is that they can be too bland and dry. Who wants that, right? You can deal with the issue in many ways, in fact I have several recipes in the blog with a juicy outcome. But it’s hard to resist a recipe with the title “Perfect Turkey Burger” although I’m usually skeptical of this type of hype. What I love about this recipe is the depth of flavor given by the Portobello mushroom.  My only modification was to add some zest and lime juice because the citric flavor goes well with the burger. Plus, it gives the meat just a little more moisture.  I have made it without resting the patties in the fridge – they are a tad fragile, but if you are gentle, it works.  I imagine you could make them early in the morning and leave in the fridge the whole day, if that suits your schedule.

Turkey burgers are on our menu at least twice a month, and although I am always looking for different takes on it, it’s been hard to move away from this recipe. I say why change a winning team?

ONE YEAR AGO: Raspberry Ricotta Cake

TWO YEARS AGO: In My Kitchen, April 2014

THREE YEARS AGO: Whole-Wheat Pasta with Lemony Tomatoes and Spinach

FOUR YEARS AGO: Blood Orange Duck: A work in progress

FIVE YEARS AGO: Grilled Mahi-mahi with citrus marinade

SIX YEARS AGO: Memories of Pastéis (and my Dad)


SECRET RECIPE CLUB: CHICKEN KORMA & A BONUS RECIPE

Another month begins, a favorite of mine because April means winter is OVER! I survived another  meteorological ordeal, and must confess it wasn’t that bad. HA!  Am I getting tougher or what?  The first Monday of the month brings Reveal Day of Group A from The Secret Recipe Club, so here I am to divulge which blog was my assignment.  Drum roll, please…. I got the amazing Thyme for Cooking blog, hosted by Katie.  Now, for a shocking statement: I would cook ANY of her recipes, each and every one appealed to me. She is one eclectic cook, having lived in several countries (Ireland, Andorra & France), but not only that, her writing captivates you.  I opened a huge smile when I read her About page, and stumbled on this simple paragraph:

From learning about French paperwork (exhausting) to French chickens (of course they come with feet, Duh!) it’s a constant, often / usually entertaining challenge.

Well, I love France, don’t even think I don’t. But until you face the convoluted French bureaucracy, you’ll know nothing about paperwork hell. Unless of course, you’ve lived in Brazil… Those two beautiful countries could compete to see which bureaucracy would drive a foreigner crazy first. I have a tough time deciding the “winner.”  But, I digress… Her site kept me glued to the computer for many hours on many evenings. I blamed it for preventing me from sitting down with Phil to watch the news. “Are you coming, Sally?”  “I can’t… I can’t…  I have Thyme for Cooking, so No Thyme for News.”  Just to give you an idea of her level of sophistication, she’s got 9 recipes for cornish hens.  Nine. I almost lost my mind trying to decide what to cook, here is a very short list: Ham, Spinach and Avocado Clafoutis…. Shrimp and Spinach Pie...  Chicken with Chickpeas and Preserved Lemon….  Zucchini-Courgette Gratin... Chicken with Tarragon Cream…  Slow-cooker Coq au Vin...  (almost made it for this reveal day, as I also got a slow-cooker recently).  And so many more, I simply had to stop bookmarking them. I had no choice but to make two, one savory, one sweet.  For savory I went with her Chicken Korma, and for dessert (well, not quite, I made it one week later), her Absolute Best Brownies.

Chicken Korma3

CHICKEN KORMA WITH APRICOTS AND ALMONDS
(slightly adapted from Thyme for Cooking)

3 chicken breasts, boneless, skinless, cut into slices 3 pieces
1/2 cup ground almonds
1 shallot, chopped
1 piece of ginger, about 1/2 inch long, finely minced
1 tbs olive oil
2 bay leaves
5 cardamom pods
4 whole cloves
1 inch of a cinnamon stick
1 tsp ground cumin
1 tsp ground coriander
2 tsp tomato paste
1/2 cup Greek yogurt
3oz (90gr) dried apricots, cut in half
1/2 cup  chicken stock

Heat 1 tablespoon olive oil in a large skillet over medium-high heat. Add bay leaves, cloves, cardamom, cinnamon and stir-fry 10 seconds. Add shallot and fry until tender and starting to brown. Reduce heat to medium, add ginger, cumin, coriander and stir-fry 2 minutes longer. Add tomato paste and stir well to combine.

Add chicken pieces, ground almonds, chicken stock and heat to simmering. Reduce heat to low, cover and simmer for 15 minutes. Add yogurt to chicken and stir well to combine. Add apricots, cover and simmer for 10 minutes longer.

Serve over white rice.

ENJOY!

to print the recipe, click here

kormacomposite

Comments: We loved this recipe! The magical ingredient is definitely cardamon. Every time I open the bottle of cardamon pods I get mesmerized by the smell. The delicate taste they impair to any dish, savory or sweet, is hard to beat. The ground almonds (or almond meal, depending on what is available to you) give the sauce extra body and make it feel substantial and filling. Finally, the apricots bring the bit of sweetness and a pleasant chewy texture. Three chicken breasts were enough for our dinner and lunch a couple of days later. I should add that the sauce was even more flavorful the second time around, although the texture of the meat was better right after cooking.  Overall, this korma is not spicy, just very aromatic.  We enjoyed it over white rice with snap peas alongside. Delicious dinner!

served

Just make sure you don’t bite into the cloves! Find them and put them aside…

And now, for the bonus recipe: 


Brownies Glazed

ABSOLUTE BEST BROWNIES
(from Thyme for Cooking)

for the brownie:
6 tbs butter, plus a bit more for the pan
8oz dark chocolate, in chunks
3/4 cup sugar
1 tsp vanilla
2 eggs, room temperature
1/4 cup flour
1 cup walnuts, chopped

for the glaze:
4oz (120gr) dark chocolate, in chunks
1/2 cup heavy cream

Heat the oven to 350°F (175°C).
Line the inside of an 8-inch square pan with 2 lengths of foil, laying them perpendicular to each other and folding the edges over to form handles. Lightly butter the foil.

In a medium saucepan melt the butter over low heat, add the chocolate. Stir constantly until melted.
Remove pan from heat, add sugar, vanilla and stir well. Add eggs and beat well with a medium-size wooden spoon.
Add the flour and beat vigorously for 1 1/2 – 2 minutes. Better should be shiny and smooth. Stir in the nuts, and pour the batter into the pan.

Bake for 30 minutes. The center should be almost set. Do not over-bake. Cool brownies completely in the pan. As the brownie cools, make the glaze by heating the cream in a small saucepan over low heat. Add the chocolate and stir until just melted.

Lift the brownies out of the pan and loosen the foil on the sides and bottom. Transfer to a plate. Pour the glaze over the top and smooth to the edges. When the glaze is cool, cut into small squares and serve.

ENJOY!

to print the recipe, click here

compositebrownie

Comments: You will find this to be a very popular recipe (original from David Lebovitz). Many bloggers have made it, not always successfully, in the sense that for some these did not turn out as “absolute best.”  Well, it is all in the technique. For this recipe to work its magic you absolutely MUST beat the batter for at least a full minute, probably two minutes is better.  I considered adding the batter to a KitchenAid but ended up beating by hand. Good workout for the right arm, I can tell you that…  The brownies turned out great, I think the walnuts worked perfectly well with the chocolate, but if you do a google search you’ll find that the basic recipe can be adapted to all sorts of add-ons, one that seems quite popular is mint.  Just crush some mint candy and add to the batter after you beat it into submission. I took the brownies to our department on a foggy and a bit chilly Monday morning. They made many colleagues forget the Monday blues.

Katie, I will be a faithful follower of your blog, and hope you had as much joy with your assignment this month as I had with mine… 

For my readers, make sure to click on the blue extra-terrestrial looking frog at the end of this post, so you can marvel at the productions of my fellow secret recipe friends.

ONE YEAR AGO: Josey Baker’s Olive Bread

TWO YEARS AGO: Almonds, A Cookbook Review

THREE  YEAR AGO: Pomegranate-Molasses Glazed Carrots

FOUR YEARS AGO: Codruta’s Rolled Oat Sourdough Bread

FIVE YEARS AGO: Roasted Corn and Tomato Risotto

SIX YEARS AGO: Light Rye Bread

INDIAN SPICED CHICKEN WITH CHICKPEAS AND SPINACH

Another great recipe using my beloved pressure cooker, but no need to run away if you don’t own one, the original method (found here)  uses a regular pan.  We’ve been so busy lately (by lately I guess I mean a few years in a row…)  that shortcuts to get dinner at the table faster are more than welcome. As long as they don’t compromise flavor. No need to worry about it in this recipe, flavorful is one adjective that comes to mind to describe it.

Chicken Curry Spinach


INDIAN SPICED CHICKEN WITH CHICKPEAS AND SPINACH
(adapted from Bon Appetit)

1 tablespoon vegetable oil (I used grape seed oil)
6 boneless, skinless chicken thighs
Kosher salt
1 tablespoon unsalted butter
1 large shallot, thinly sliced
1 + 1/2 tablespoons grated ginger
2 teaspoons ground coriander
1 teaspoon ground cumin
1 teaspoon ground turmeric
1/4 teaspoon cayenne pepper
1 15-ounce can chickpeas, rinsed
1 cups chicken broth
5 ounces baby spinach
1/4 cup Greek yogurt
1/4 cup cilantro leaves, coarsely chopped (optional)

Heat oil in a large heavy pot over medium-high heat or in your pressure cooker. Season chicken with salt. Working in batches, cook chicken, reducing heat as needed to prevent over-browning, until golden brown on all side.Transfer to a plate.

Add butter and shallot to drippings in pot; season with salt. Cook, stirring often, until soft and fragrant. Stir in ginger, coriander, cumin, turmeric, and cayenne. Cook, stirring constantly, until spices are fragrant, about 1 minute. Stir in chickpeas and chicken broth. Return chicken and any accumulated juices to pot. Bring to a simmer. Cover pot and either braise it in a 325 F oven for about 50 minutes, or cook under pressure for 15 minutes.

Quickly release the steam (or place the closed pan under running cold water in the sink), and when the pressure equalizes open the pan. Return the pan to the stove, add the spinach and simmer for a couple of minutes until wilted. Stir yogurt into cooking liquid, mix gently and serve right away, sprinkled with fresh cilantro, if you like.

ENJOY!

to print the recipe, click here

served

Comments:  I absolutely love the way pressure cooking intensifies the flavors of a sauce, and this one with all the warm spices and the chickpeas turned out quite spectacular indeed. The recipe made so much sauce that even after leftovers were enjoyed at lunch, a little sauce remained. I went at it with a spoon on day 3. Yeah, that good.  And, of course the time-saving aspect is hard to be neglected…

Screen Shot 2016-02-28 at 1.02.19 PM

This recipe could be served quite simply with a slice of naan bread, but I opted for cauli-rice and some snow peas sautéed in olive oil and a little mint. We ate like the King and the Queen… except for the fact that we did the dishes afterwards. I doubt royalty deals with such mundane issues. Their loss. Doing dishes can be a lot of fun. All you need is the right music in the background…

😉


ONE YEAR AGO: Curry Cardamon Cookies

TWO YEARS AGO: In My Kitchen, March 2014

THREE YEARS AGO: Boeuf Bourguignon for a Snowy Evening

FOUR YEARS AGO: Chickpea Salad

FIVE YEARS AGO: Soft Spot for Chevre

SIX YEARS AGO: Roasted Onion and Asiago Cheese Miche

DUCK CONFIT FOR A SPECIAL OCCASION

It is hard to beat duck confit when you want to have a memorable meal. I will never forget the first time I had it, actually. I was all alone in Paris (my first trip to Europe!), having flown from Brazil to take part of a scientific workshop sponsored by The World Health Organization. The 2-week workshop launched the sequencing of the whole genome of Mycobacterium leprae. In those days, sequencing DNA was a cumbersome, slow, and painful process, nothing to do with what it is today. I was one of the lucky people invited to participate of that initial workshop. I knew very little about automated DNA sequencing, but even less about duck confit. On my first evening, very tired and a bit insecure to walk around town, I crossed the street and bravely entered a restaurant near Institut Pasteur (Le Pot au Feu). The special of the day was duck confit, so that’s what I ordered. I thought I had died and gone straight to heaven, arriving at dinner time. Unforgettable experience, even if all alone sitting at my table, staring at couples in love all around me. Or so it seemed…  Paris and romance go always hand in hand.

I made duck confit twice in the past, before my blogging years. Even though both meals turned out great, the process was not very pleasant: a lot of fat to deal with, and a pretty intense smell lingering in the house for way too long.  This time, I used sous-vide to cook the duck legs and I have one word to describe it: WOW! I go as far as saying that buying the Anova circulator is worthy it just to make duck confit.  Easy, very little fat needed, no lingering smell, and once the duck legs are cooked, they can go still in the bags to the fridge and stay there for 2 to 3 days until showtime.  Cannot get much better than that…

Duck Confit1


DUCK CONFIT
(from the Bewitching Kitchen)

3 tablespoons salt
2 cloves garlic, smashed (optional)
1 shallot, peeled and sliced
6 sprigs thyme (I used dried thyme)
4 sage leaves
Coarsely ground black pepper
4 duck legs with thighs
4 tablespoons duck fat

Sprinkle 1 tablespoon of salt in the bottom of a dish or plastic container large enough to hold the duck pieces in a single layer. Evenly scatter half the garlic, shallots, and thyme in the container. Arrange the duck, skin-side up, over the salt mixture, placing one sage leaf underneath each piece of duck. Sprinkle with the remaining salt, garlic, shallots, and thyme and a little pepper. Cover and refrigerate for 24 to 48 hours.

Rinse the duck pieces well, to remove the coarse salt. Dry the meat with paper towels. Place each piece in a plastic bag, adding 1 tablespoon of very cold duck fat inside, vacuum-seal the bags.  Submerge the sealed bags in a water-bath set at 82 C (180 F) for 10 hours.  When the time is up, chill the pieces in an ice bath and place in the fridge, still sealed.

About 45 minutes before dinner time, remove the duck from the fridge, open the bag and scrape off most of the congealed fat. Place in a roasting pan, skin side up, cover with aluminum foil and warm up in a 375 F oven for about 30 minutes. Before serving, place the pan under the broiler to crisp up the skin. Alternatively, you can warm up the pieces and then sear the skin on a blazing hot skillet.

ENJOY!

to print the recipe, click here


DuckConfitcomposite

Comments: I made this recipe for a very special dinner. First, it was my beloved’s Birthday, and since it falls very close to Christmas, it’s tricky to have a party for him.  Most people are away visiting family, or too busy with the holidays. But, it turns out that two VERY special friends made a trip all the way from Brazil to be here with us on that special day!  And they are amazing cooks, so the pressure was high on me to deliver a nice meal. Needless to say, I did a lot of research on duck confit sous-vide before settling on the method I shared here.

Several things are important. The duck itself. The best kind to get is Moulard duck, so I special ordered it from d’Artagnan (remember my latest IMK post?). Then, the salting to cure the meat before cooking. Some sous-vide methods advise you to do that step in vacuum-sealed bags, but the meat can turn out overly salty. I decided to salt the pieces in a baking dish in the fridge for 36 hours, then rinse the meat well before cooking it. The sous-vide step is another major consideration. I visited a discussion forum (eGullet), and read everything I could find on duck confit before settling on my choice of 10 hours at 82 C (180 F).  As to the amount of fat to use, one tablespoon is enough, but you could even omit adding any extra fat. If you look at the last photo on the composite picture above, you’ll notice that there was a lot more than one tablespoon of fat in each bag. The fat rendered from the leg itself will be more than enough to properly coat it during cooking. So, if you rather  not render duck fat or buy pre-rendered fat, simply go from the salting step to vacuum-sealing. It will work like a charm. Of course, you could get by with olive oil too. The main goal is to cook the meat submerged in some type of fat, duck fat being the best one for flavor.

I feel that I hit the jackpot with that combination of time and temperature, would not change it in the future.  Finally, the last consideration is how to warm up the meat before serving.  I did not want to deal with a hot skillet and searing the skin, making a huge mess right before our meal, so I went with a regular oven. First 375 F for about 30 minutes, then running the pieces under the broiler to crisp up the skin.  Would not do it any other way, it was spectacular!  The meat had the exact texture I remember from my first duck confit enjoyed in Paris! Not too salty, not too greasy, simply perfect!

plated2

Dinner is served!  Duck confit and gratin of potatoes…
Life is good!

bday

ONE YEAR AGO: Ken Forkish’s Warm Spot Sourdough 

TWO YEARS AGO: Bran Muffins, Rainbows, and a wonderful surprise!

THREE YEARS AGO: Salmon Wellington

FOUR YEARS AGO: The Green Chip Alternative

FIVE YEARS AGO: Weekend Pita Project

SIX YEARS AGO: Let it snow, let it snow, eggs in snow