
This bread is made with a very simple dough. No wild yeast, no extensive cycles of kneading, just your trusty commercial yeast, a few minutes in the Kitchen Aid, and a nice sleep in the fridge. It’s all about the shaping, that results in a flower-shaped bread. Think daisy. But both times I’ve baked it, the oven-spring was so spectacular that I thought I had made a brioche instead.
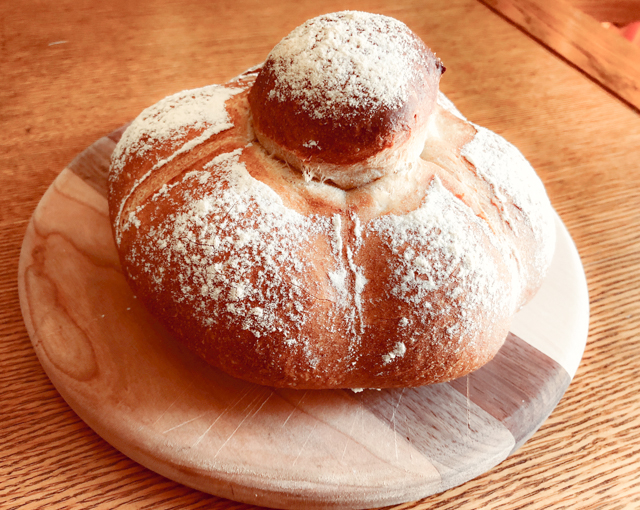
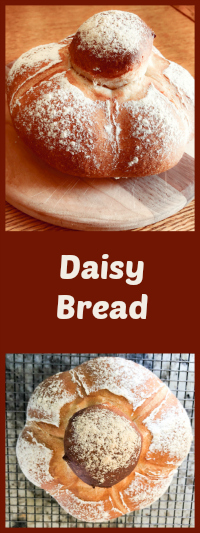
THE DAISY BREAD
(adapted from Craftsy online class by Ciril Hitz)
430 g bread flour
50 g spelt flour
320 g water
2.5 g instant yeast
10 g salt
Mix all the ingredients on low-speed in a stand mixer fitted with a dough hook. Start at low-speed for a couple of minutes, increase to medium-speed and mix for 6 minutes more.
Transfer the dough to a lightly oiled bowl, cover loosely with plastic wrap, and leave at room temperature for 30 minutes. Place the bowl in the fridge overnight, but after two hours, punch the dough down, and cover again.
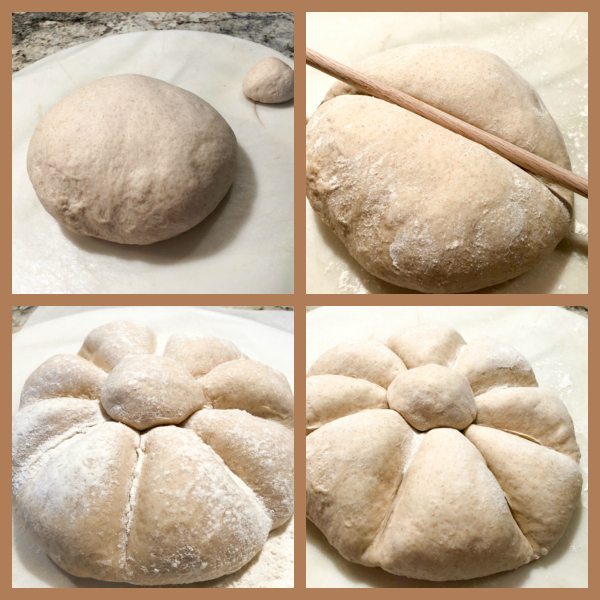
Next morning, remove the dough from the fridge and let it sit at room temperature for 30 minutes. Remove a small portion of about 35 g of dough and roll as a ball. Shape the rest of the dough as a large ball.
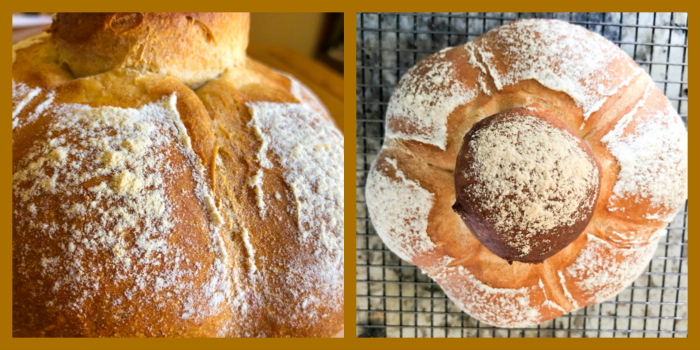
Use a wooden dowel to press down the sections of a daisy flower. Add the small ball to the center. Sprinkle a nice coating of flour, and let the dough proof for 60 to 90 minutes.
Bake at 470 F in an oven with initial steam for 30 to 35 minutes. Cool completely before slicing.
ENJOY!
to print the recipe, click here
Comments: This is another nice shaping I learned taking the online class offered by Craftsy with Ciril Hitz (link under the recipe title, in case you missed it). I still have one more bread from that class to tackle, but that one is a bit more involved. The Daisy shaping is simple and fun. However, his bread was happy to be a flower, had no hidden intentions of imitating a brioche. He told me that perhaps a longer proofing after shaping would take care of that. I haven’t re-visited the issue. There are so many breads out there waiting for me…. But if you try it, keep that in mind.
I love Ciril’s class, he has a very serene personality, which goes well with bread baking. Come to think of it, it’s a bit of a stretch to apply serene to my own self, but that might explain why you don’t see me making videos of what happens as I bake. If you are over the fence about getting Craftsy classes, give them a try. I think they are fantastic. Just make sure you read the reviews about each one. Also, they often have specials with huge discounts. I wait for those before indulging.

The crumb is on the tight side, as expected for a lower hydration dough. It is a delicate balance to achieve when you want to focus on shaping. Higher hydration bread gives you a lighter texture, but it will be tricky to make them hold the shape. I think both kinds of bread have their spot in the kitchen. And, between you and me, a tighter crumb is perfect to grab the last bit of a lusciously flowing egg yolk…
ONE YEAR AGO: Pork Tenderloin, Braciole Style
TWO YEARS AGO: Raspberry Buckle
THREE YEARS AGO: Seafood Gratin for a Special Dinner
FOUR YEARS AGO: Cooking Sous-Vide: Sweet and Spicy Asian Pork Loin
FIVE YEARS AGO: Farewell to a Bewitching Kitchen
SIX YEARS AGO: In My Kitchen. June 2012
SEVEN YEARS AGO: Goodbye L.A.
EIGHT YEARS AGO: 7-6-5 Pork Tenderloin
