
To say that I am excited about what will happen tomorrow is a severe understatement! As some might know, I never miss the weekly feature of cookie decorating that Haniela provides on Wednesdays at noon via YouTube and for a while also through Facebook. Much to my surprise, Hani invited me to do a little guest appearance in her weekly series and demonstrate how I make chocolate covered Oreos. So today I invite you to watch the live which you can join by following the link below.
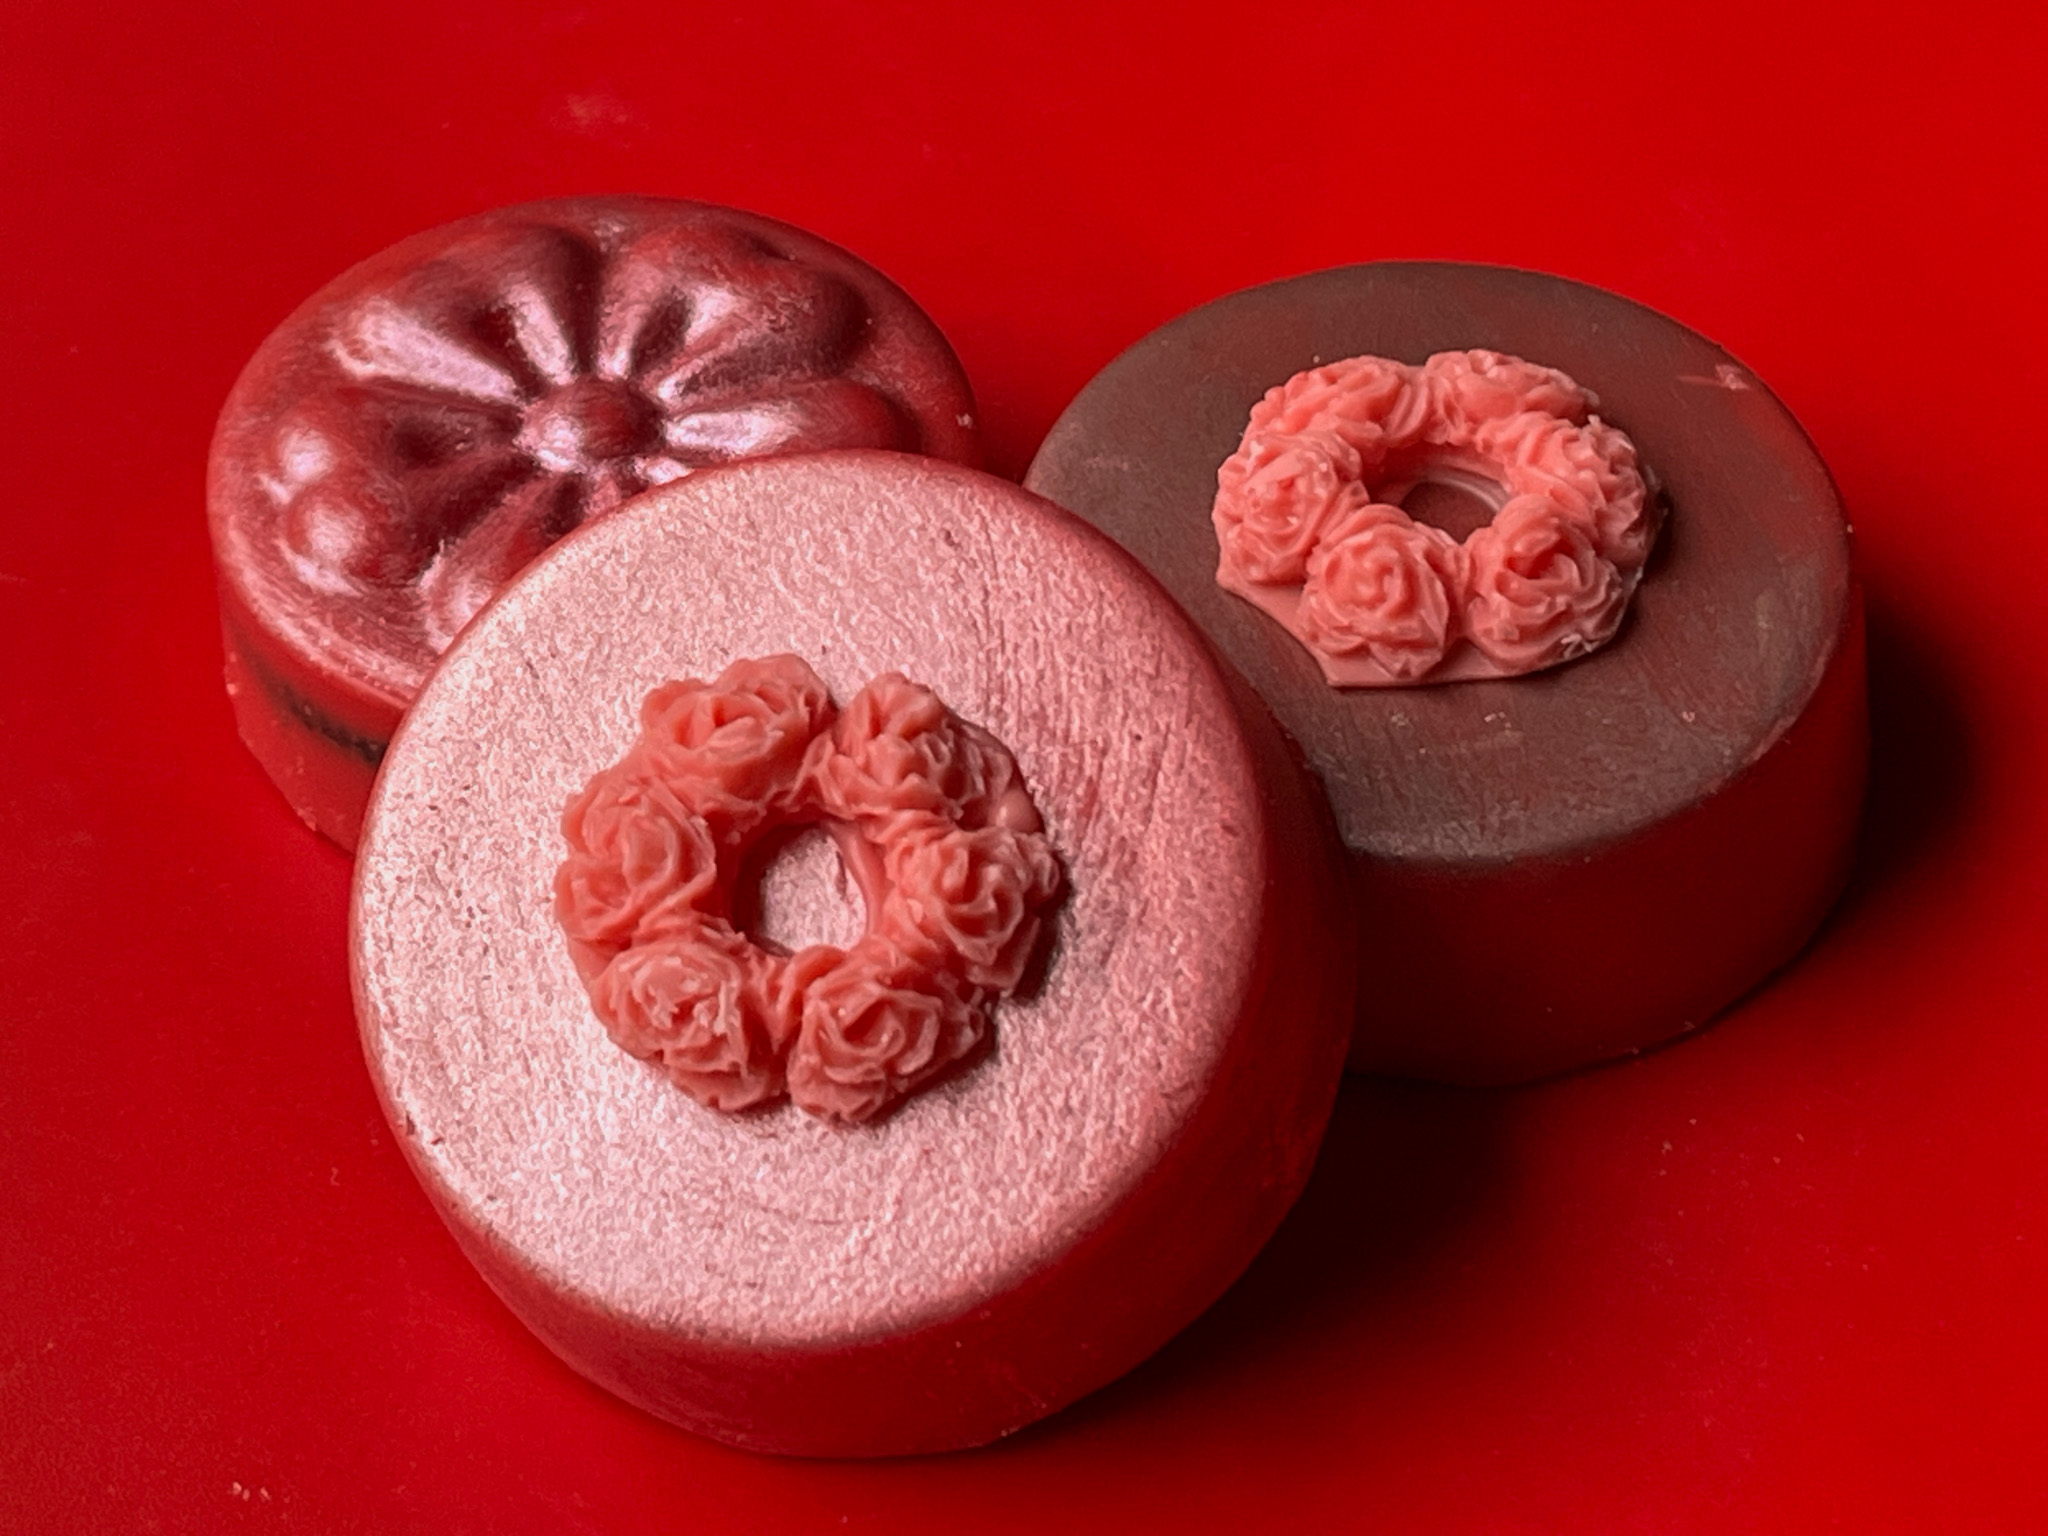
You don’t need to watch it live because it will be available on YouTube later. In theory, youtube does not delete a video once it is published, but the way everything is so finicky these days, who knows? Still, you don’t need to worry about joining the event live, although of course it would be wonderful to see you there. In the live session, I will show you how to make two types of designs… The first involves painting with luster powder, to make these babies:

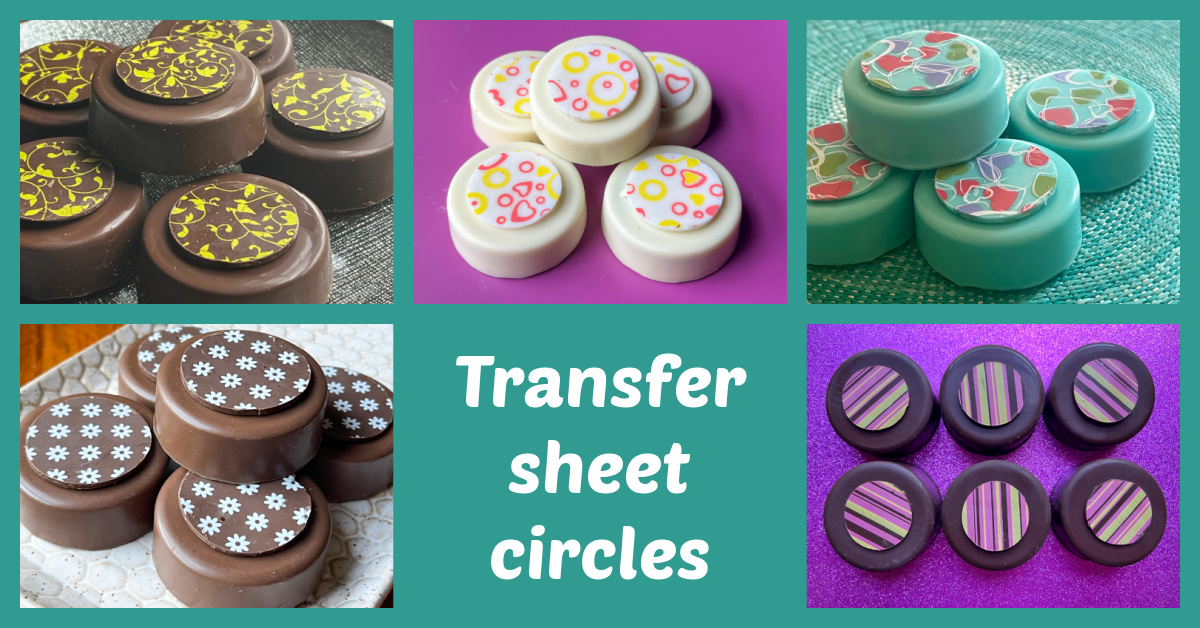
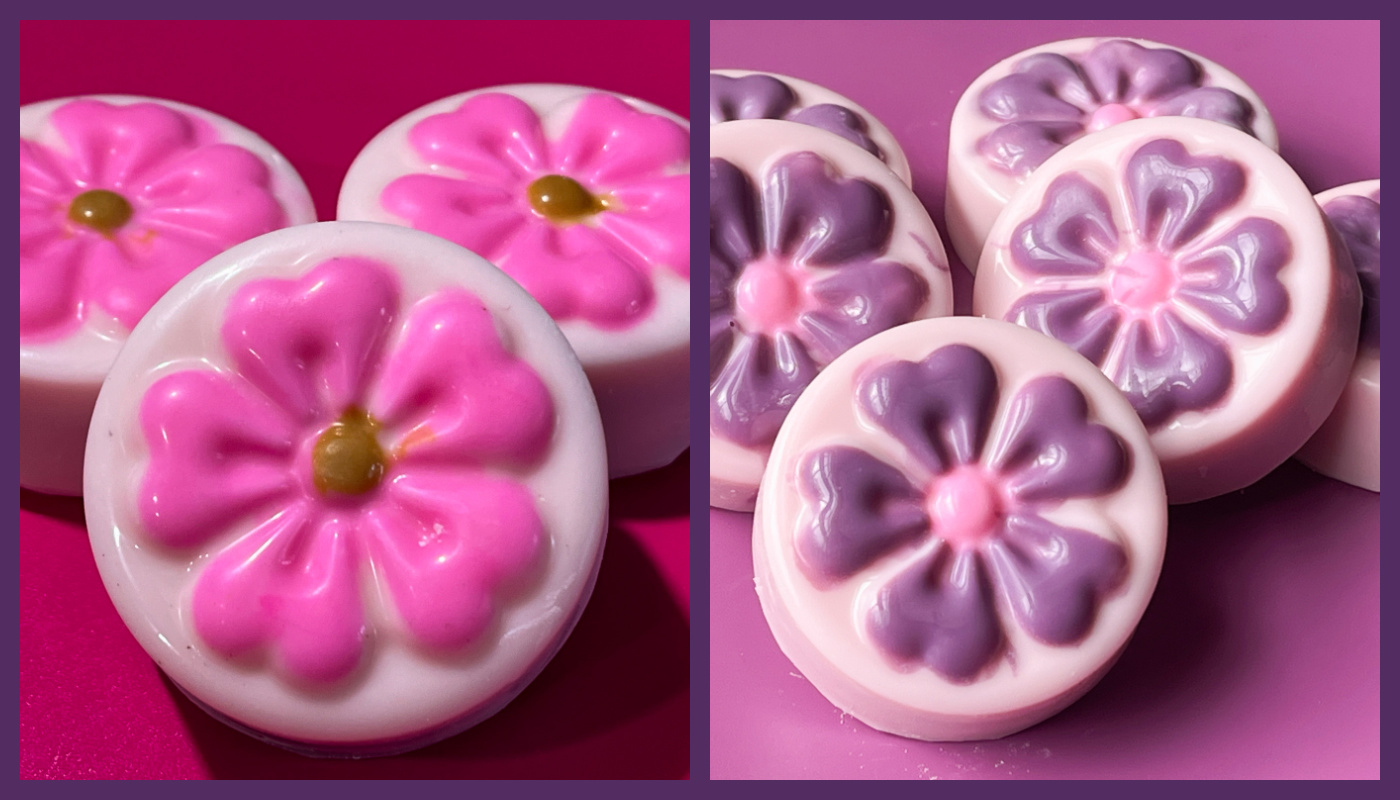
And I will also demonstrate how to use chocolate transfer sheets to make the ones below…
But there is so much you can do with this concept! Below some other examples using transfer sheets to cover the bottom of the mold.
Whenever I use transfer sheets, I brush the leftover area of the sheet with melted chocolate and then use a small cookie cutter to make circles that can be centered on top of the Oreos at a later time. They can sit at room temperature for a very long time! All you need to do is make the chocolate covered Oreo with a background color that will complement the discs, and then use a bit of melted chocolate to glue the disc on top.
One of the simplest ways to decorate is just a drizzle of melted chocolate of contrasting color…

Recently I started playing with wafer paper, which you can buy in many styles…
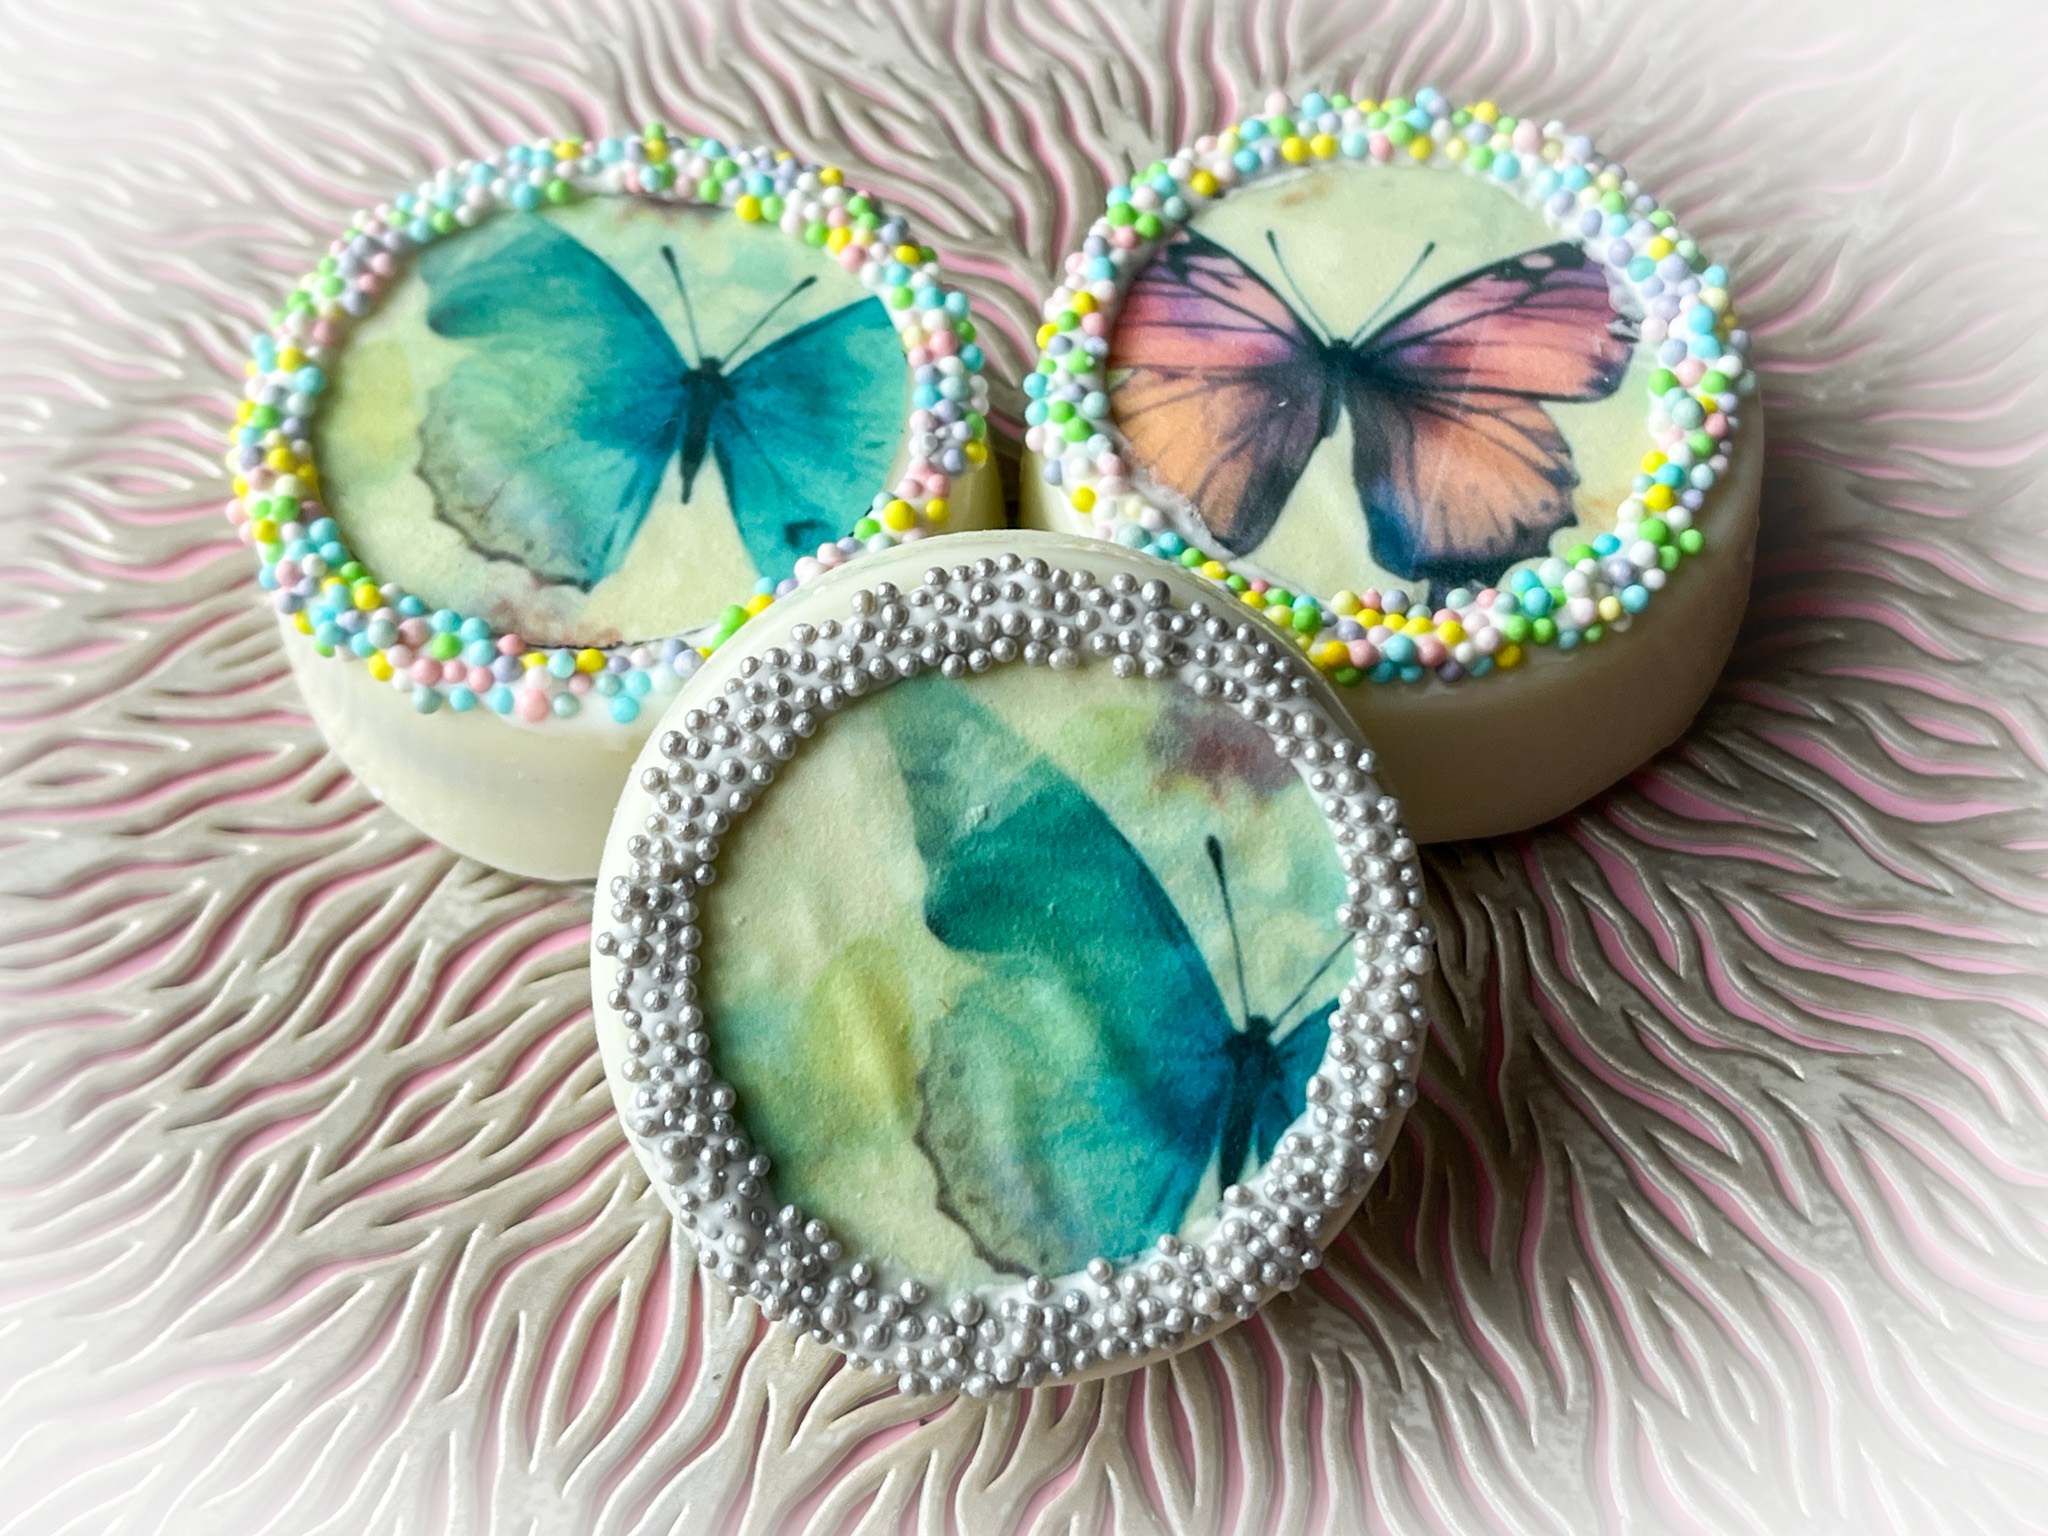
Just like transfer sheets, you cut circles but simply glue them to the fully set surface of the Oreo with a little brushing of corn syrup. Some Royal icing and sprinkles add a nice border to smooth things out.

.
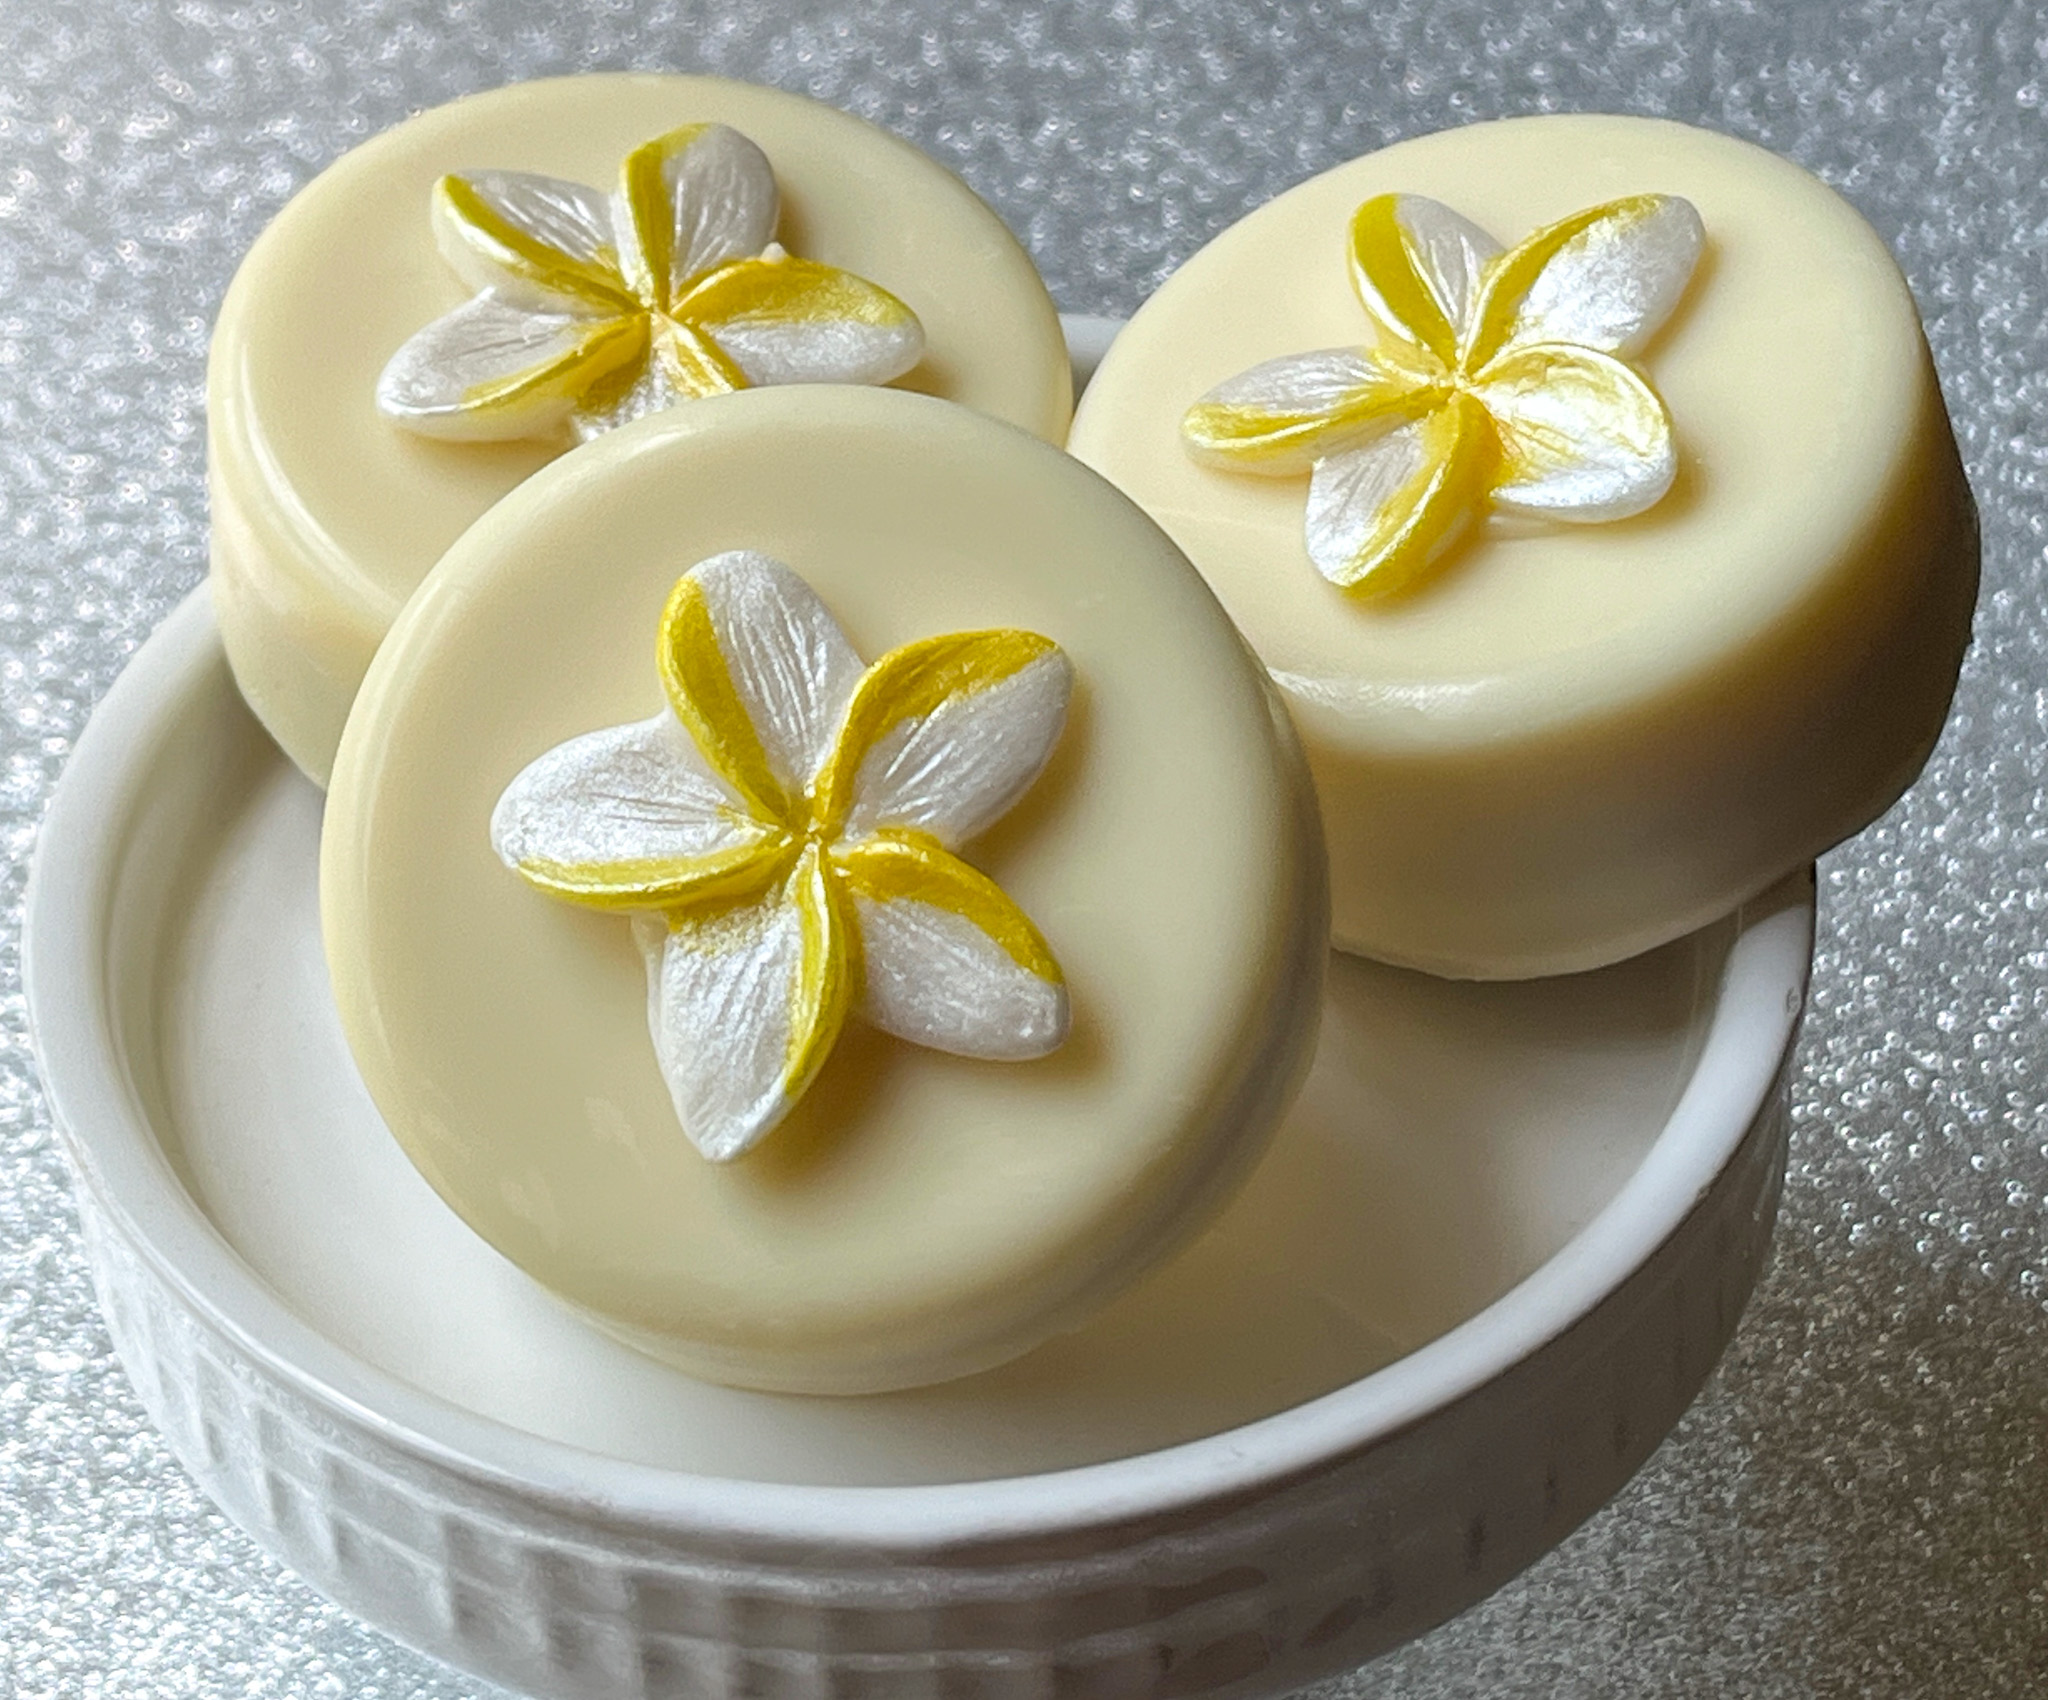
DECORATION DETAILS
Just like Royal icing transfers, fondant and chocolate decorations stay good for a long time, so when you make some for whatever project you have going on, make extras and save. You never know when they will come in handy…
.

.
Royal icing…

Chocolate on chocolate… all made with a mold

Finally, a bit more time consuming and labor intensive, you can dye small amounts of chocolate and use to paint molds, allowing each color to set before adding the next one and before filling the mold with the main chocolate component.
I hope you can watch the live tomorrow, and if you do it while it is happening, make sure to say hello in the comment area.
Huge thank you to Haniela for inviting me to be part of my very favorite online event!
.
ONE YEAR AGO: Chicken Fajita Bites and a Cookbook Review
TWO YEARS AGO: Oreo Balls, Fun and Easy
THREE YEARS AGO: Pork with Prunes
FOUR YEARS AGO: Honeyed-Jalapenos on Spelt Pizza
FIVE YEARS AGO: Bulgur and Chickpea Salad with Pomegranate Seeds
SIX YEARS AGO: Purple Star Macarons
SEVEN YEARS AGO: Smoked Salmon, Fait Maison
EIGHT YEARS AGO: Kouign-Amann, Fighting Fire with Fire
NINE YEARS AGO: In My Kitchen, Yin and Yang
TEN YEARS AGO: Chocolate Toffee Banana Bread
ELEVEN YEARS AGO: In My Kitchen, June 2014
TWELVE YEARS AGO: Strawberry Frozen Yogurt
THIRTEEN YEARS AGO: Baked Coconut and “The Brazilian Kitchen”
FOURTEEN YEARS AGO: Honey-Glazed Chicken Legs
FIFTEEN YEARS AGO: French-Style Rolls

Hey, superstar!!! All your fans are SO PROUD of you!
LikeLike
So exciting!!! It’s going to be fab 🤩🤩🤩🤩
LikeLike