TWO FESTIVE CAKES, PART ONE

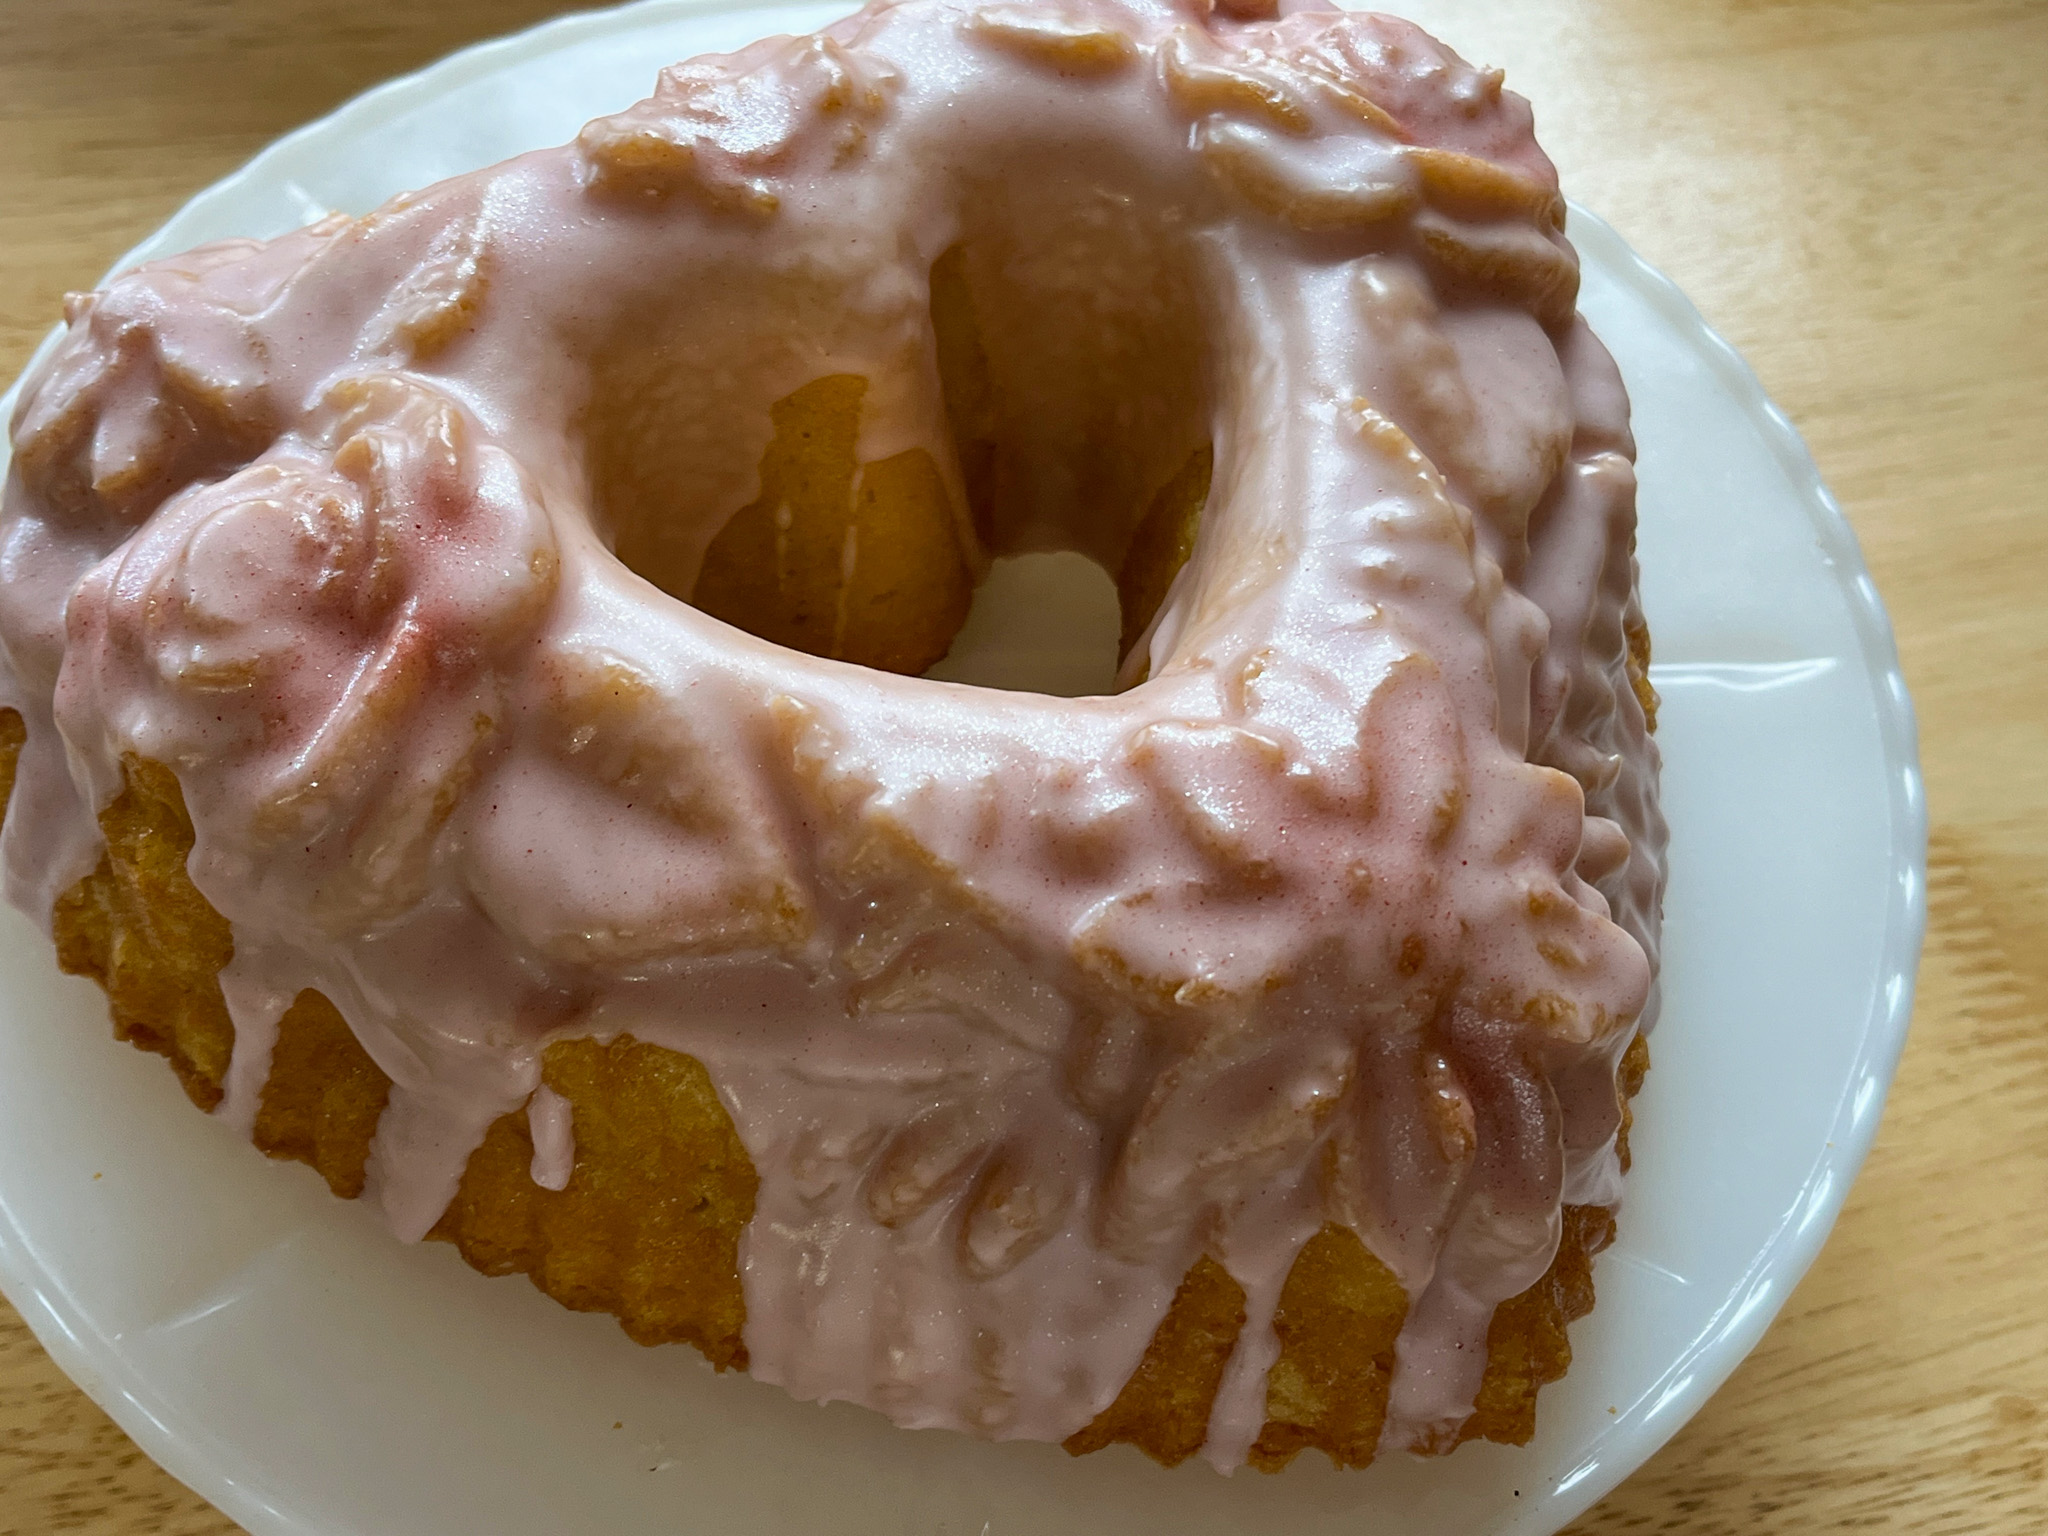
Perfect for the holiday season! First, a simple vanilla cake made special by a soft pink hibiscus glaze…

I debated for a while whether to order this gorgeous pan from Nordicware. It took me 24 hours of back and forth until I caved, and I am so glad I did! As all the products from that company, the pan is super high quality and the cake baked perfectly and un-molded like it was born to do so….

VANILLA BUNDT CAKE WITH HIBISCUS GLAZE
(from Nordicware)

for the cake:
1 + 1/2 cups flour (180g)
1/2 tsp salt
1/4 tsp baking soda
1/2 cup butter, softened (113g)
1 + 1/2 cups sugar (300g)
4 eggs
1 tsp vanilla extract
2/3 cup plain yogurt

for the glaze:
2 bags Hibiscus tea
1 cup water
1 + 3/4 cups Confectioners’ sugar (220g)
2 tsp fresh lemon juice
1-3 Tbsp brewed Hibiscus tea, cooled to room temperature

Make the tea: In 1 cup of boiling water, brew tea bags, covered, for 8-10 minutes. Set aside and cool completely.

Heat oven to 350° F. Prepare pan with baking spray. In a small bowl, mix together flour, baking soda and salt. Set aside. Using a mixer with a paddle attachment, cream butter and sugar. Mix in eggs until thoroughly incorporated. Add vanilla, flour mixture and yogurt. Blend until smooth. Pour into prepared pan, filling no more than 3/4 of the capacity. Tap on counter to release air bubbles. Bake for 40 to 45 minutes or until toothpick inserted into center of cake comes out clean. Remove from oven and let cake cool for 10 minutes before inverting onto a cooling rack.

While cake is cooling, mix the rest of glaze ingredients. To the confectioners’ sugar, add lemon juice and cooled brewed tea, adding 1 tablespoon at a time and up to 3 tablespoons for desired consistency and color. Drizzle glaze over cooled cake.

ENJOY!

to print the recipe, click here

Comments: I don’t think it is possible not to smile when a cake un-molds like that… I was actually smiling the whole day. I was not sure if the glaze would cover the details too much but in fact, I think it turned out pretty perfect.

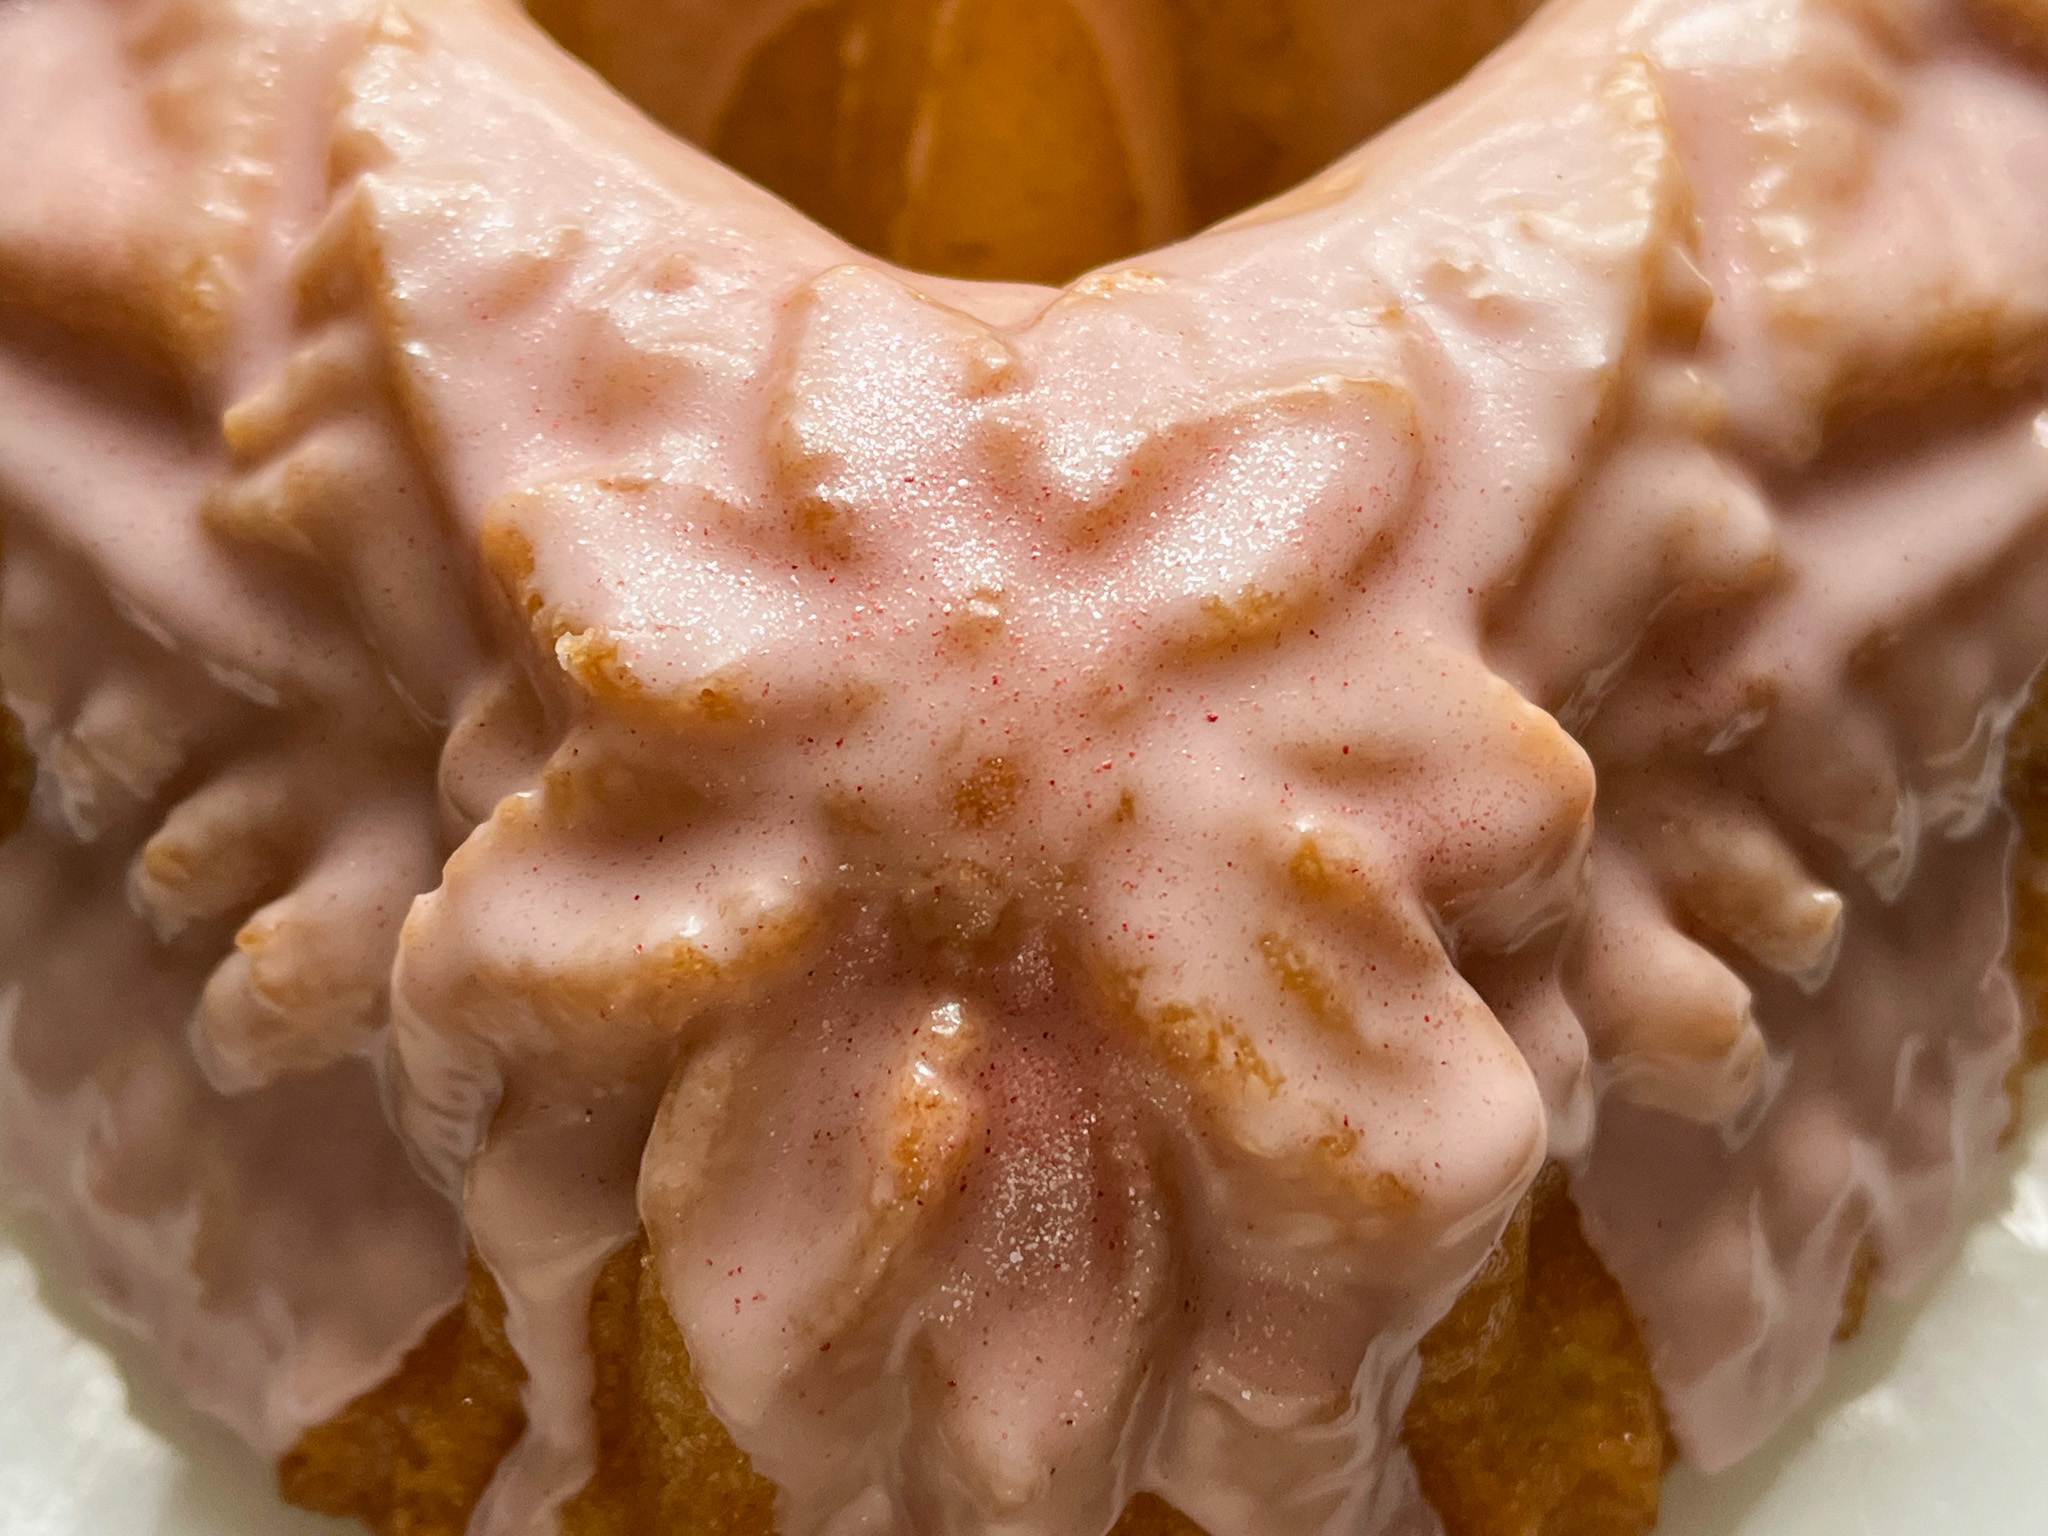
I sprayed a little gold dust on some spots of the cake because I cannot help it. The cake was donated so I could not taste it but I heard it was absolutely delicious, very moist and tender, and everybody was mesmerized by the look…. So I say mission accomplished!

Stay tuned for PART TWO of Festive Cakes, coming up very soon, I promise…


ONE YEAR AGO: Broccoli Slaw Salad with Poppy Seed Dressing

TWO YEARS AGO: Vegan Blueberry-Lemon Cheesecake

THREE YEARS AGO: Green Tea Rice with Edamame and Butternut Squash

FOUR YEARS AGO: Santa Hat Mini-Mousse Cakes

FIVE YEARS AGO: Fun with Sourdough

SIX YEARS AGO: Pasteis de Nata

SEVEN YEARS AGO: New Mexico Pork Chile, Crockpot Version

EIGHT YEARS AGO: Chocolate on Chocolate

NINE YEARS AGO: Double Chocolate and Mint Cookies

TEN YEARS AGO: The Story of my first Creme Brulle’

ELEVEN YEARS AGO: Sourdough Mini-rolls

TWELVE YEARS AGO: Focaccia with Sun-dried Tomatoes and Gorgonzola

THIRTEEN YEARS AGO: Mediterranean Skewers

FOURTEEN YEARS AGO Fettuccine with Shrimp, Swiss Chard, and Tomatoes

BAKE IT BETTER, THE BOOK & THE VIRTUAL SPOT


Wondering what to give to that friend who loves to bake but seems to own every single gadget known to mankind? Here is a suggestion for you: offer Matt Adlard’s Bake it Better, still hot from the press! And if you want the gift to be even more special, add to it a membership to his virtual cooking school, where every month a series of two or three recipes of increasing complexity are shared. Not just the recipe, but a super detailed video tutorial to make it happen flawlessly in your own kitchen. And when you join the site, you will immediately gain access to the closed Facebook group, where you can hang out with other baking-addicts such as yours truly… To order the book, click here… To get the membership-gift, click here.

I will now share a few recipes I’ve tried from this wonderful book, which recently was the focus of a nice baking weekend with my friend Tanya (see post about it here). The recipes are listed in the order I made them.

CHOCOLATE CHUNK BROWNIES


These are fudge-y, intensely flavored, and have a crackly topping made more special with the drizzle decoration. Matt is known for always gilding the lily in unexpected ways, often simple touches that add a lot to the final bake.

TOASTED MILK POWDER AND BROWN BUTTER COOKIES

What is different and unique about these cookies is the use of toasted milk powder plus browned butter. If you have ever heard of “bronze butter”, this is pretty much the easiest way to achieve that level of buttery intensity. His trick to add a few chips right when the cookies are out of the oven make them look pretty professional… Yes, it is the “bake it better” at work!

ALL-BUTTER SHORTBREAD

These are very special cookies that remind Matt of his Dad’s special cookies baked at his restaurant. Matt’s technique is quite straightforward, with small details that make this one of the simplest bakes of the book, but with amazing complexity of taste and texture. I aded just a little pattern on top with a rolling cutter.

PEANUT AND WHITE CHOCOLATE COOKIES

These are simply amazing! Delicious cookie that bakes soft and tender, with a puddle of peanut butter in the center. The whole design and simple decoration is typical of Matt, taking a humble cookie into a cute playful presentation through the little details. These cookies were a huge hit with our departmental colleagues.

TIGER MADELEINES

My favorite bake of this series, it required me to buy a special silicone pan for the madeleines because to do the coating with tempered chocolate you cannot quite use metal pans. Totally worth it.

Once again the traditional madeleines are made super especial by just splitting the batter in two portions, adding chocolate to one of them and making a simple pattern with a piping bag. Genius. Coating the back with chocolate just ties the whole thing together, but you can conceivably skip that step, and just bake them in a regular, metal pan. They are spectacular!

I hope you enjoyed this little peek into Matt’s first (and let’s hope NOT last) cookbook! If you love to bake or if you are a beginner baker and would like to learn perfect technique, this book is for you. Apart from the recipes I listed today, I was honored to test a few other recipes from the book while Matt was writing it and I can tell you that the Cardamon and Orange Custard Tart is simply to die for…

(available at amazon.com)

ONE YEAR AGO: Broccoli Slaw Salad with Poppy Seed Dressing

TWO YEARS AGO: Vegan Blueberry-Lemon Cheesecake

THREE YEARS AGO: Green Tea Rice with Edamame and Butternut Squash

FOUR YEARS AGO: Santa Hat Mini-Mousse Cakes

FIVE YEARS AGO: Fun with Sourdough

SIX YEARS AGO: Pasteis de Nata

SEVEN YEARS AGO: New Mexico Pork Chile, Crockpot Version

EIGHT YEARS AGO: Chocolate on Chocolate

NINE YEARS AGO: Double Chocolate and Mint Cookies

TEN YEARS AGO: The Story of my first Creme Brulle’

ELEVEN YEARS AGO: Sourdough Mini-rolls

TWELVE YEARS AGO: Focaccia with Sun-dried Tomatoes and Gorgonzola

THIRTEEN YEARS AGO: Mediterranean Skewers

FOURTEEN YEARS AGO Fettuccine with Shrimp, Swiss Chard, and Tomatoes

PUMPKIN SHAPED SOFT PRETZEL ROLLS

The cuteness factor of these is huge! They are adorable and so simple to make that you can plan to bake it with kids. The only messy (and potentially dangerous) part is the mandatory boiling in alkaline water so that you get the right texture and amazing color, but you can take charge of that step and let the kids get involved with all else. The recipe is from Haniela’s blog, she is not only a fantastic cookie artist, but a great cook too…

PUMPKIN SHAPED SOFT PRETZEL ROLLS
(from Haniela’s blog)

for the dough:
1 + 1/2 cup warm water
1tsp honey
1 package dry yeast (2 + 1/4 tsp)

2 cups (260g) all-purpose flour
2 + 1/2 cups (325g) bread flour (divided)
1tbs kosher salt
6tbs melted butter

For the alkaline solution:
5 cups water
1/3 cup baking soda

for brushing the rolls:
egg yolk
1 tbs water
pretzel salt (available here)

cashews (or other nuts) for stems

Pour warm water into the bowl of your mixer, add honey and stir in the yeast. Let stand for 5 minutes, until foamy.

Add 2 cups of all purpose flour, 2 cups (260g) of bread flour, melted butter and salt into the bowl with yeast and knead using the dough hook attachment. If dough is too sticky add additional 1/2 cup (65g) of bread flour. Knead for 5 minutes, or until the dough turns into a smooth ball. Lightly coat a large bowl with oil and put the dough into the bowl.Cover the bowl with plastic wrap and let rise in a warm place for one hour.

Invert the dough onto a clean work surface but do not use any additional flour. Roll the dough into a rectangle and using a knife or pizza cutter cut the dough into squares. The size is not important, just make them very small if you like to have tiny little rolls, or bigger. I divided my dough in about 25 portions. Using both hands, pull the dough together, form a ball from each square.

Bring 5 cups of water to boil, add 1/3 cup baking soda. Stir well until baking soda is dissolved.”Blanch” the pretzel rolls in the baking soda bath for 30 seconds. Remove from the solution onto a tray or bare baking sheet and continue with remaining rolls. Transfer pretzels onto a sheet lined with parchment paper, using kitchen shears, hold pretzel roll in your hand and using shears cut total of 8 cuts through the dough, all around, keeping the center of the roll intact. Then using a wooden spoon handle press deeply into the center of the roll, leaving a small dimple.

Whisk together egg yolk and water, strain through a small sieve. Brush sparingly tops of the pretzel pumpkins, sprinkle with pretzel salt. Bake pretzels at 450F for about 10-12 minutes, until golden brown.
Push a cashew into the center, into the dimple while still warm from the oven.

ENJOY!

to print the recipe, click here

Comments: The dough is a total pleasure to work with, soft, smooth, and the intense color when it bakes due to the alkalization of the surface is gorgeous. Some of my rolls got only six slits around, make sure you go for eight, it gives a better pumpkin impression. You will need the special salt to get the right pretzel experience, so I recommend you bite the bullet and order some.

A little mustard, a little ham, and that was a super tasty lunch, even after cutting my finger on a sharp ceramic knife…. Clumsy, who, moi?

ONE YEAR AGO: Cod Coconut Curry

TWO YEARS AGO: The Best Ever Eggplant Parmigiana

THREE YEARS AGO: Roasted Butternut Squash and Grapes with Maple Pomegranate Glaze

FOUR YEARS AGO: A Really Big Announcement

FIVE YEARS AGO: Stir-Fried Chicken in Sesame-Orange Sauce

SIX YEARS AGO: Monday Blues

SEVEN YEARS AGO: A New Way to Roast Veggies

EIGHT YEARS AGO: Two Takes on Raspberries

NINE YEARS AGO: Spice Cake with Blackberry Puree

TEN YEARS AGO: Own Your Kitchen with Cappuccino Panna Cotta

ELEVEN YEARS AGO: Chicken Parmigiana, the Thriller

TWELVE YEARS AGO: Wild Mushroom Risotto

THIRTEEN YEARS AGO: Tartine Bread:  Basic Country Loaf 

FOURTEEN YEARS AGO:  Pugliese Bread